Want a simple and fun Halloween craft to try this season? All you need is nail polish (and pumpkins) to make these totally chic marbled pumpkins!
Guys, I’ve discovered something magical, and I might never stop marbling ALL of the things. These DIY marbled pumpkin pumpkins are beautiful and unbelievably simple to make. And isn’t marble so on-trend right now? The whole project takes maybe two steps and the best part is: you have everything you need already at home to make DIY marbled pumpkins. (All you need to make your own marbled pumpkins is a plastic bowl, warm water, and nail polish! And pumpkins, of course.)
Oh yeah, you read that right: these DIY Nail Polish Marble Pumpkins are dip-dyed in a water/nail polish mixture that adds a really cool pop of “wow” to an otherwise traditional pumpkin. Be prepared to have the coolest, most envy-inducing marble pumpkins on the block. How’s that for stepping up your totally chic fall décor game?
DIY Marbled Pumpkins
My search for finding the perfect marbled pumpkins all started early on in the fall. I love the color black, and have had a crush on the Target marbled faux pumpkins for weeks. (Anyone else able to get their hands on those faux pumpkin beauties before they quickly sold out?) Creating my own DIY marbled pumpkins seemed like the perfect solution! And making my marbled pumpkins black and white just made perfect sense since I am forever devoted to the stylish combo. The chic result was beyond what I could have hoped for.
Though considering how much my little girl loved dipping the pumpkins in our water and nail polish “potion,” our next round of DIY marbled pumpkins might have to be rainbow-colored (a.k.a., Lisa Frank) inspired pumpkins using several brighter shades of nail polish. So much fun.
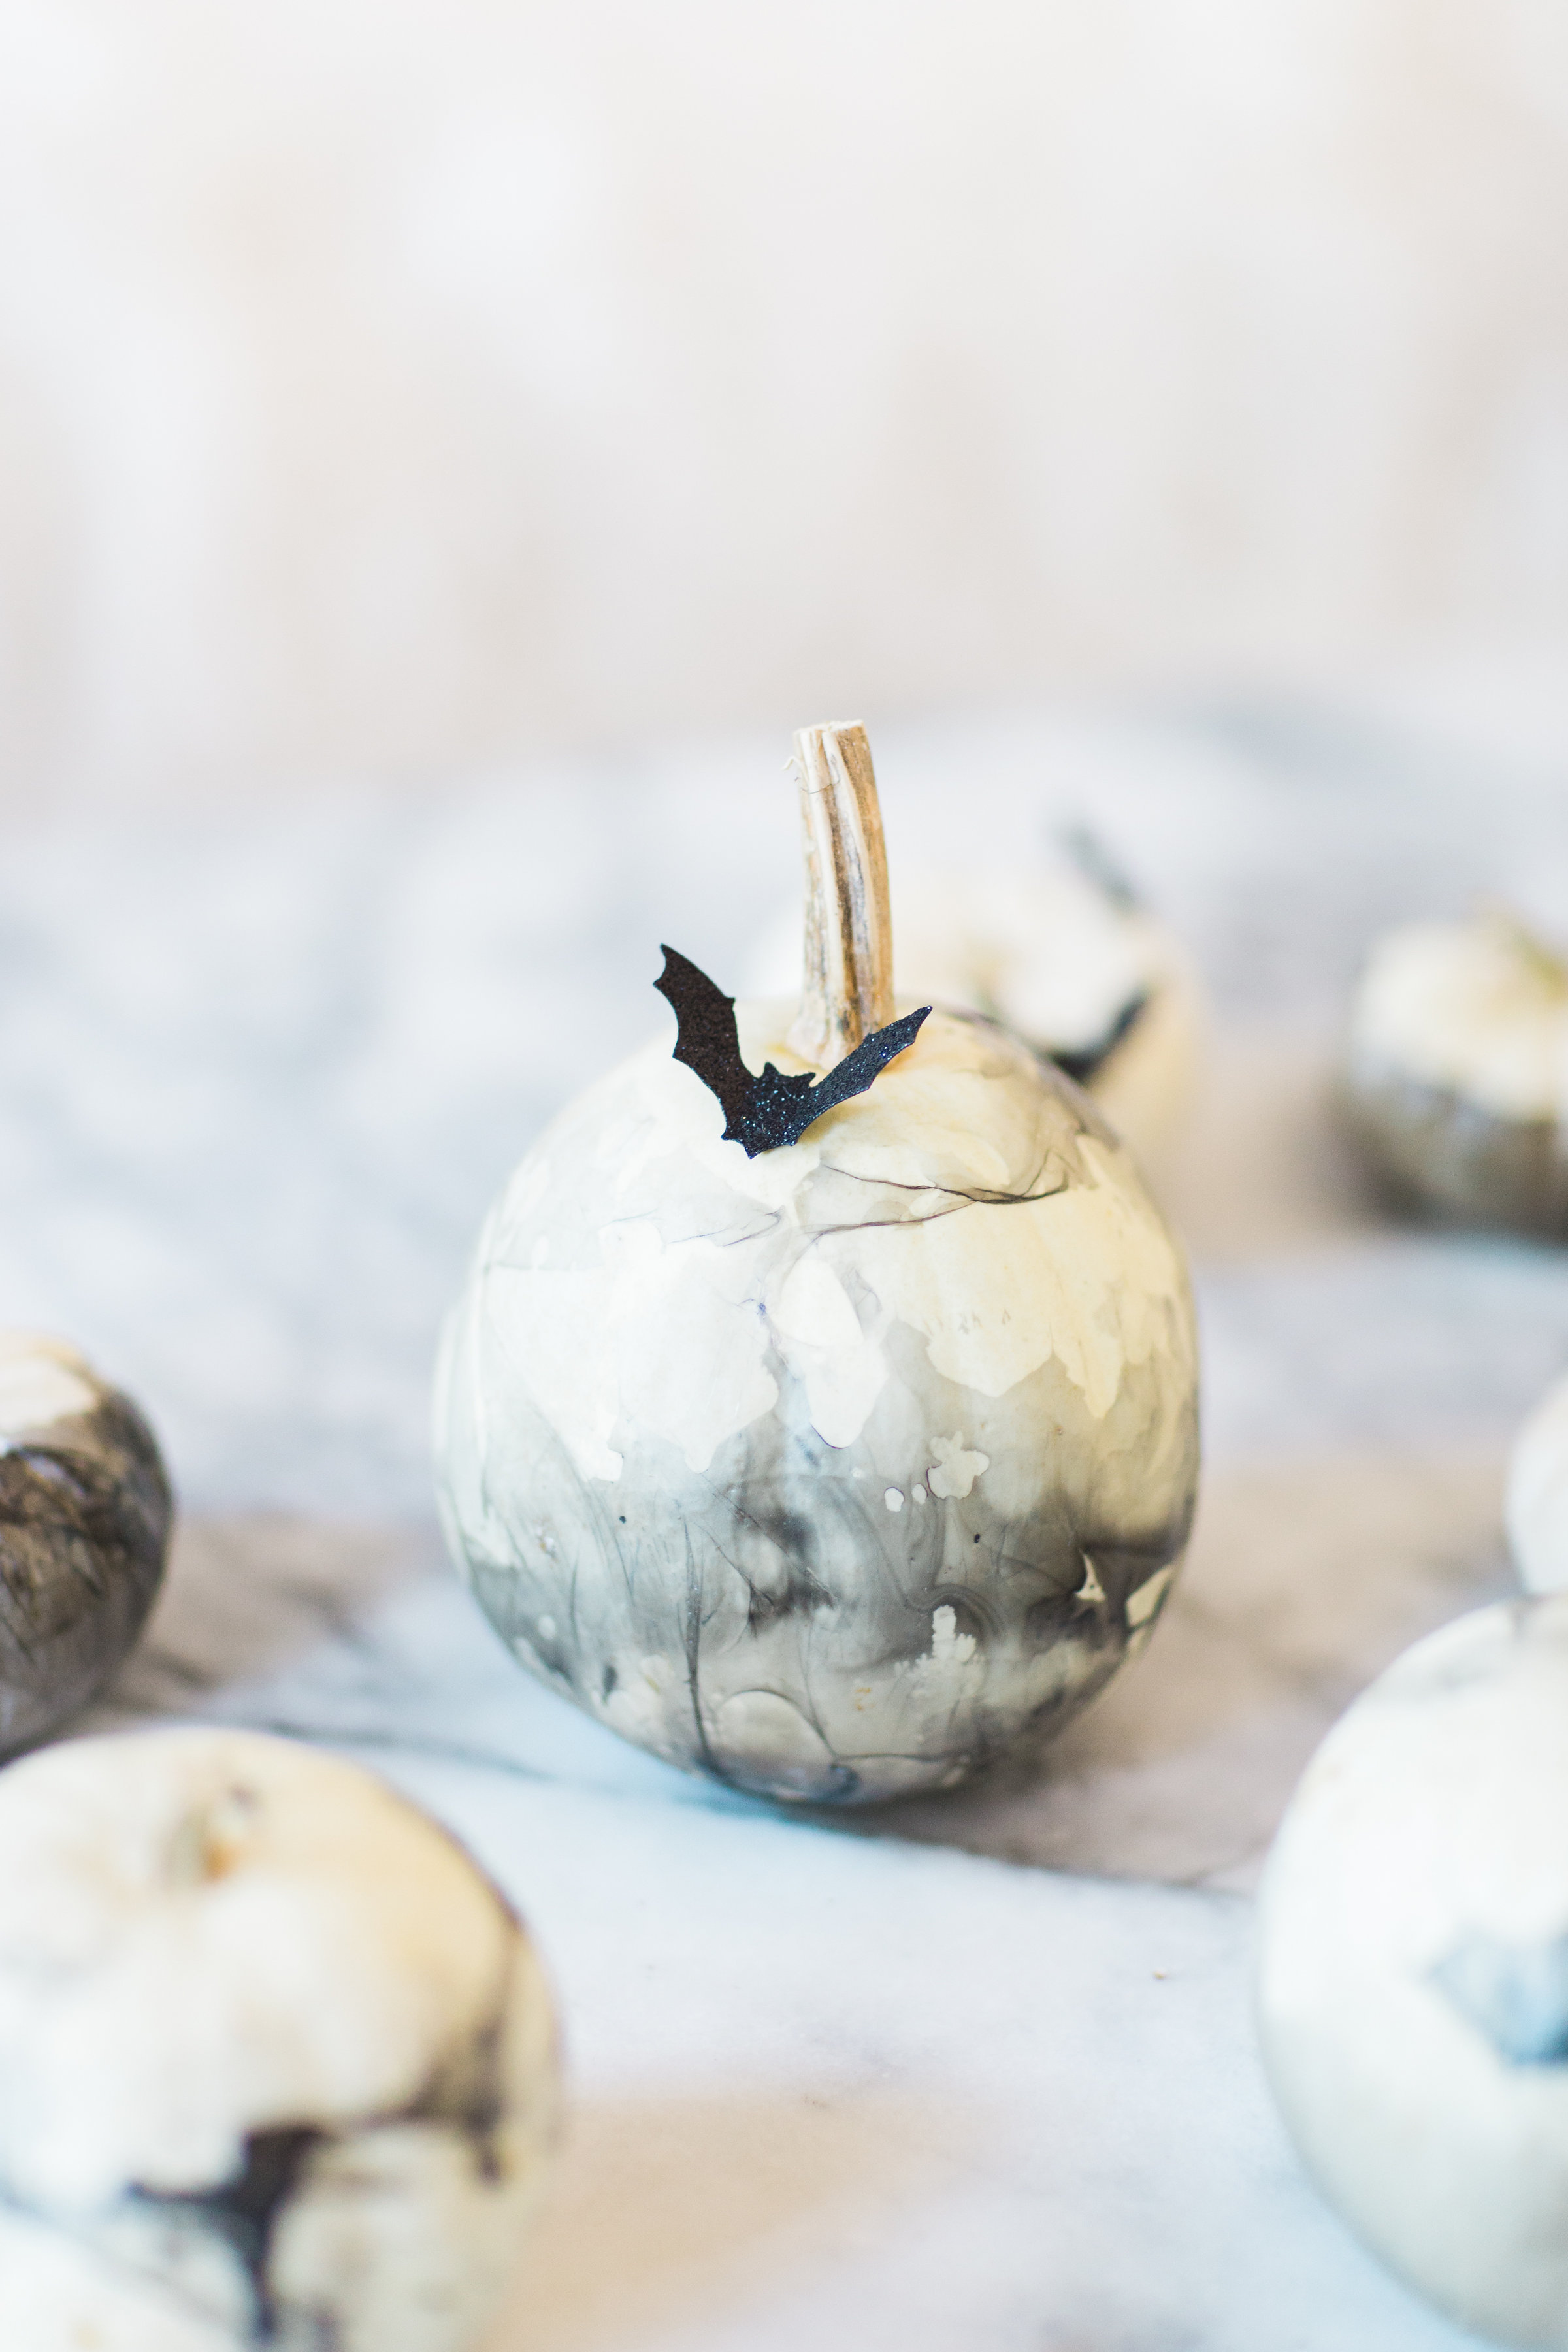
NOTE: Using white pumpkins – and starting with that neutral white backdrop – is a big part of what really helps the marbled look to pop. Of course you could use traditional orange pumpkins for this DIY, but the marbled effect may not stand out quite as much on a darker-colored pumpkin.
Using black nail polish also helps to up the spooky factor that’s just perfect for the month of October. I love that these pumpkins look marbled but also as though they’re covered in spooky black cobwebs … they feel so very Halloween.
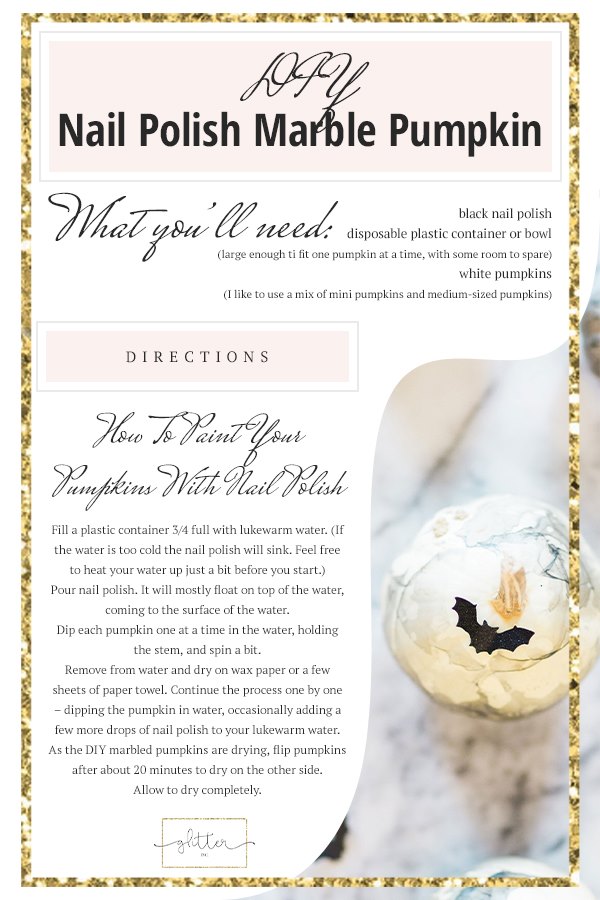
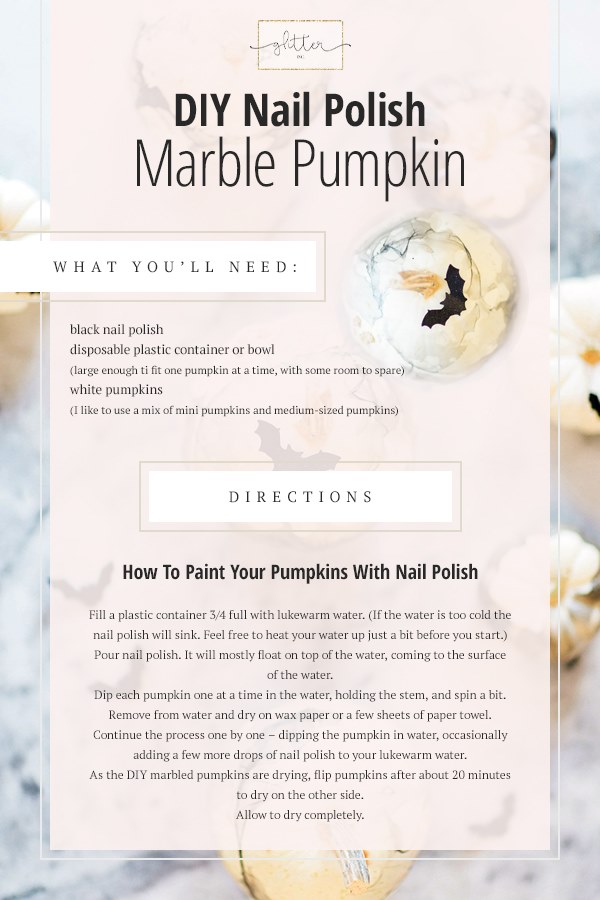
DIY Nail Polish Marble Pumpkin
WHAT YOU’LL NEED
black nail polish
disposable plastic container or bowl (large enough ti fit one pumpkin at a time, with some room to spare)
white pumpkins (I like to use a mix of mini pumpkins and medium-sized pumpkins)
DIRECTIONS
How To Paint Your Pumpkins With Nail Polish
- Fill a plastic container 3/4 full with lukewarm water. (If the water is too cold the nail polish will sink. Feel free to heat your water up just a bit before you start.)
- Pour nail polish. It will mostly float on top of the water, coming to the surface of the water.
- Dip each pumpkin one at a time in the water, holding the stem, and spin a bit.
- Remove from water and dry on wax paper or a few sheets of paper towel. Continue the process one by one – dipping the pumpkin in water, occasionally adding a few more drops of nail polish to your lukewarm water.
- As the DIY marbled pumpkins are drying, flip pumpkins after about 20 minutes to dry on the other side. Allow to dry completely.
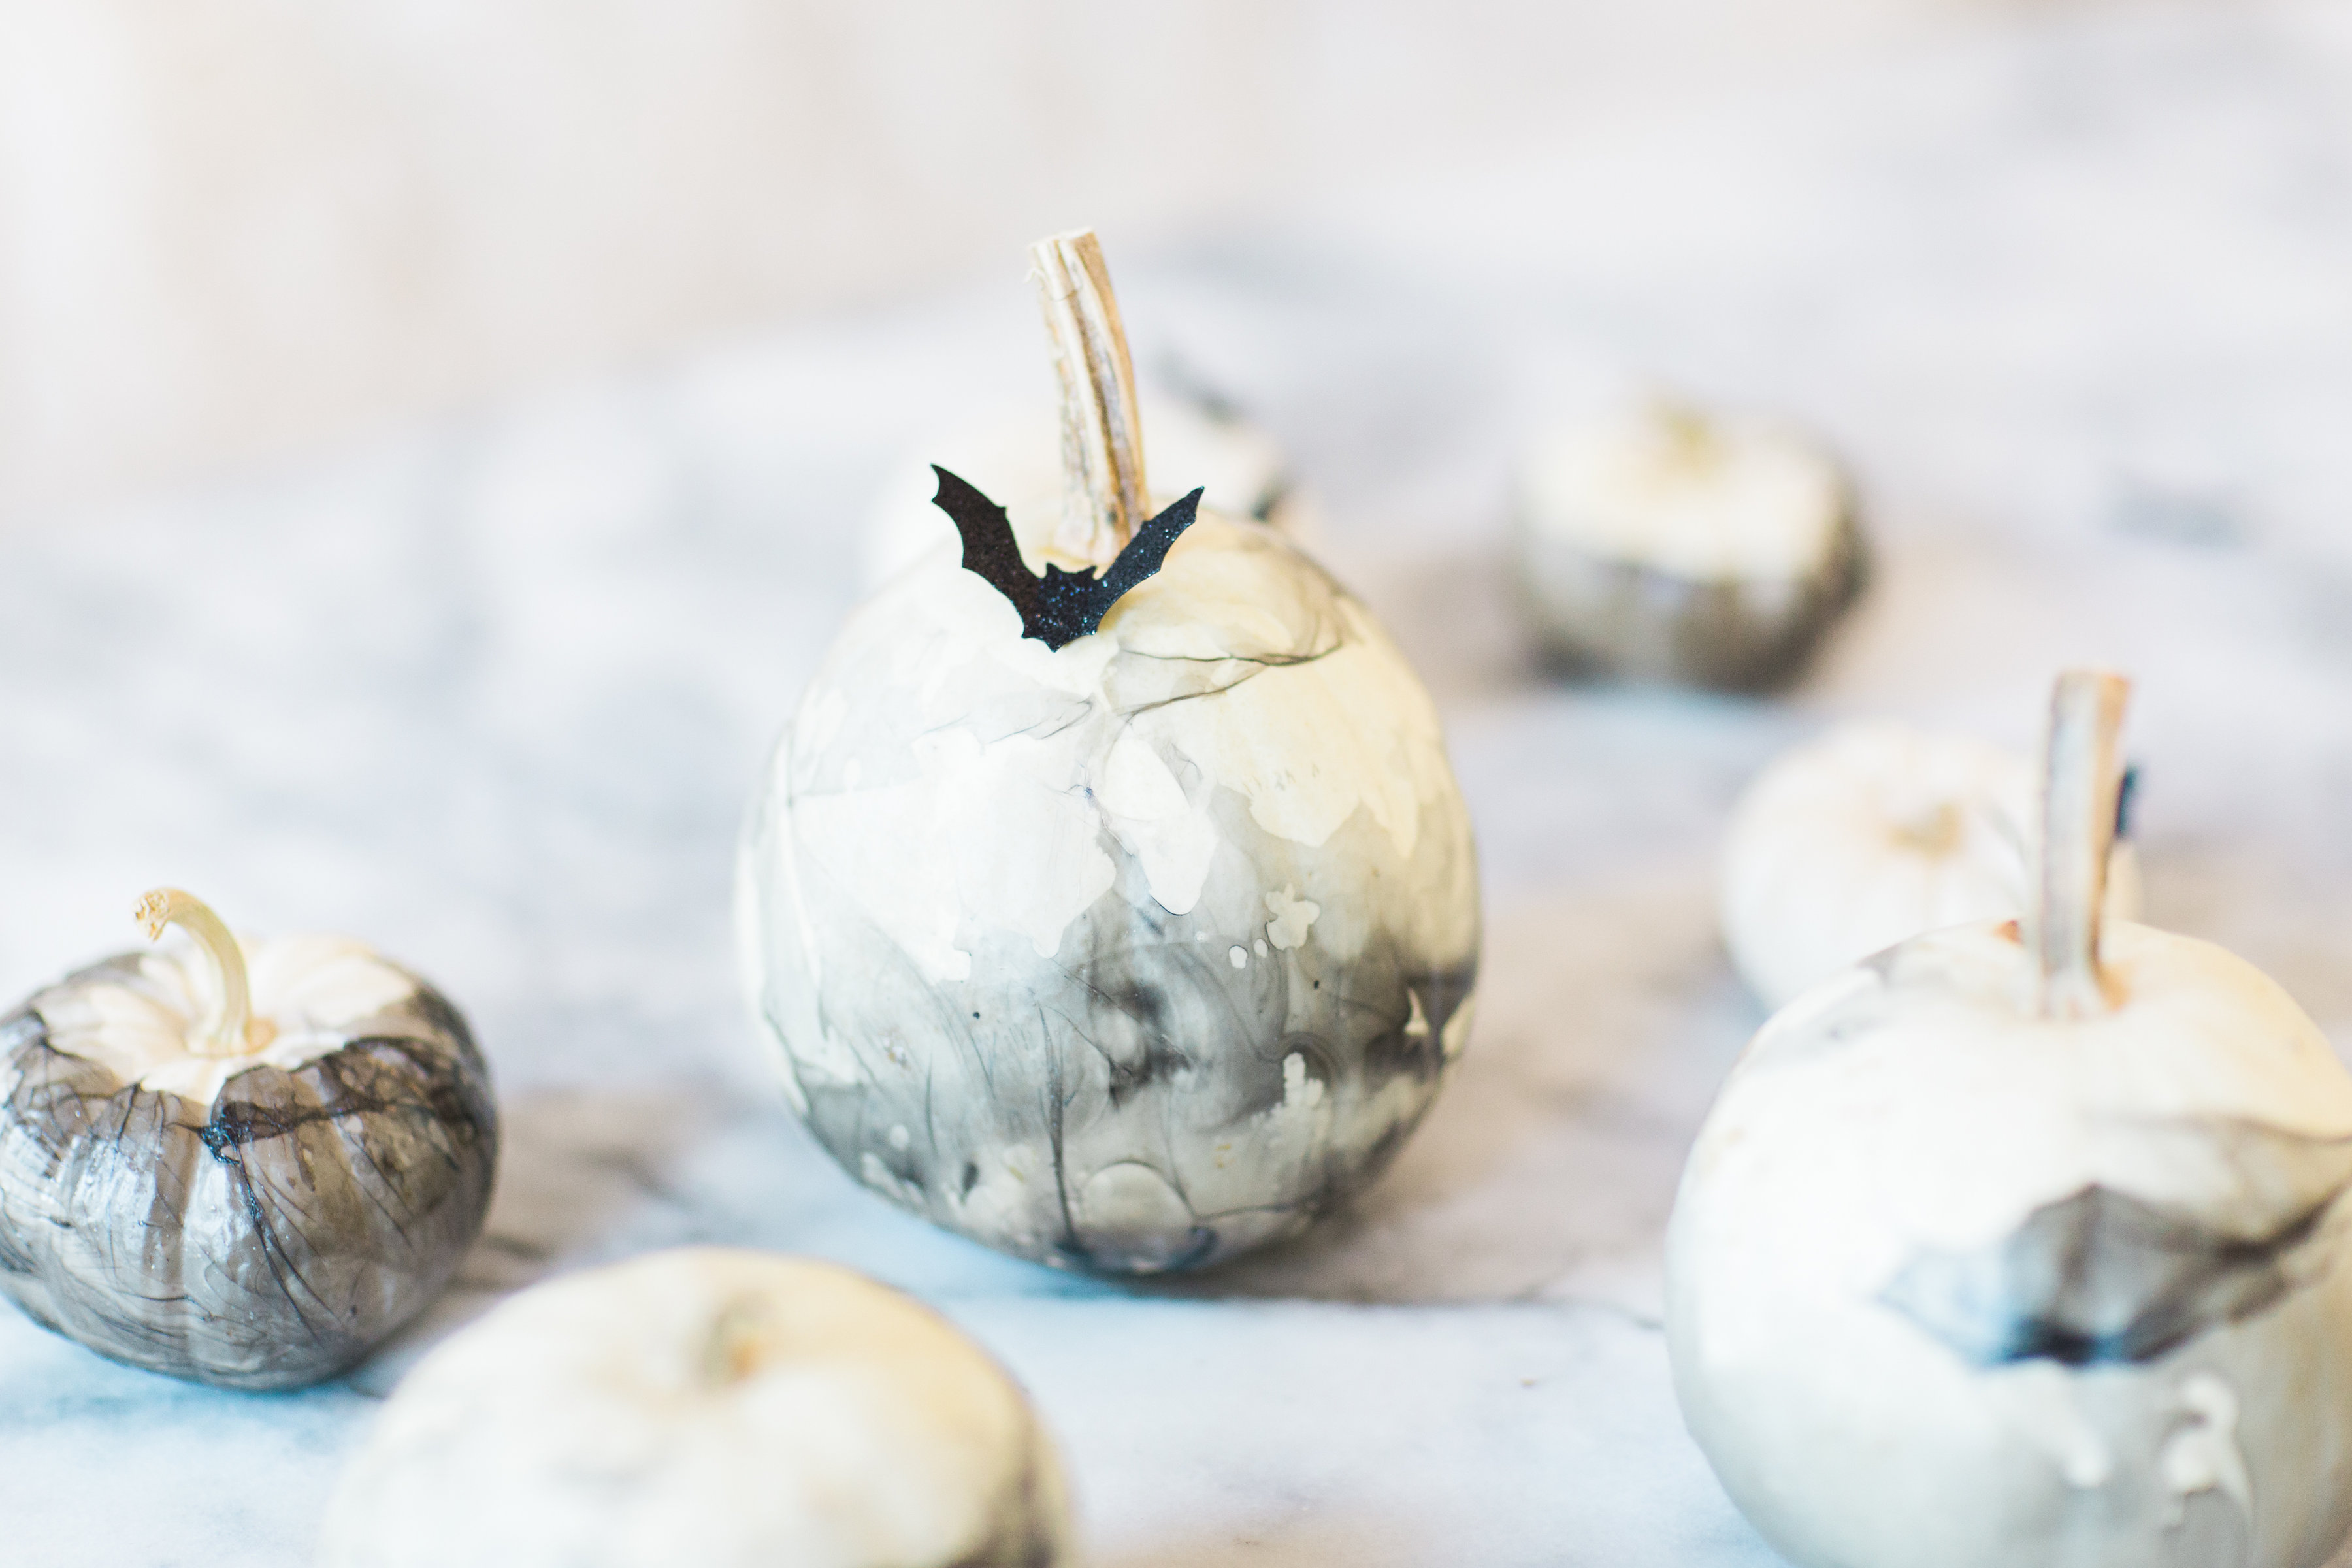
NOTE: The nail polish will begin to seize up by your third or fourth pumpkin. If you plan to make more, you may want to pour your water out and repeat the process every few pumpkins.
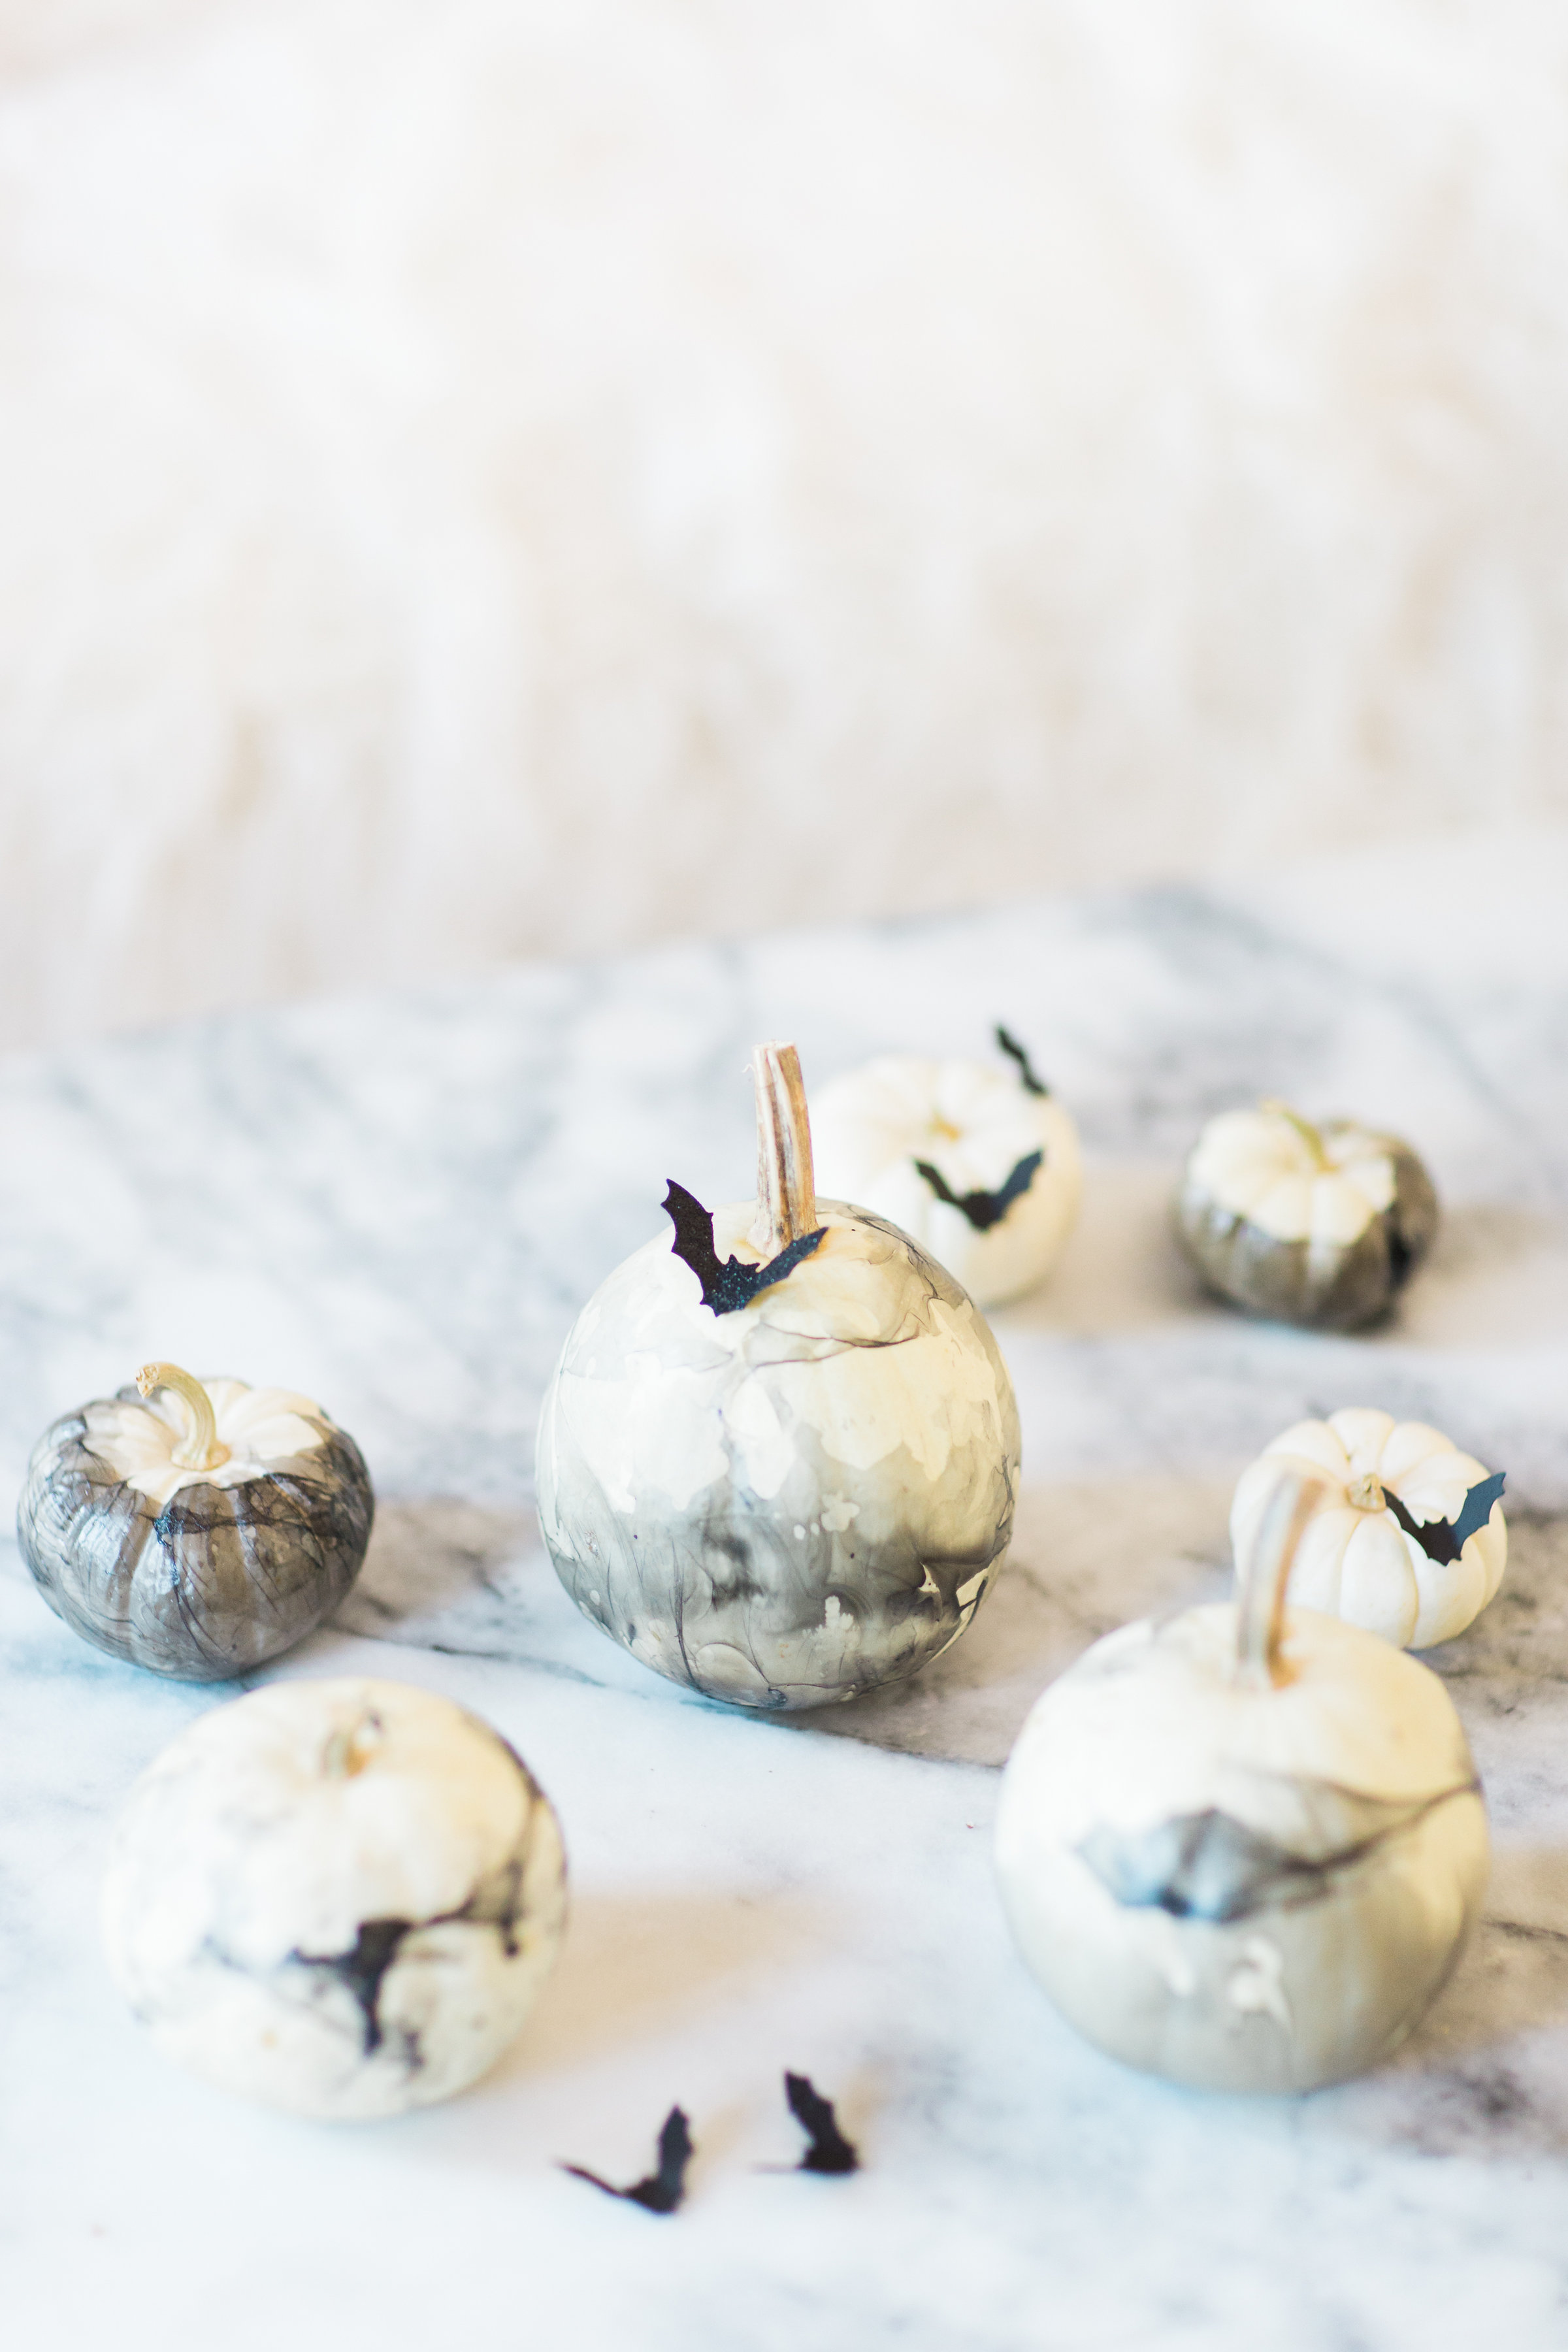
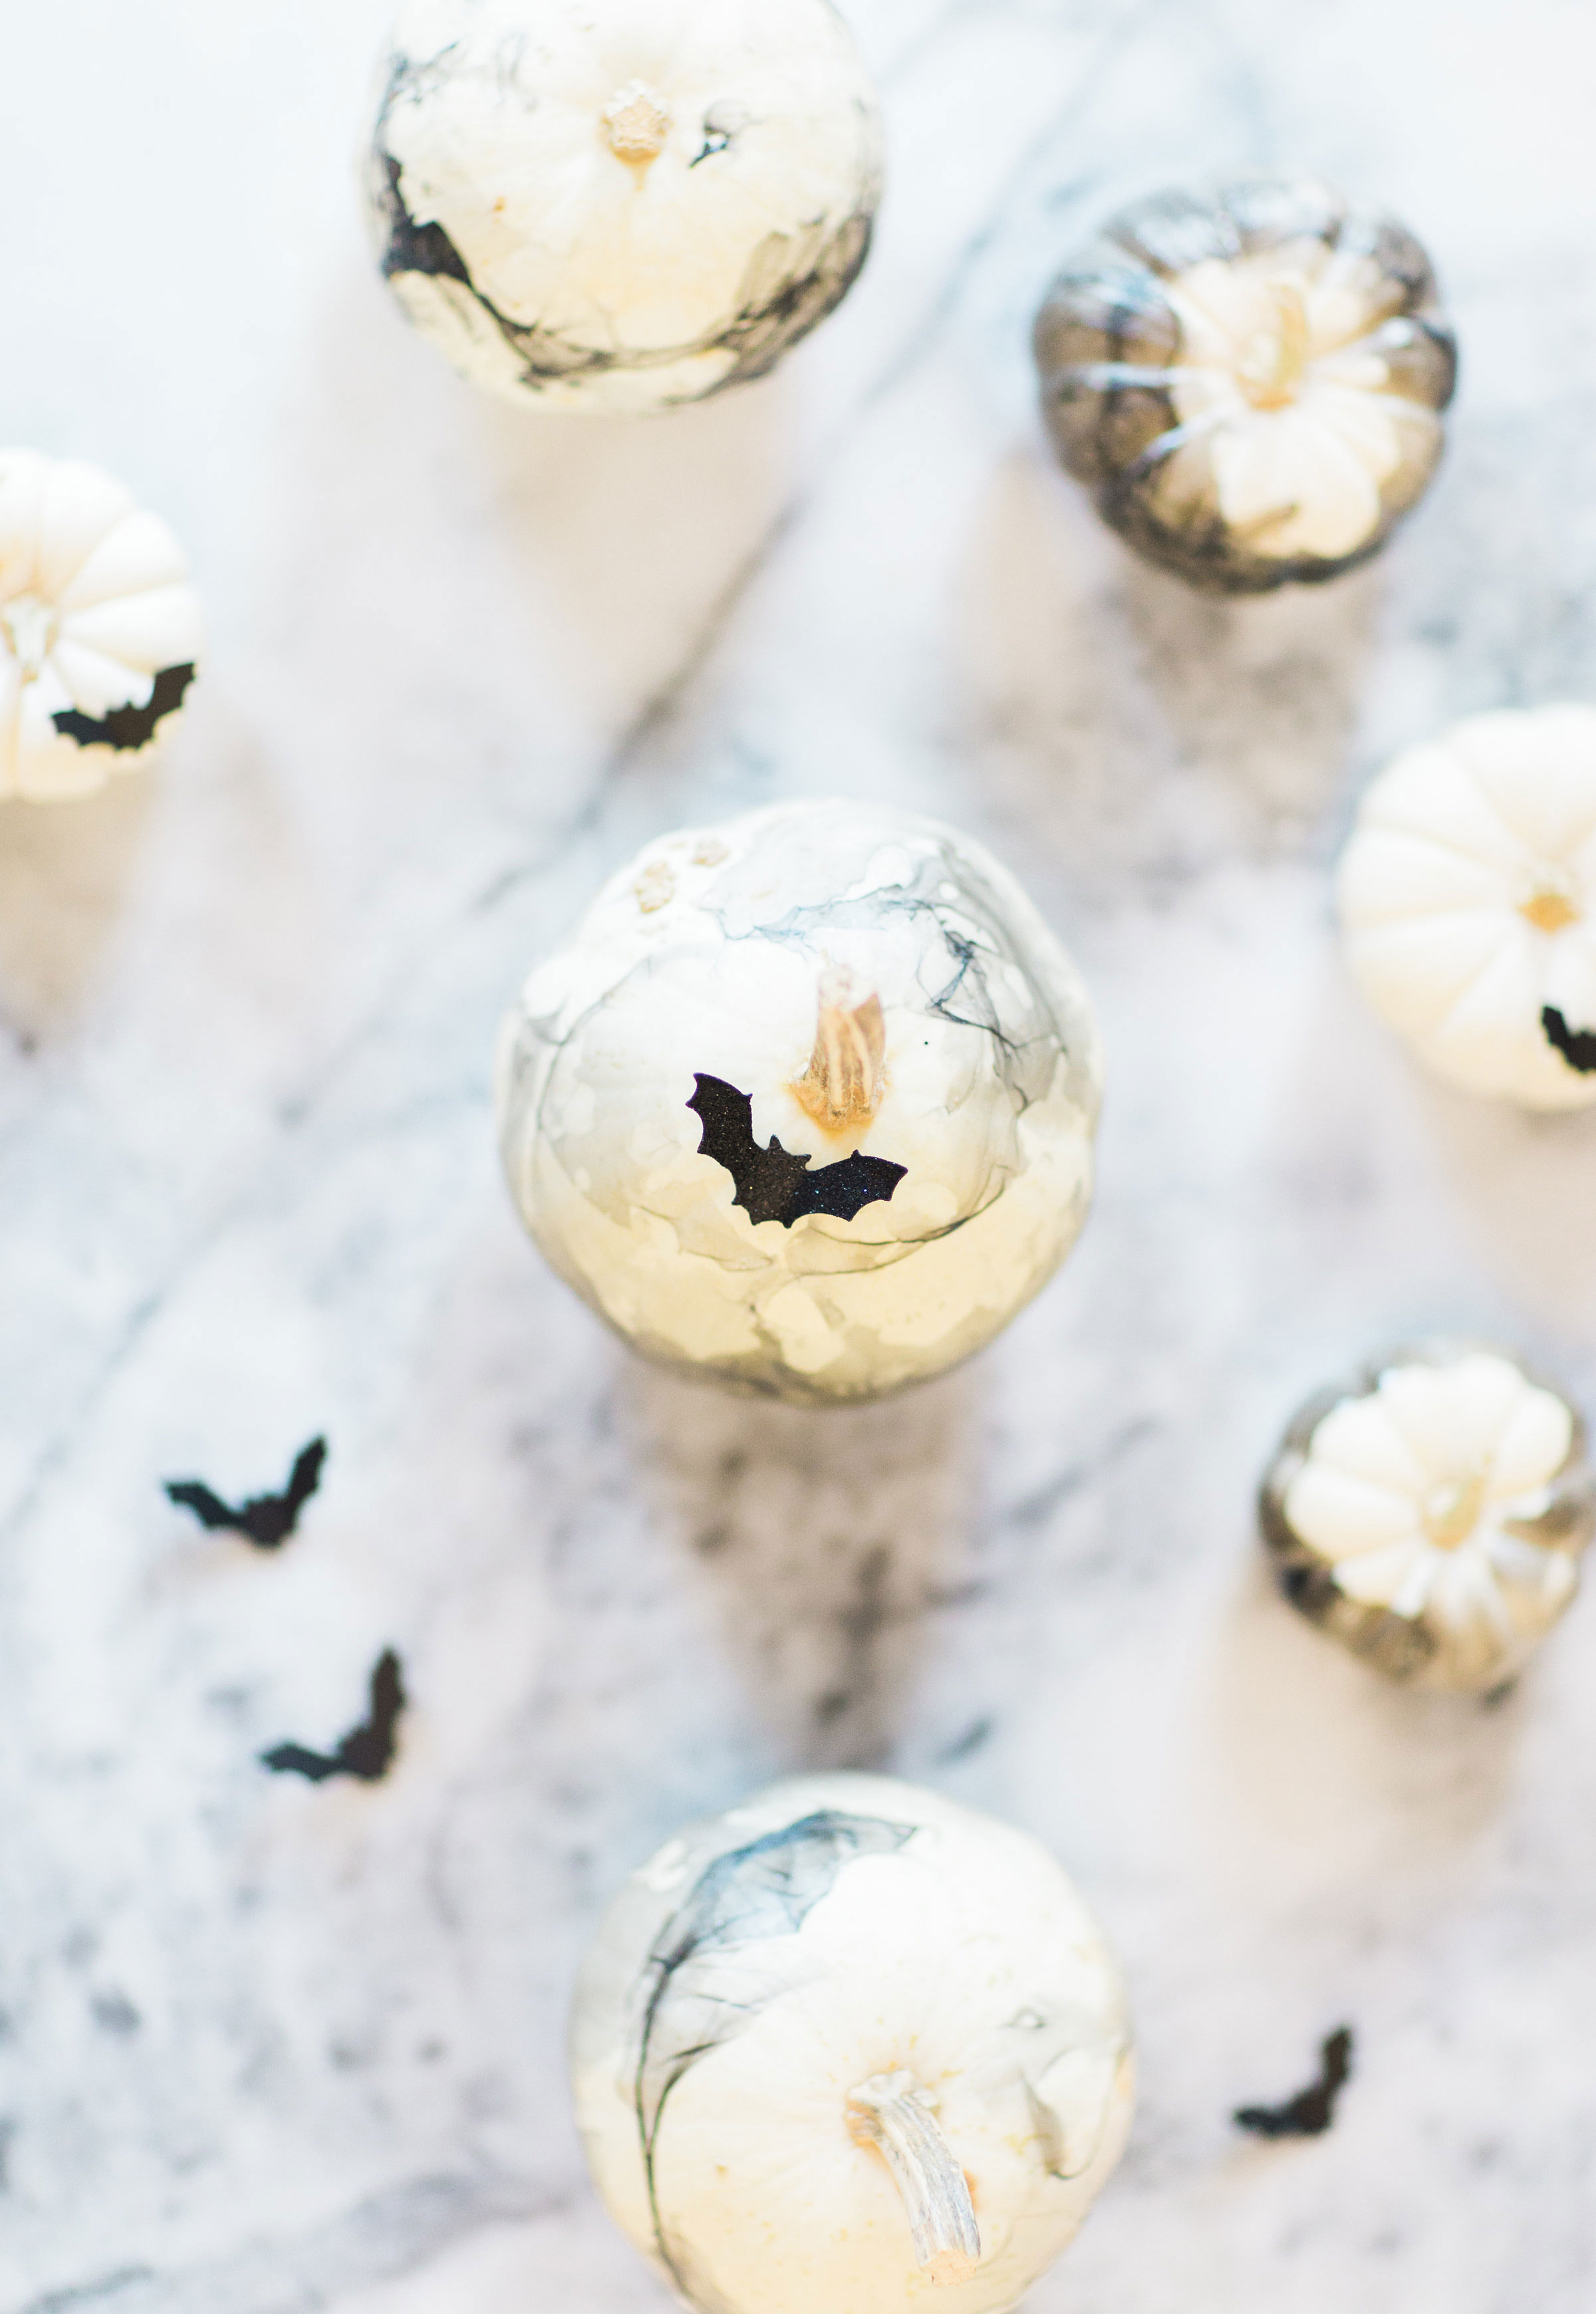
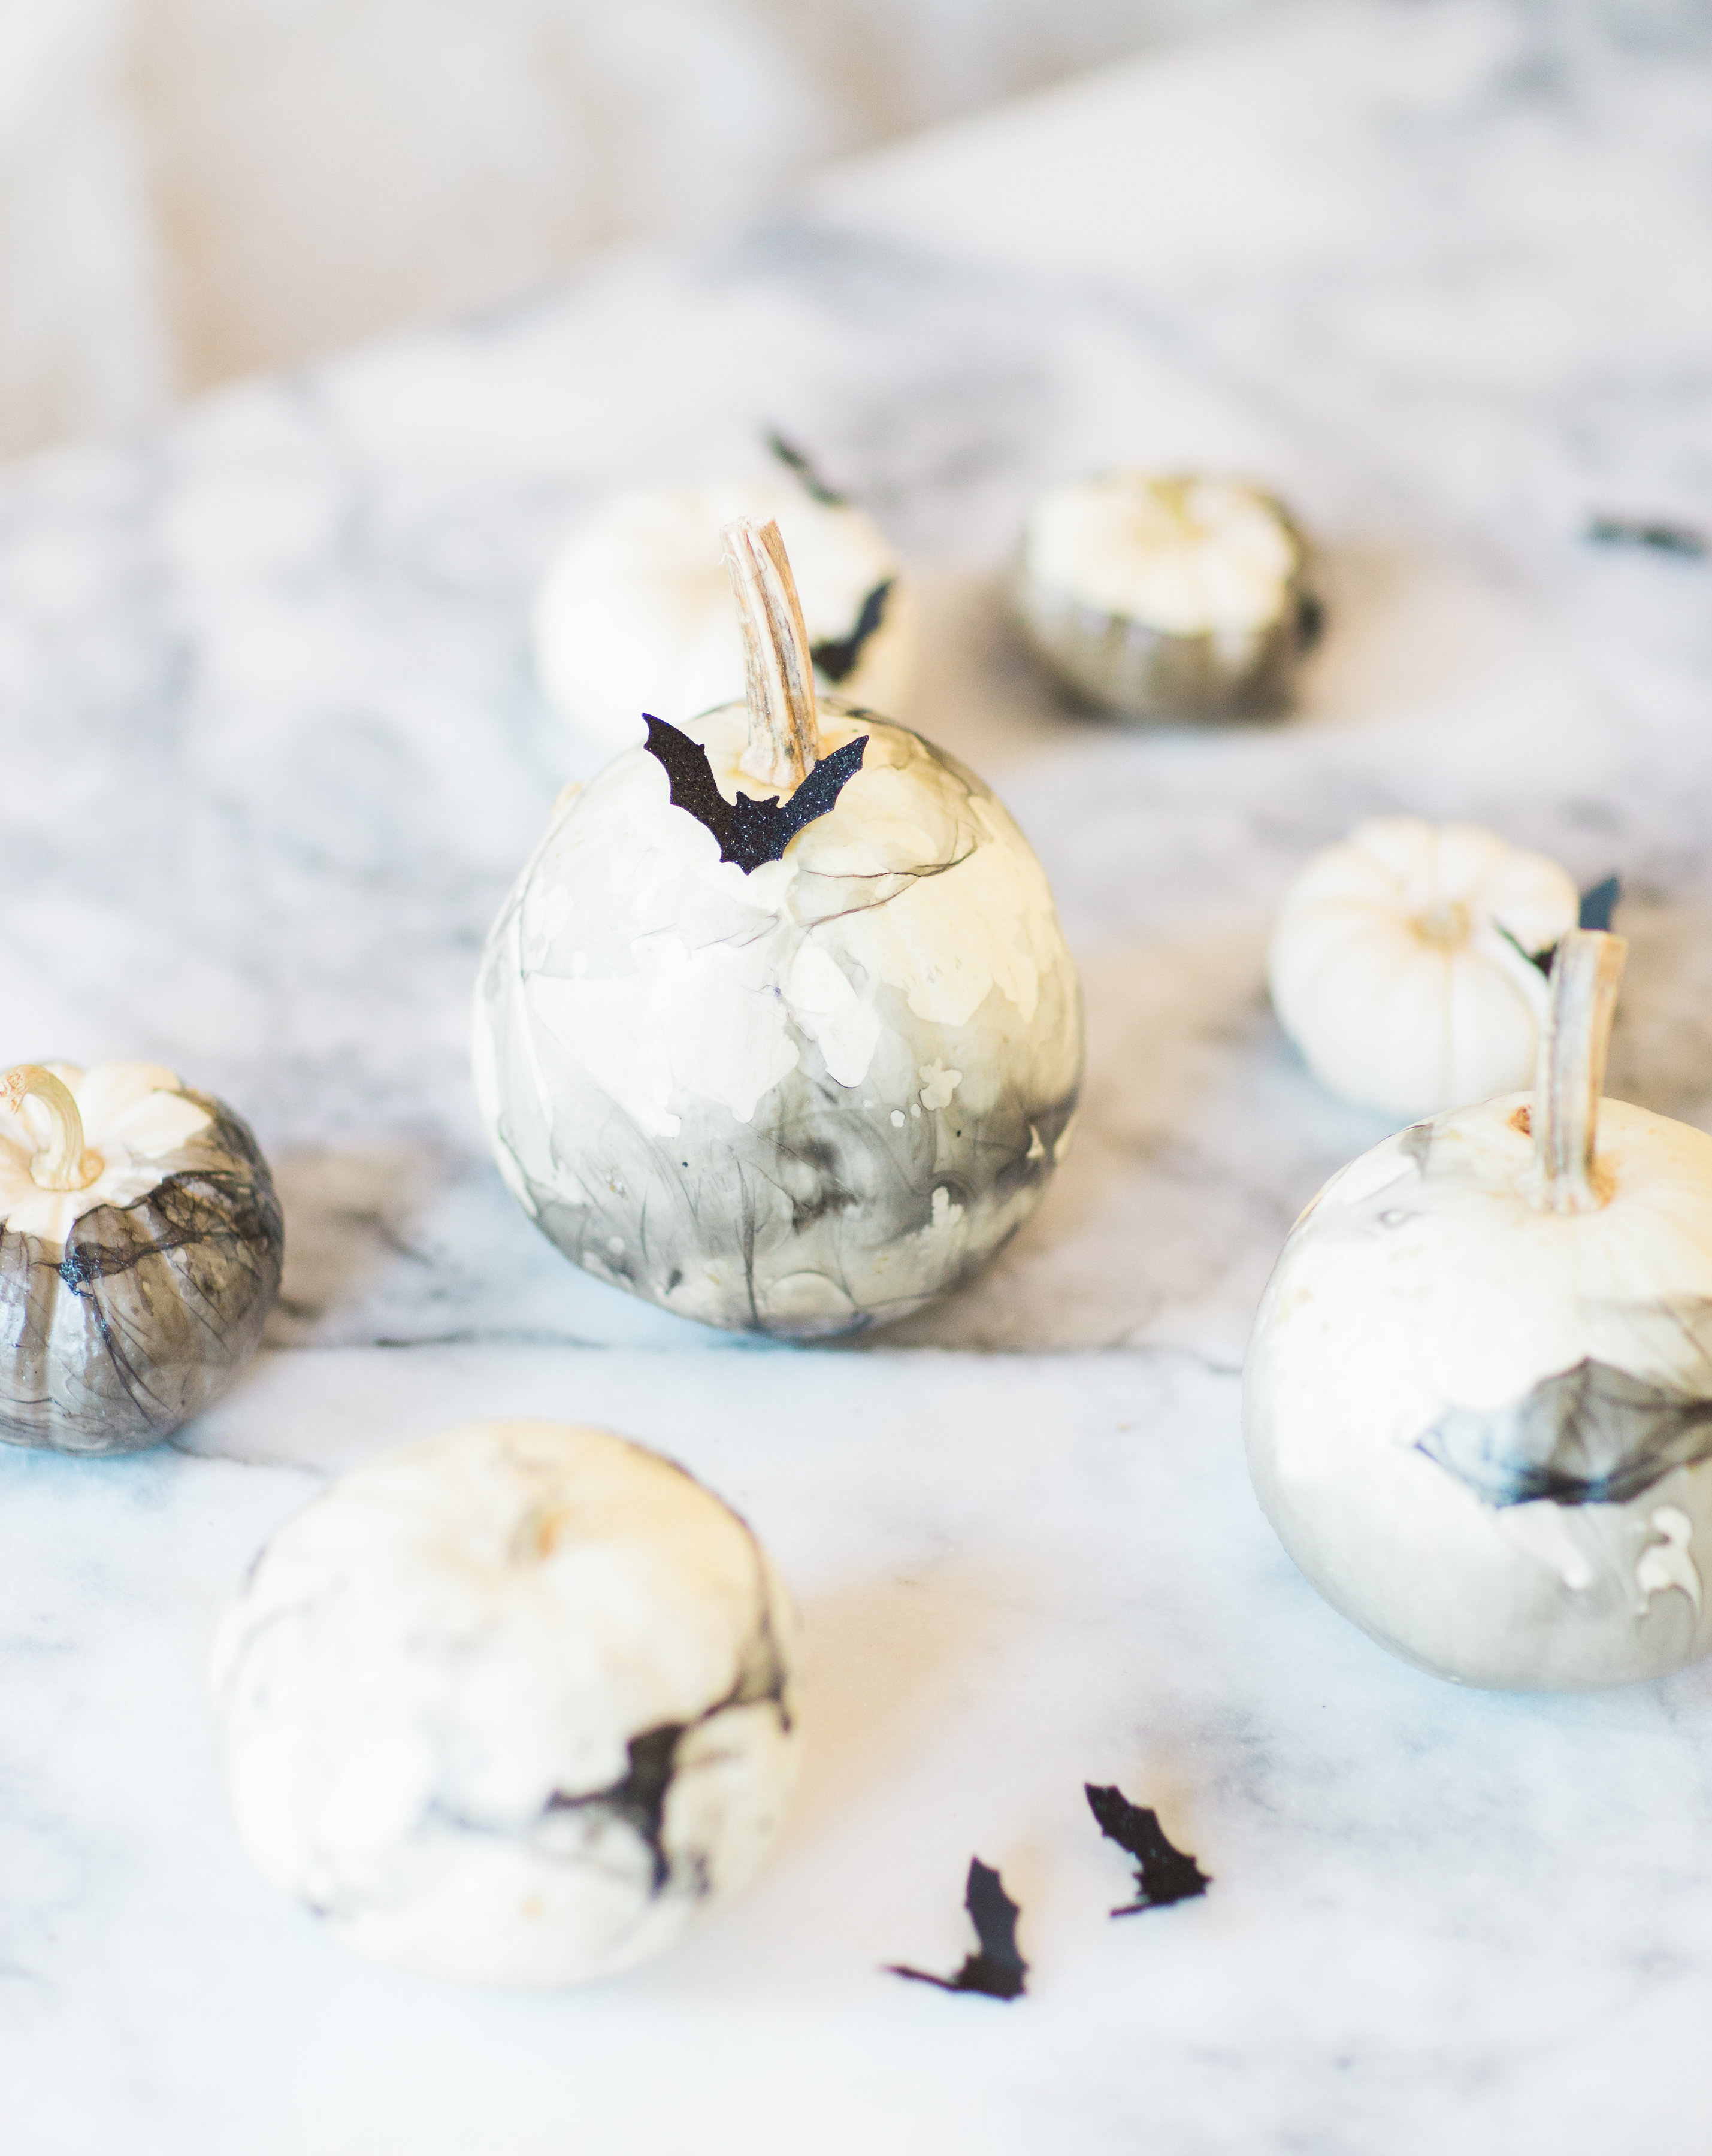
By the way, The adorable black bats (also available here) are actually paper stickers from Target. If you haven’t yet, check out Target‘s dollar section (just about everything in that section at the entrance of the store is $1 or $3 … and fabulous … seriously, I can’t shop Target without spending at least 15 minutes in the dollar spot); they always have adorable and affordable seasonal decorations, and right now, it’s ALL Halloween and fall décor.
Small plastic or paper black spiders would also look really great on these marbled pumpkins, especially because the marbling looks so much like cobwebs and spooky black spider webs.
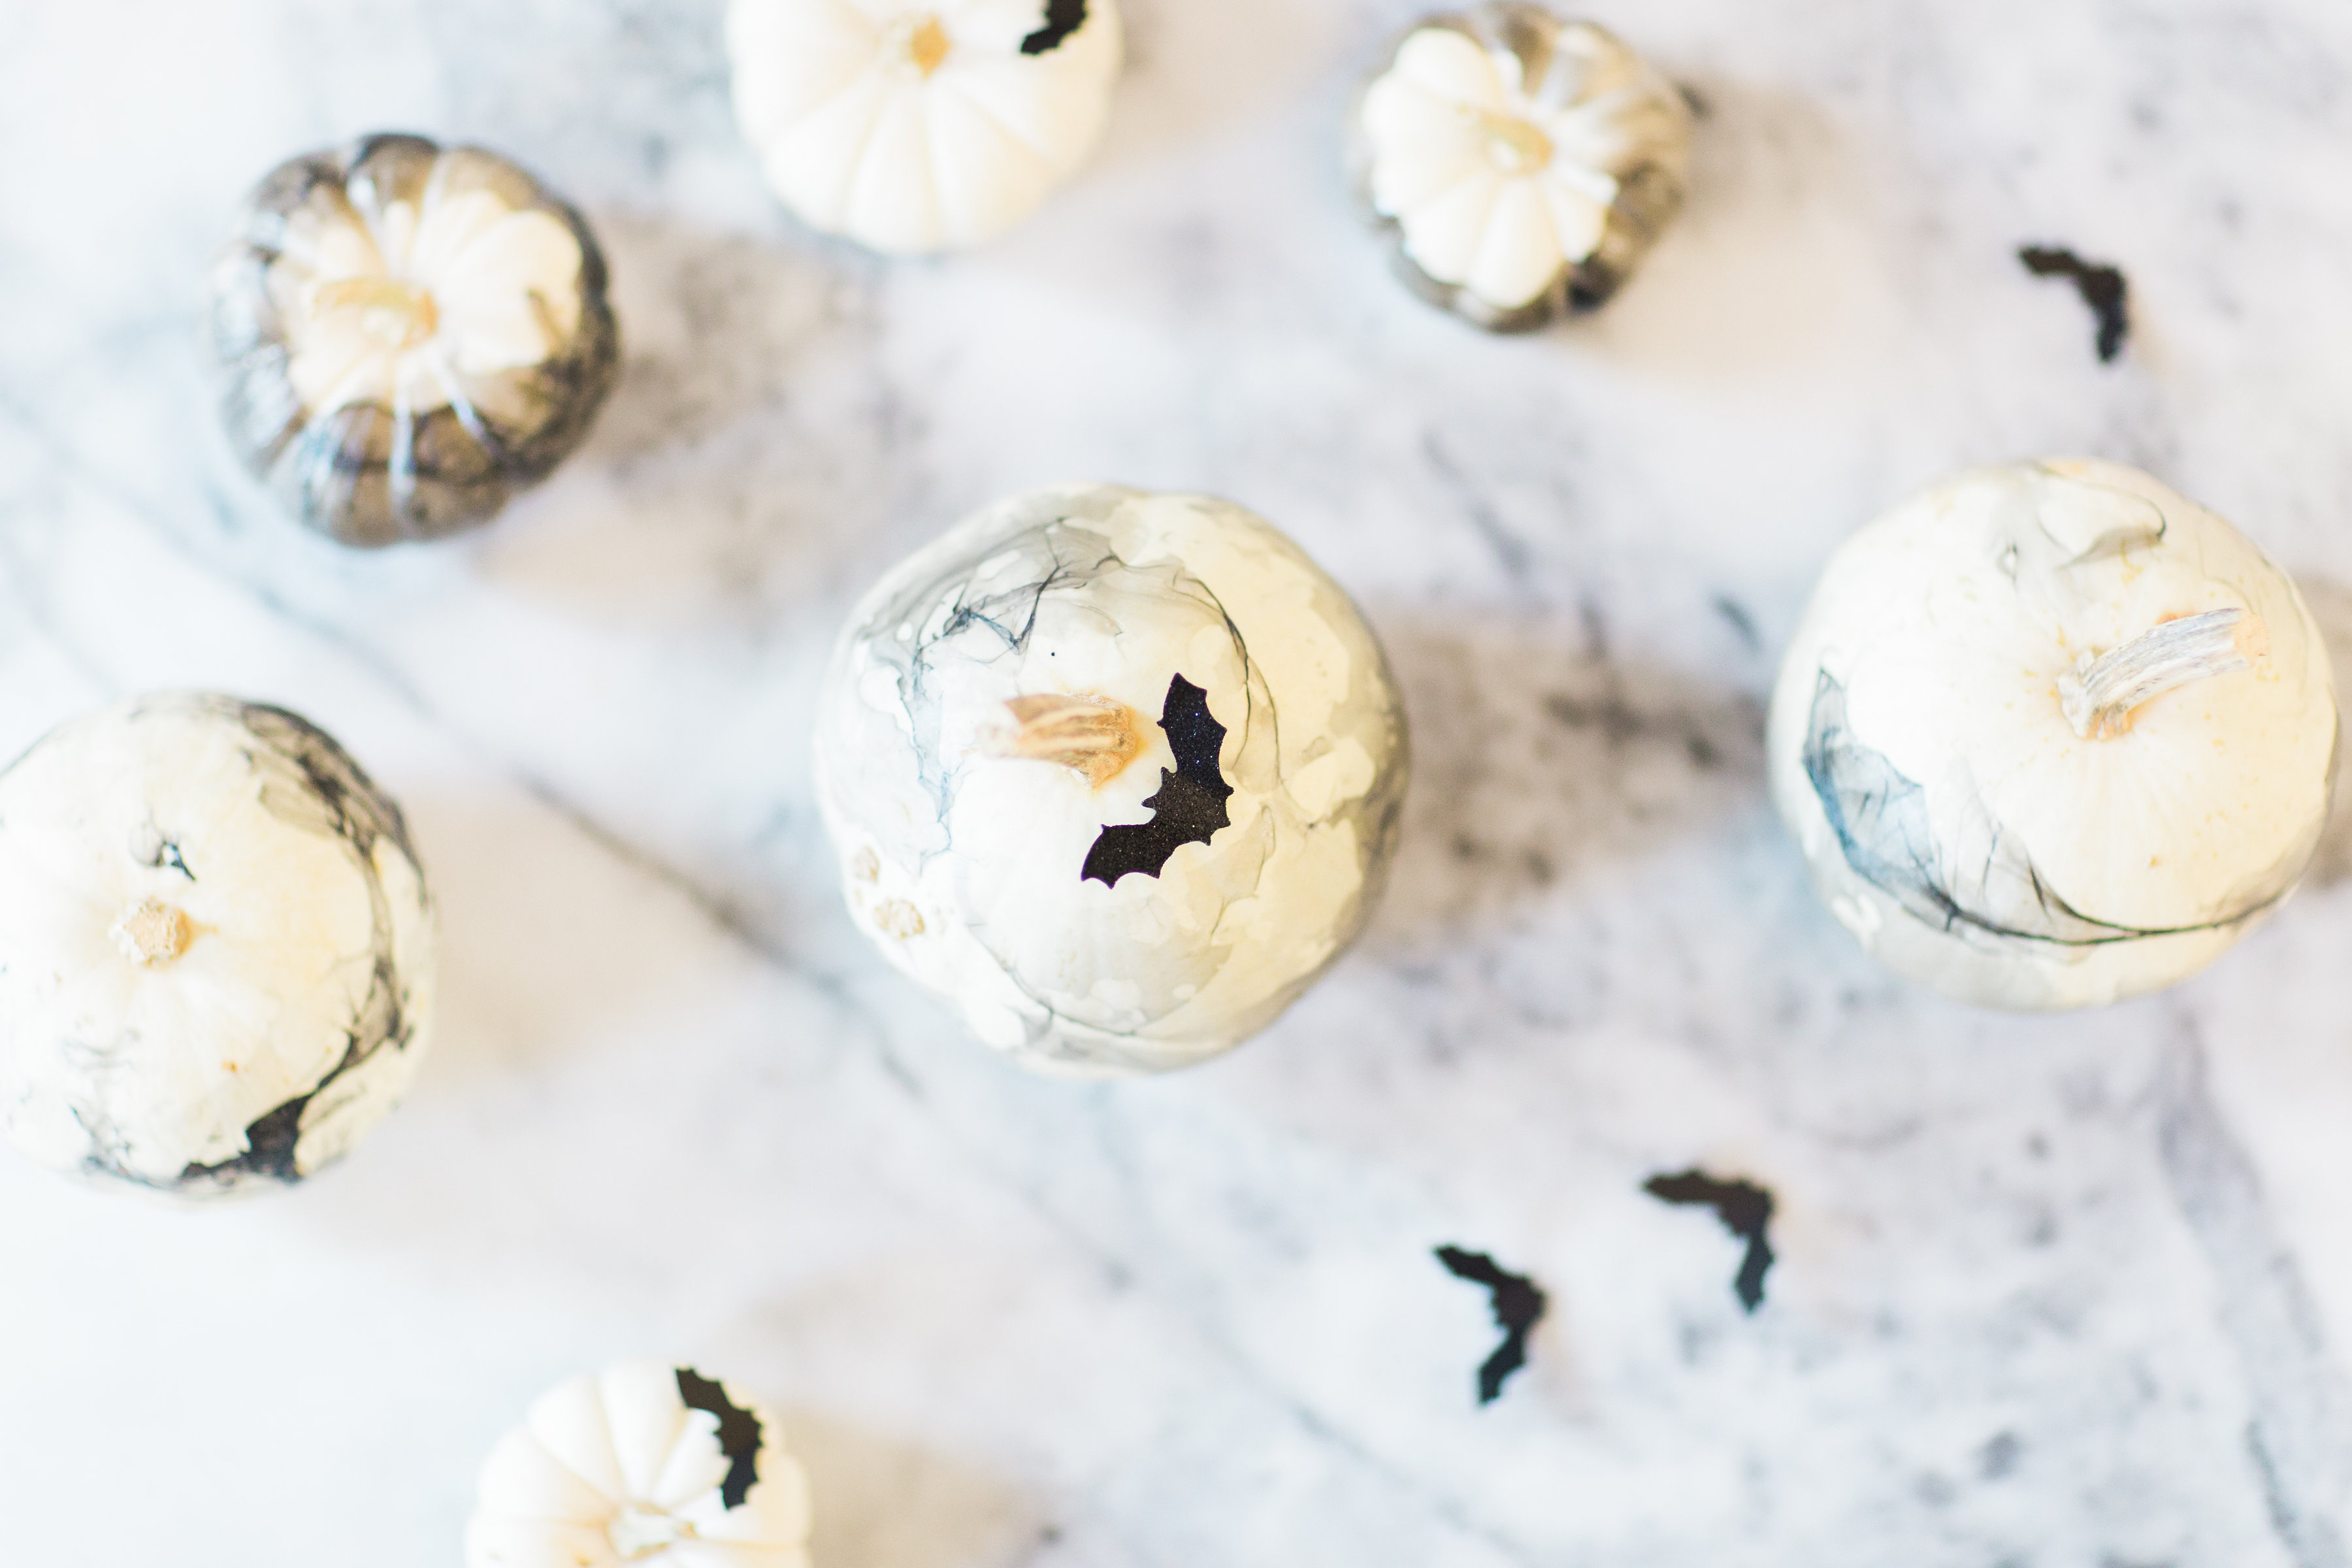
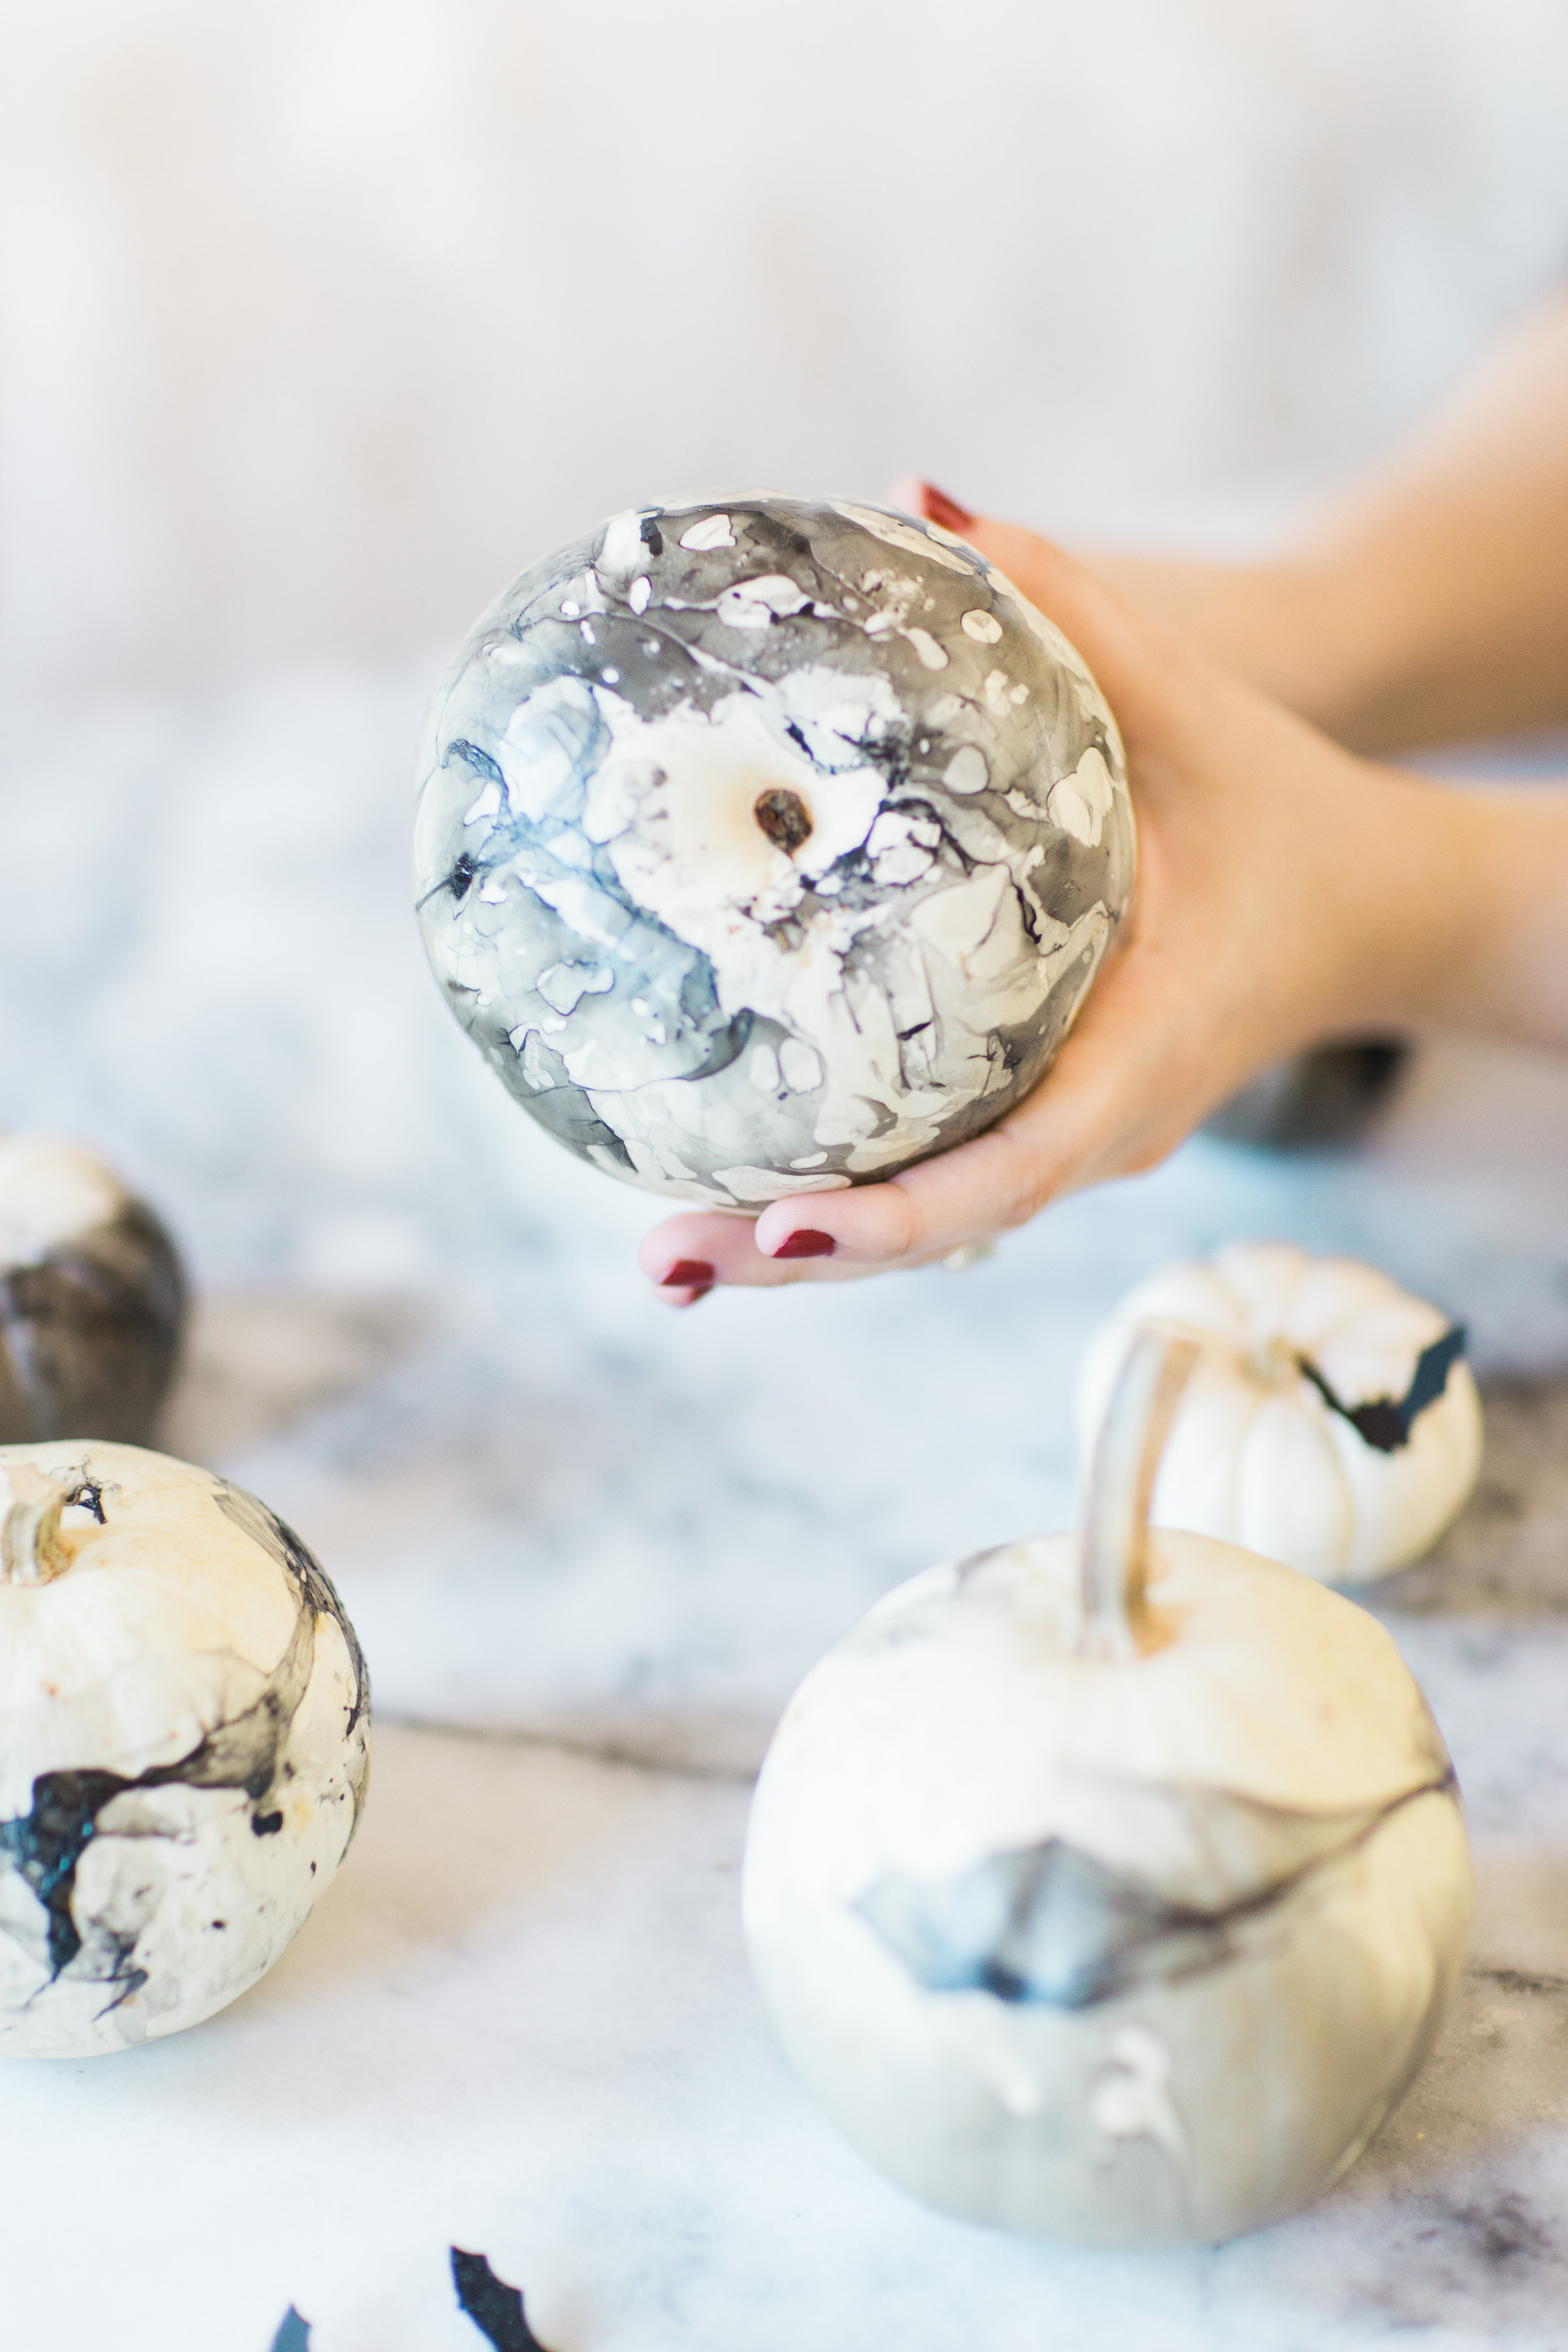
Even the bottom of these DIY marbled pumpkins are gorgeous. I mean, just look at that …
SHOP THE DIY MARBLED PUMPKINS POST | CLICK LEFT & RIGHT ARROWS TO EXPLORE
Love this DIY post? See what other crafts we’ve been making right here. And if you’re looking for a little more Halloween inspiration in particular, check out our dip-dye glitter pumpkins, super easy 3-ingredient glitter slime, and our Halloween front porch.
Let me know if you create your own DIY marble pumpkins! I’d love to see your creations. These have been so much fun to make and see year after year!
Photos by Annie Watts Photography for Glitter, Inc.
Big thanks to our friends at Stroller Envy for creating the above graphics!




 Older Post








Love this marbling idea, I would use brighter colors, kids will love this.
I have to try this!!
These are so cute! Now I want to start marbling all of the things too! 🙂
Oh my goodness! These are so pretty! It’s definitely a Pinterest worthy idea!
XO,
Anna
http://www.blushingrosestyle.com
OMG love this idea! Trying it this weekend!
lexi, these are SO cute!! I actually saw the target ones and have been wondering how to make a replica! how fun! i’d love to make these!! thanks for sharing!
Yay! So glad you like them. <3
This is seriously so nice!! You just inspired me to get a little crafty this season!! Love this idea so much! Very pretty!!
This is such a cool idea! I love the way they turned out!!
Fizz and Frosting
Beautiful and simple. I love how they turned out, I’ve never heard of anything like this.
These marbled pumpkins are the cutest! Love that I can make them…just so fun and festive for fall!
Lovely marble pumpkin!! How unique. I love the idea. XOXO, Carolyna
This looks like it’d be a challenge! But, the result is gorgeous. Cool inspo!
It’s actually much easier than it looks! The warm water and polish do most of the work. 😉
These are so cute! 🙂
So cool! My daughter would go crazy for this-I’ll have to try it for sure! Thanks!
Can’t believe how fabulous these are, and how easy to make! LOVE them – thanks for the inspiration!! I didn’t seem them at Target — too slow 🙂
How cool! I want to start marbling everything now!
Xo, Nina
Law of Fashion Blog
Love decorating pumpkins!! These are SO cute!
xO – Steph
http://www.urbanblonde.com
Haha I loved Lisa Frank!! These came out so cute!
Rachel | The Confused Millennial
This is BEYOND perfect for all us marble-obsessed gals!
So cute and creative! I would love to make this for my mantle!
Meghan | BeyondBasicBlog.com
Those are so cute! I would have never thought of that!
What a cute DIY ! I’m marble obsessed and this will not only look for fall but I will keep this pumpkin as a paper holder on my desk .
Thanks for sharing , looking for to your next post .
Hira
https://www.hirascabin.com/
Very cool idea! I have tons of nail polish going unused, so now I need to find stuff to marbleize, lol.
Thank you for this tutorial! SO amazing
These are SO cool looking!! We still have to get our pumpkins… we’re so behind this year. I love this idea!
omg okay this is a genius idea! Totally going to try it!
xoxo.
L
livingincolorblog.com
These came out so perfect! I love marbeling things, need to try this!
Oh my goodness I LOVE these! I am always so busy this time of year with my photography business that I never decorate for Halloween, maybe next year!
Omg these are amazing!!! I want to try! Thanks for sharing. 🙂
Those pumpkins are seriously AWESOME!!! Great job!