Ohhhh, today’s post is a good one! I like flowers, guys. A lot.
You may remember that I teamed up with a fabulous florist, Marsha of MEWS Designs, and my amazing photographer, Annie of Annie Watts Photography, to create a couple of fun DIY flower projects to share with you all! (You might recall this easy peasy tutorial for creating your own Spring arrangement?) Well, we have a pretty awesome DIY post to share with today: how to make a real flower crown.
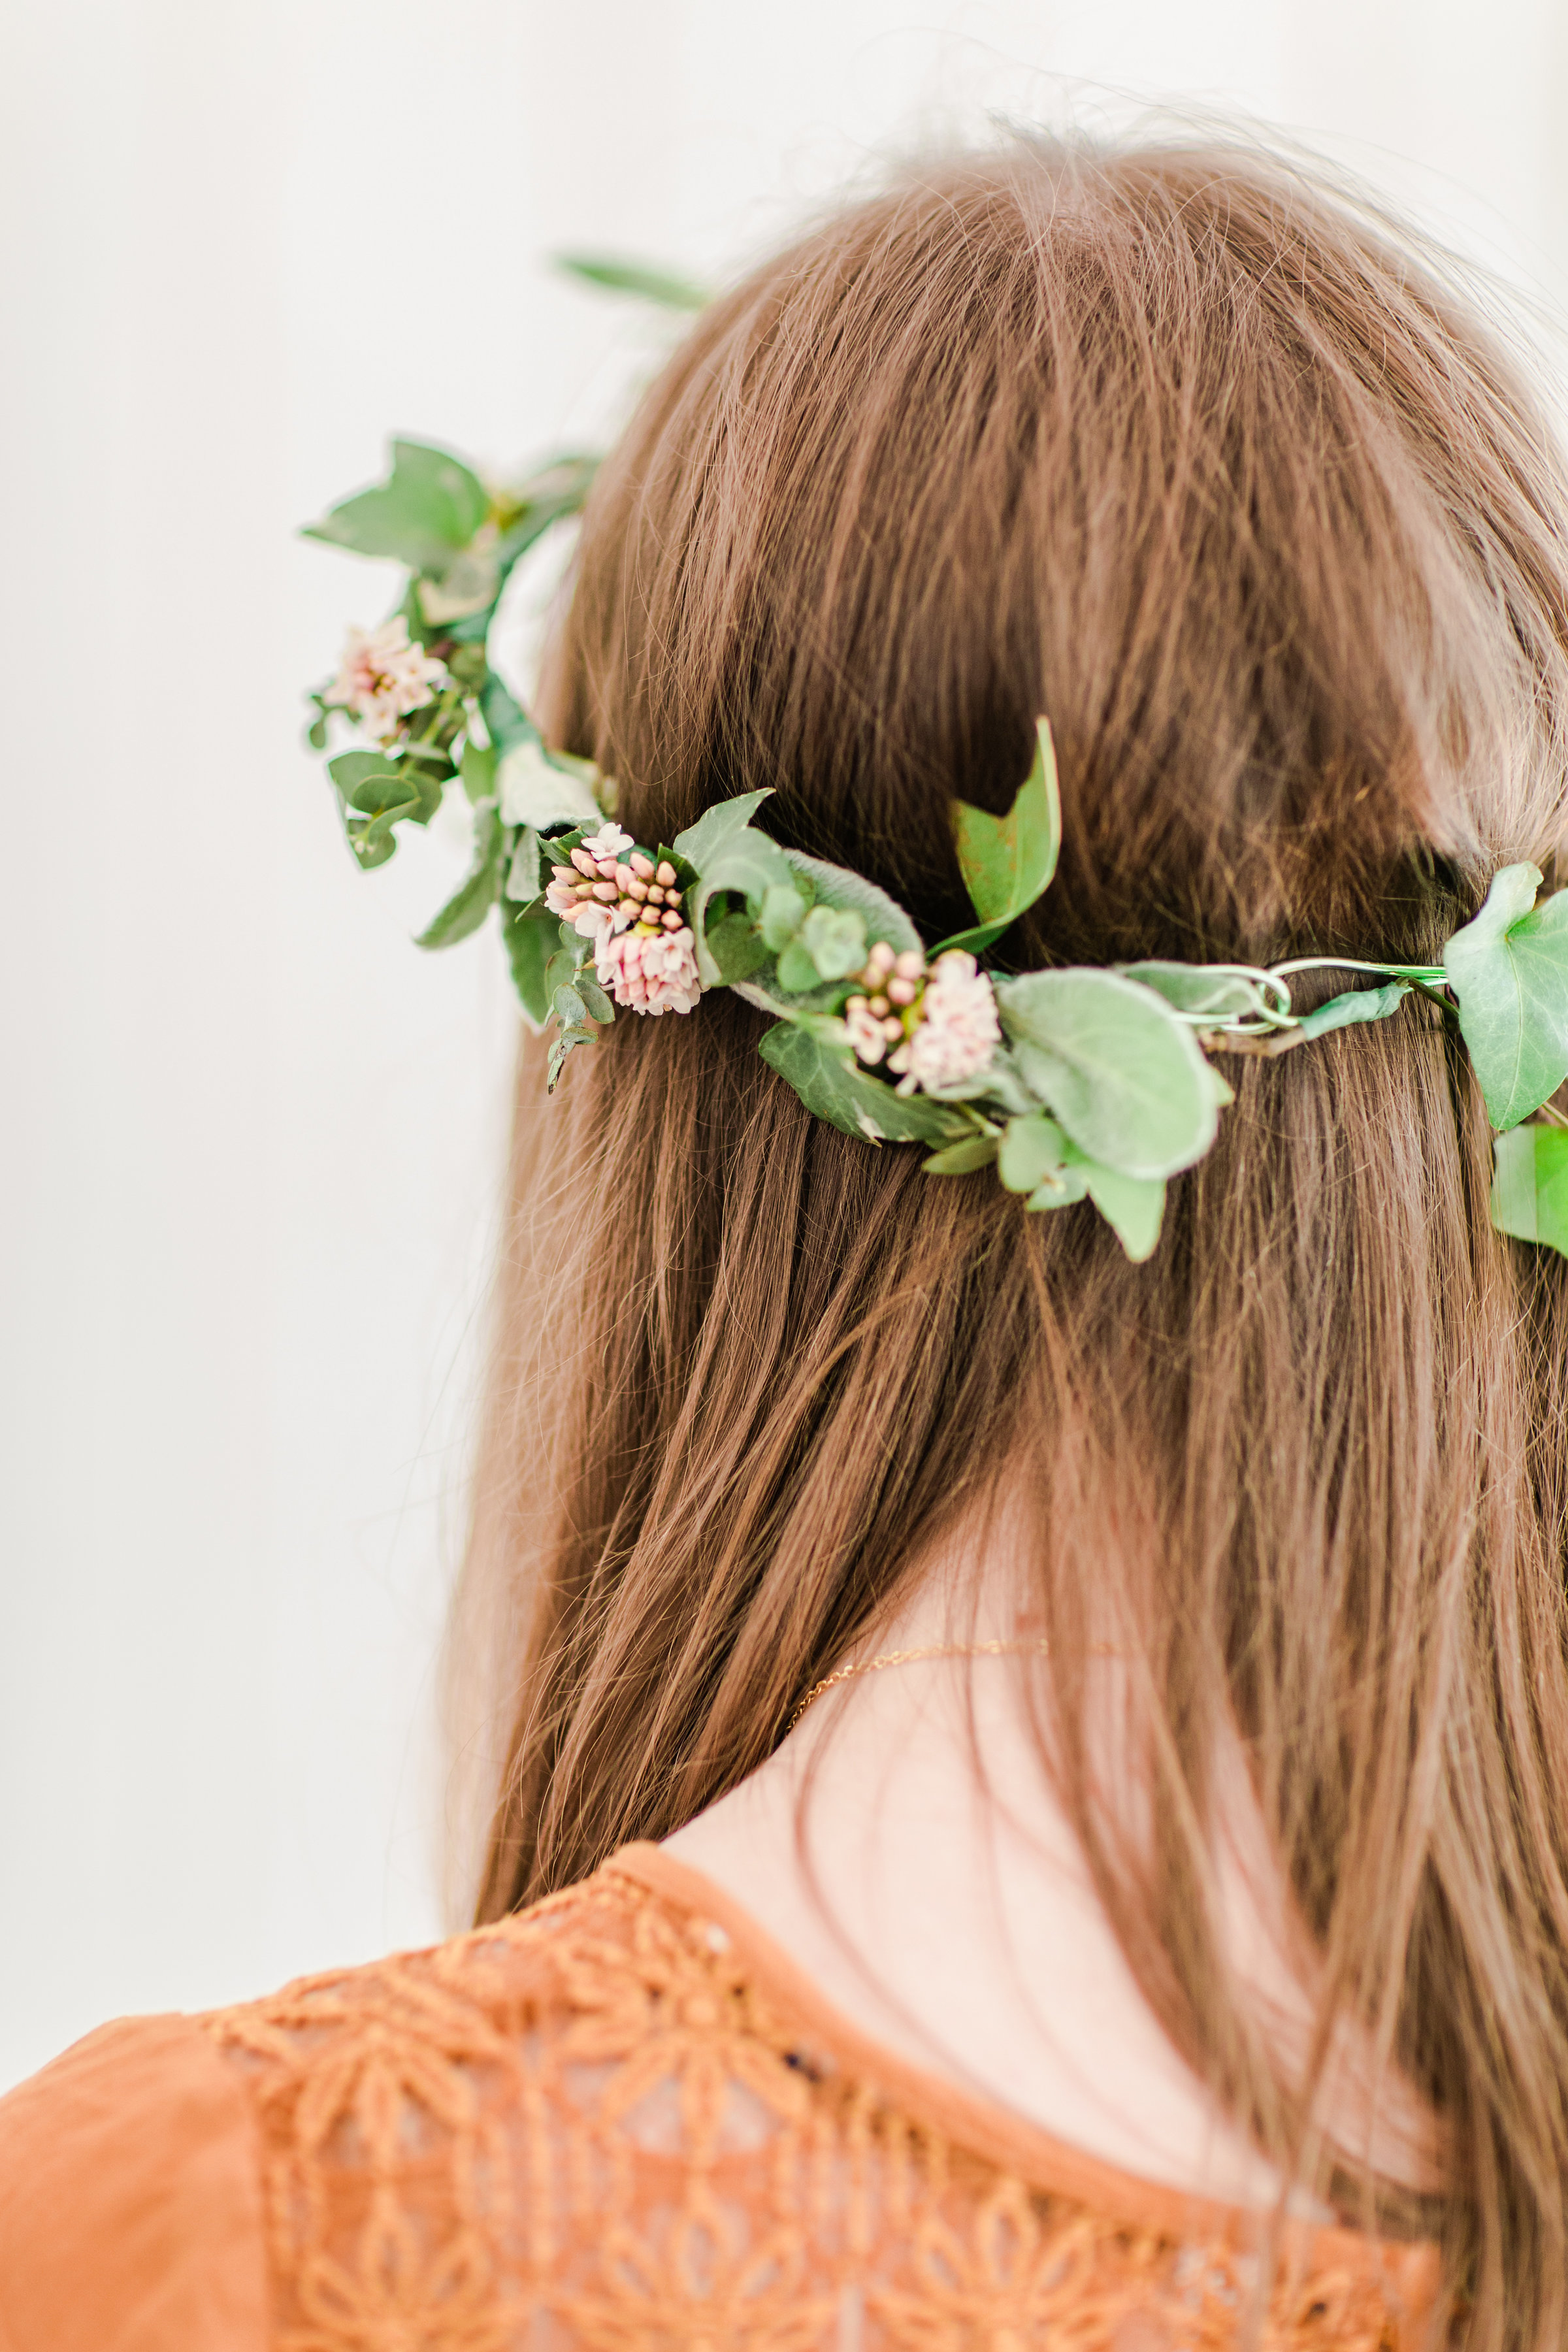
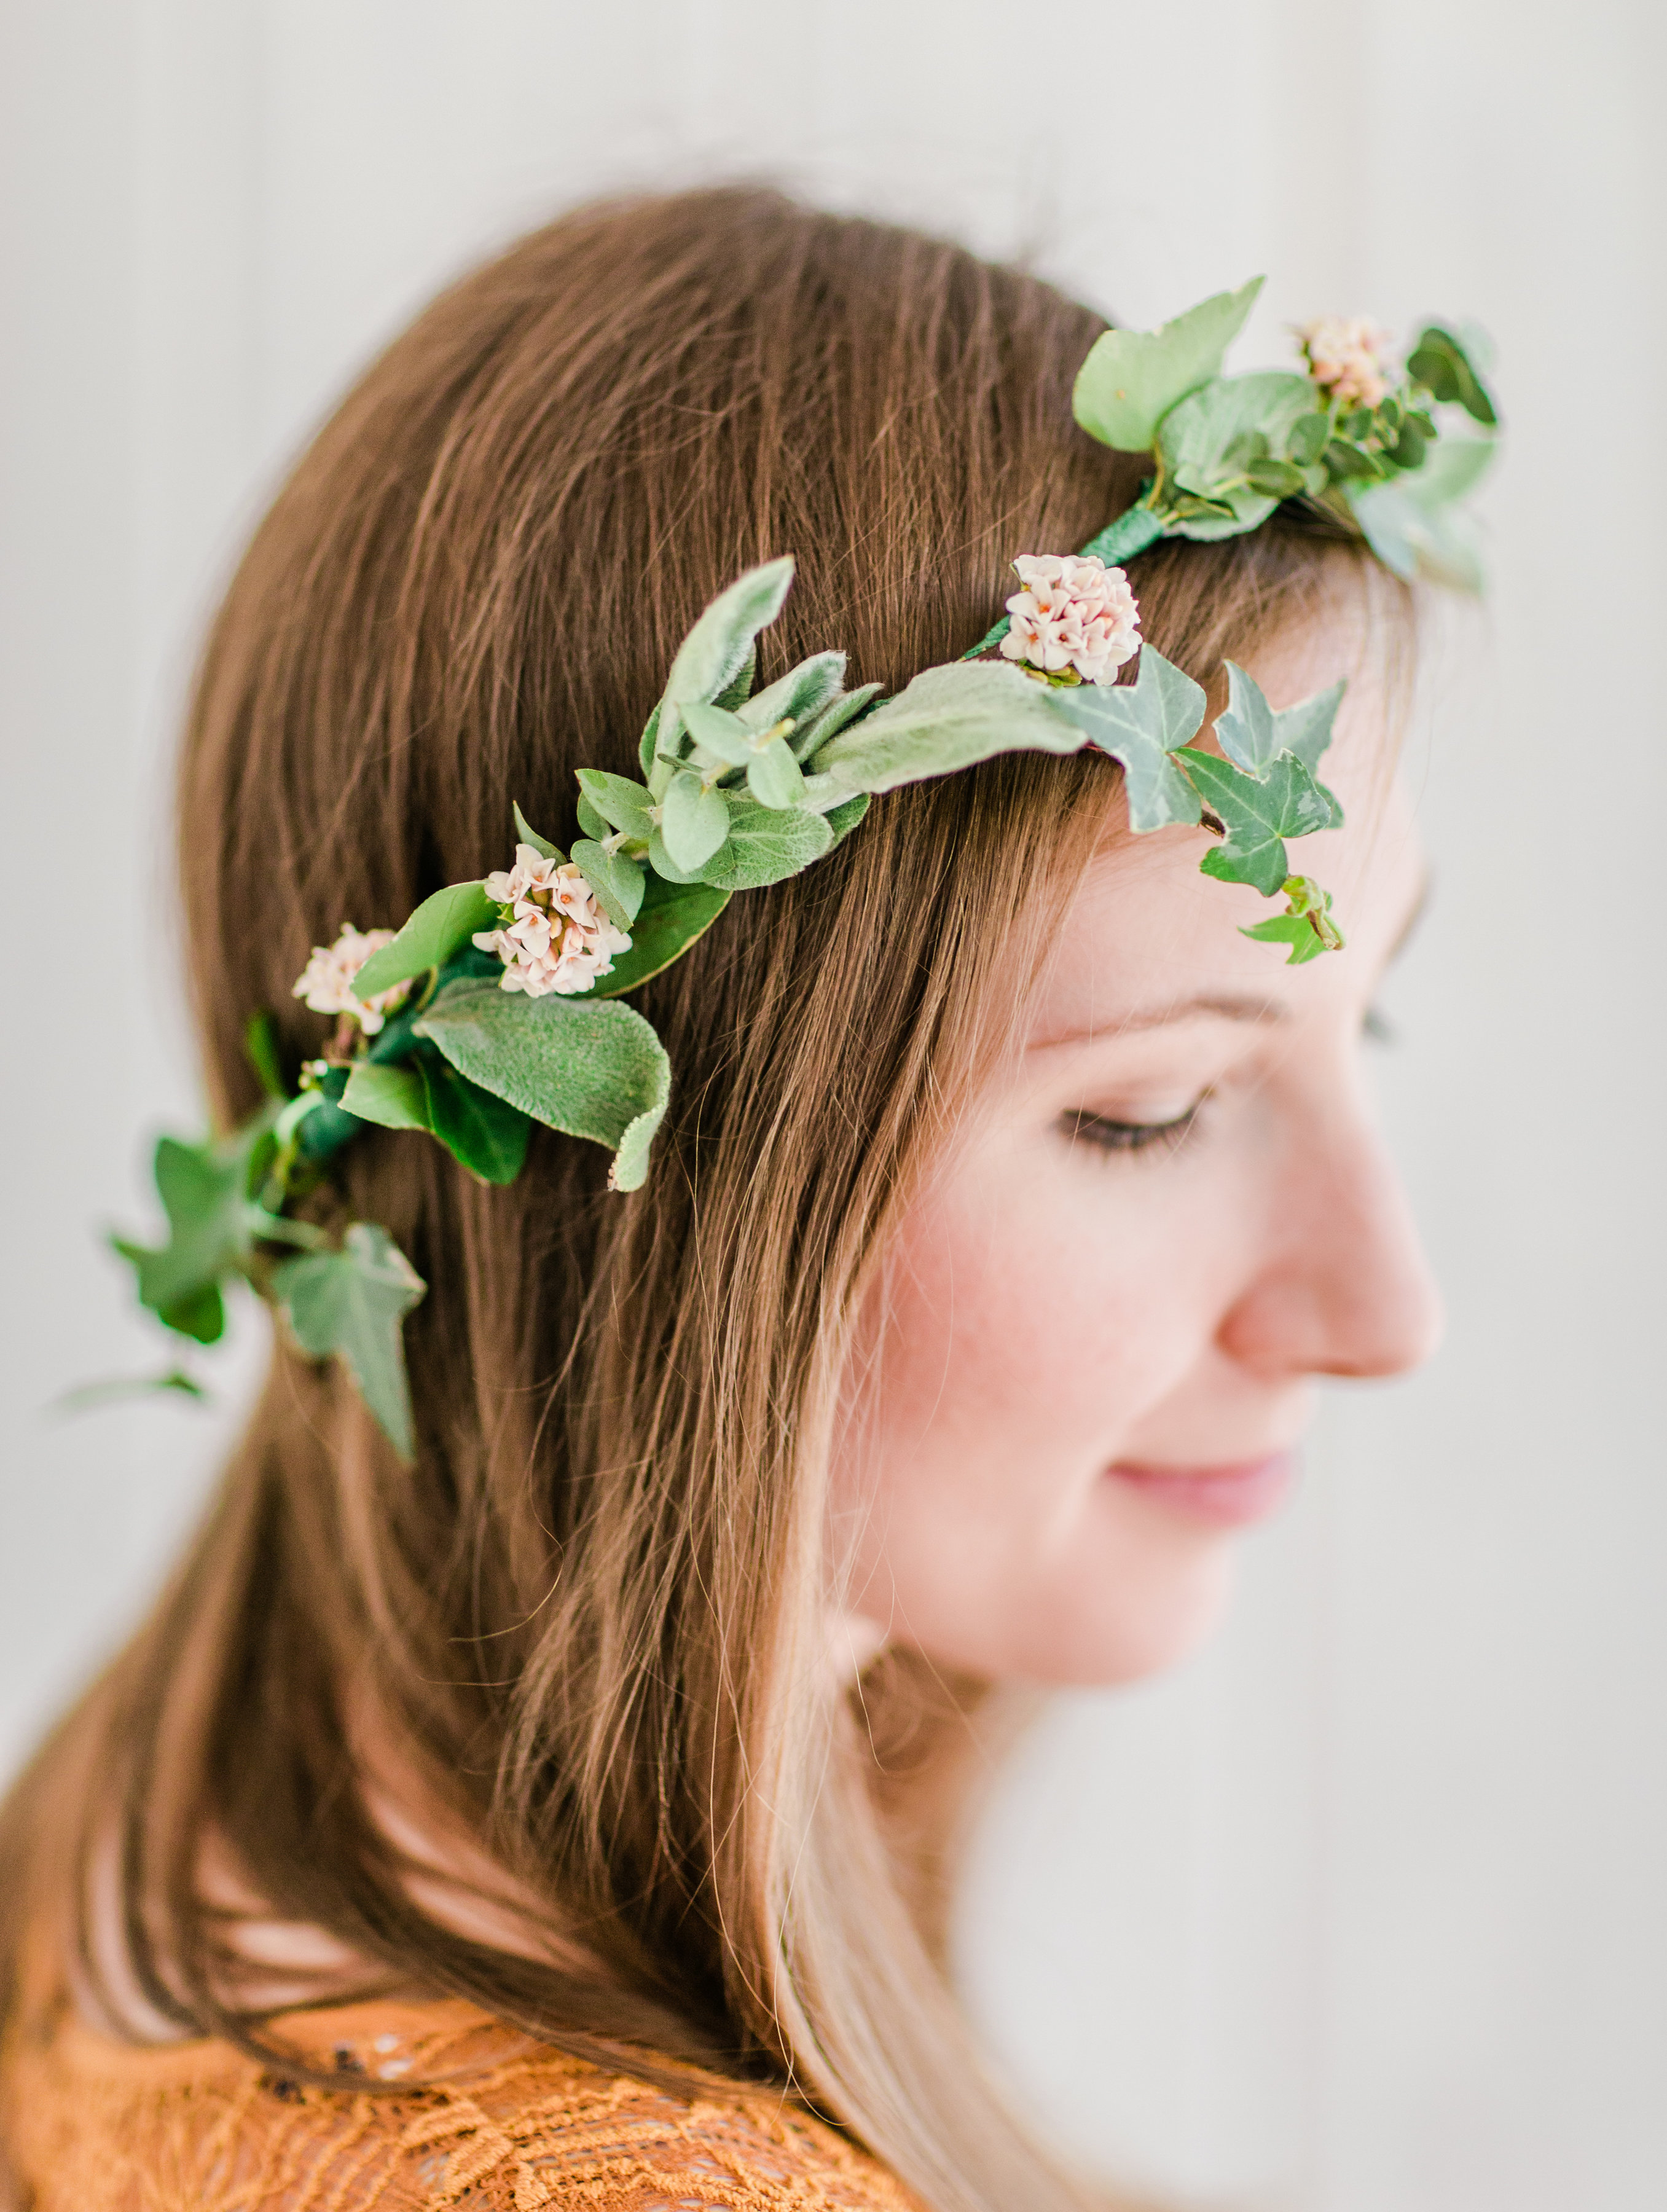
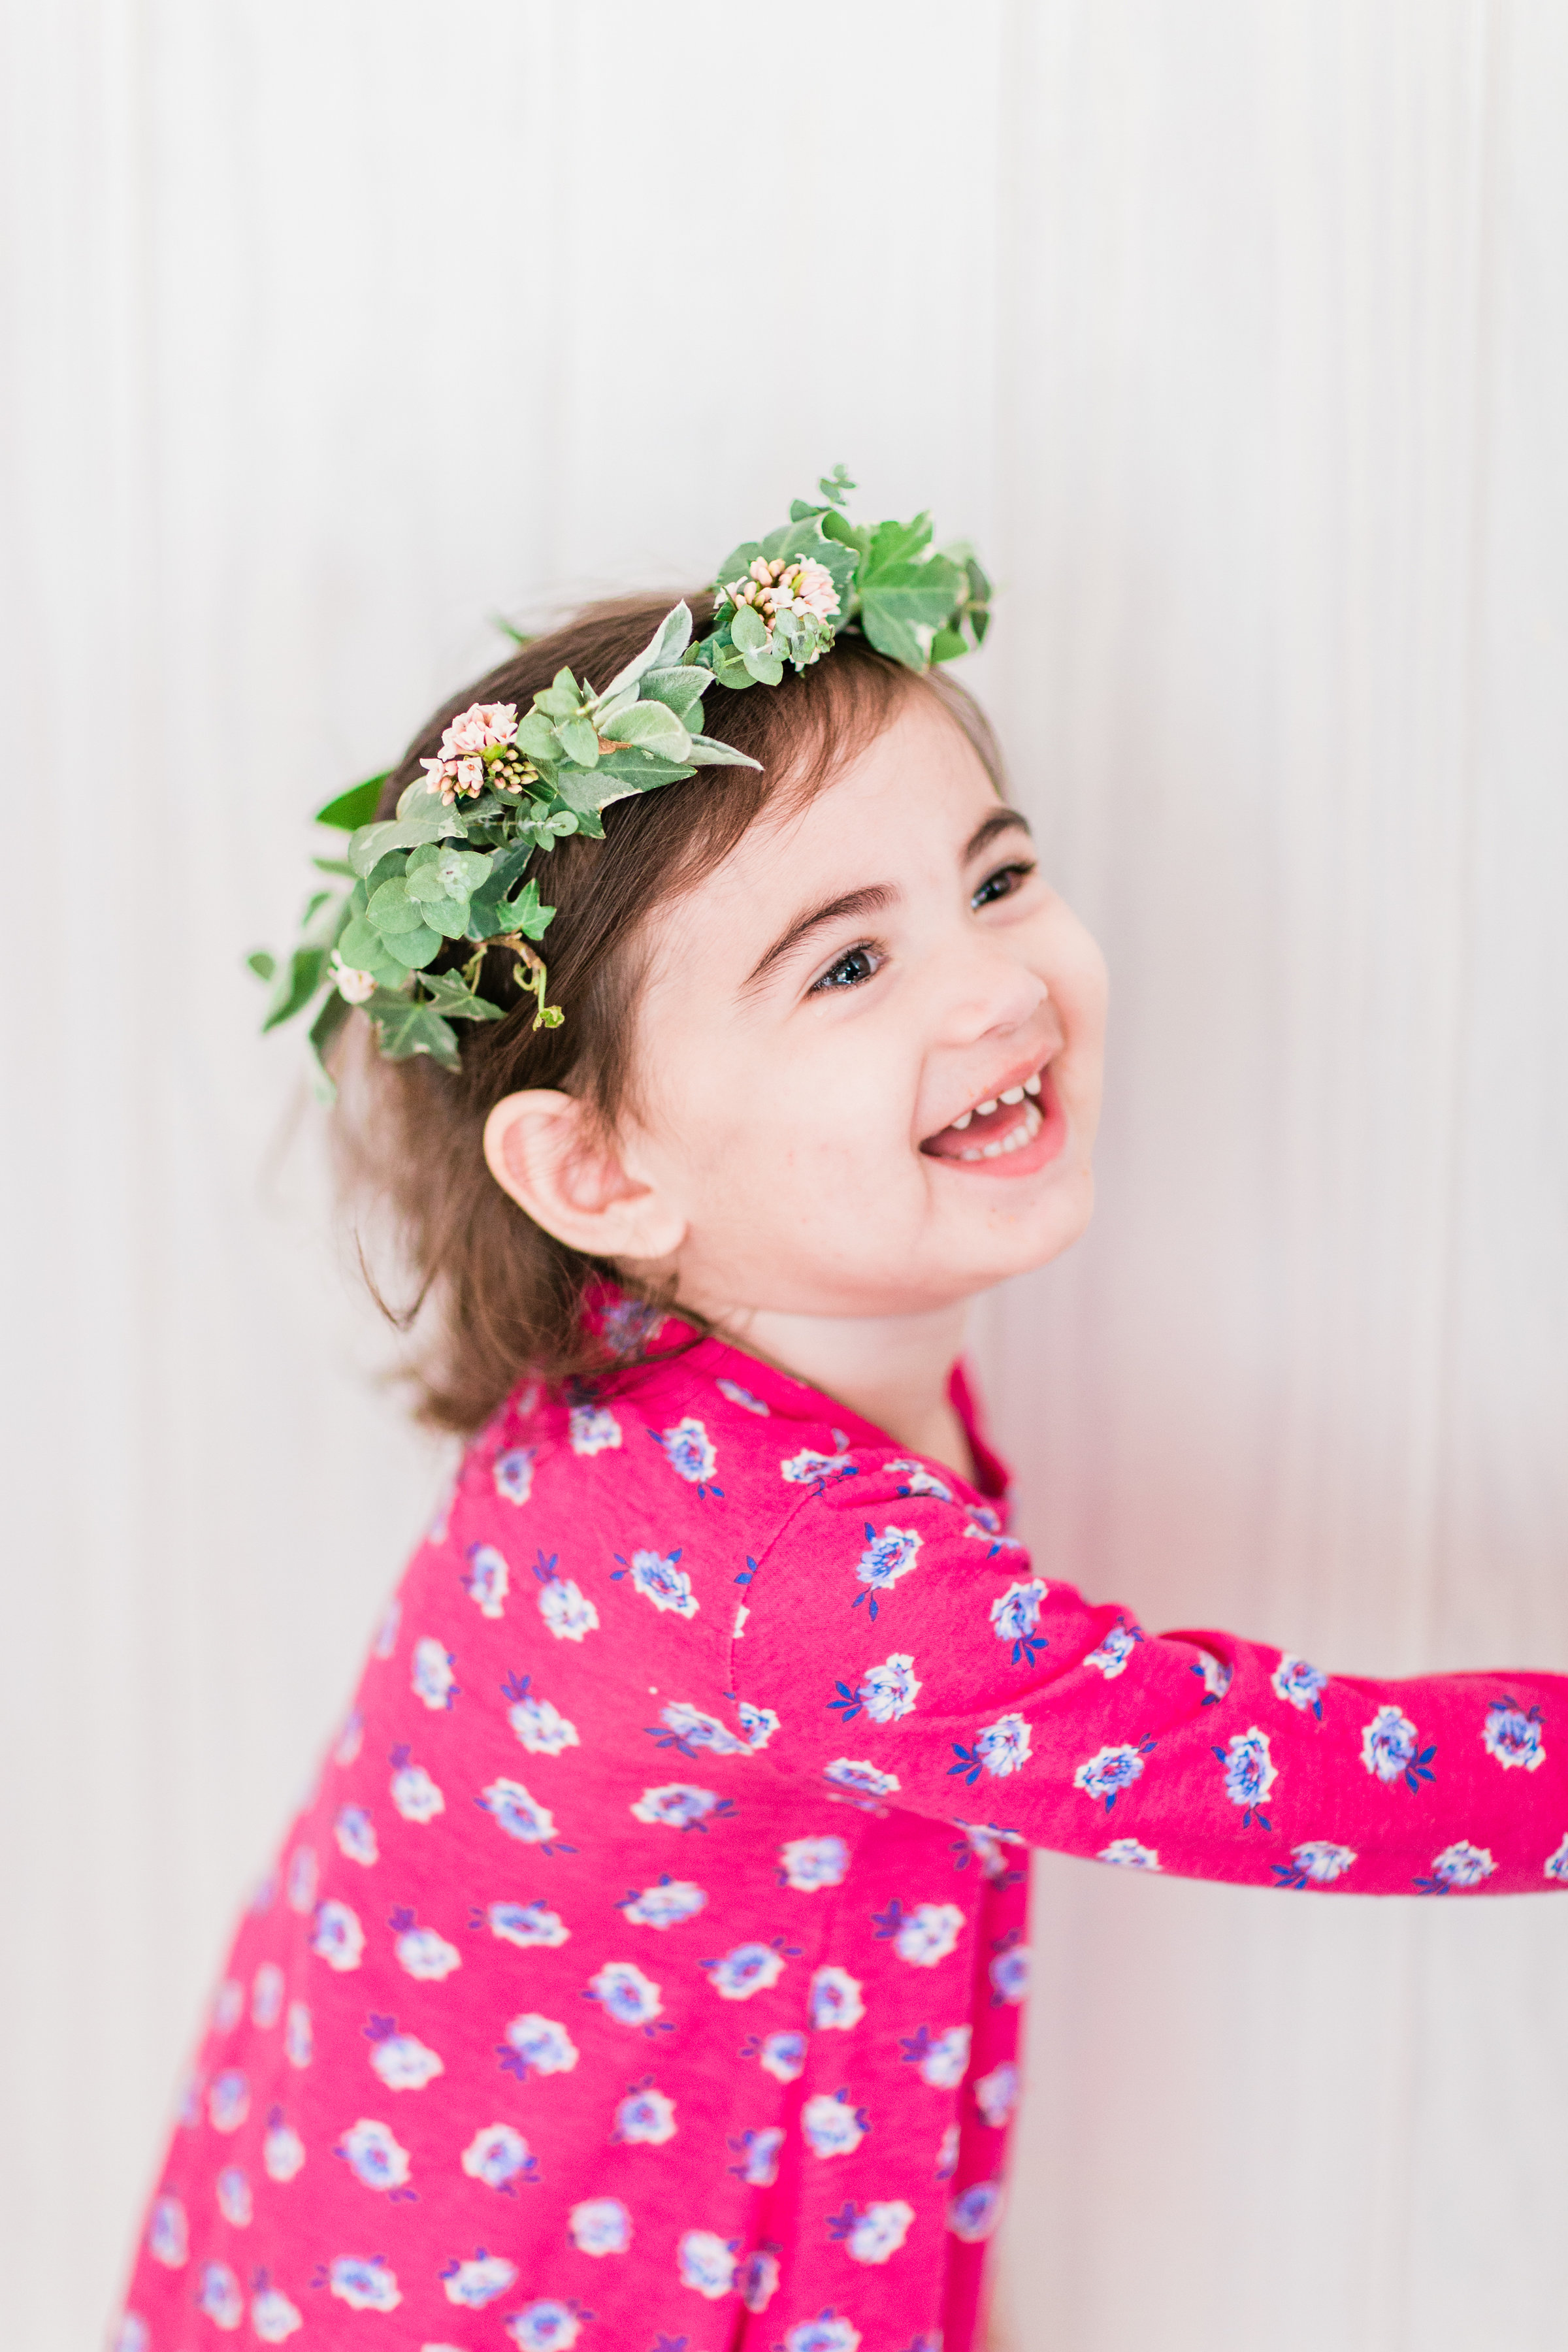
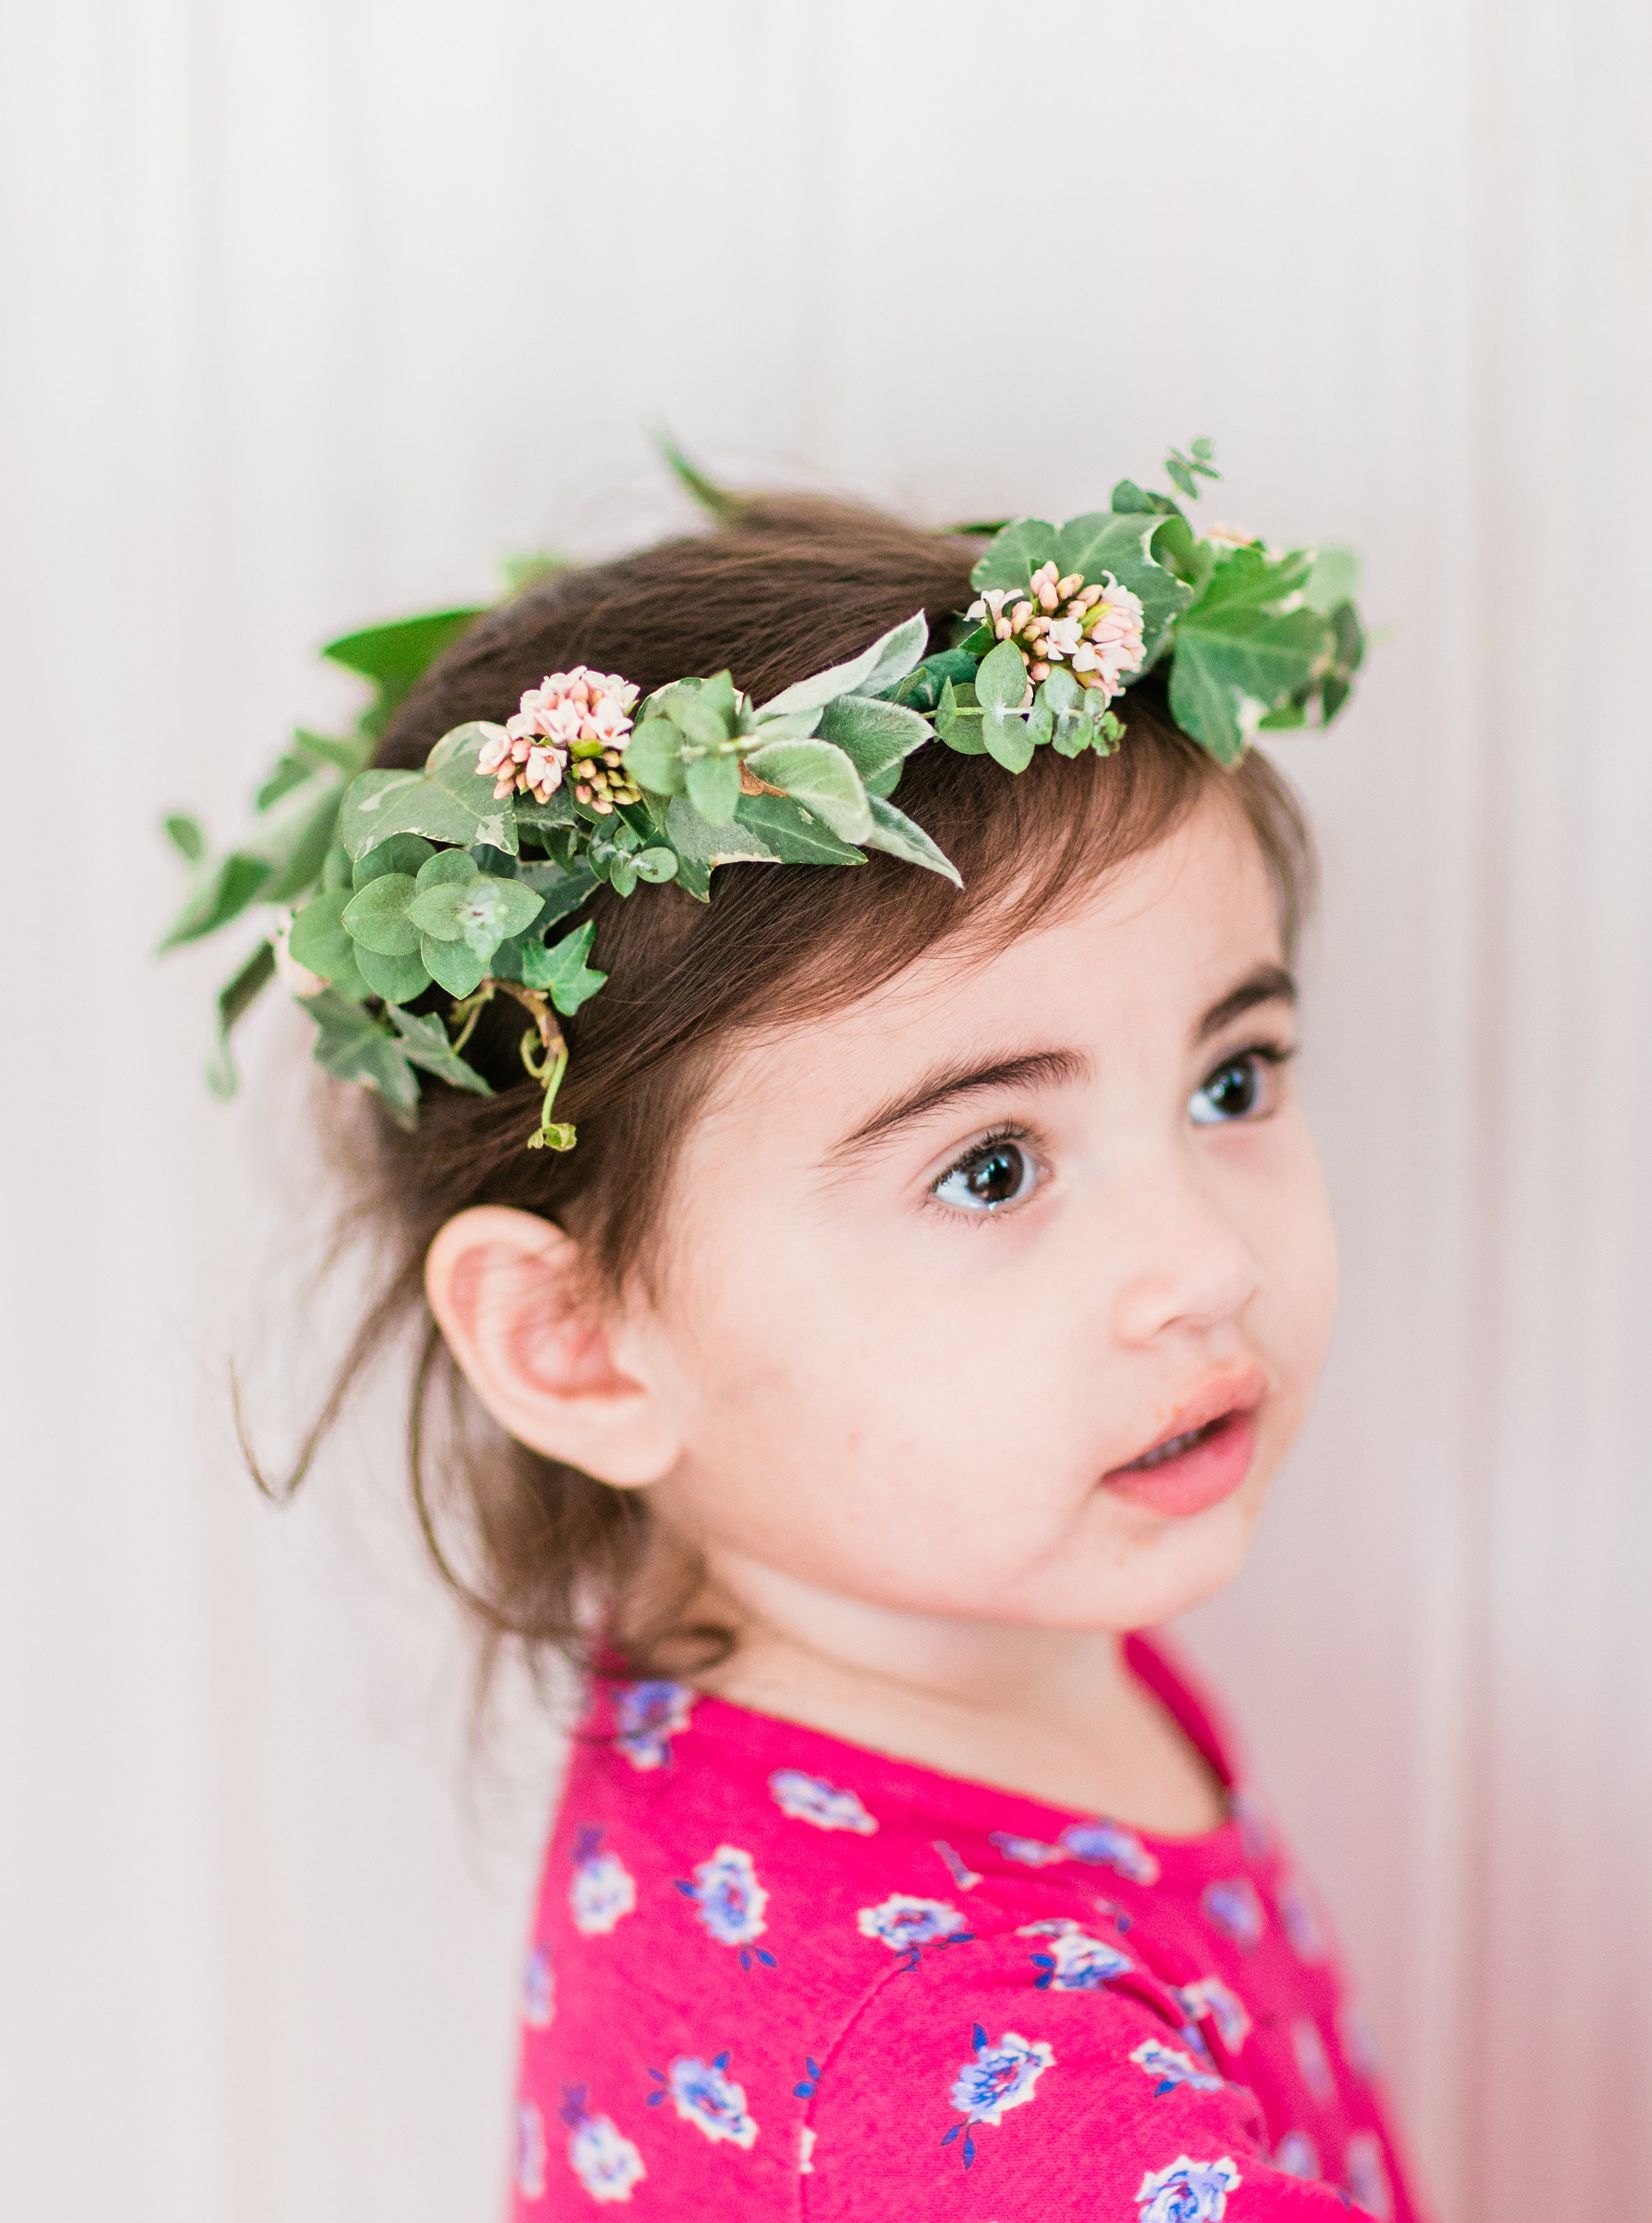
Flower crowns are everywhere. They’re beautiful and whimsical and make everyone look ten times prettier. After we made these flower crowns, Scarlett and I wore ours around the house all night long. Princess status.
I’ve made faux flower crowns before (you can get that DIY here), but I loved the idea of creating a handmade real flower crown with fresh flowers, and Marsha was happy to play teacher. There’s something about a real flower crown that looks so delicate and festival-ready. And maybe it’s fun to pretend you’re a fairy or a princess or a garden sprite. Whatever the occasion, after you see these pictures, you’ll definitely want to make your own real floral crown.
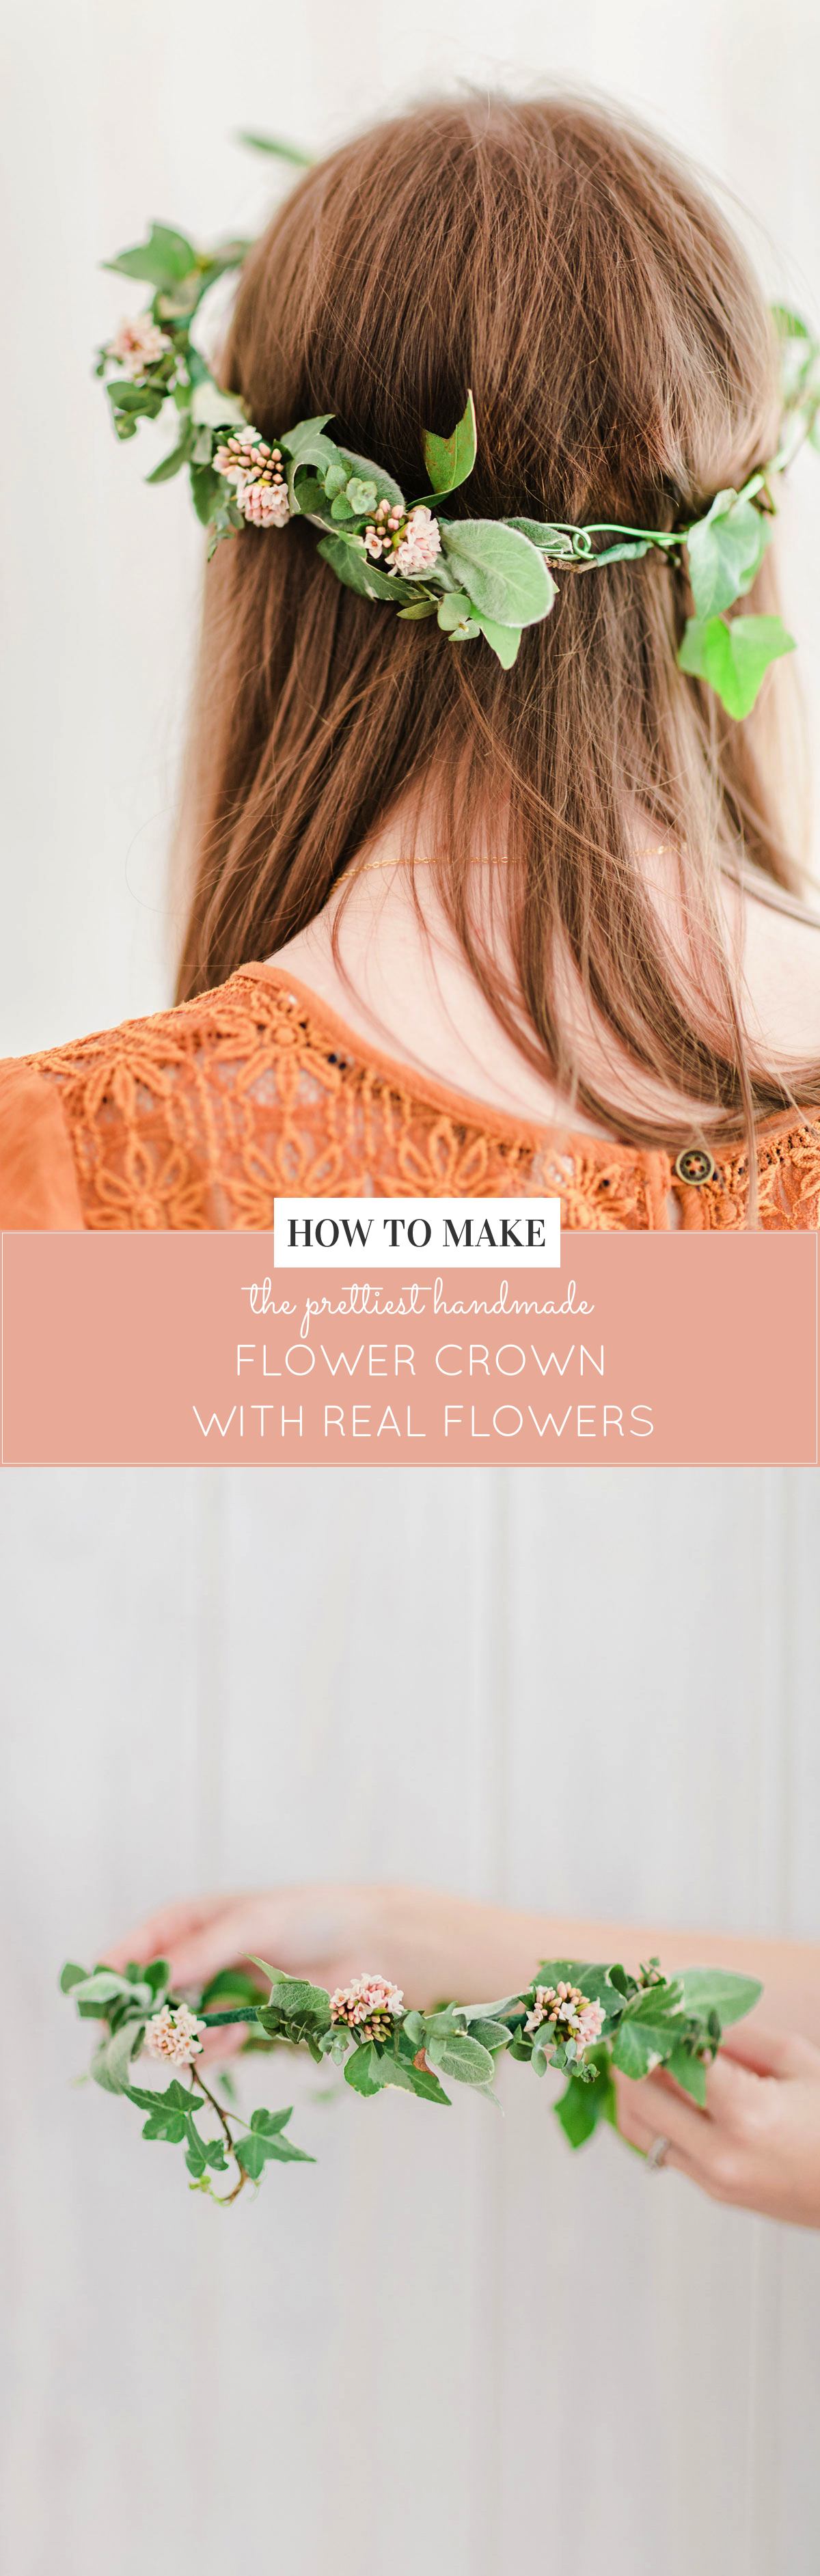
MAKE YOUR OWN REAL FLORAL CROWN
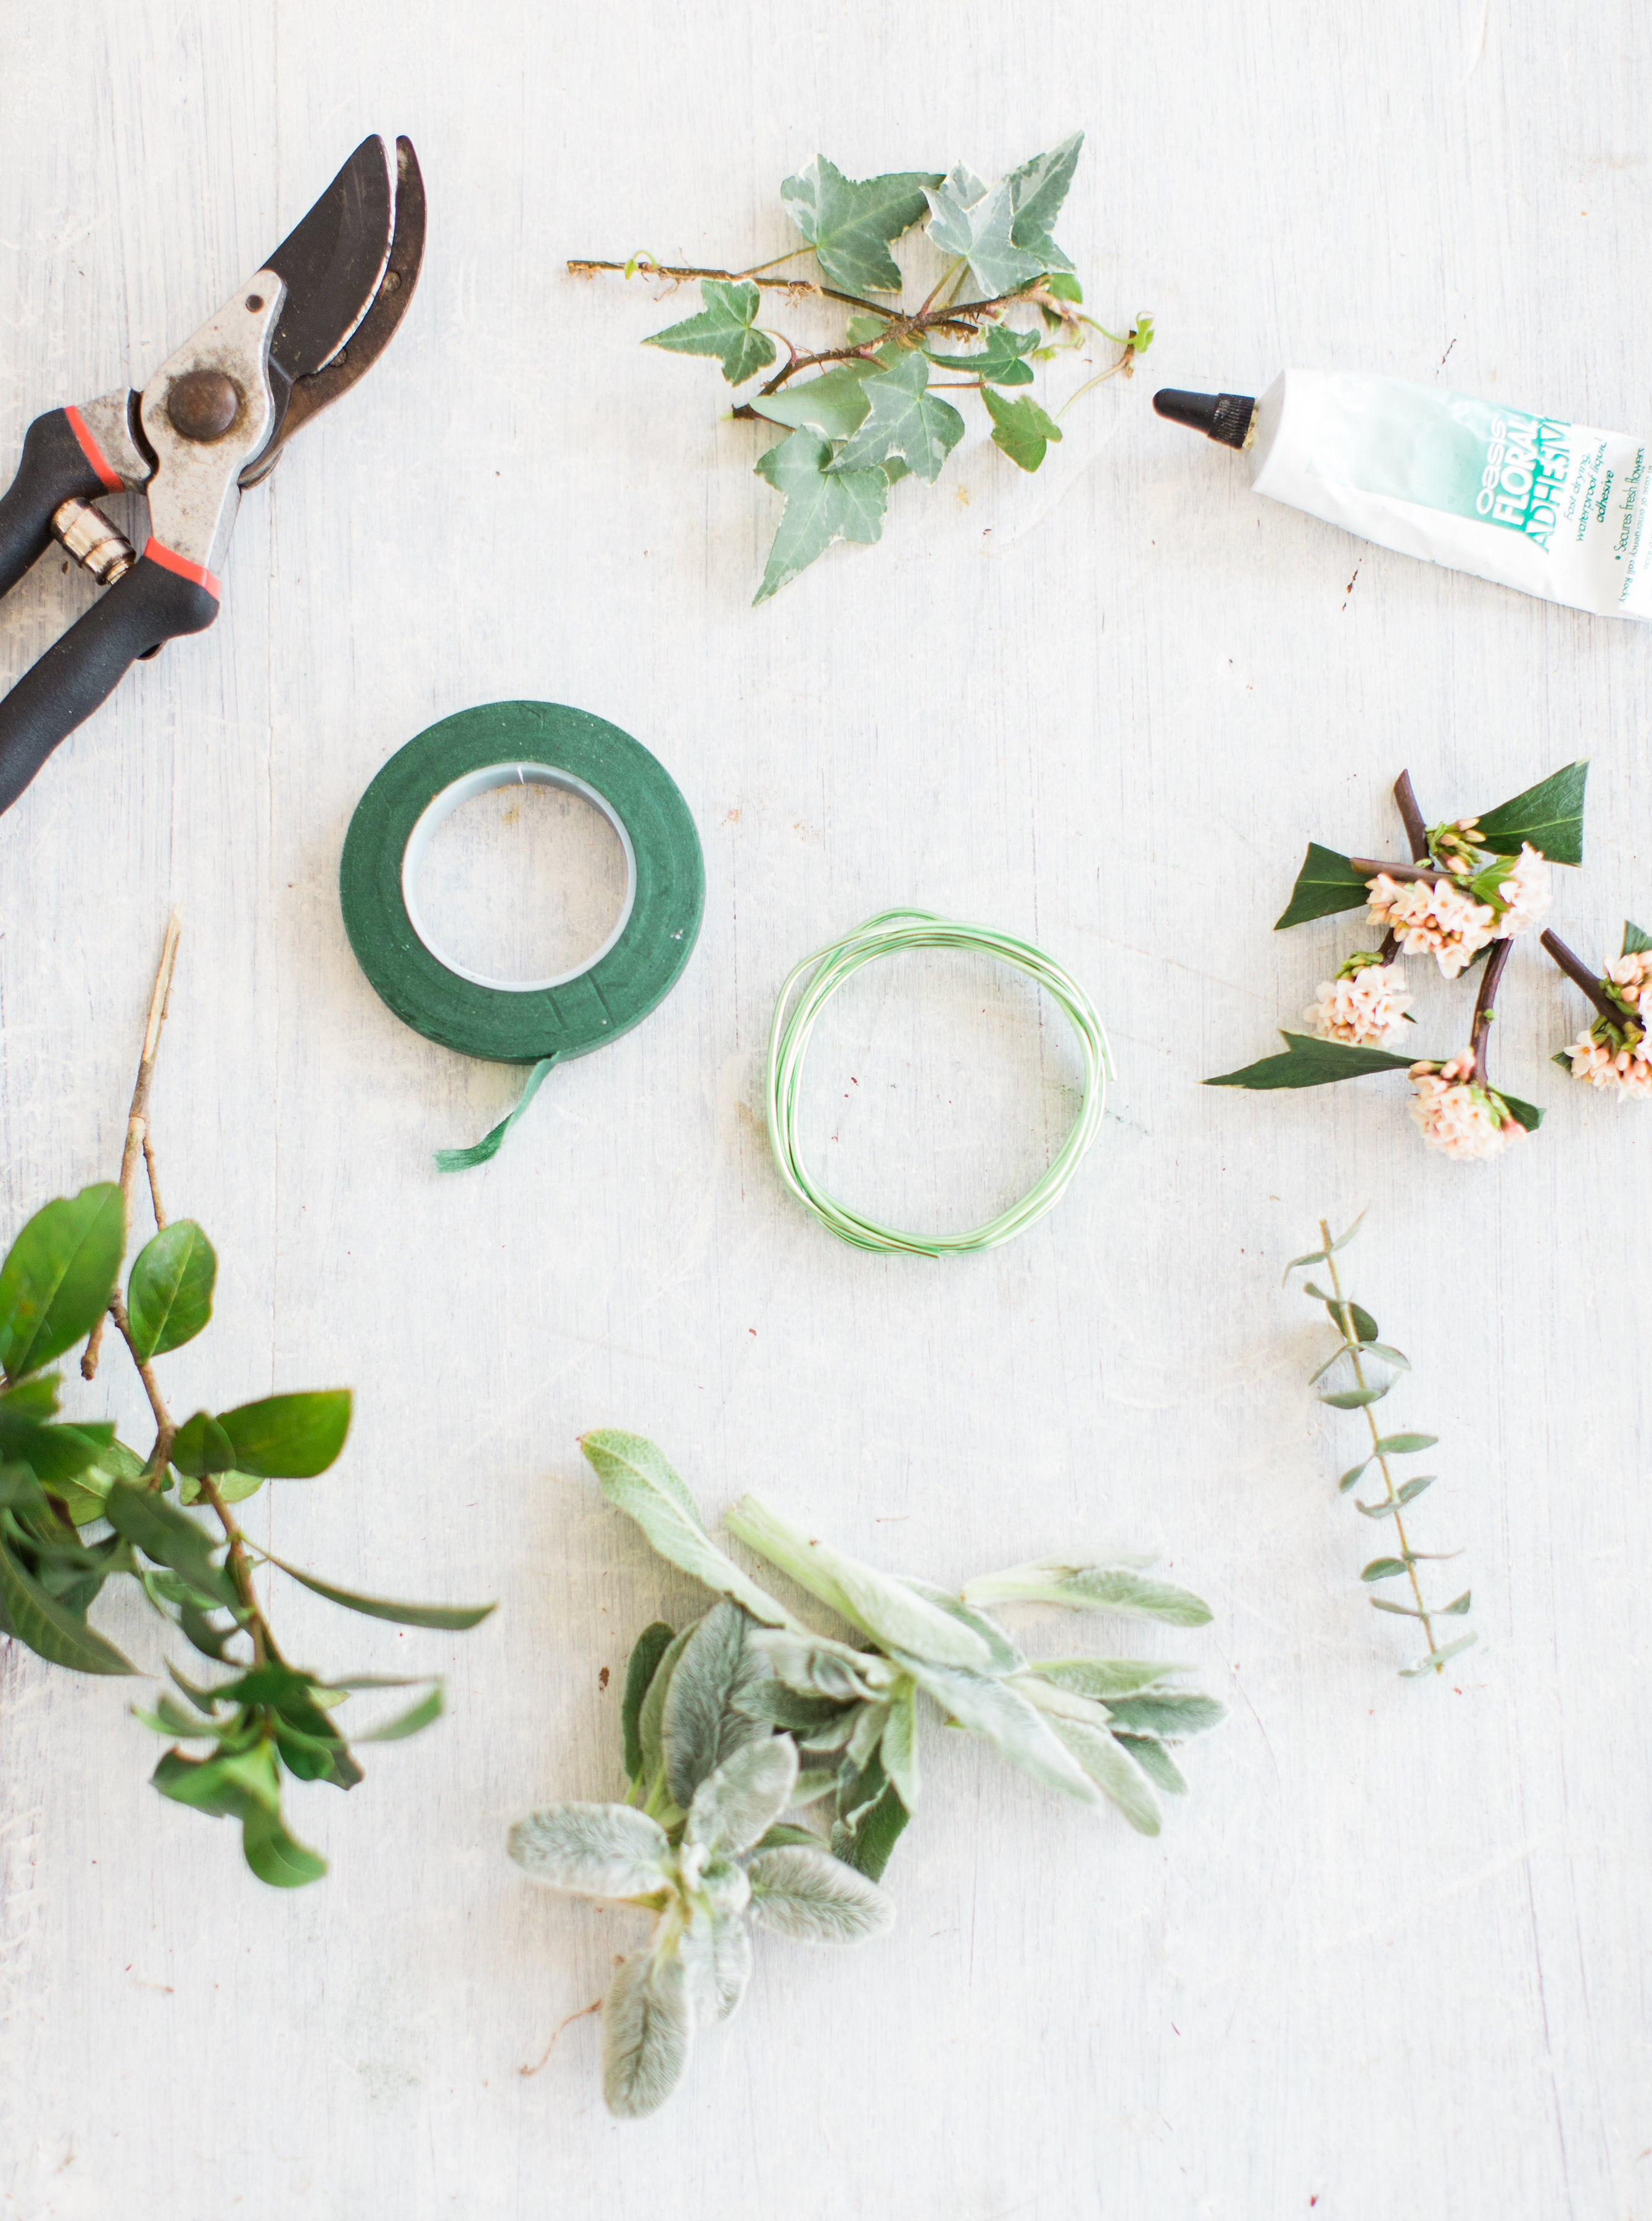
WHAT YOU’LL NEED:
Floral Tape
Shears/Clippers
Scissors
Floral Wire (try to choose one that is thick and flexible)
Floral Adhesive such as Oasis Floral Glue (optional)
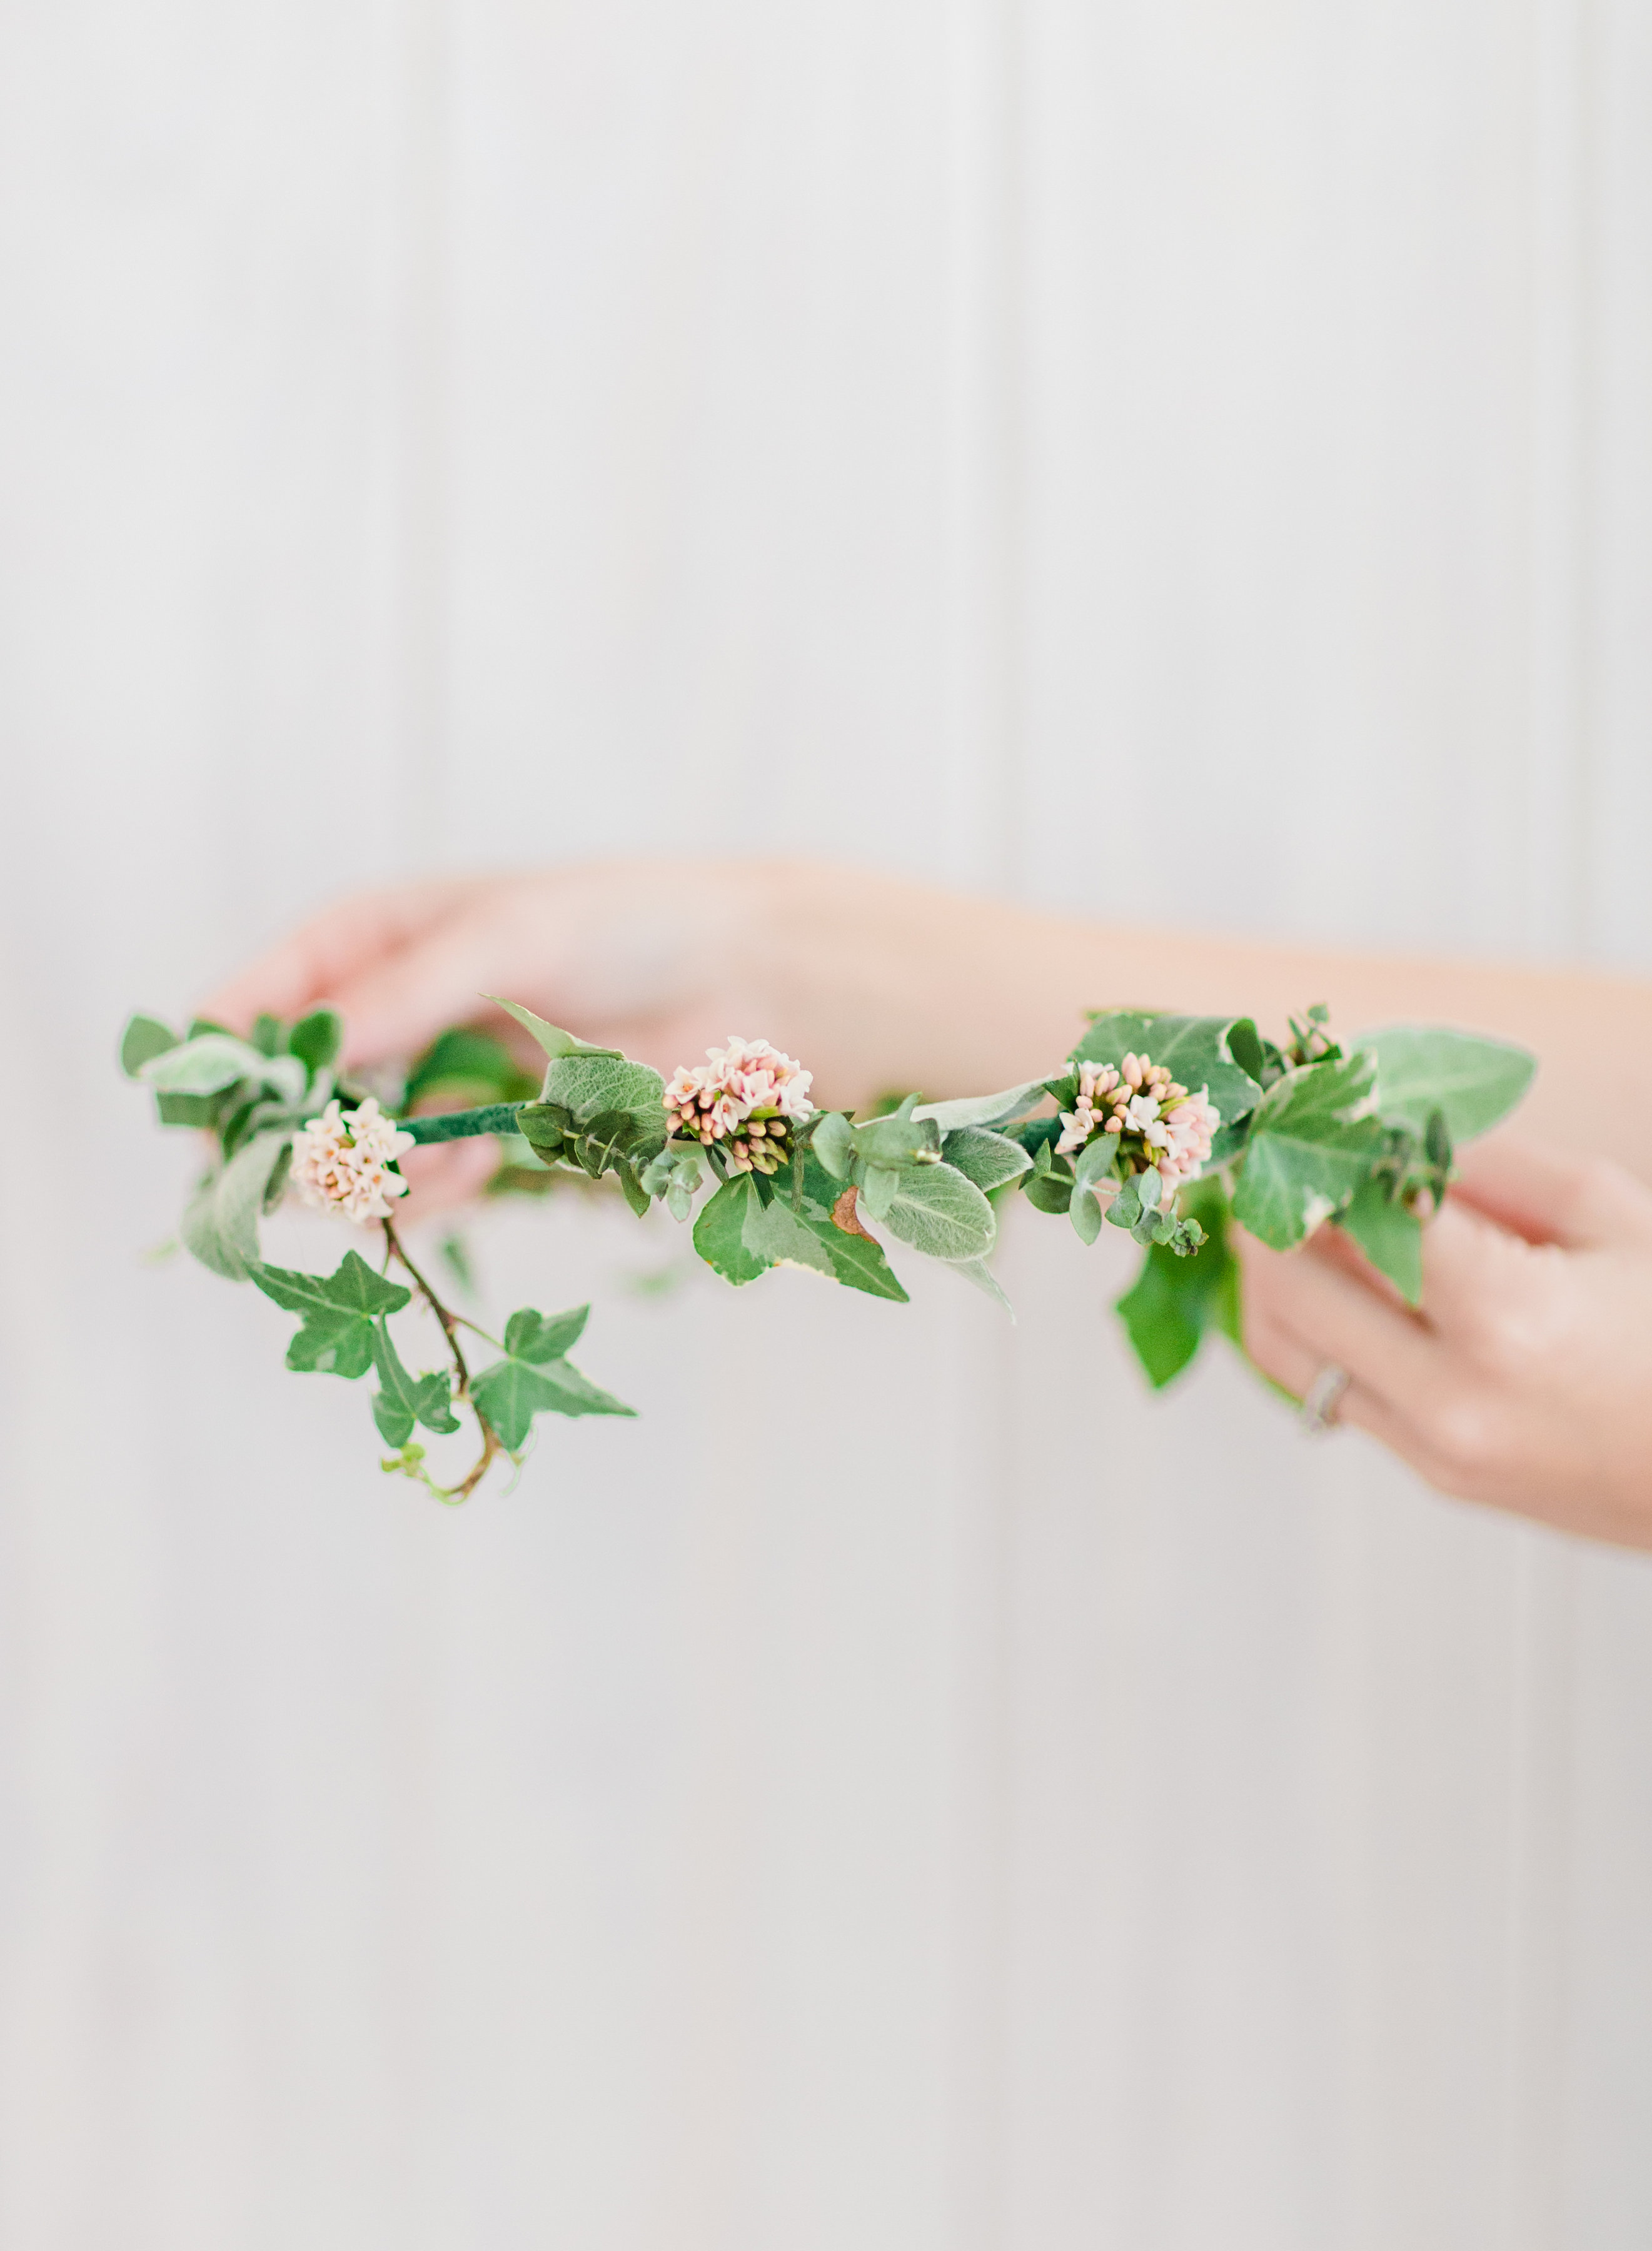
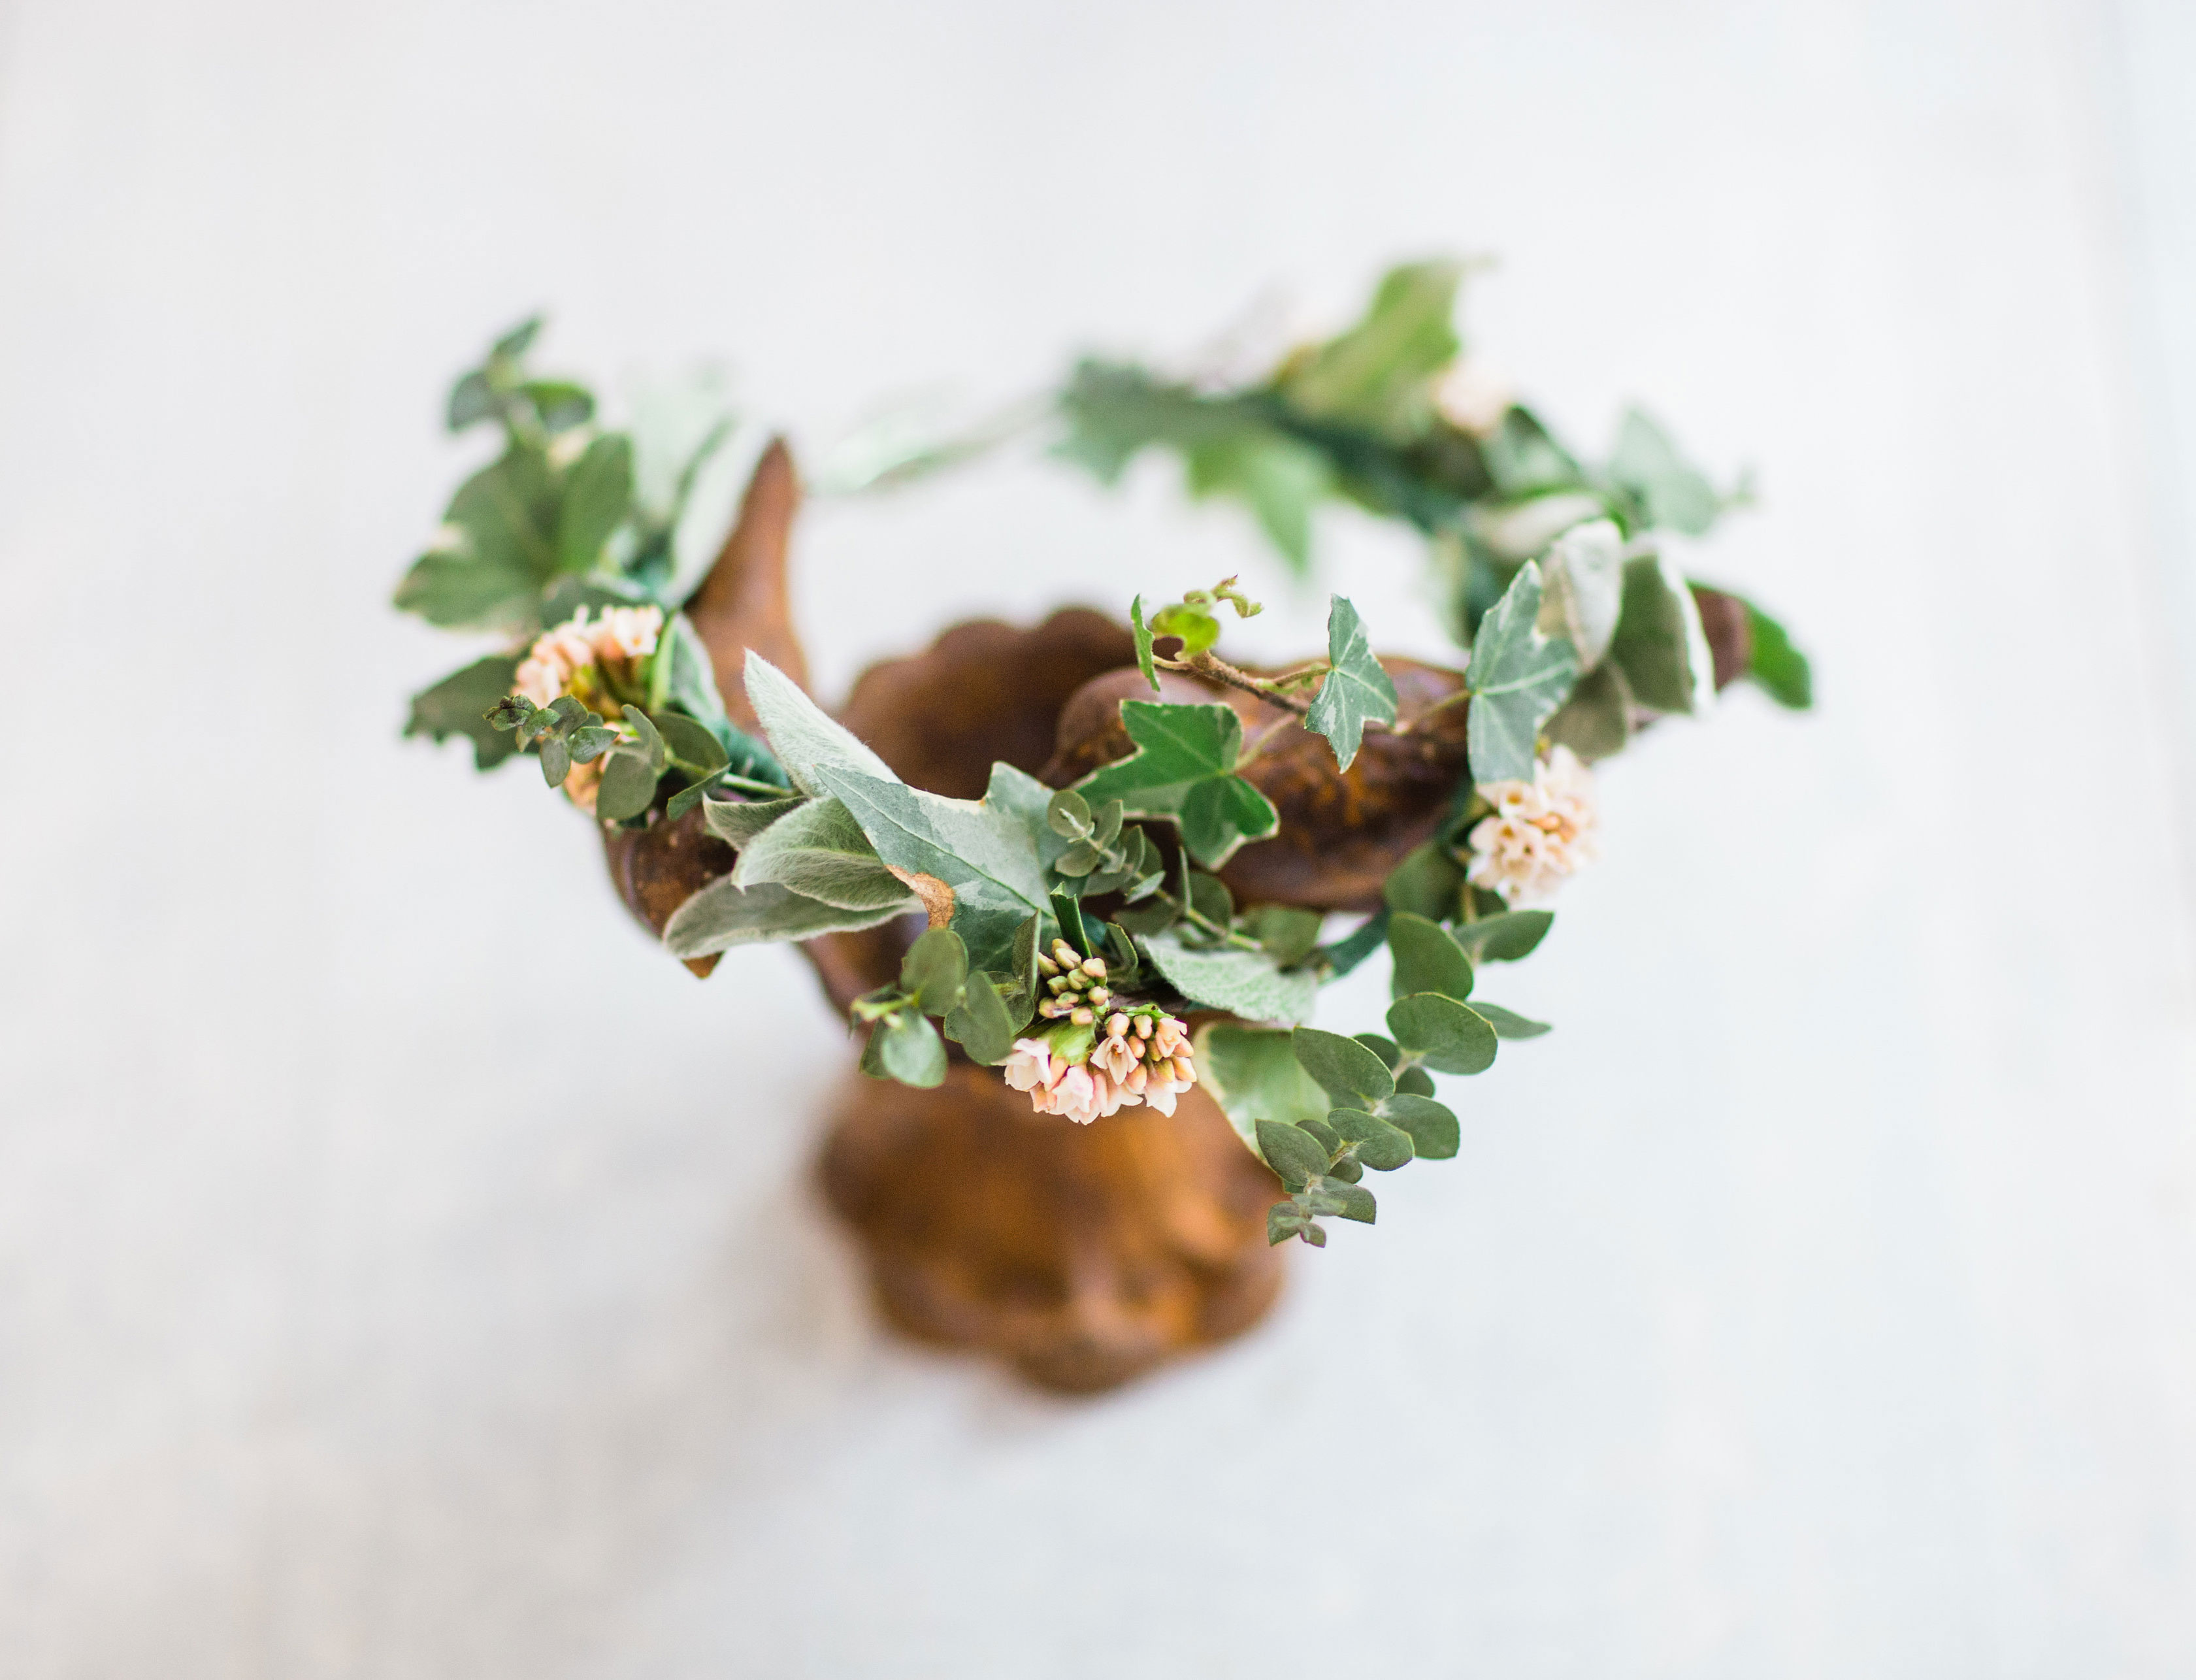
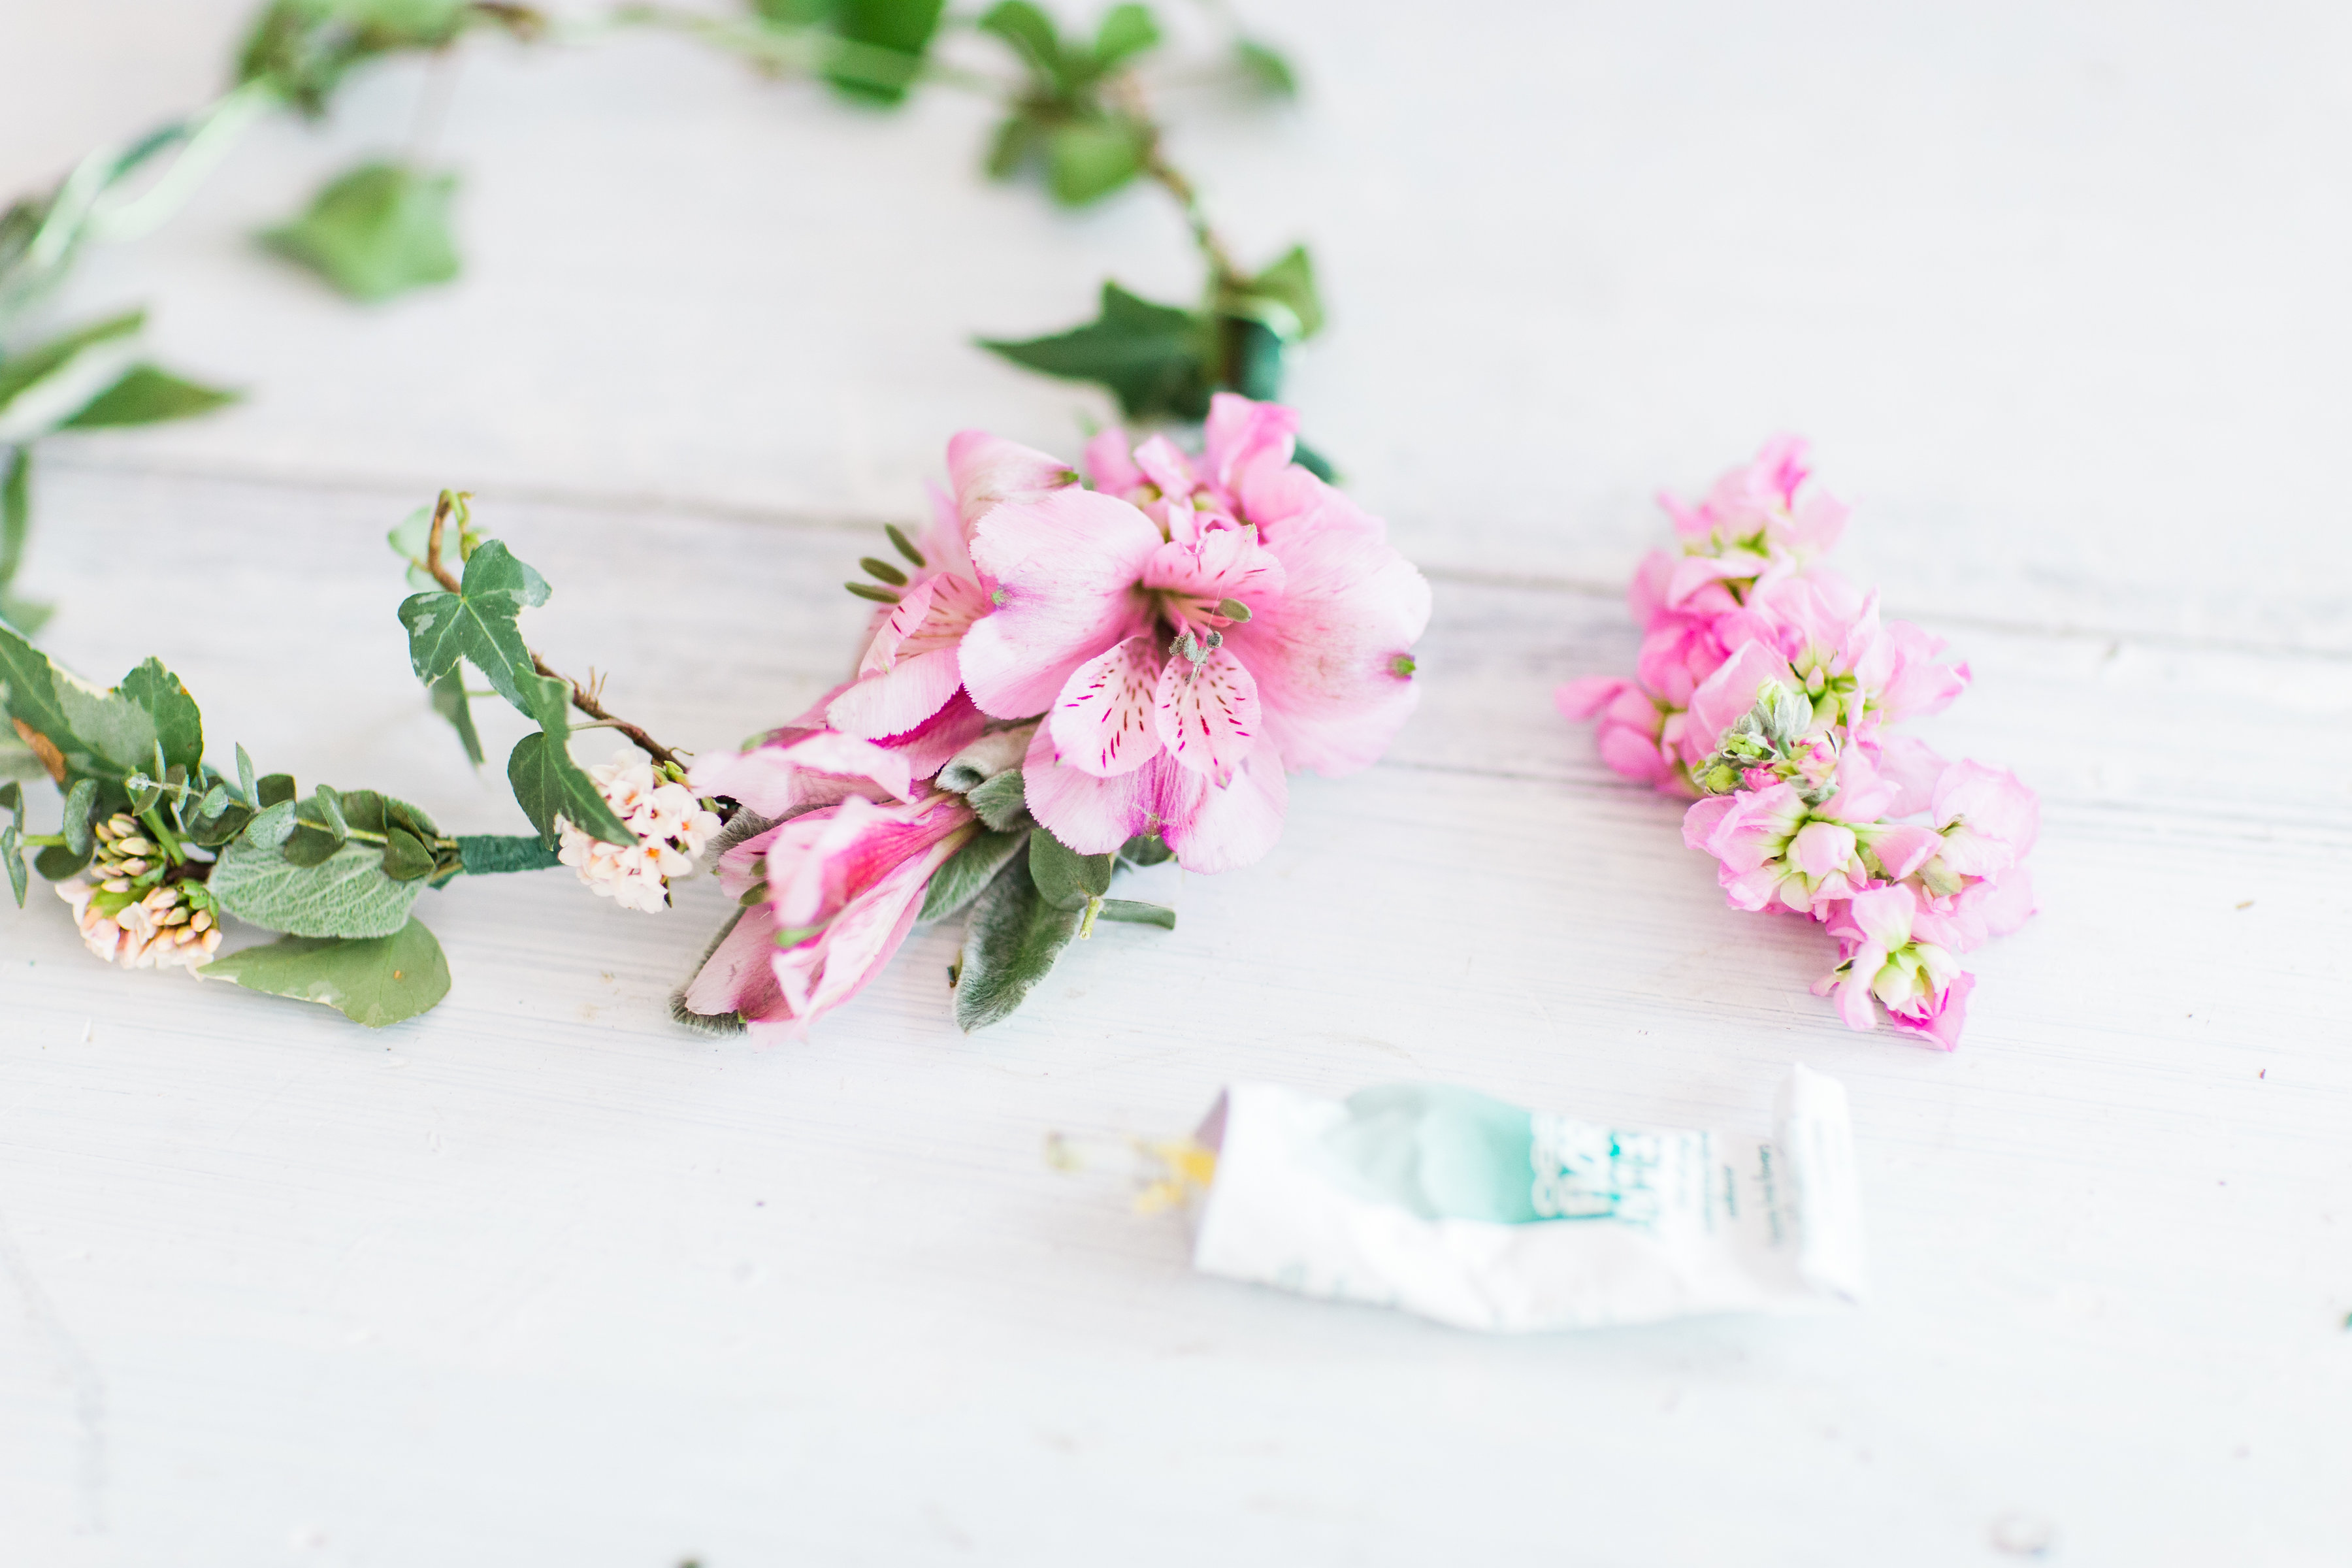
Flowers Used: Miniature Gardenia leaves, Lambs Ear, Eucalyptus, Ivy, Winter Daphne Blooms
DIRECTIONS (with pictures)
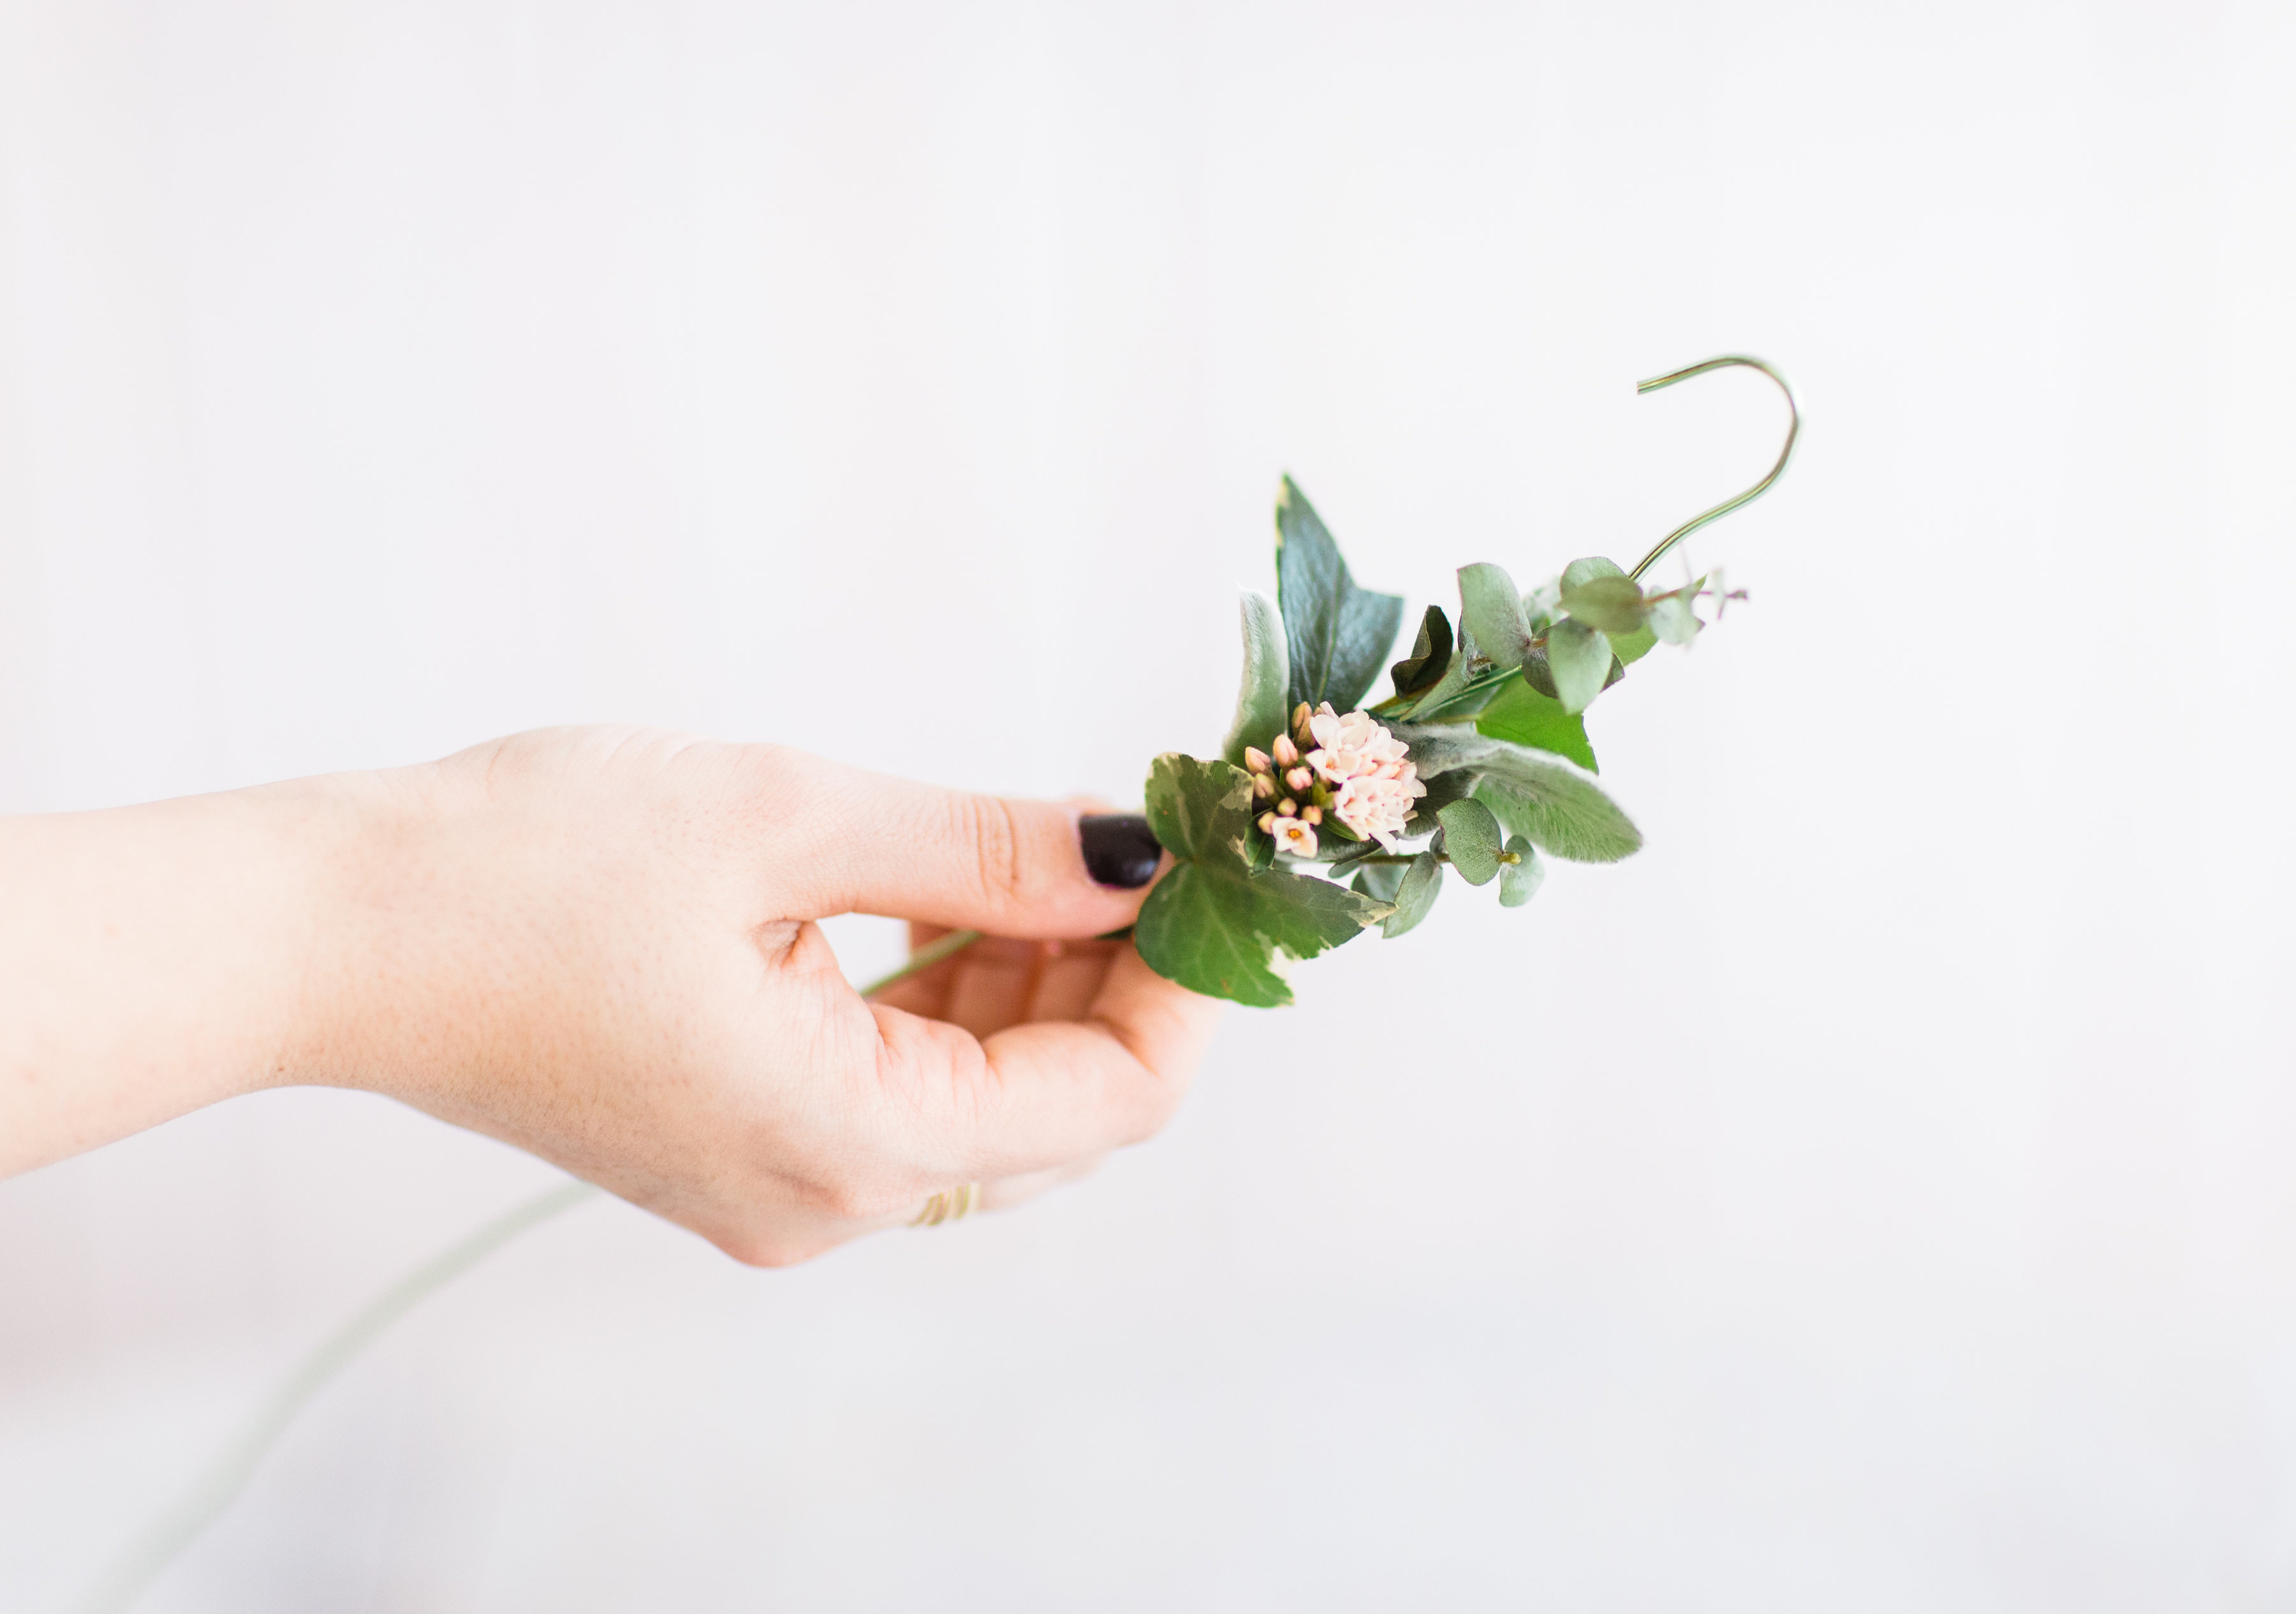
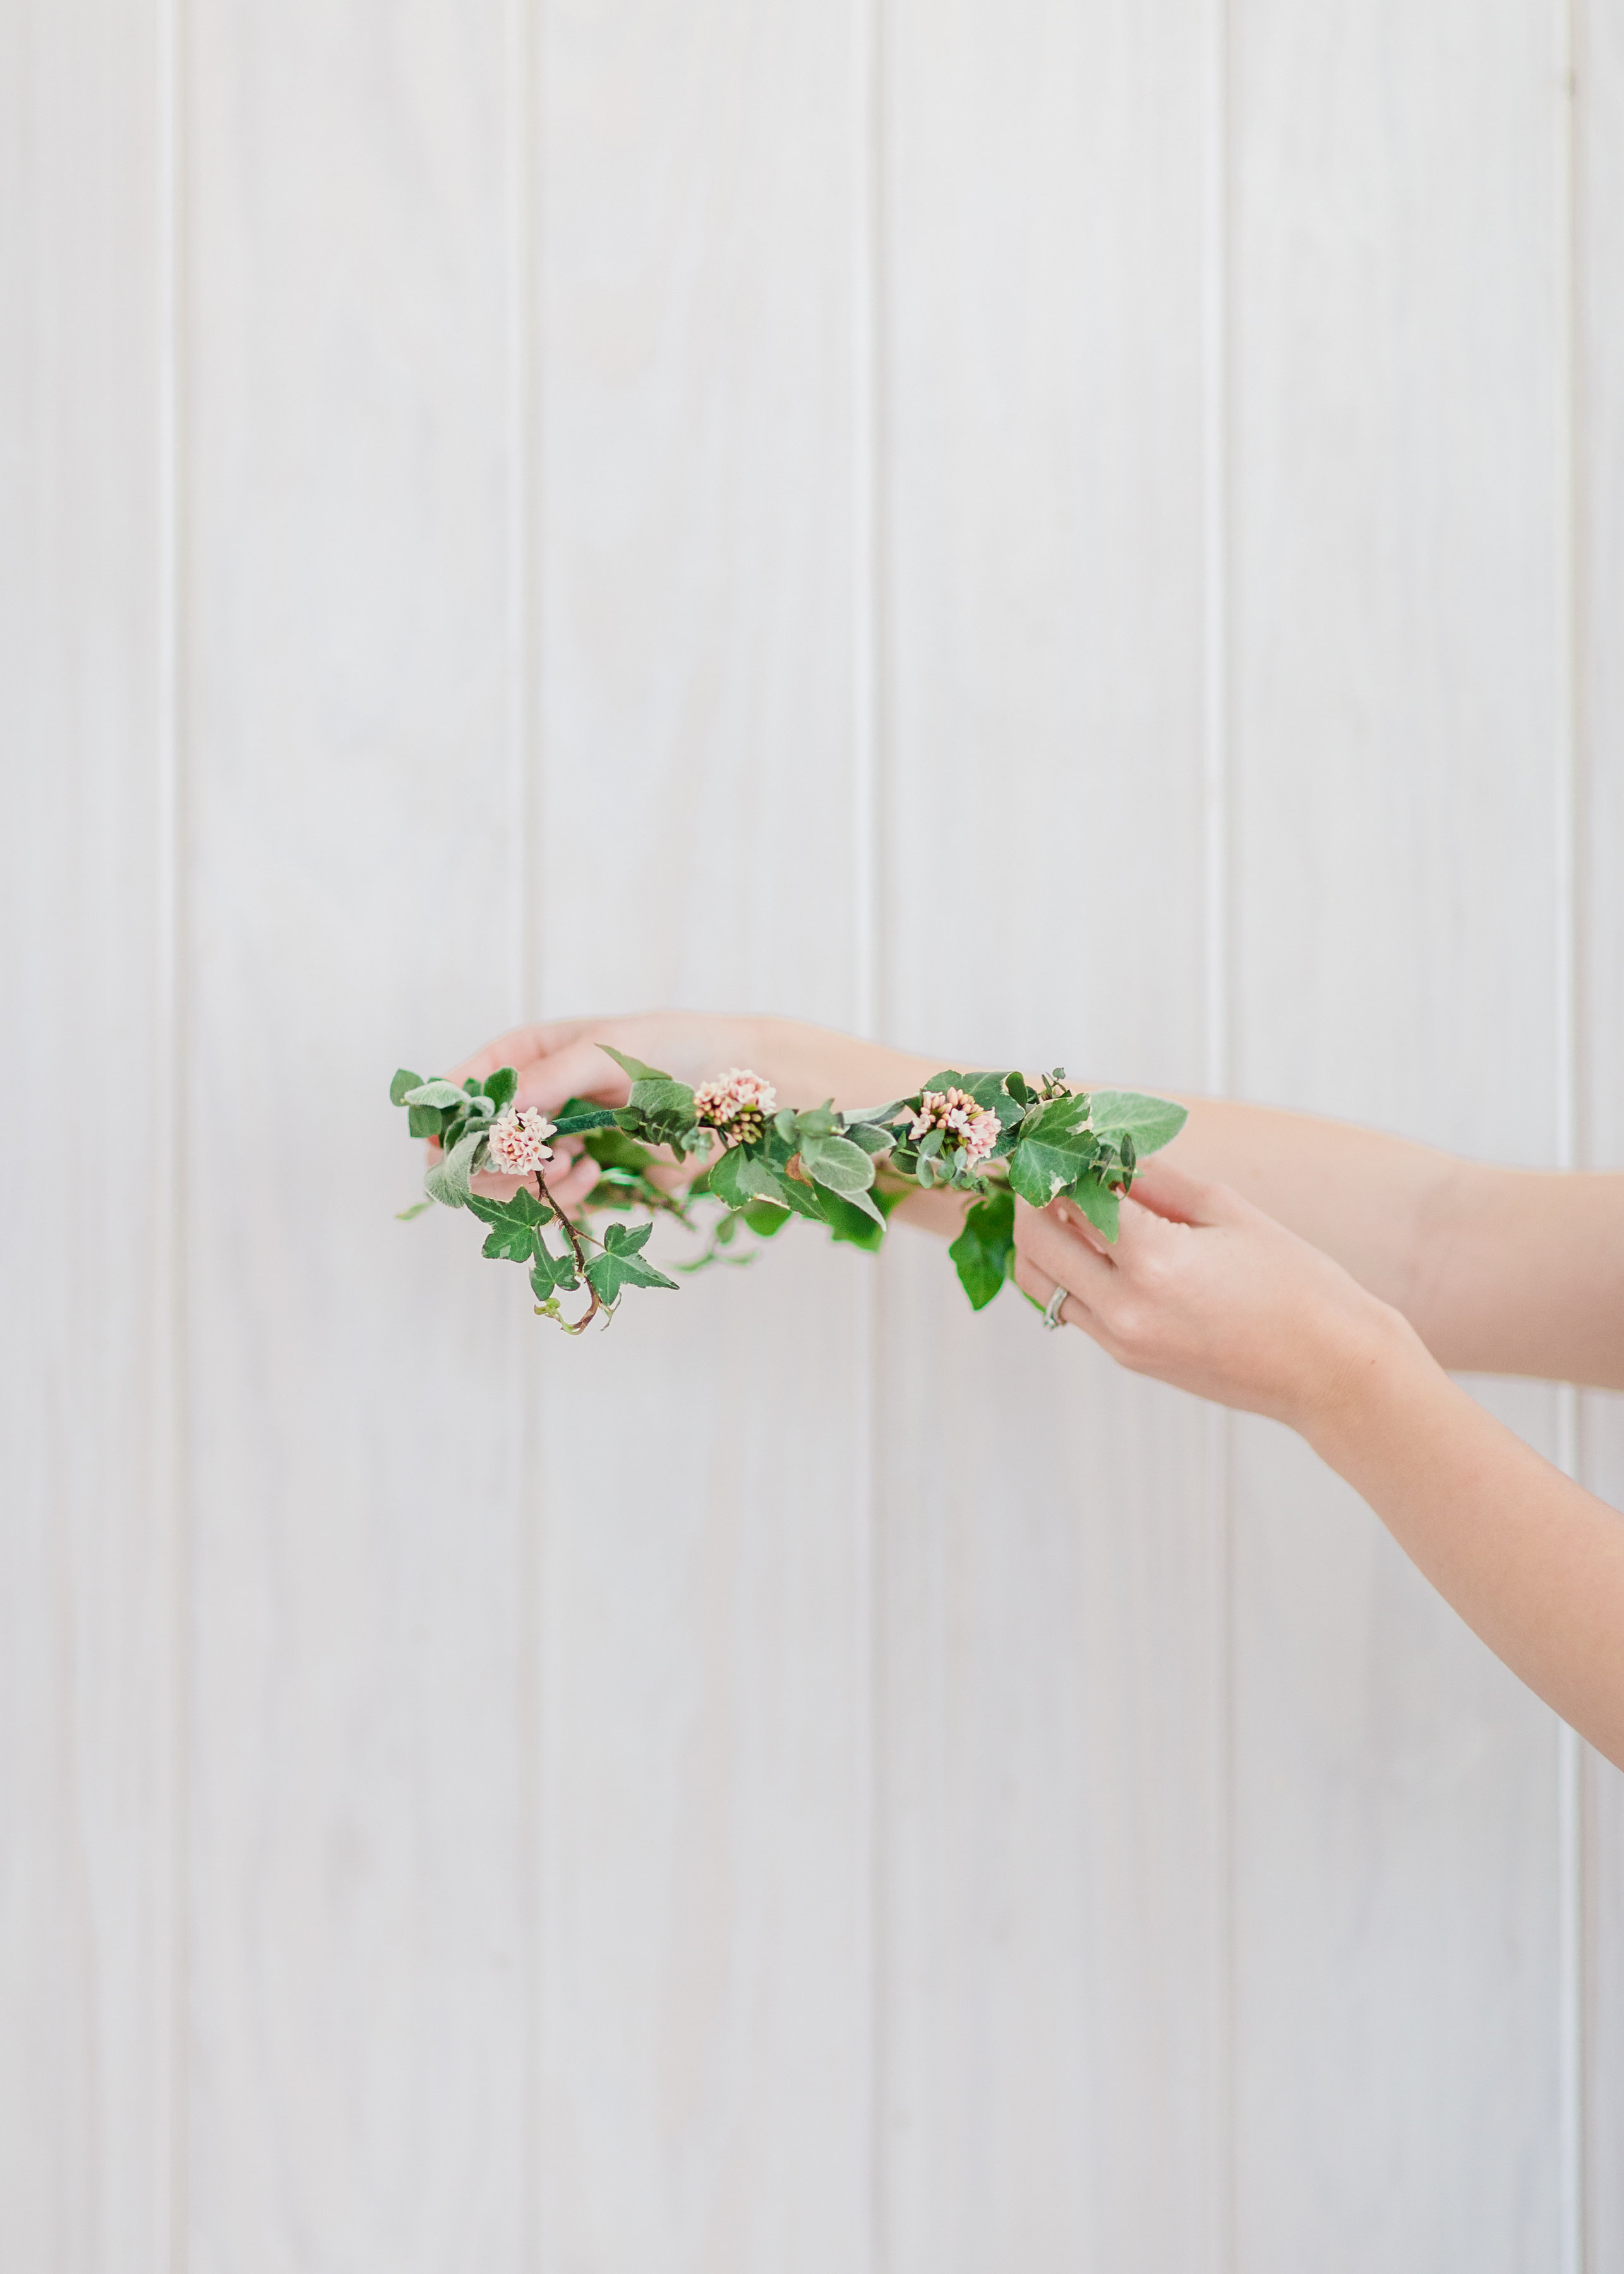
Begin by measuring the rough circumference of your head with the wire and create a “hook” on each end of the wire. (These will hook together at the end to keep and hold your crown in place on top of your head.)
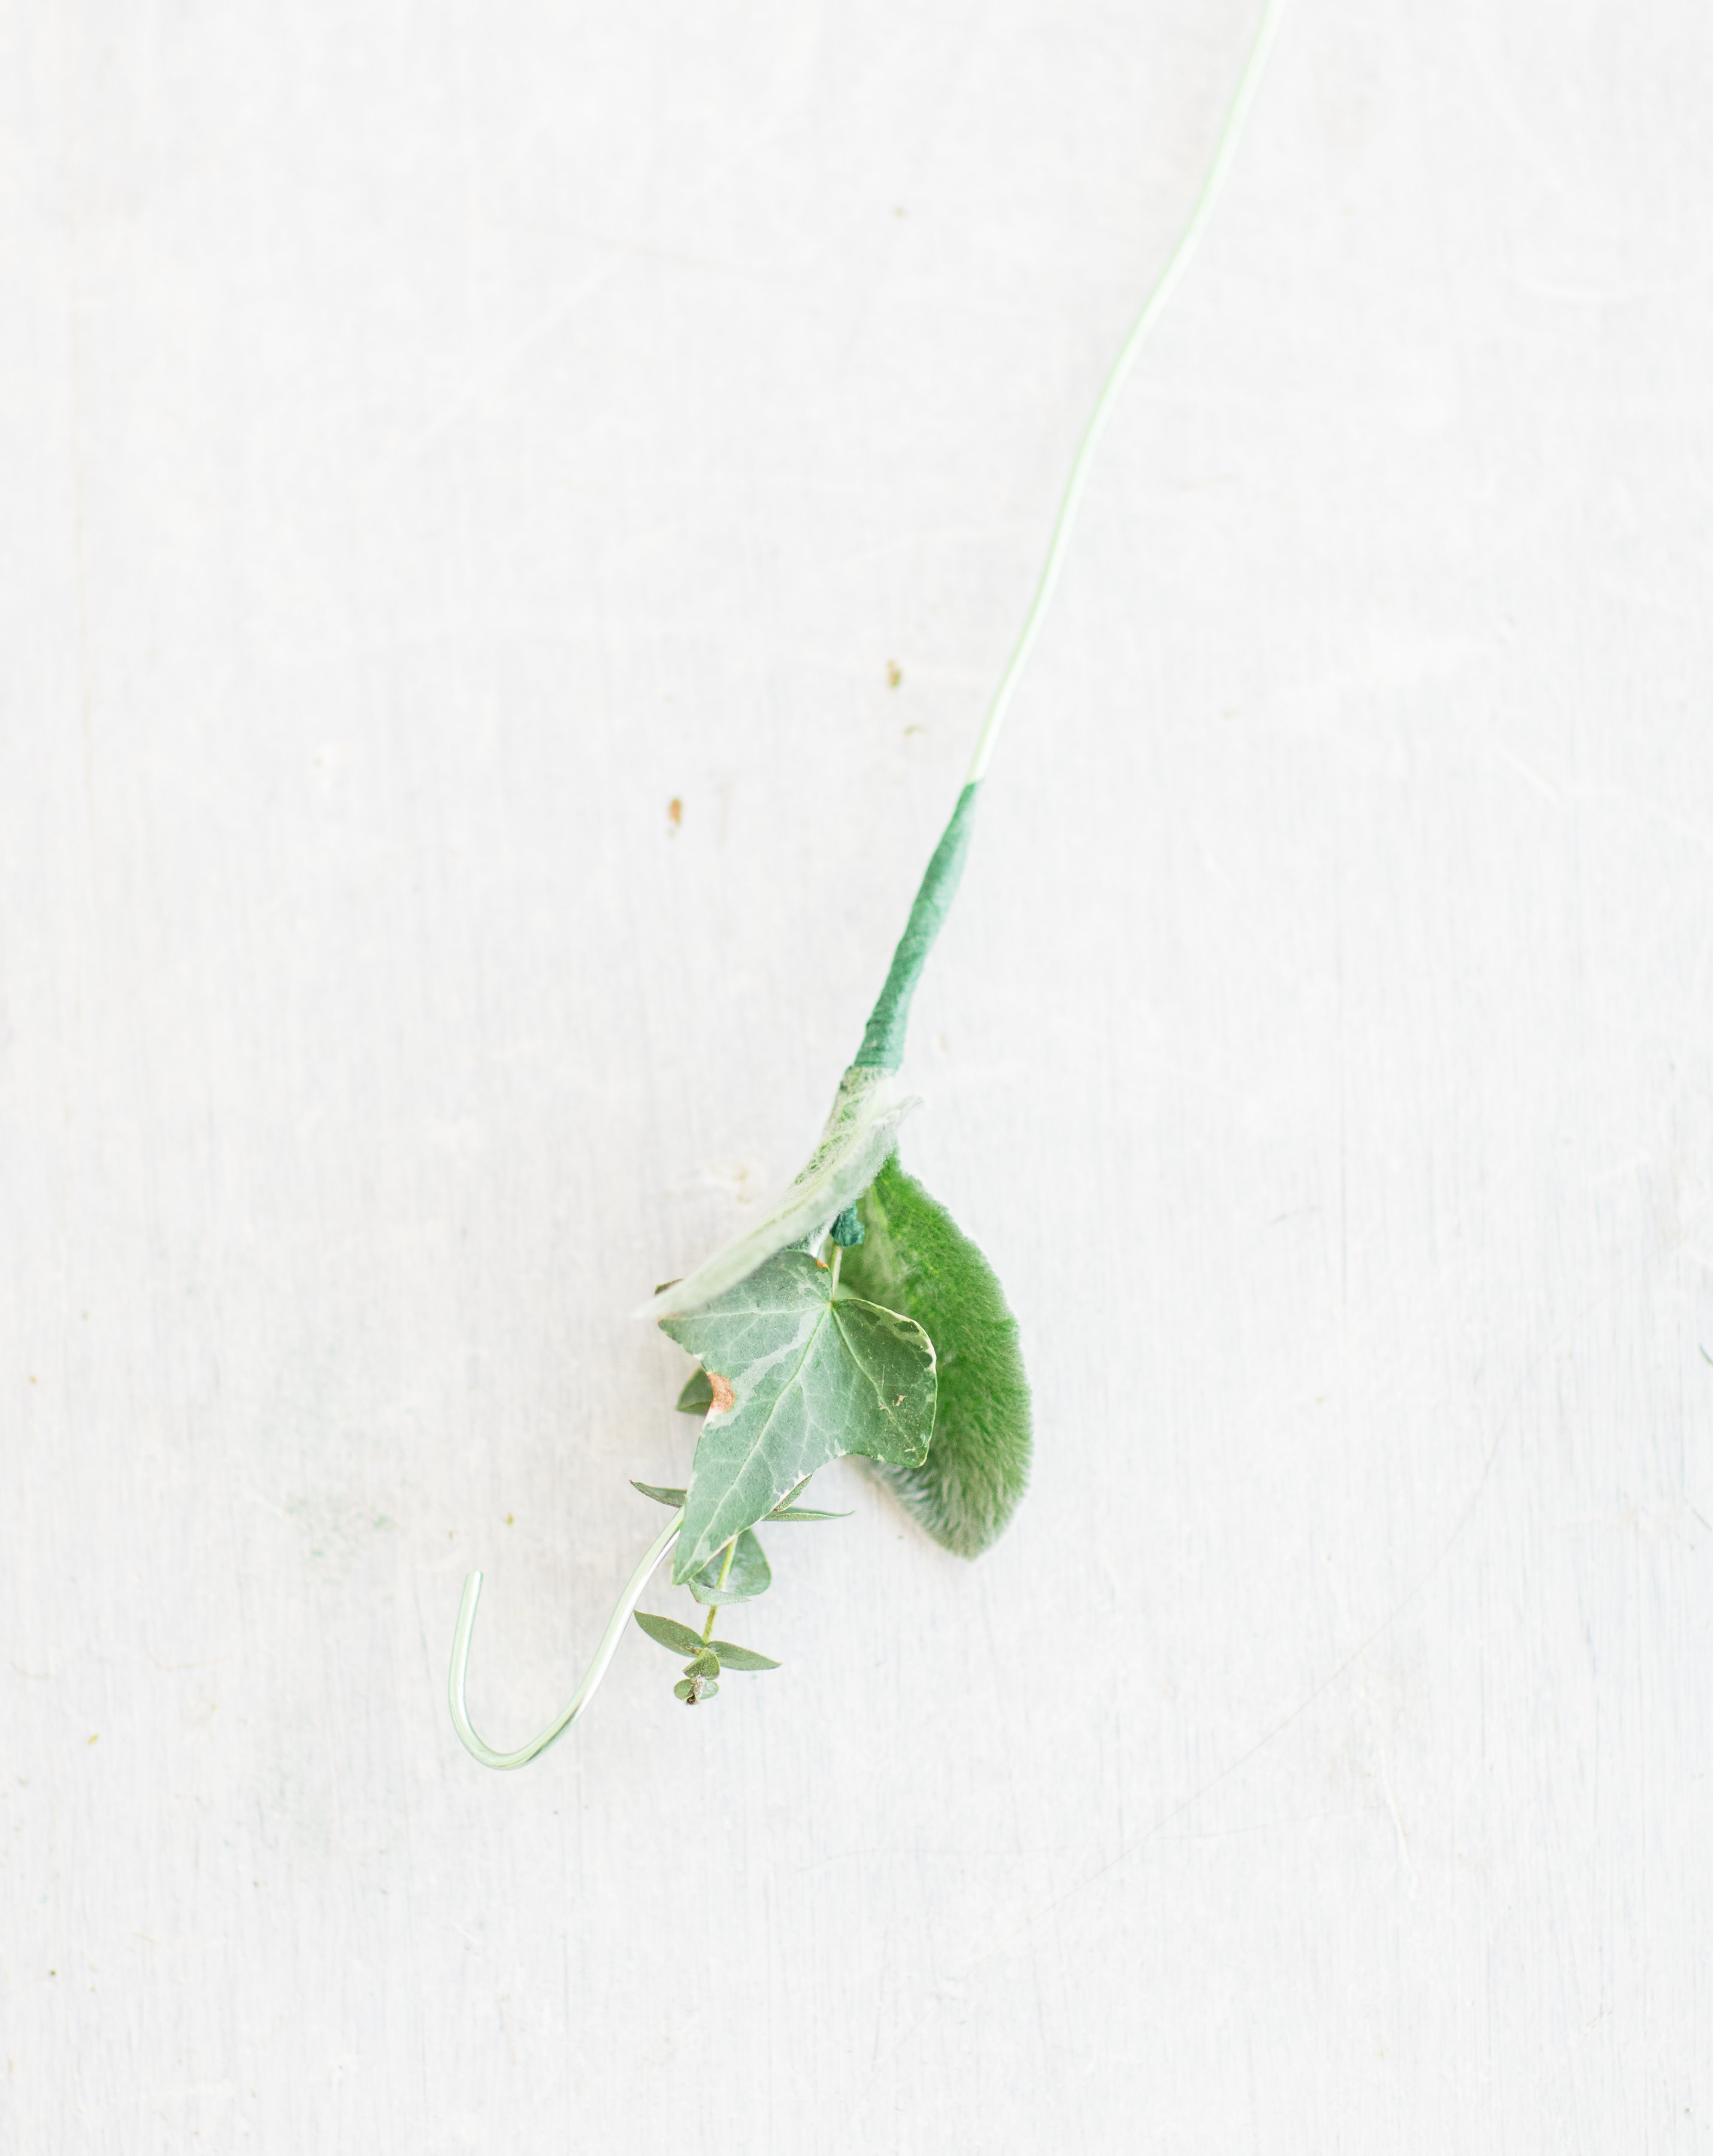
Pick up and bunch together a small group of flowers and greenery and place against the wire just before one of the “hooks.”
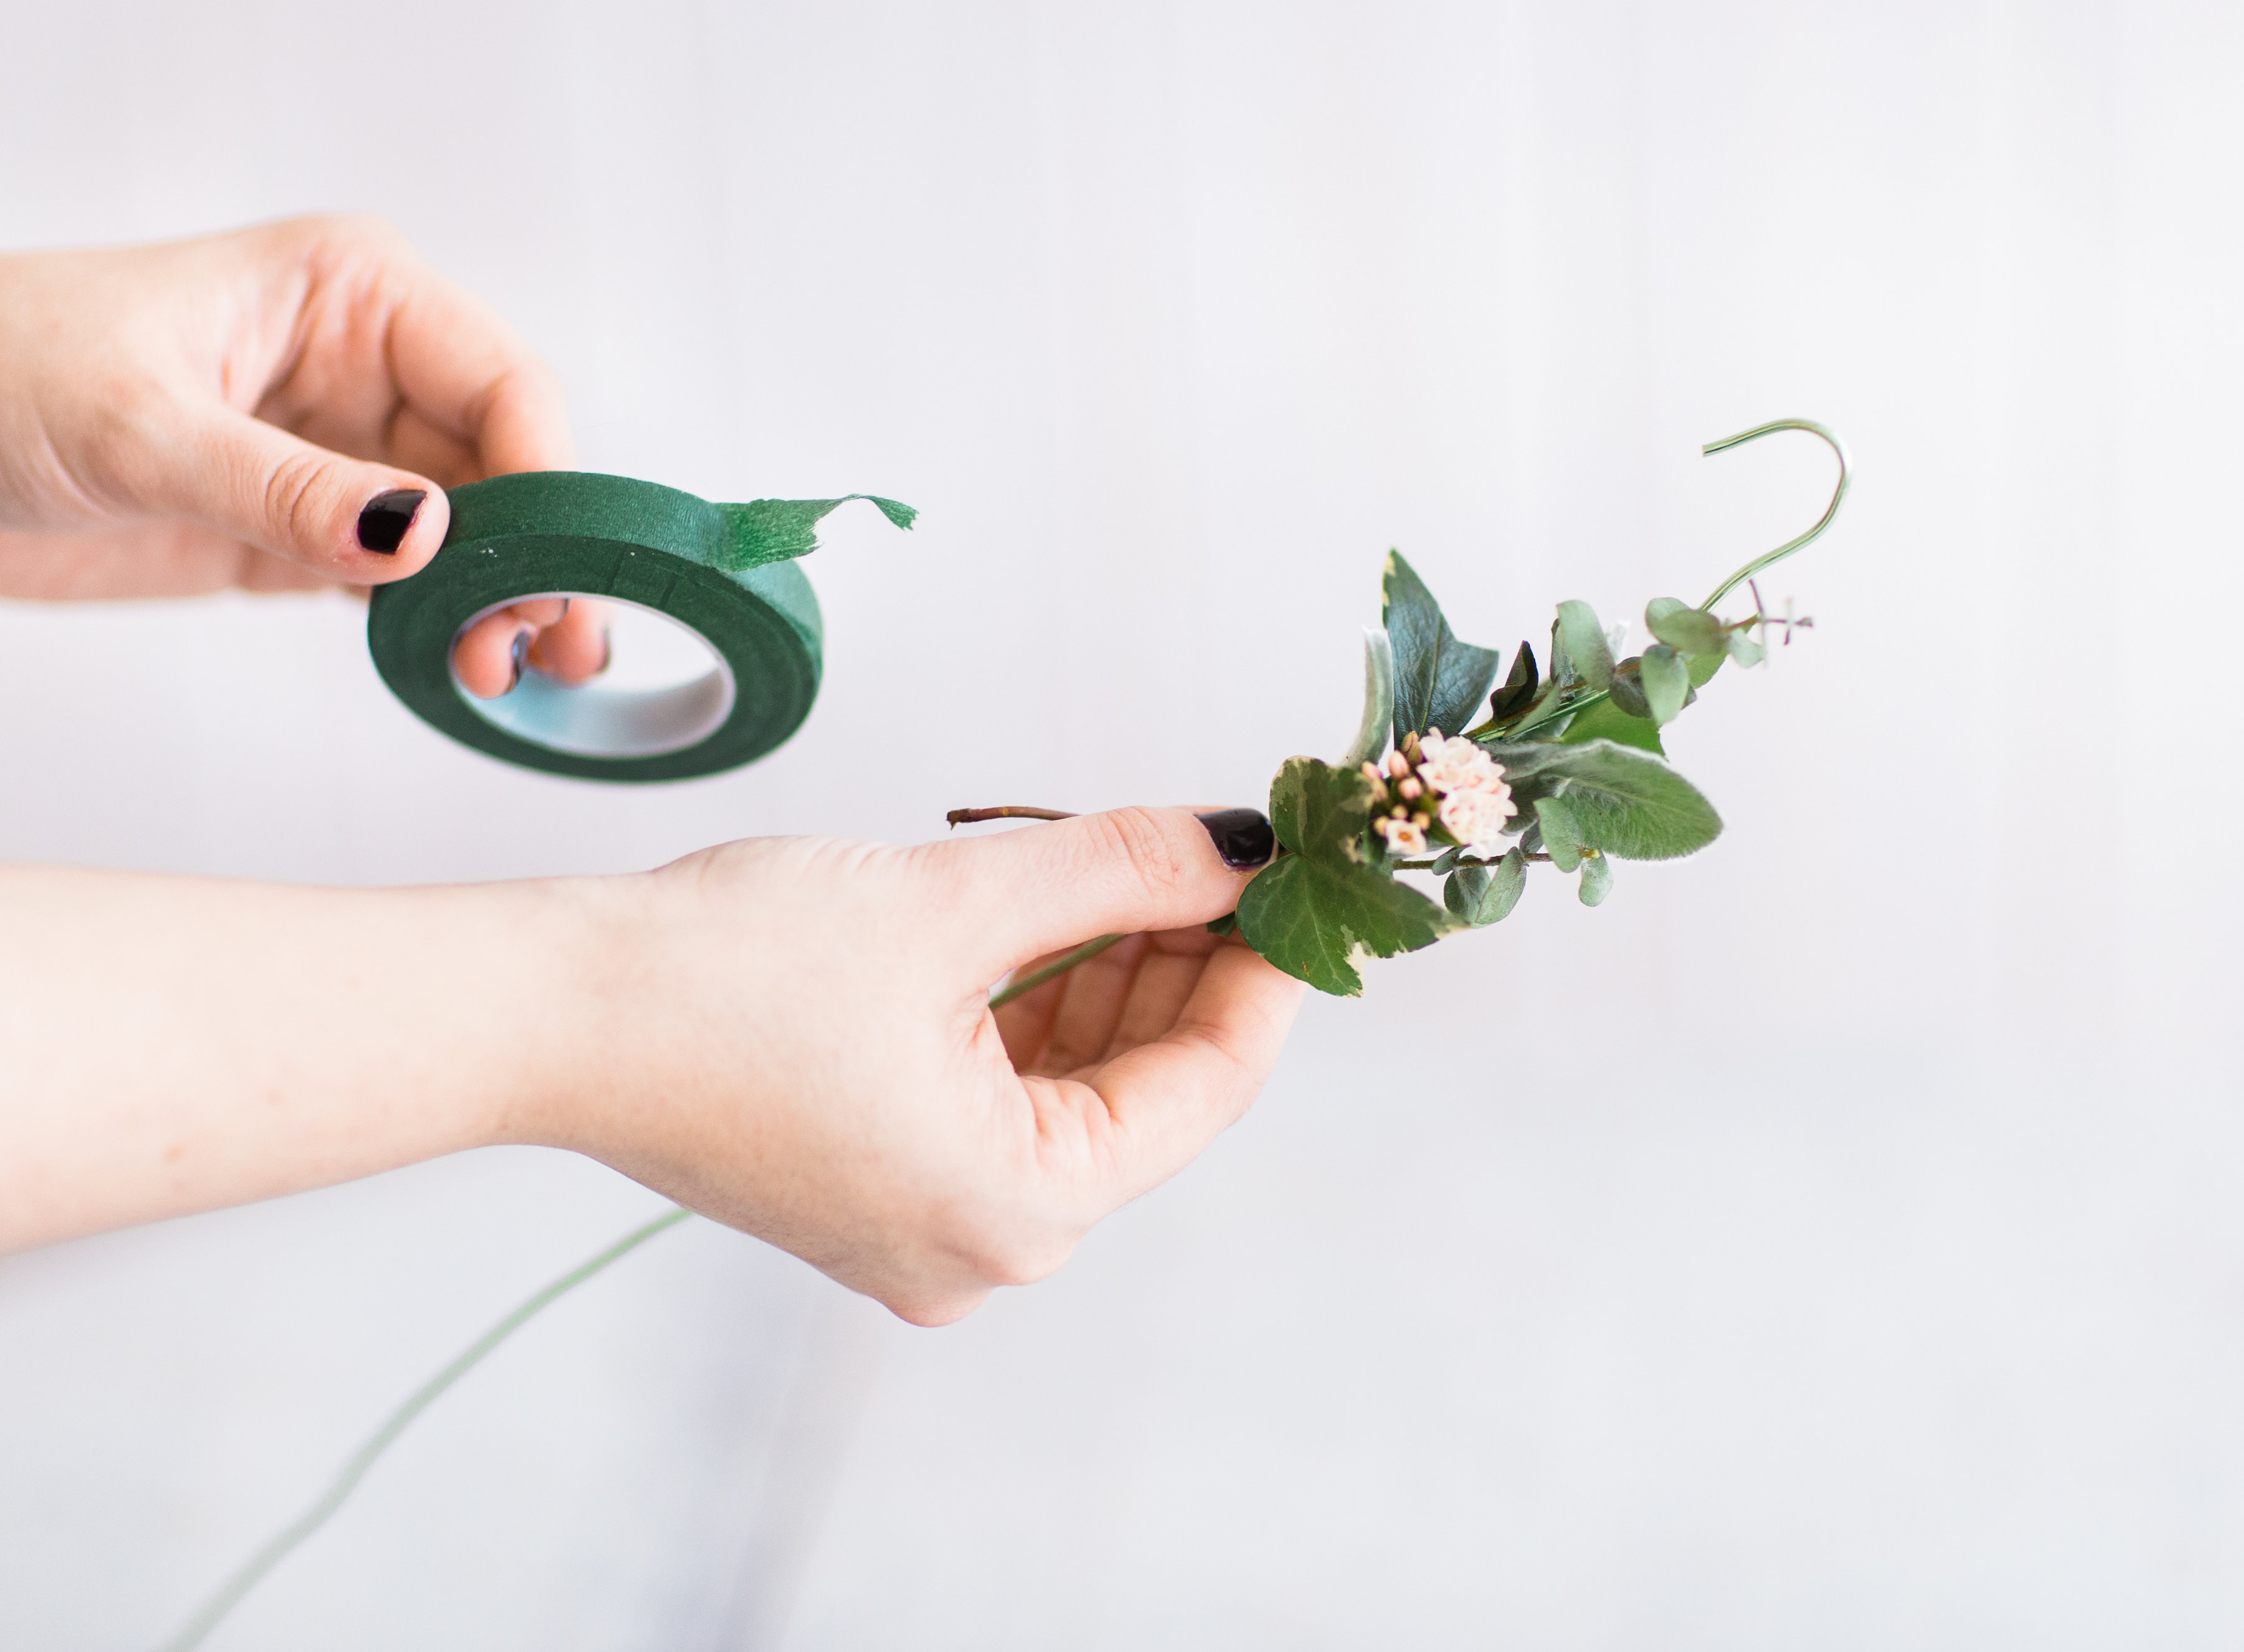
Using floral stretch tape, wrap the tape around the stems while tugging slightly to stretch the tape and secure your small bunch of flowers to the wire.
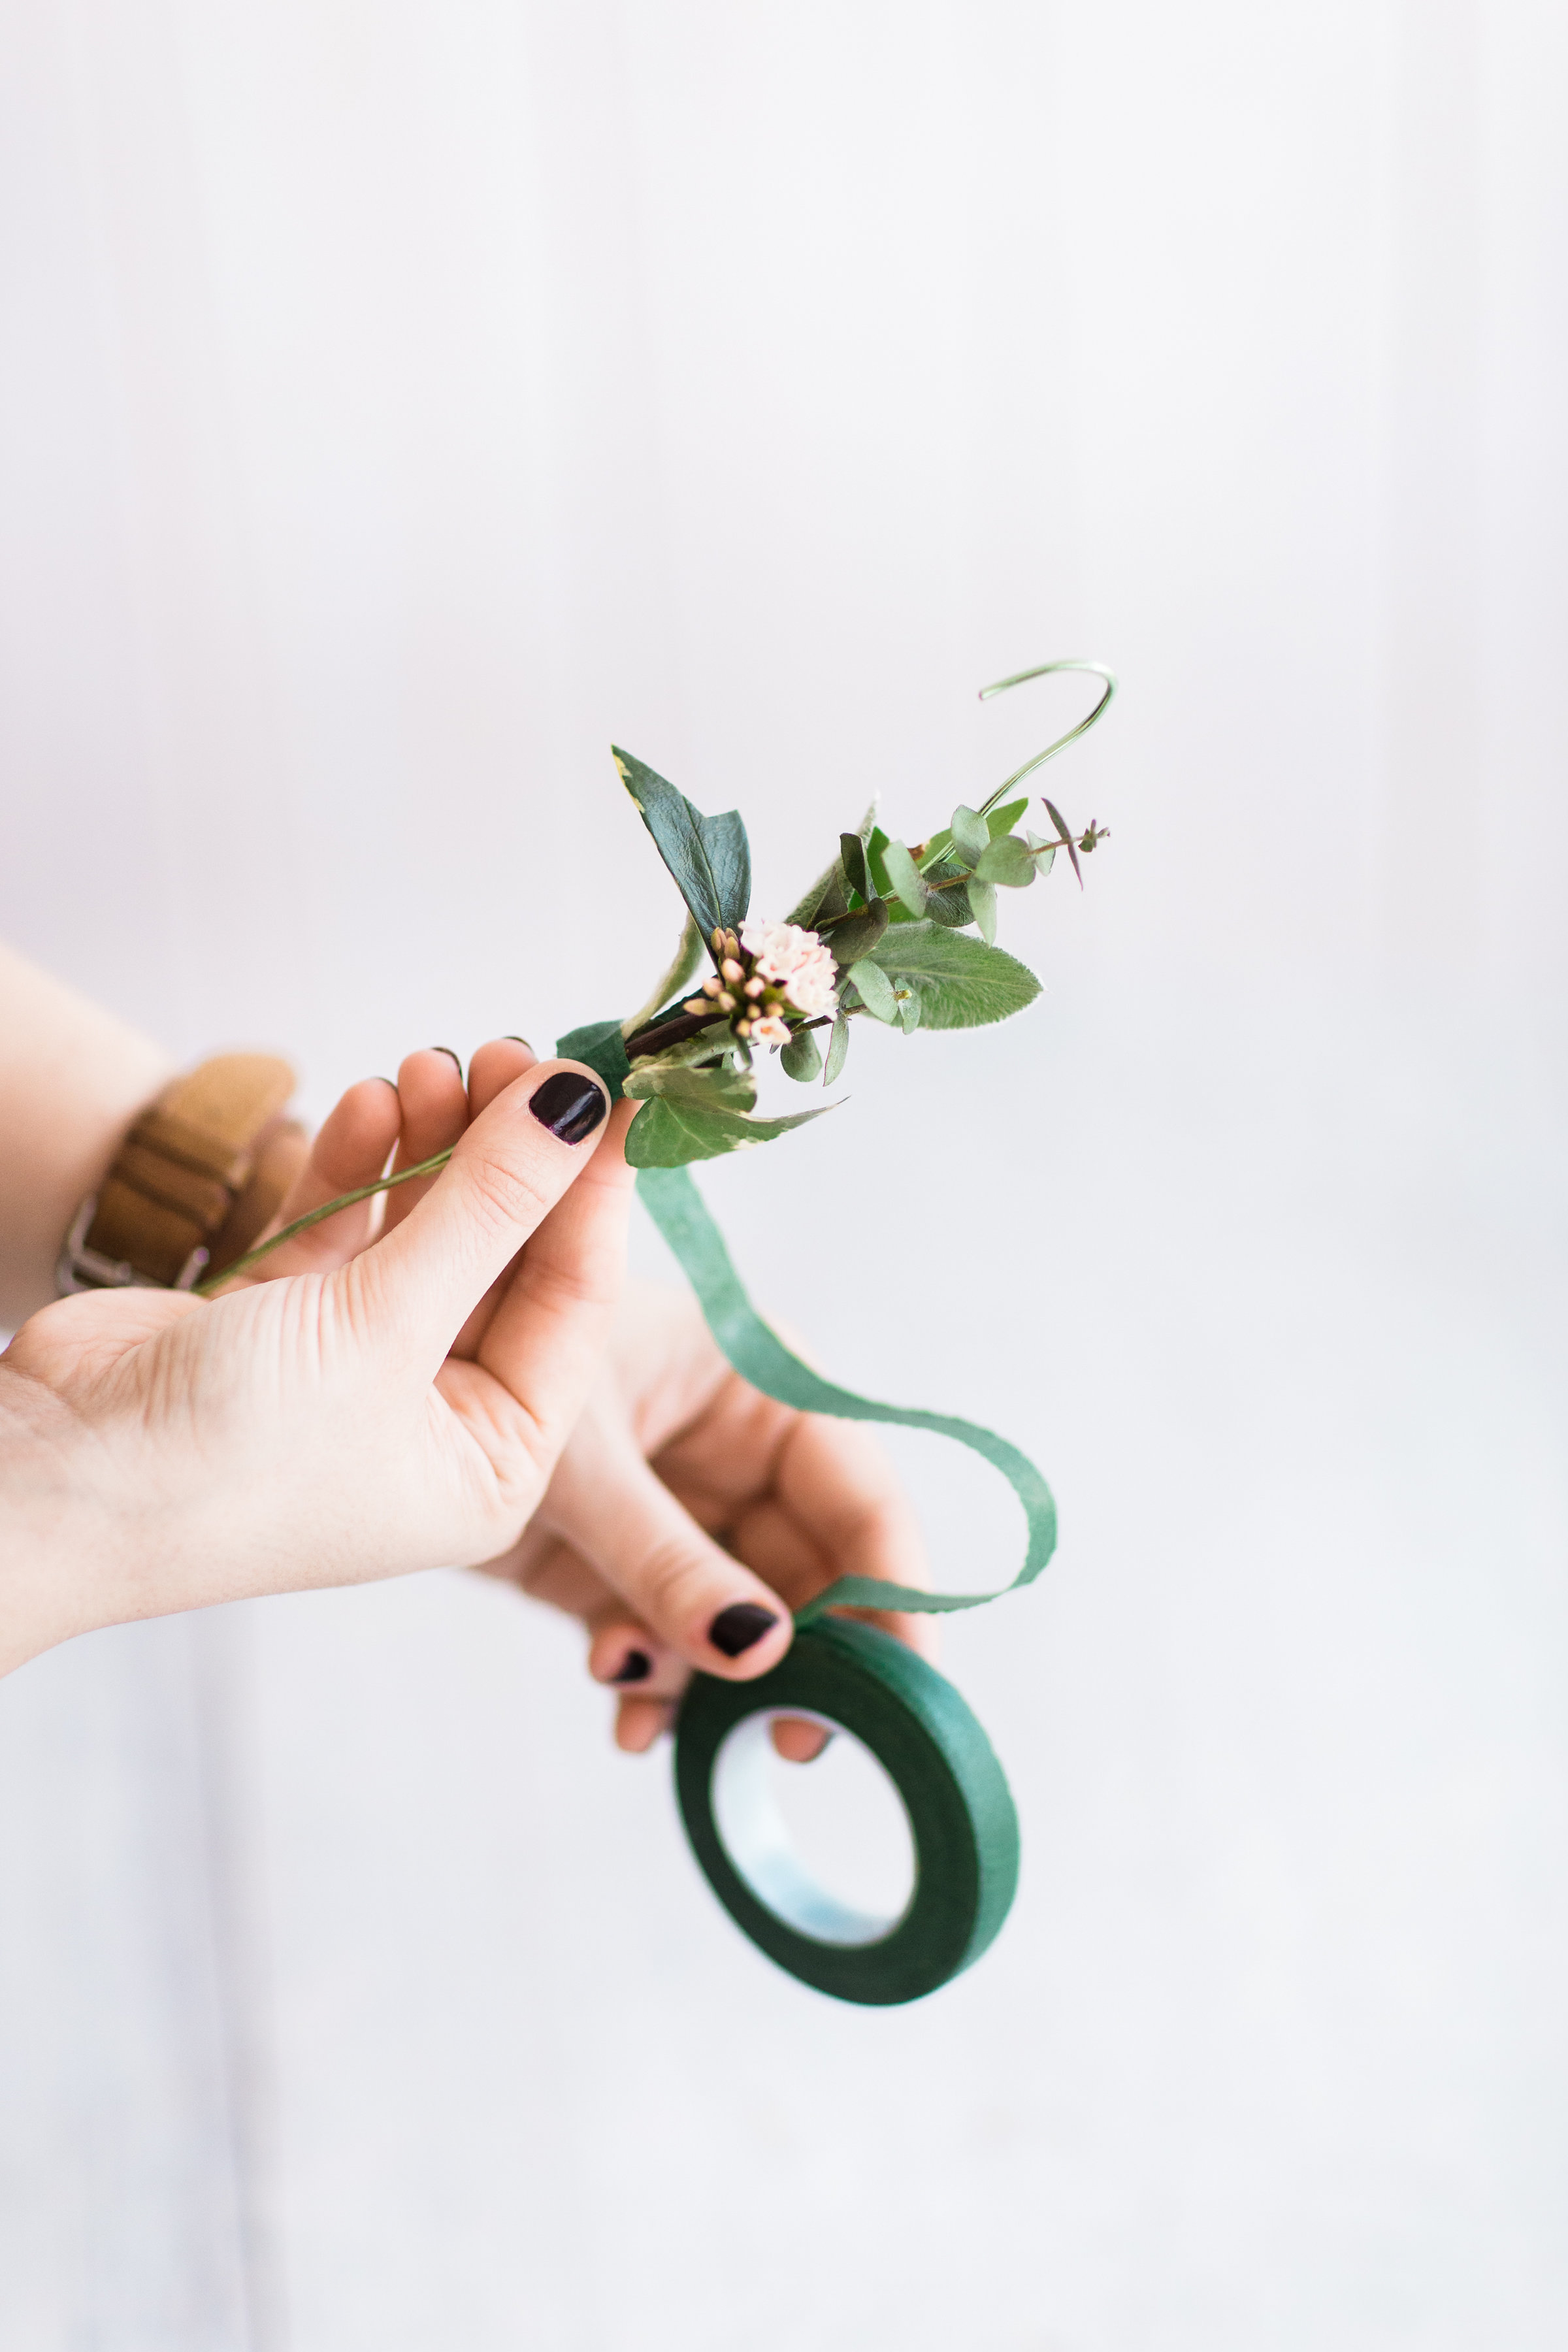
Continue to place a small bunch next to the previous one, wrap with tape to secure, until you have completed the length of the wire.
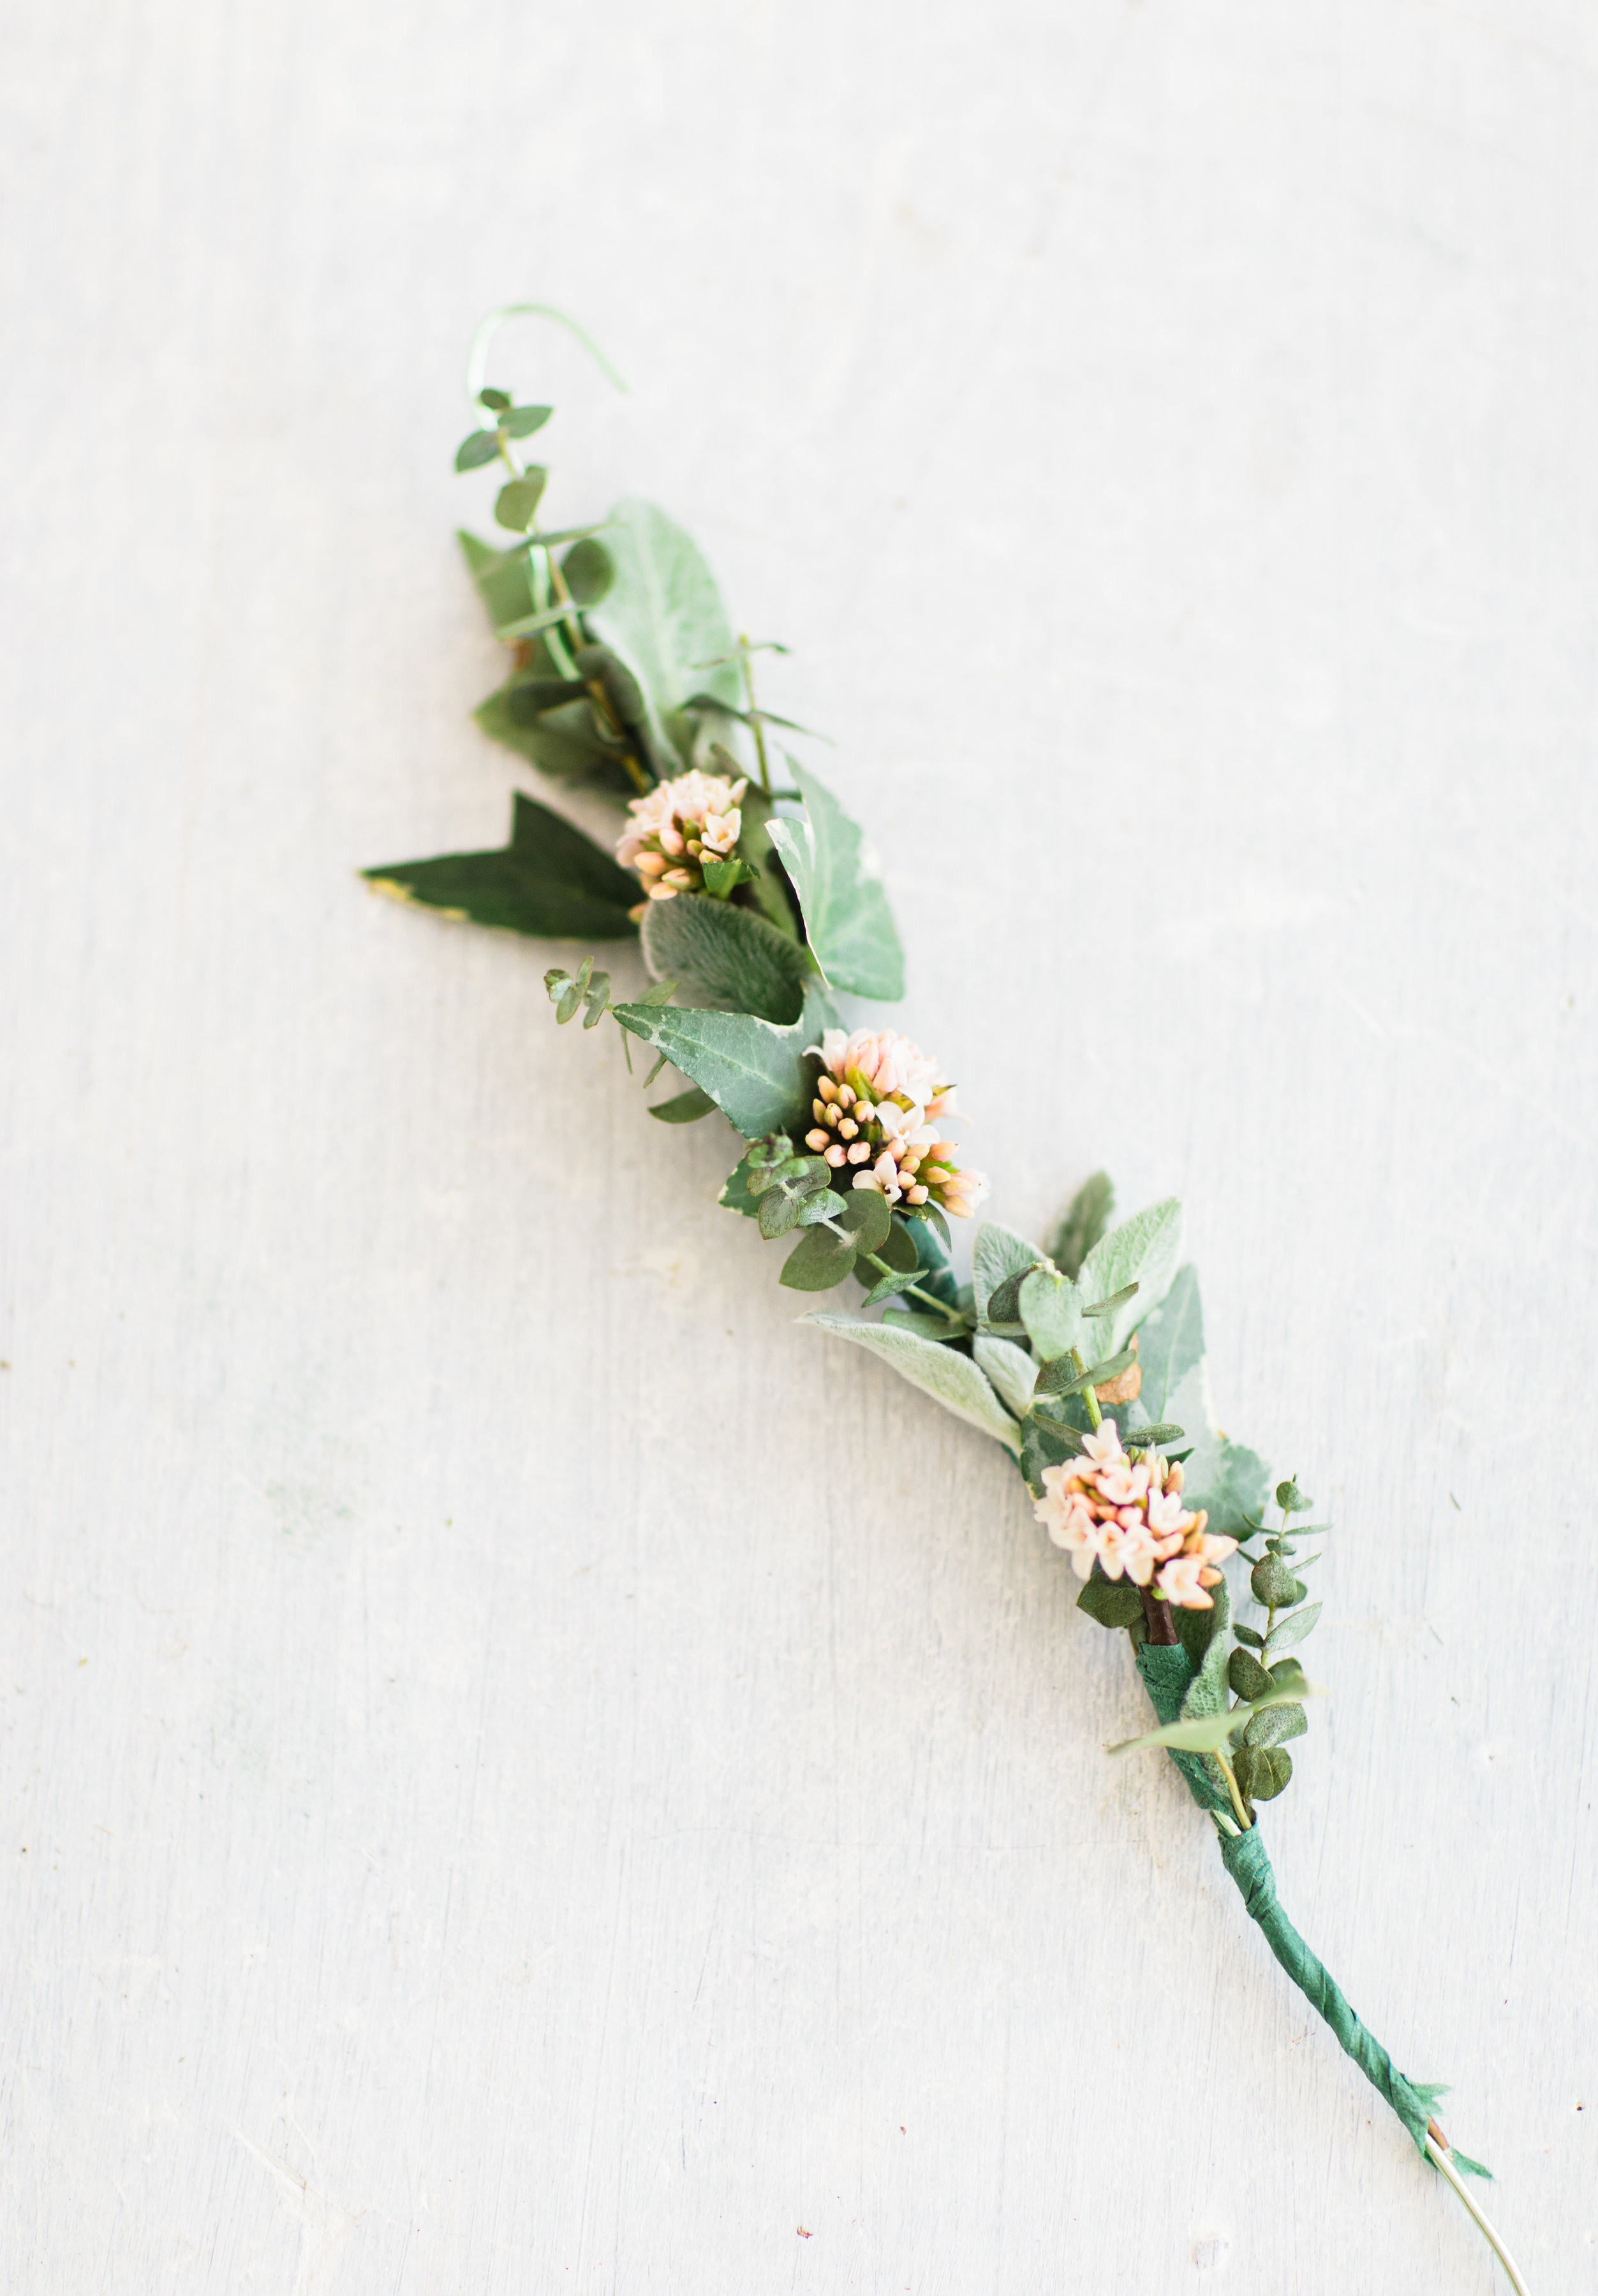
You’ll be surprised how quickly and simply this process goes!
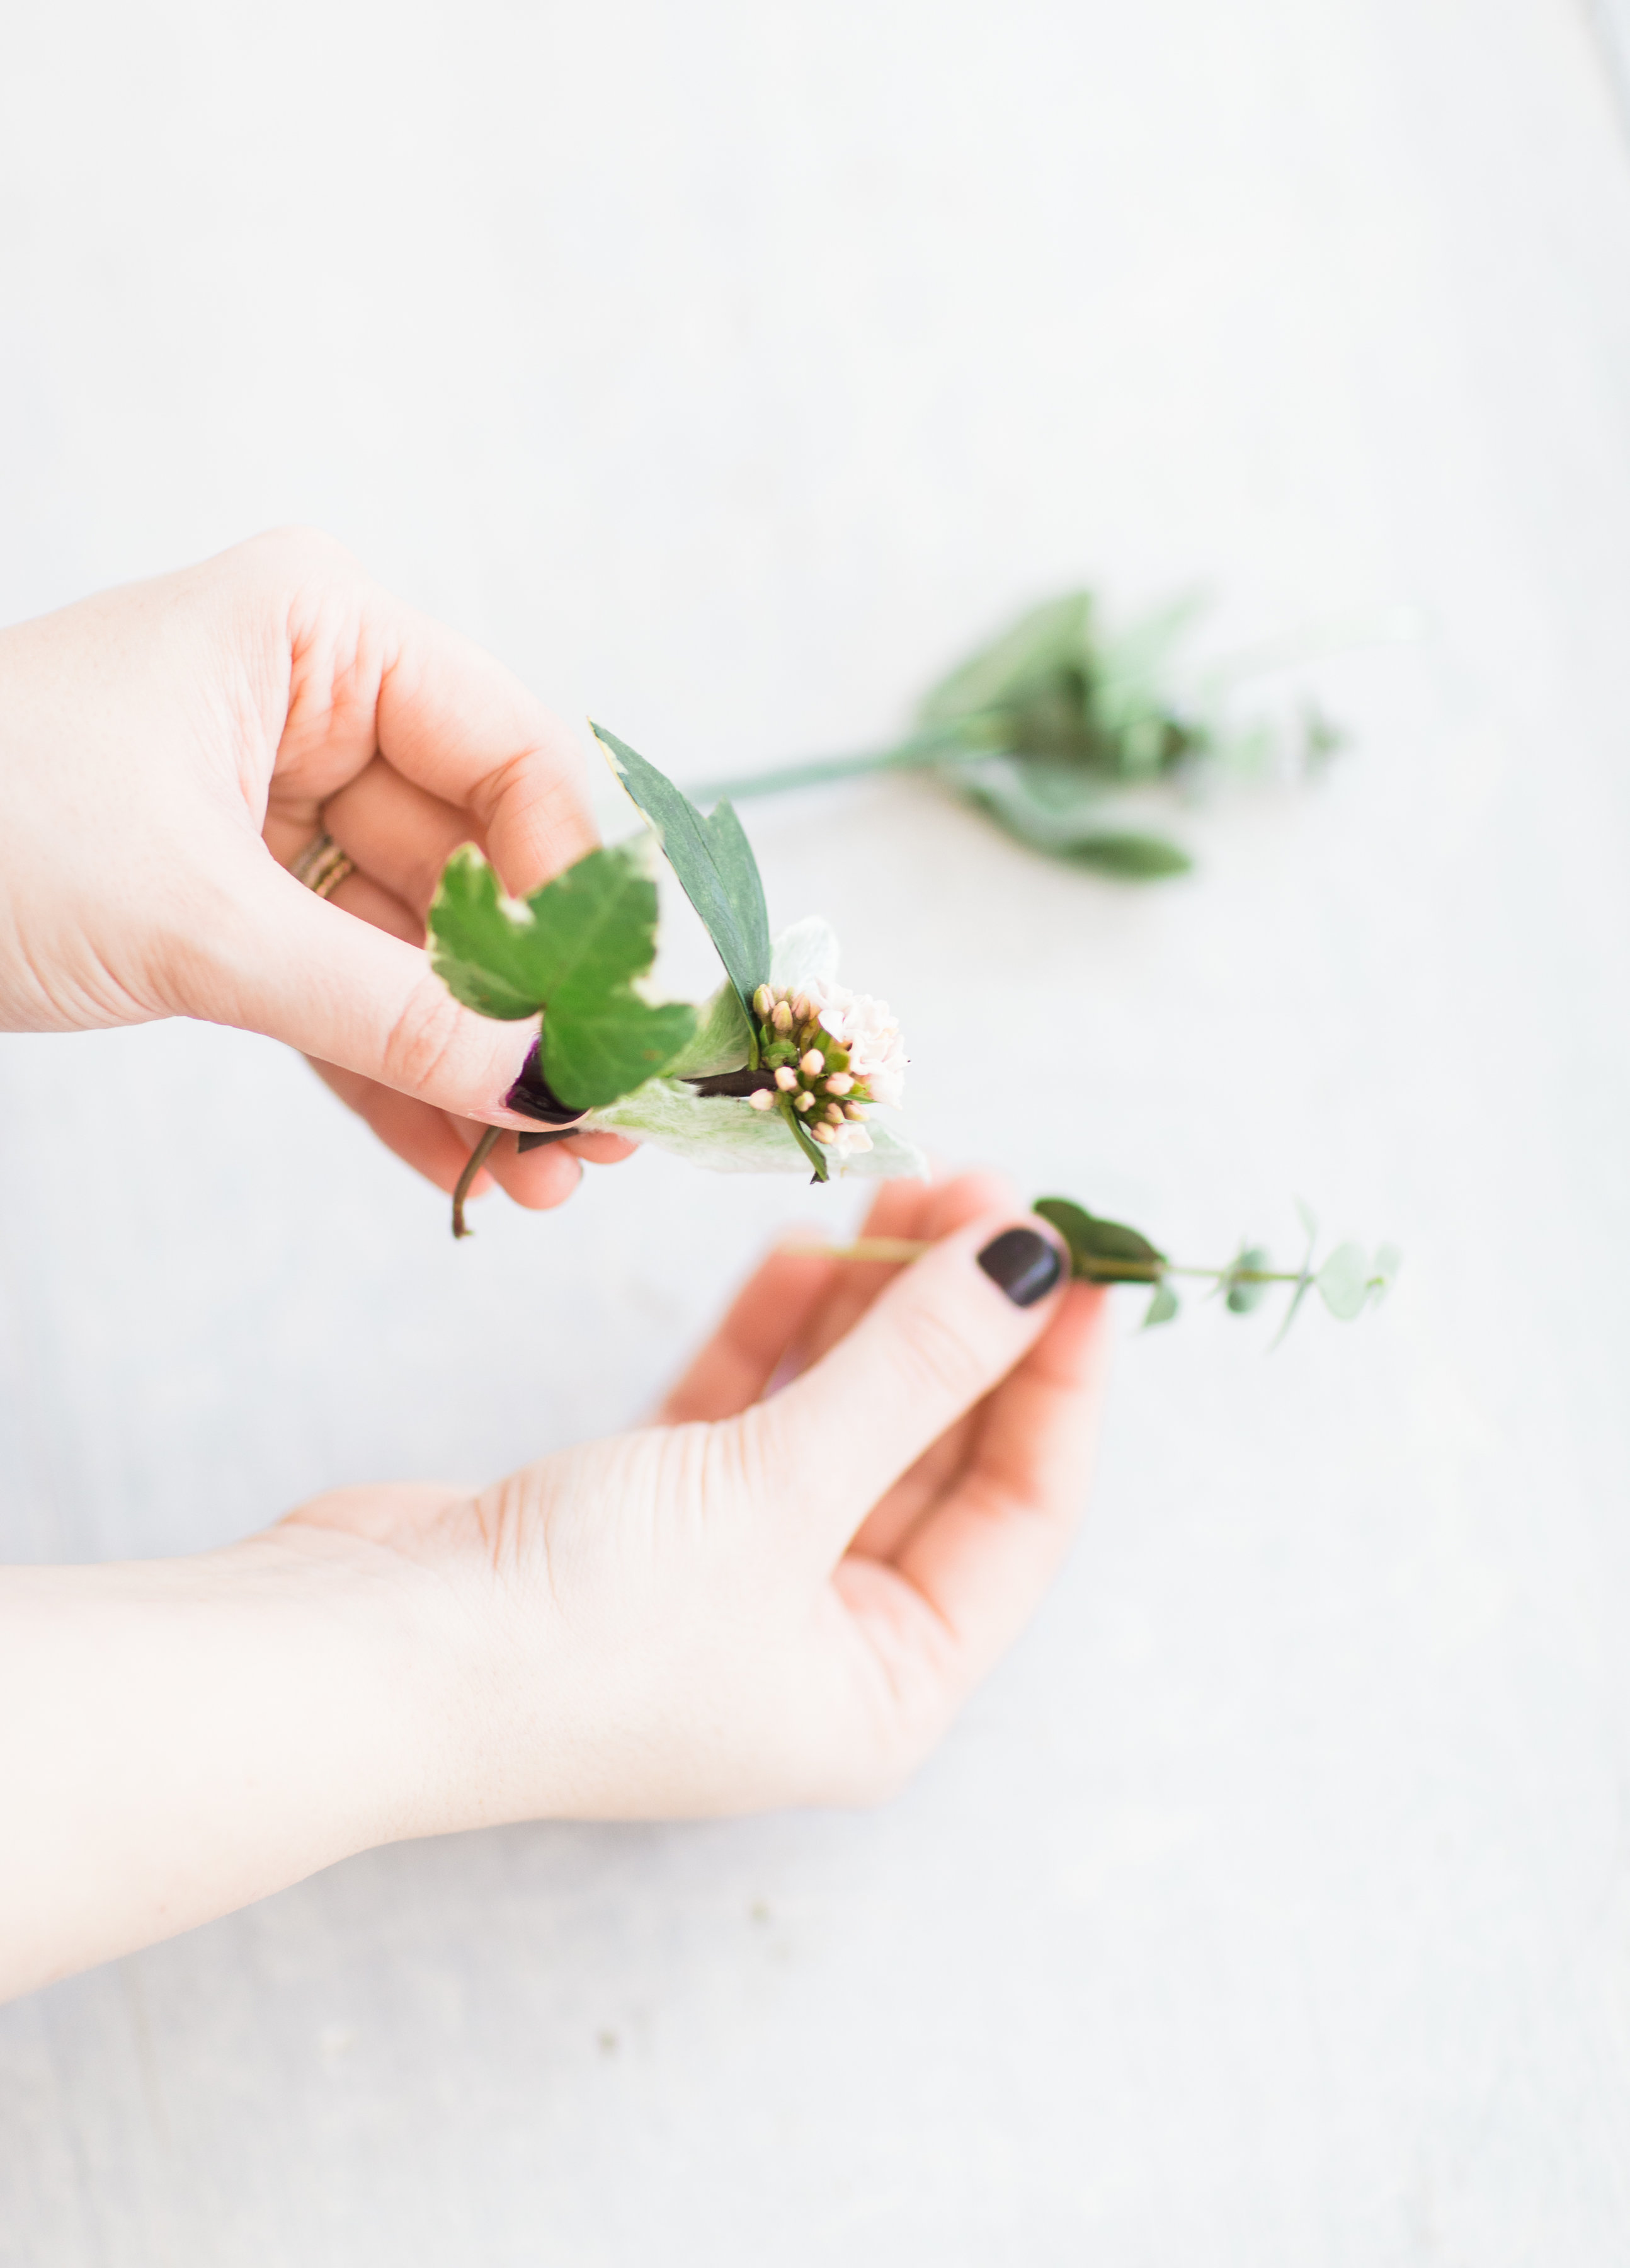
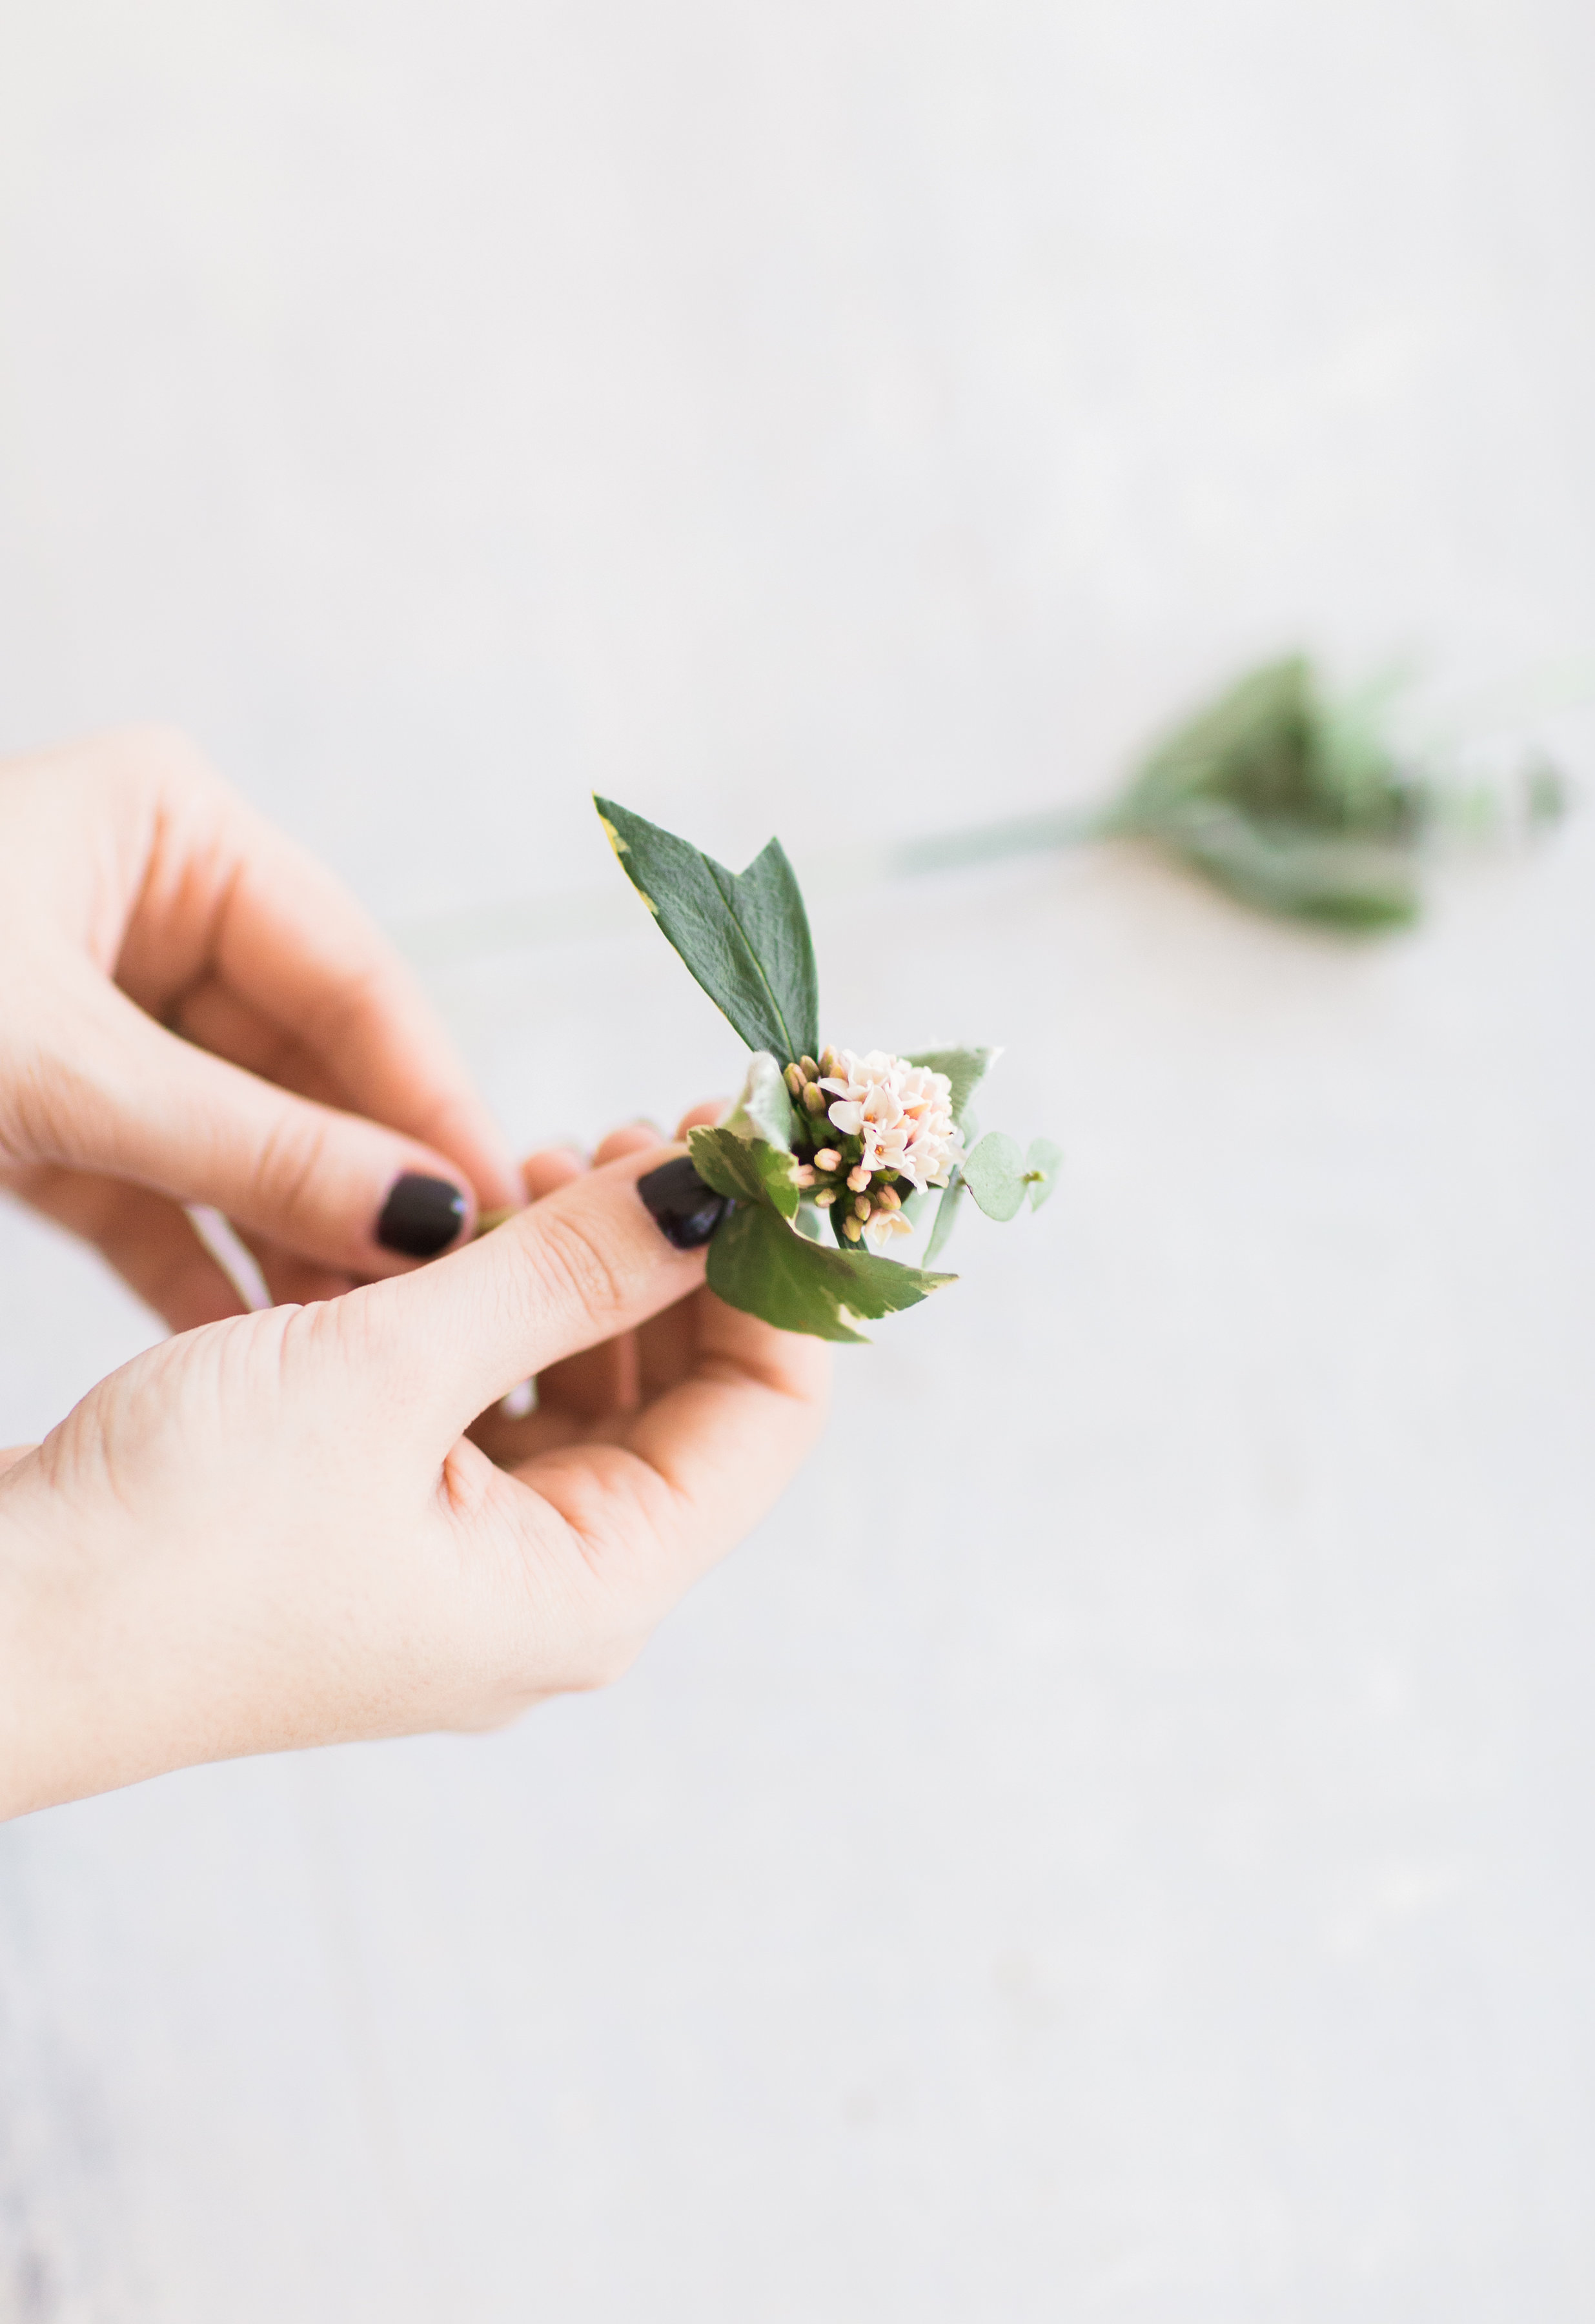
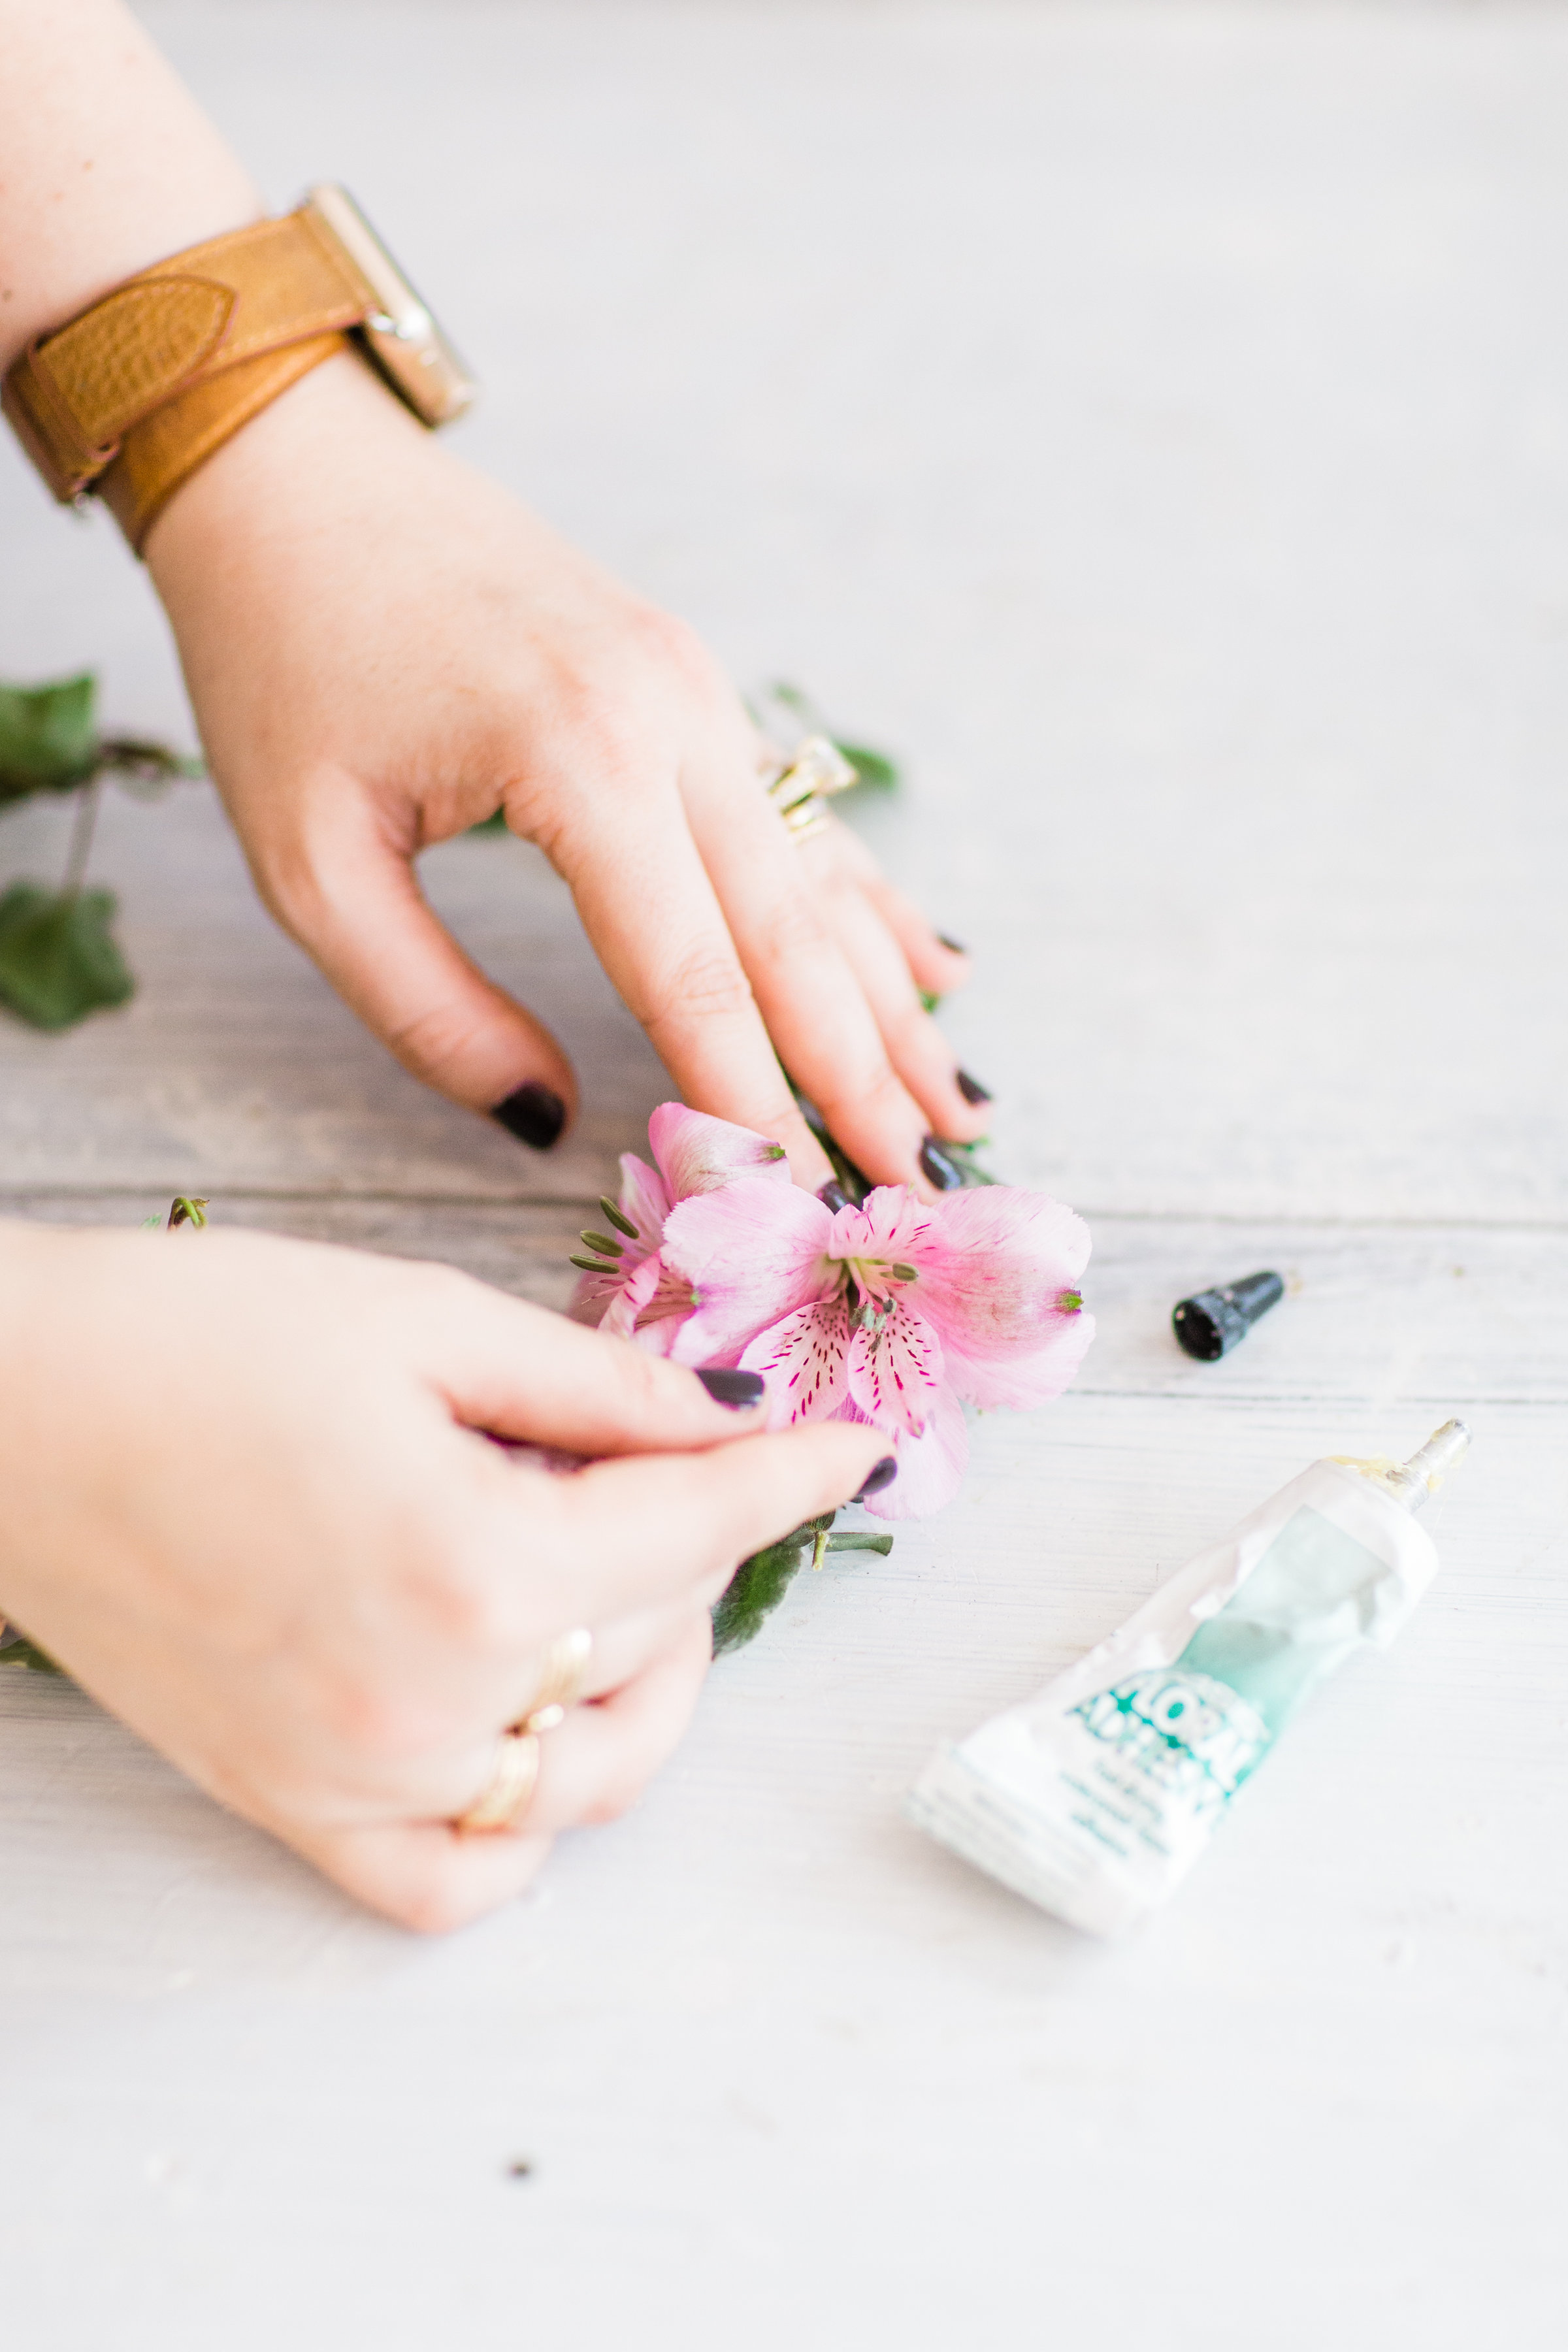
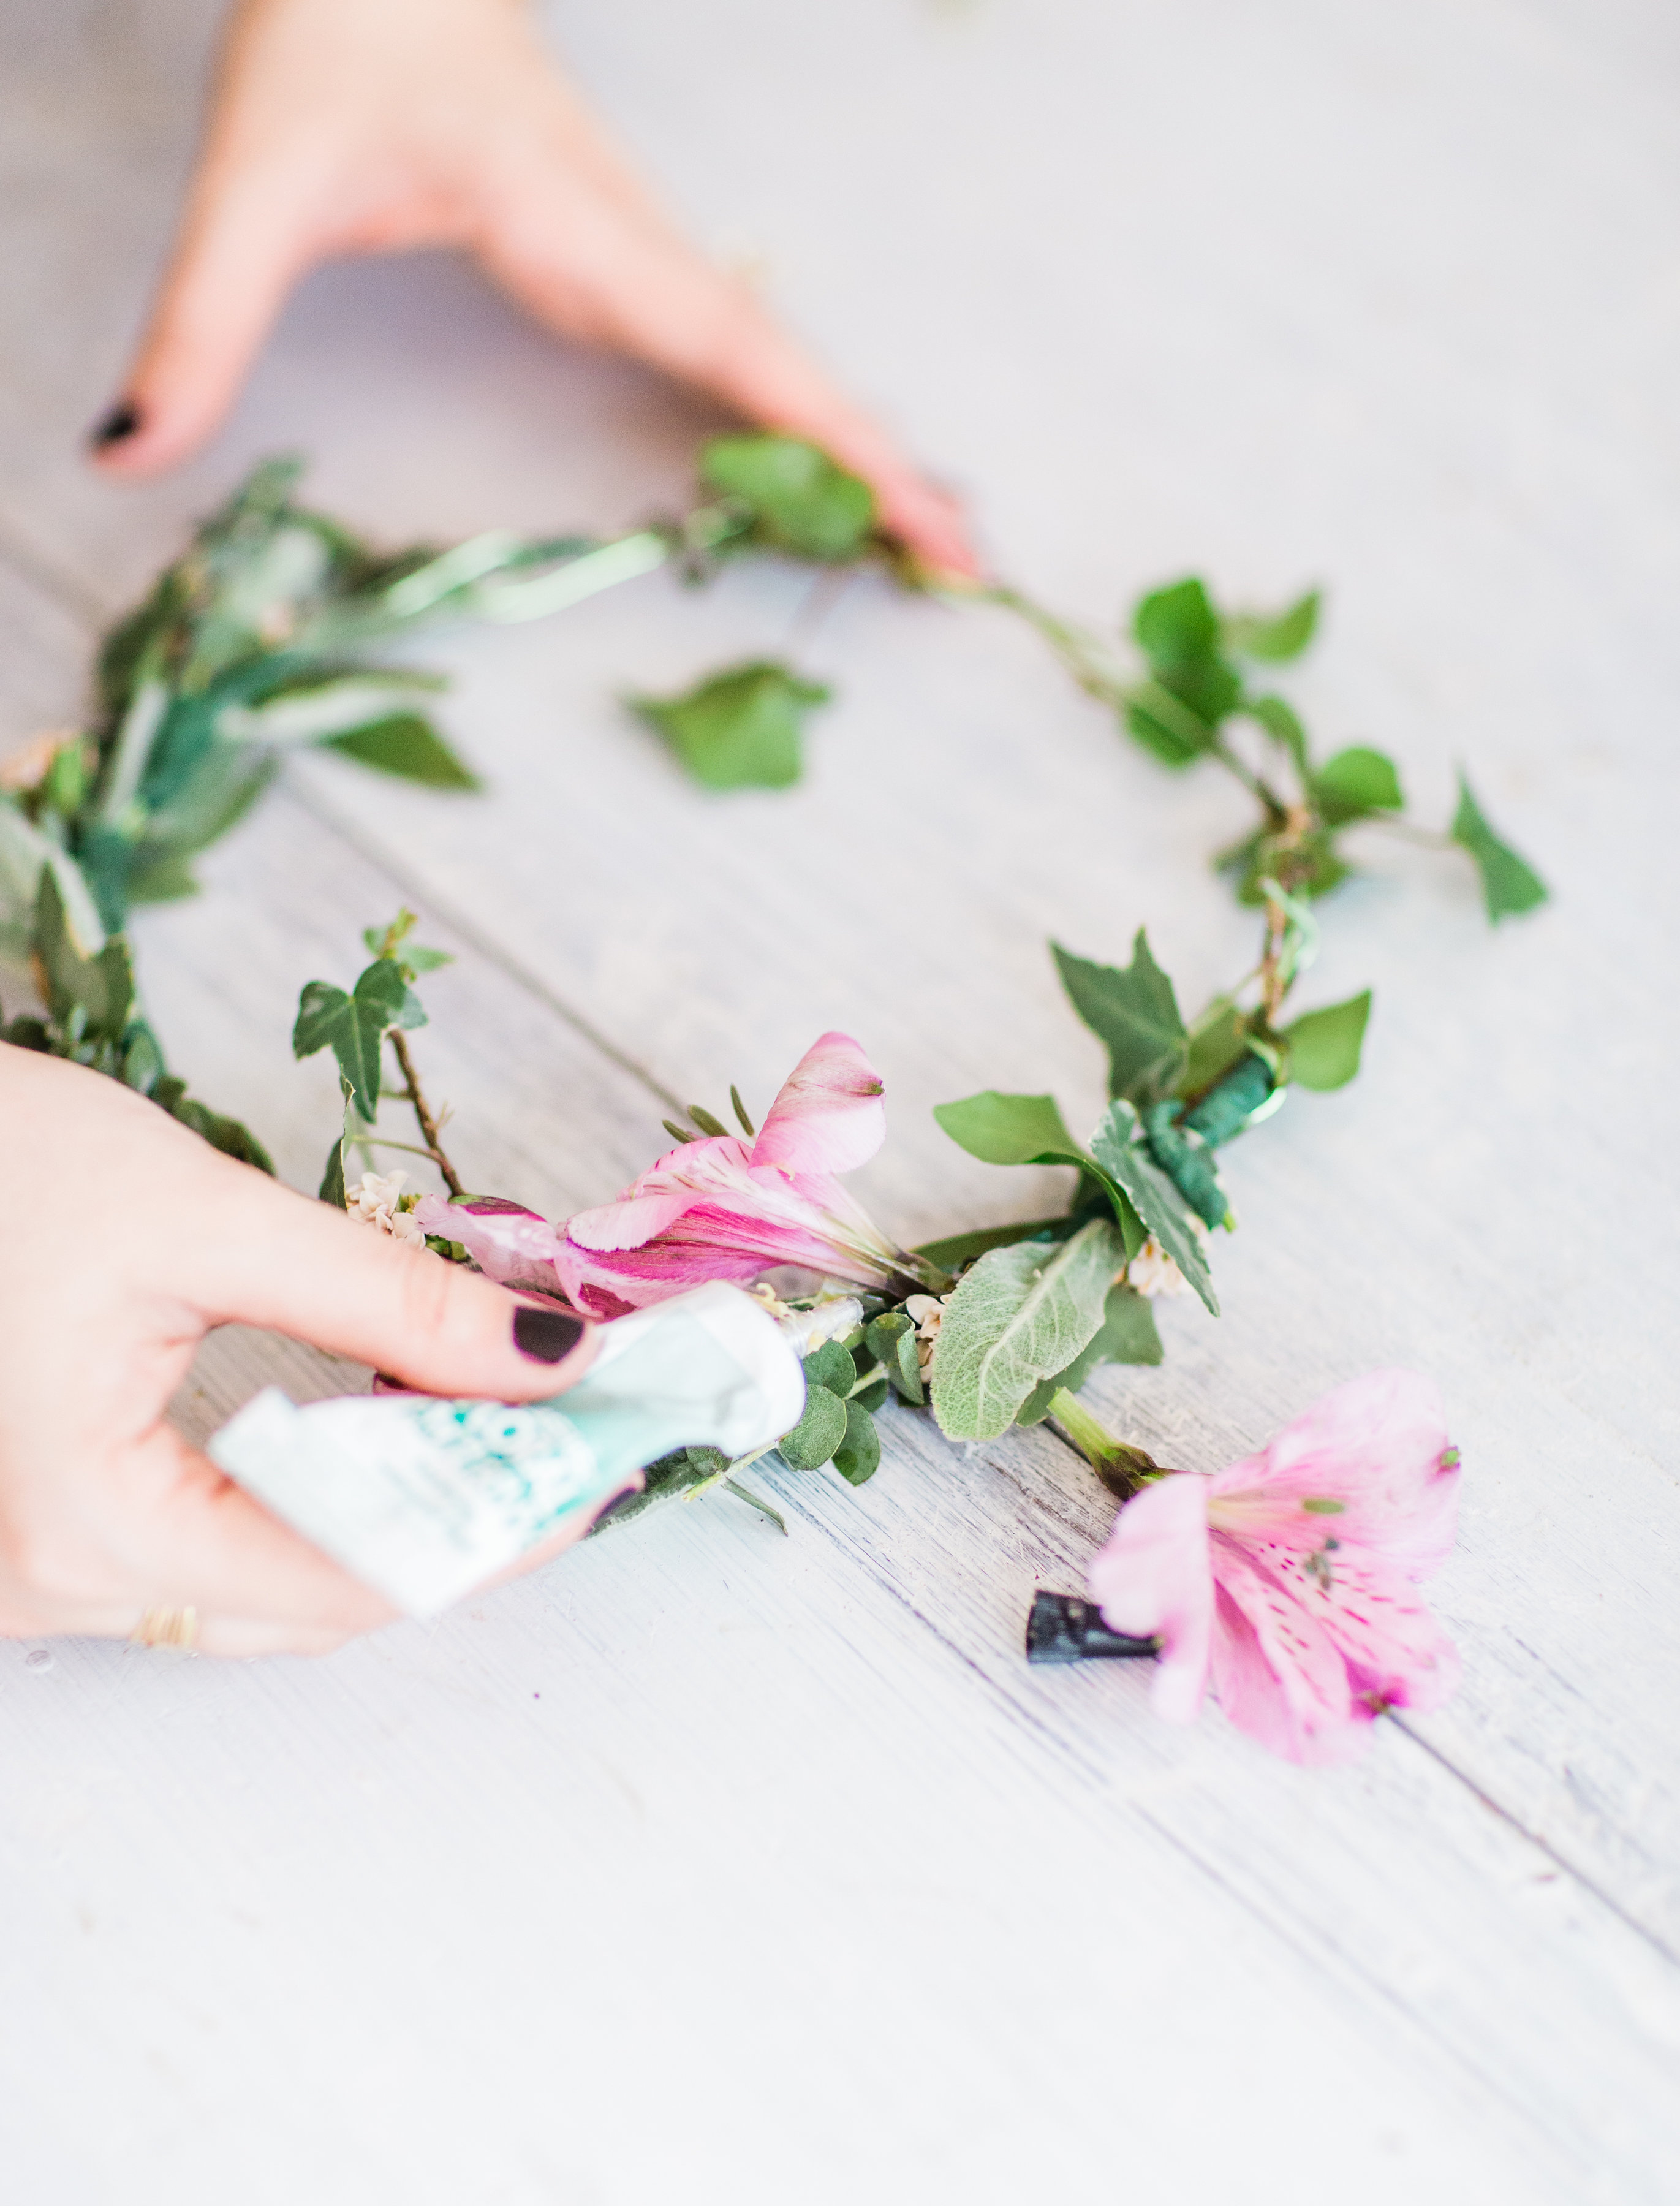
At this point you may go back and glue in larger flowers with floral glue; just a small dab on both the flower and where you plan to place it will do.
Florists Trick: Blow on the glue in both places for a few seconds before placing the flower on the crown. This will help them adhere to one another.
Once completed you can tie ribbons to the back (at the end of each “hook”) if desired.
Though I’ll admit, I loved the simpler flower crowns best of all.
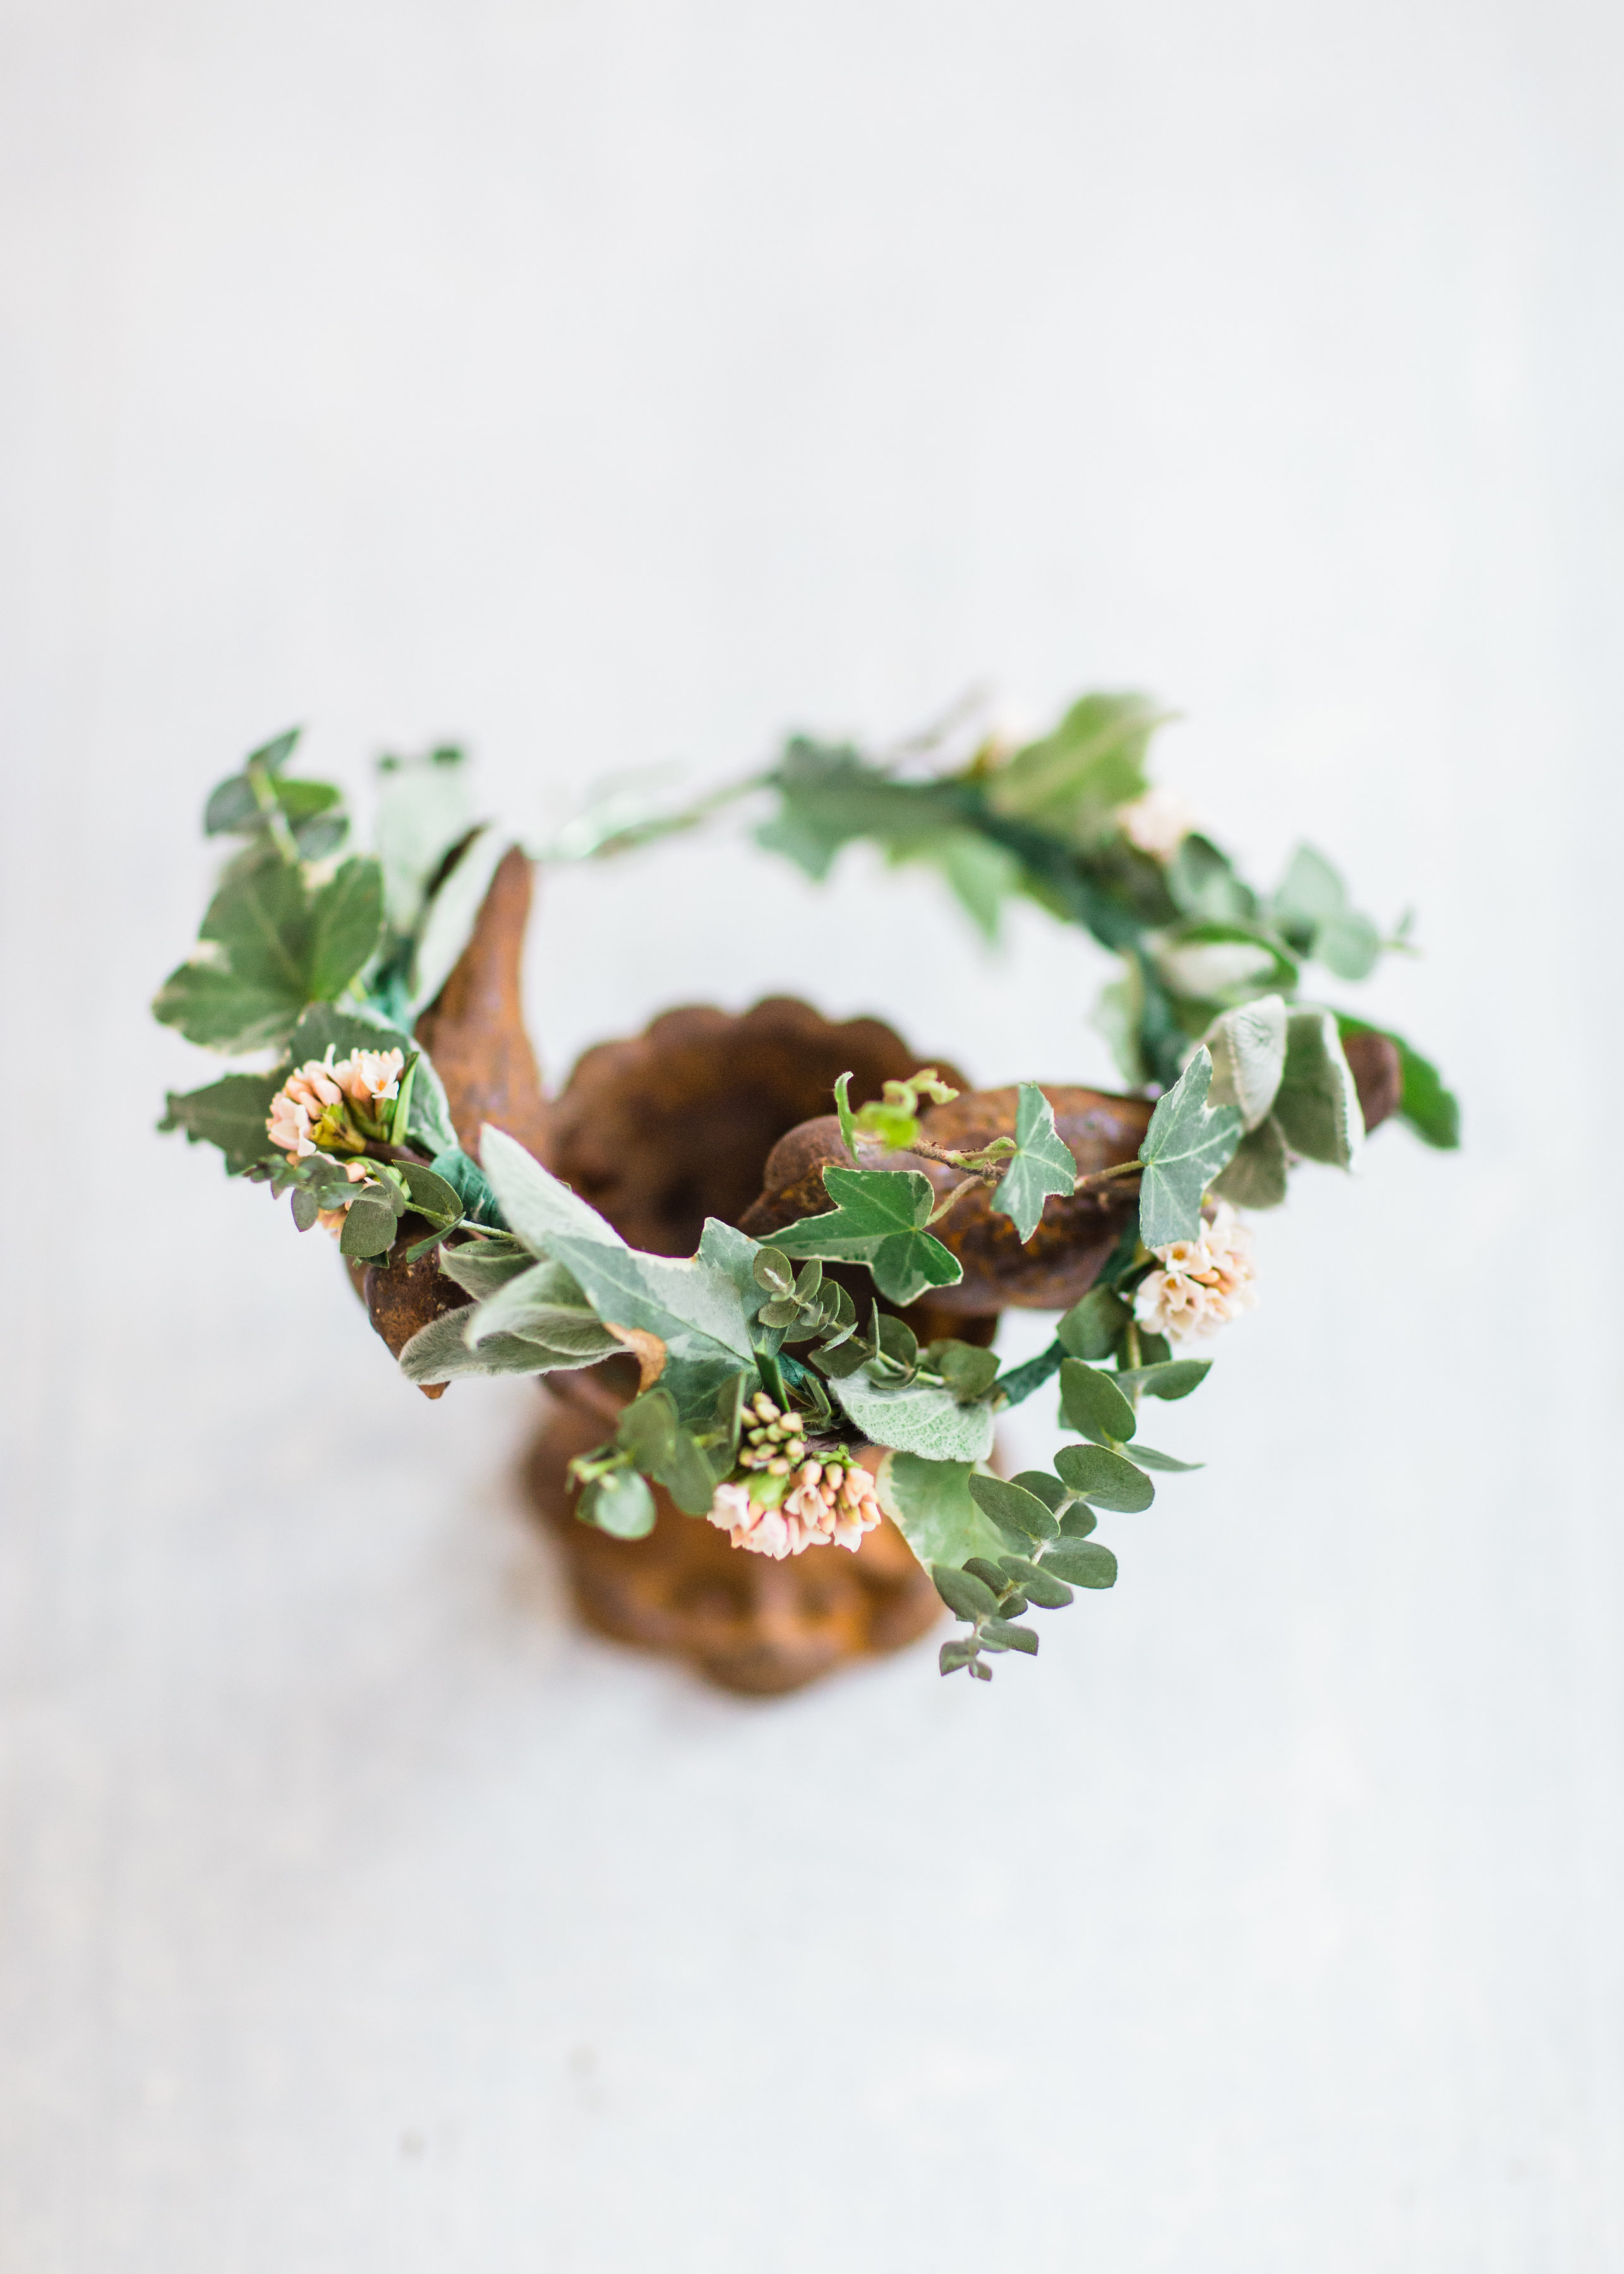
It really is that un-complicated! And has such a pretty impact.
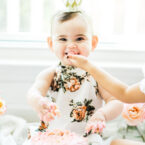
And you know I had to throw in a few adorable photos of Scarlett in a mini real flower crown, who was the best floral assistant ever. (You can catch her behind-the-scenes in our flower arranging post too!)
If you make your own beautiful real flower crown, be sure to tag me on social media (@glitterinclexi) so I can live vicariously through all of your fun events!
Love this post? You can learn how to make your own flower arrangement right here. (Psst … it’s way simpler than you’d think!)
Photos by Annie Watts Photography
This post contains affiliate links, which means that if you click on one of the product links, I’ll receive a small commission. Thank you so much for clicking through and helping to support this little blog business of mine! Read more about our site, privacy, and disclosure policies here.
Join the Fun


 Older Post


This is such a cute idea!!
xx Jennifer
Effortlessly Sophisticated
I love this post, the crown is so feminine and beautiful- wpuld be great for a bride!
So glad you love it!