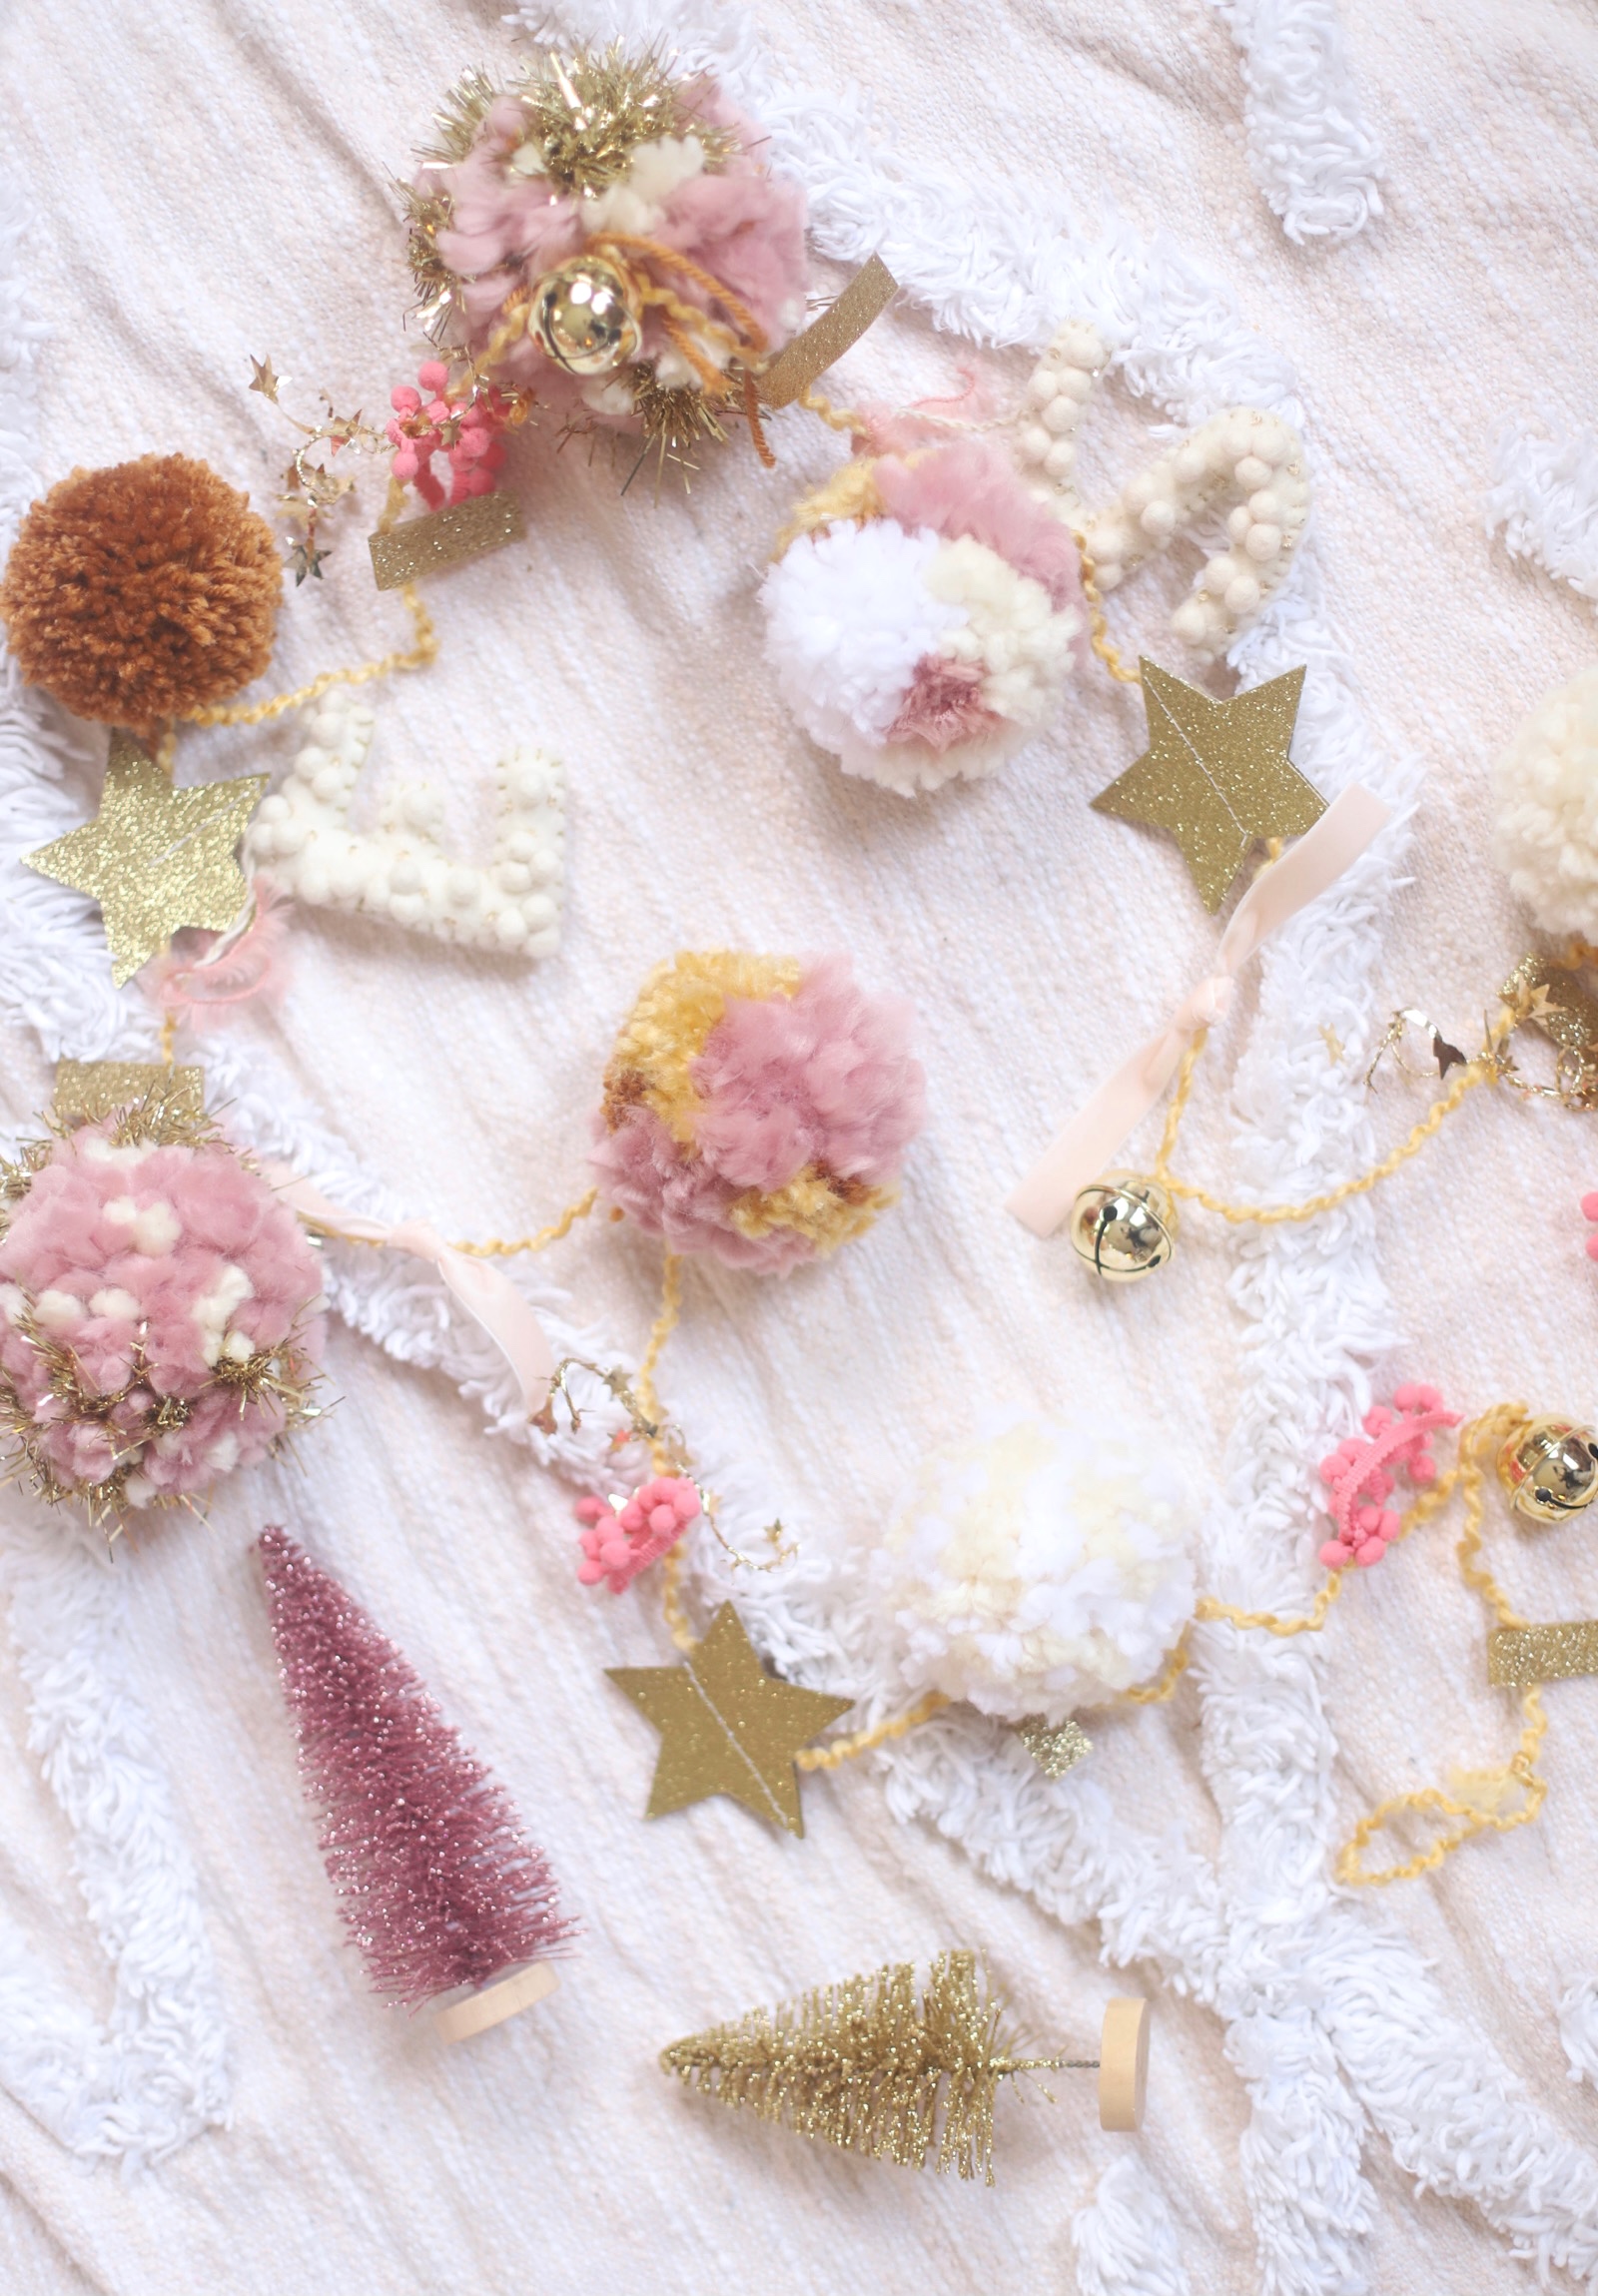
Make your own boutique-worthy DIY festive embellished pom pom garland; a.k.a., a pom pom garland glammed up with gold bells, tinsel, ribbon, glitter washi tape, and gold glitter stars. This show-stopping craft is easy and has endless possibilities!
‘Tis the season for crafting and I am on a roll with the holiday crafts the seasons. Perhaps it has something to do with the fact that we never go anywhere. 😭🙈🤣
The good news is: I have a few really fun DIY and craft projects up my sleeve and I’m sharing the first one here today! Say hello to the “DIY Festive Embellished Pom Pom Garland” – an easy DIY with major festive impact. And bonus: once you’ve made your own embellished pom pom garland, depending on the colors you choose, you could easily hang this in a playroom or kids room all year-long!
My favorite part about these pom pom garlands is that it utilizes an already popular craft and takes it the next level. Add glitter, glitz, and glam to just about anything and I am sold! ✨
Now I can’t take all of the credit. I was SO inspired by the glammed up pom pom garlands I had seen floating around beautiful boutiques and small shops, and I wanted one … BAD. The trouble is, all of the pom pom garlands I kept seeing were around $50 – $60 (and sell out so quickly) and well, this mama’s on a budget!
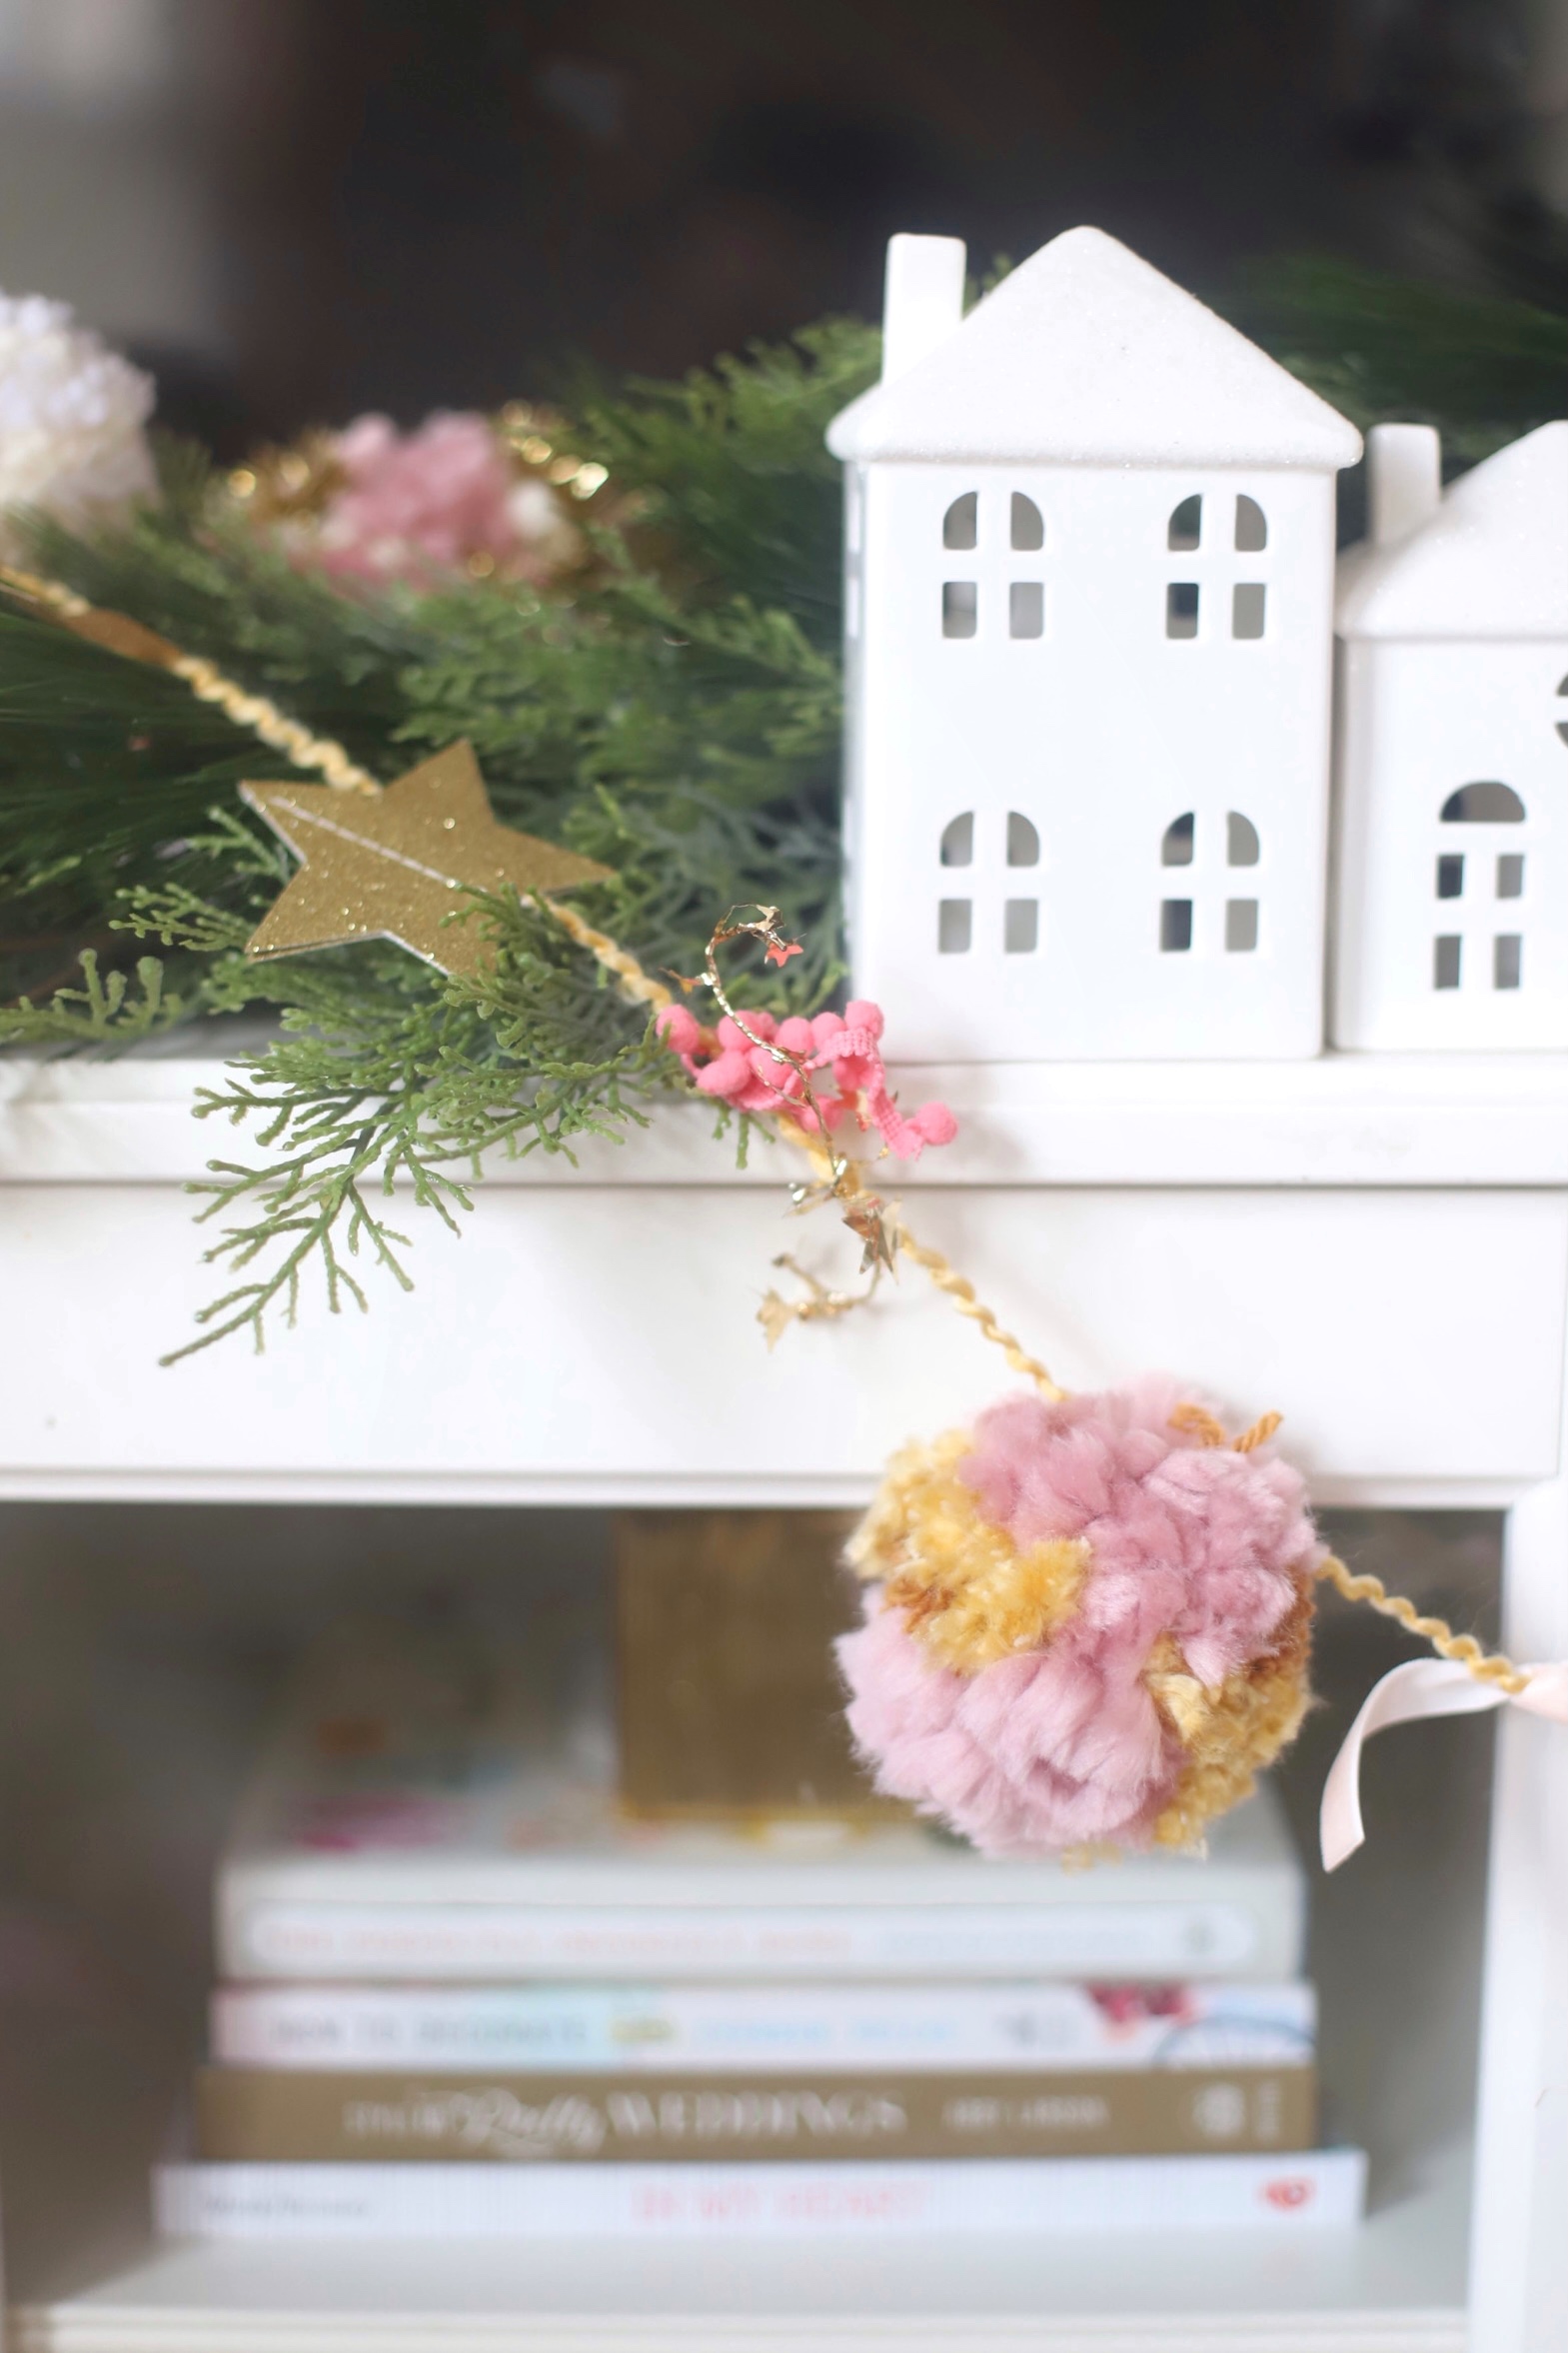
So I set out to make our own DIY embellished pom pom garland I am SO HAPPY with how it turned out!
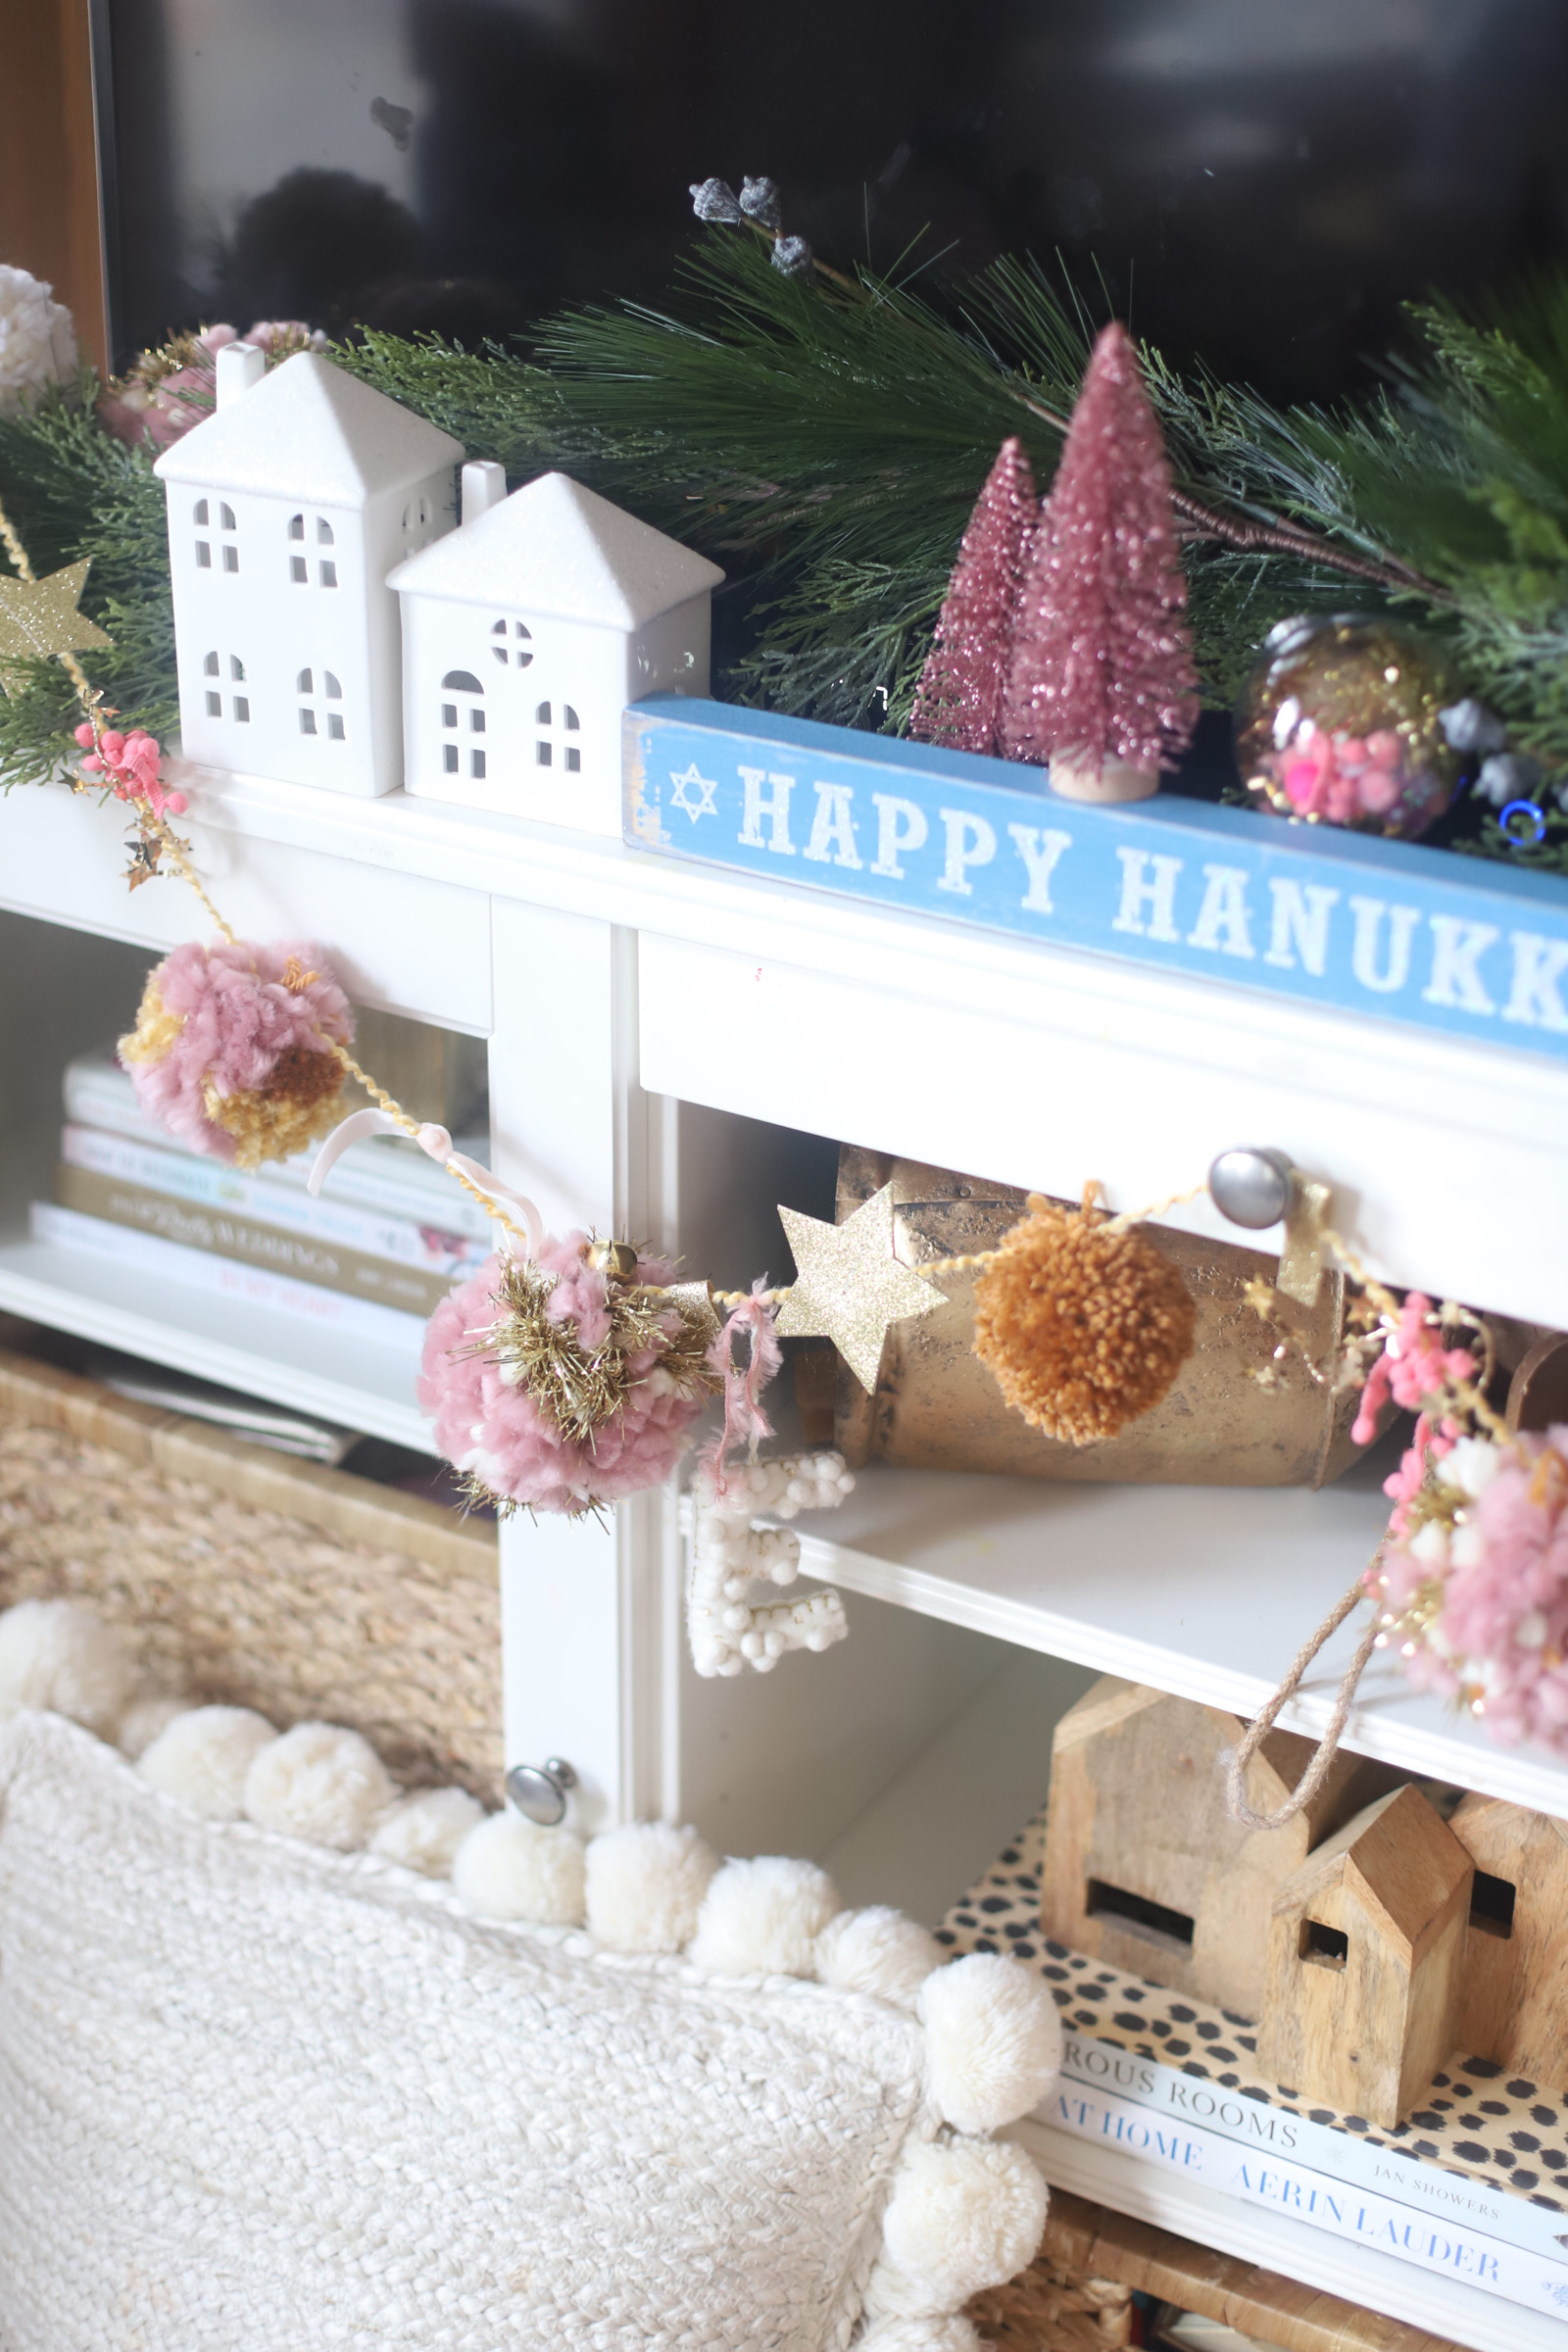
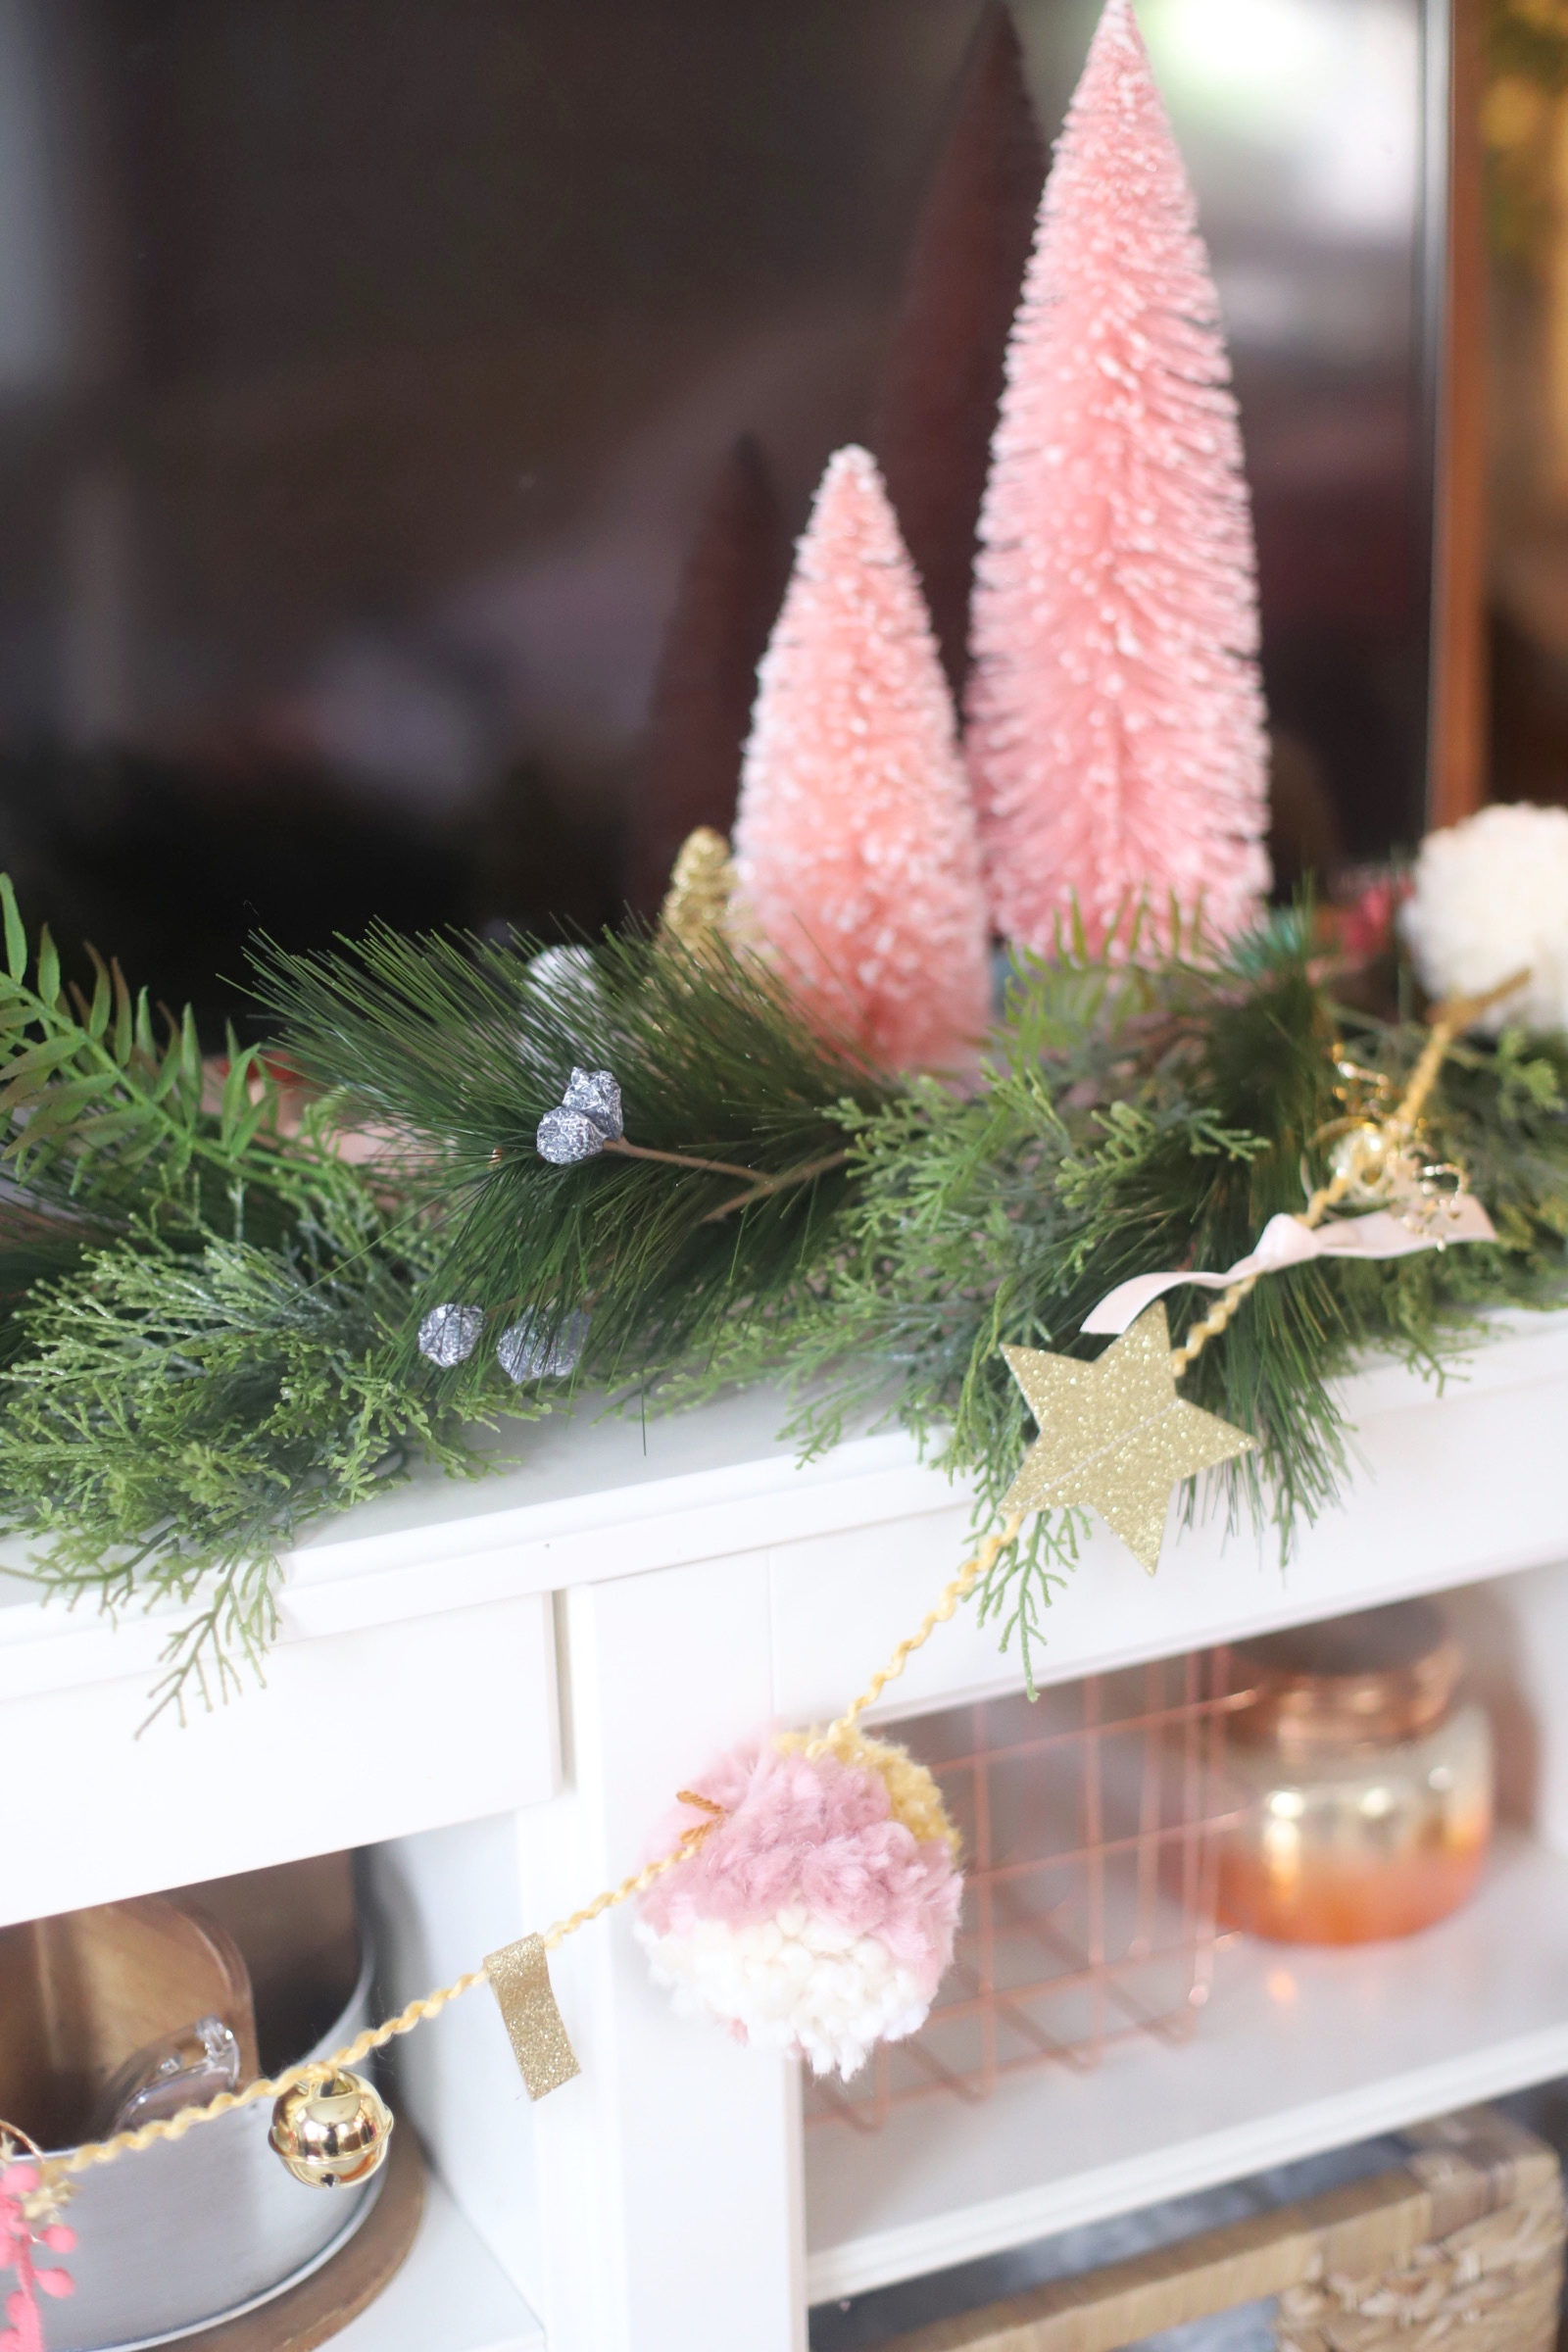
For now, our pom pom garland is adorning our makeshift mantle; a.k.a., the media center. Eventually, maybe after the holidays, I’ll move it to the playroom, because it’s just too cute to put away until next year.
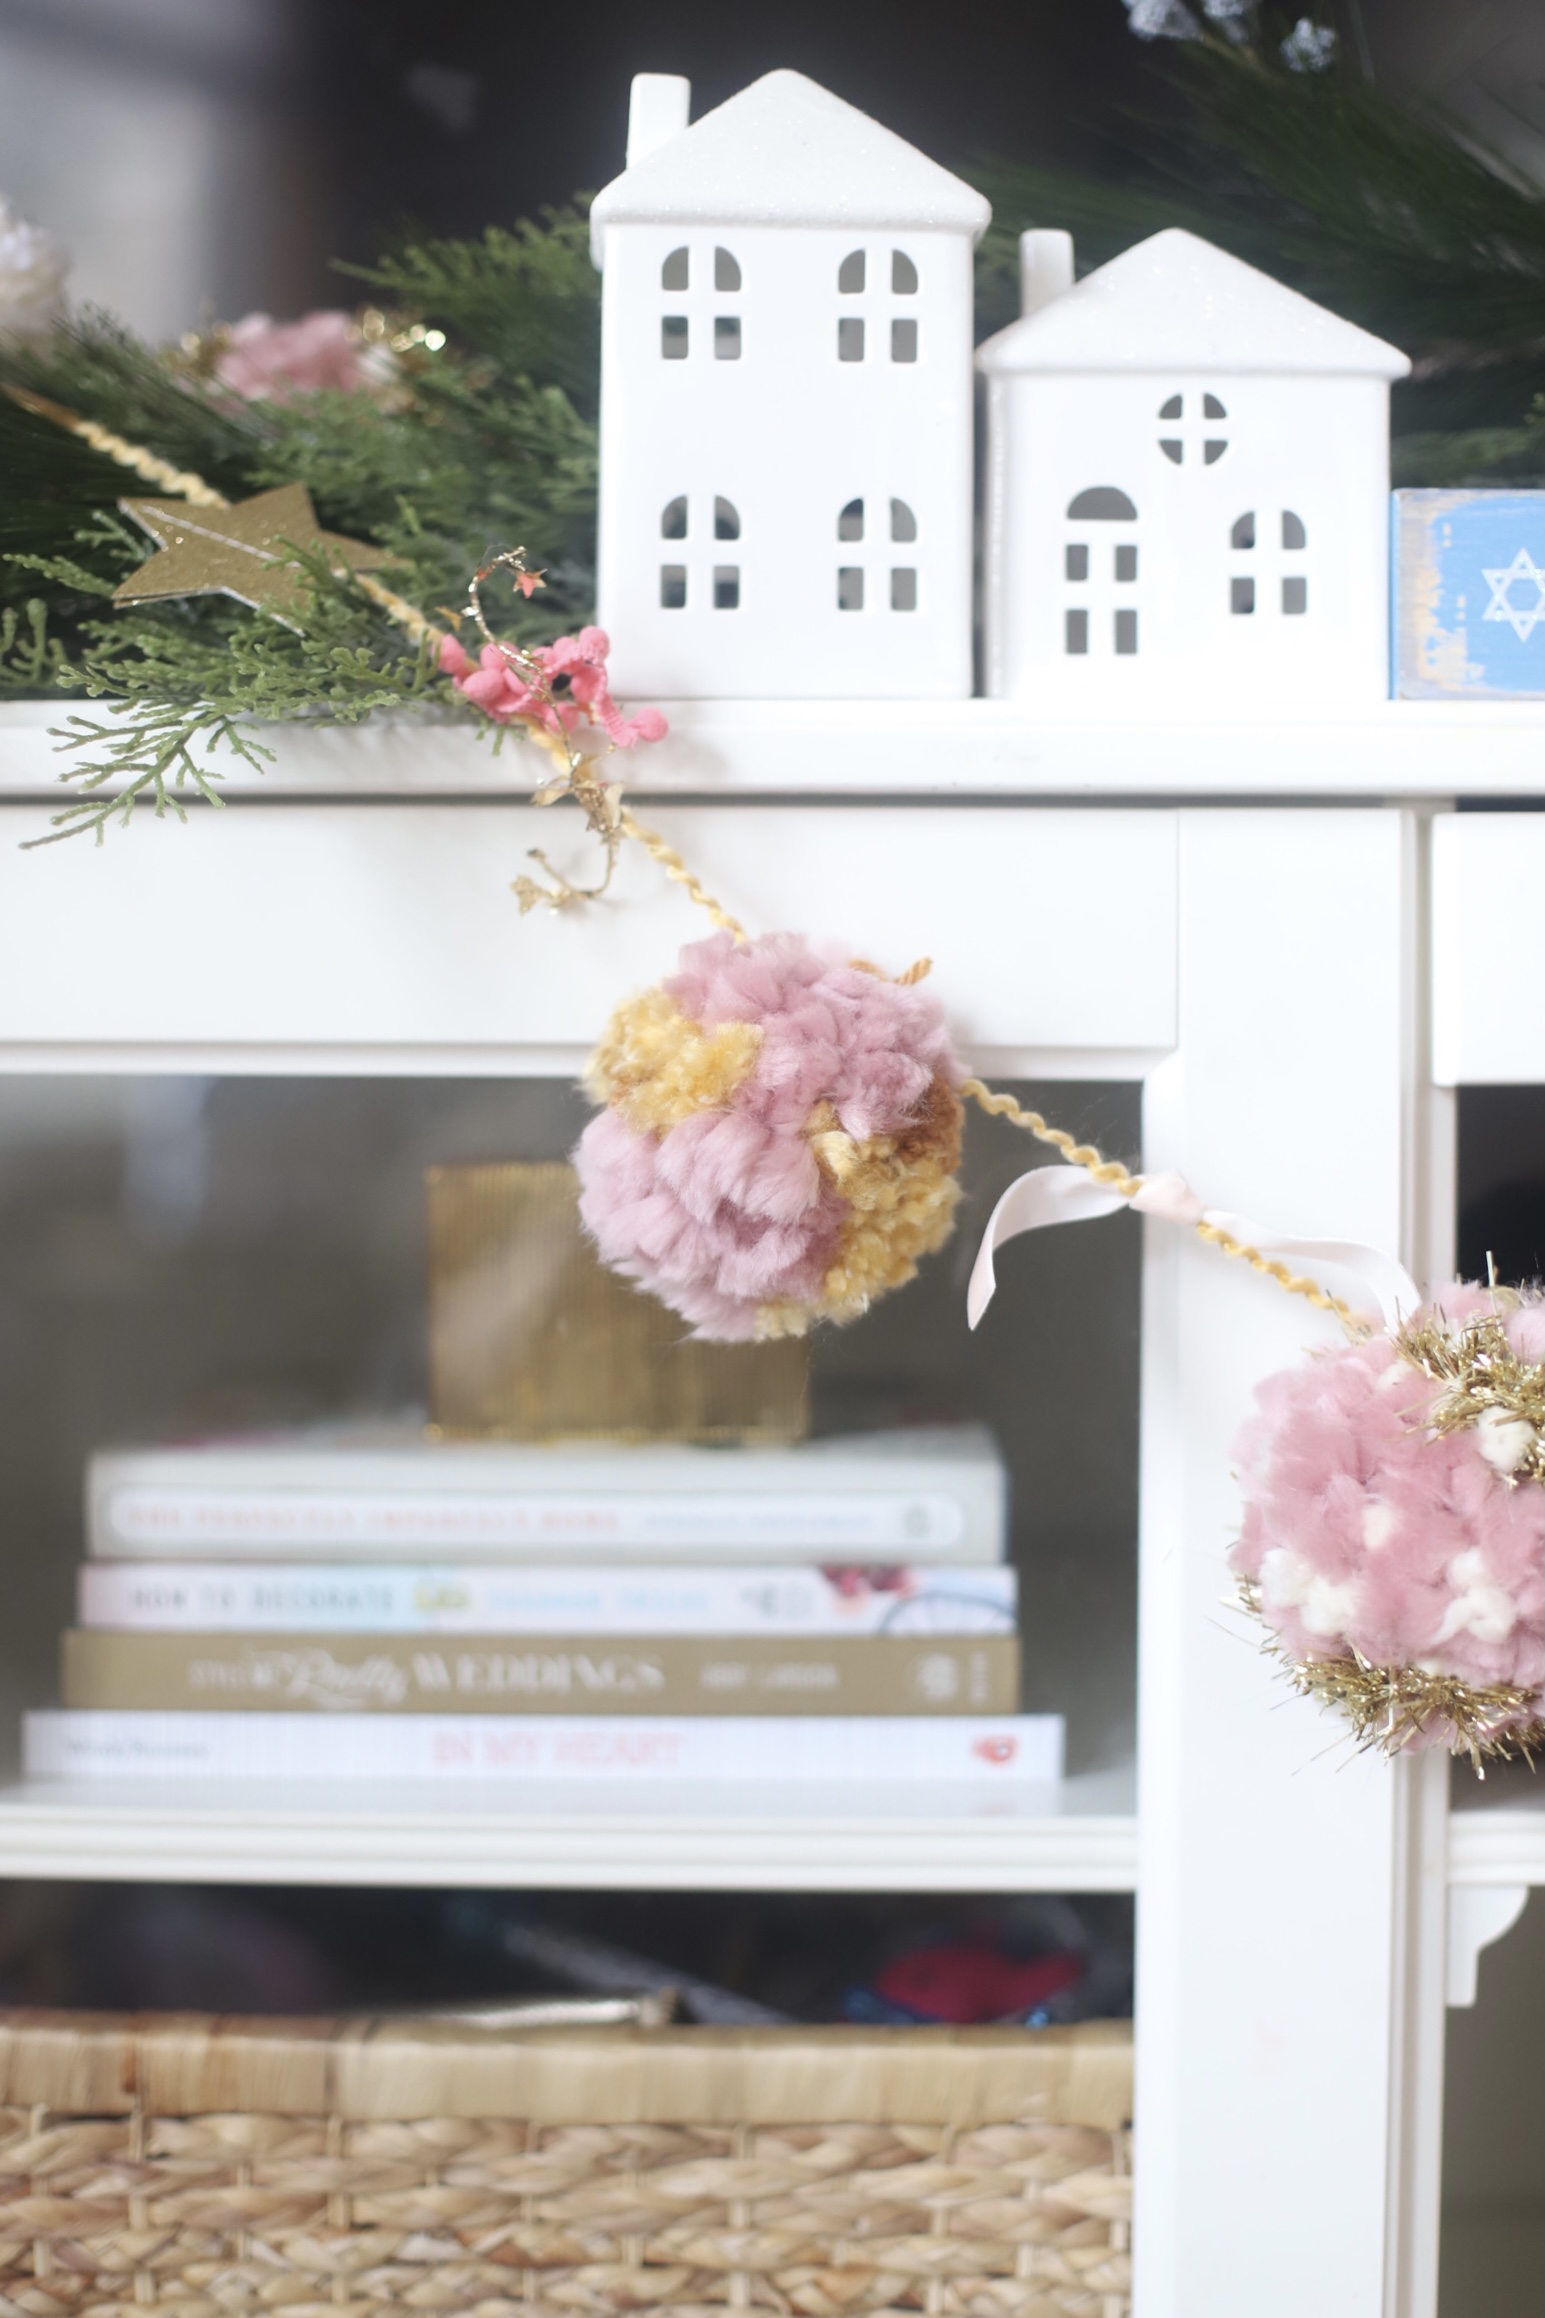
How to Make a DIY Festive Embellished Pom Pom Garland
Here’s how to make your own boutique-worthy embellished pom pom garland using easy handmade yarn pom poms, gold bells, tinsel, ribbon, glitter washi tape, and gold glitter stars.
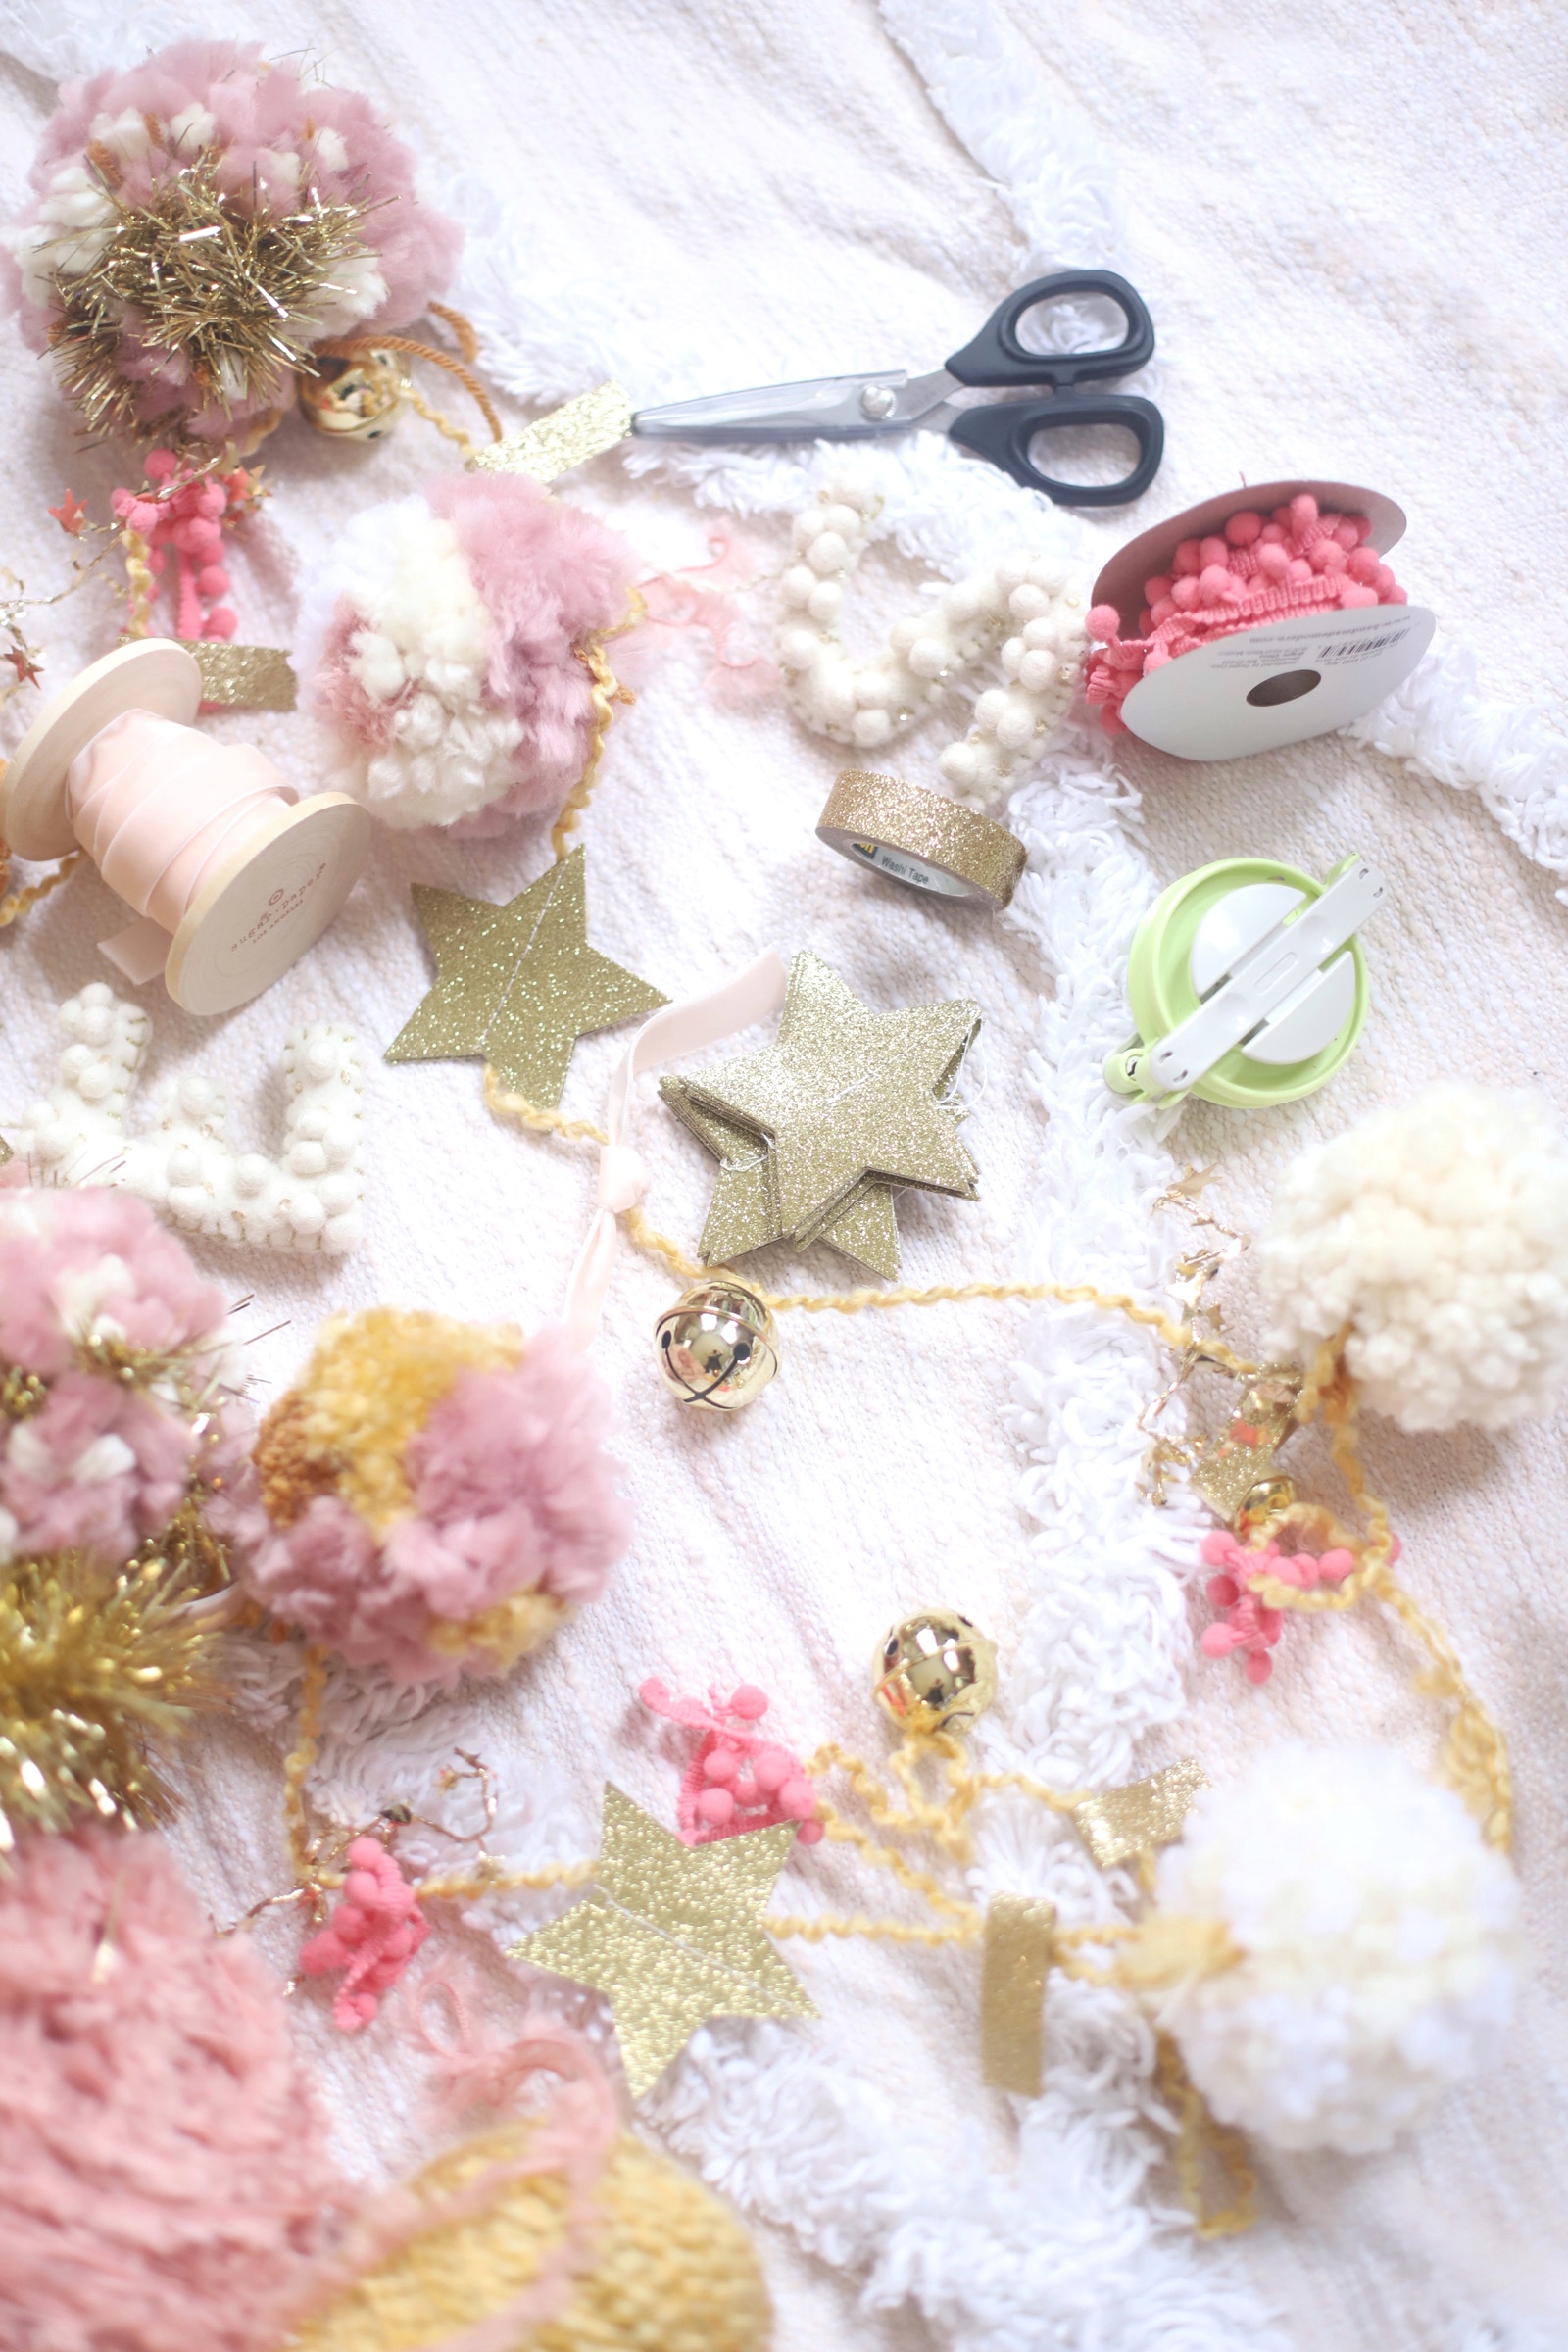
WHAT YOU’LL NEED
- Yarn (several colors)
- Tinsel Garland
- Glitter Star Garland
- Ribbon (in varying textures) – I used this pink velvet ribbon – available in other colors here – and this mini pom pom ribbon in coral – also available in white here. You could also use strips of fabric for a more shabby chic look (and that might just be my next project!)
- Gold Bells
- Glitter Washi Tape
- Pom Pom Maker (I used the 2.5 inch from this set!)
- Sharp Scissors (Love this pair for embroidery and pom pom making!)
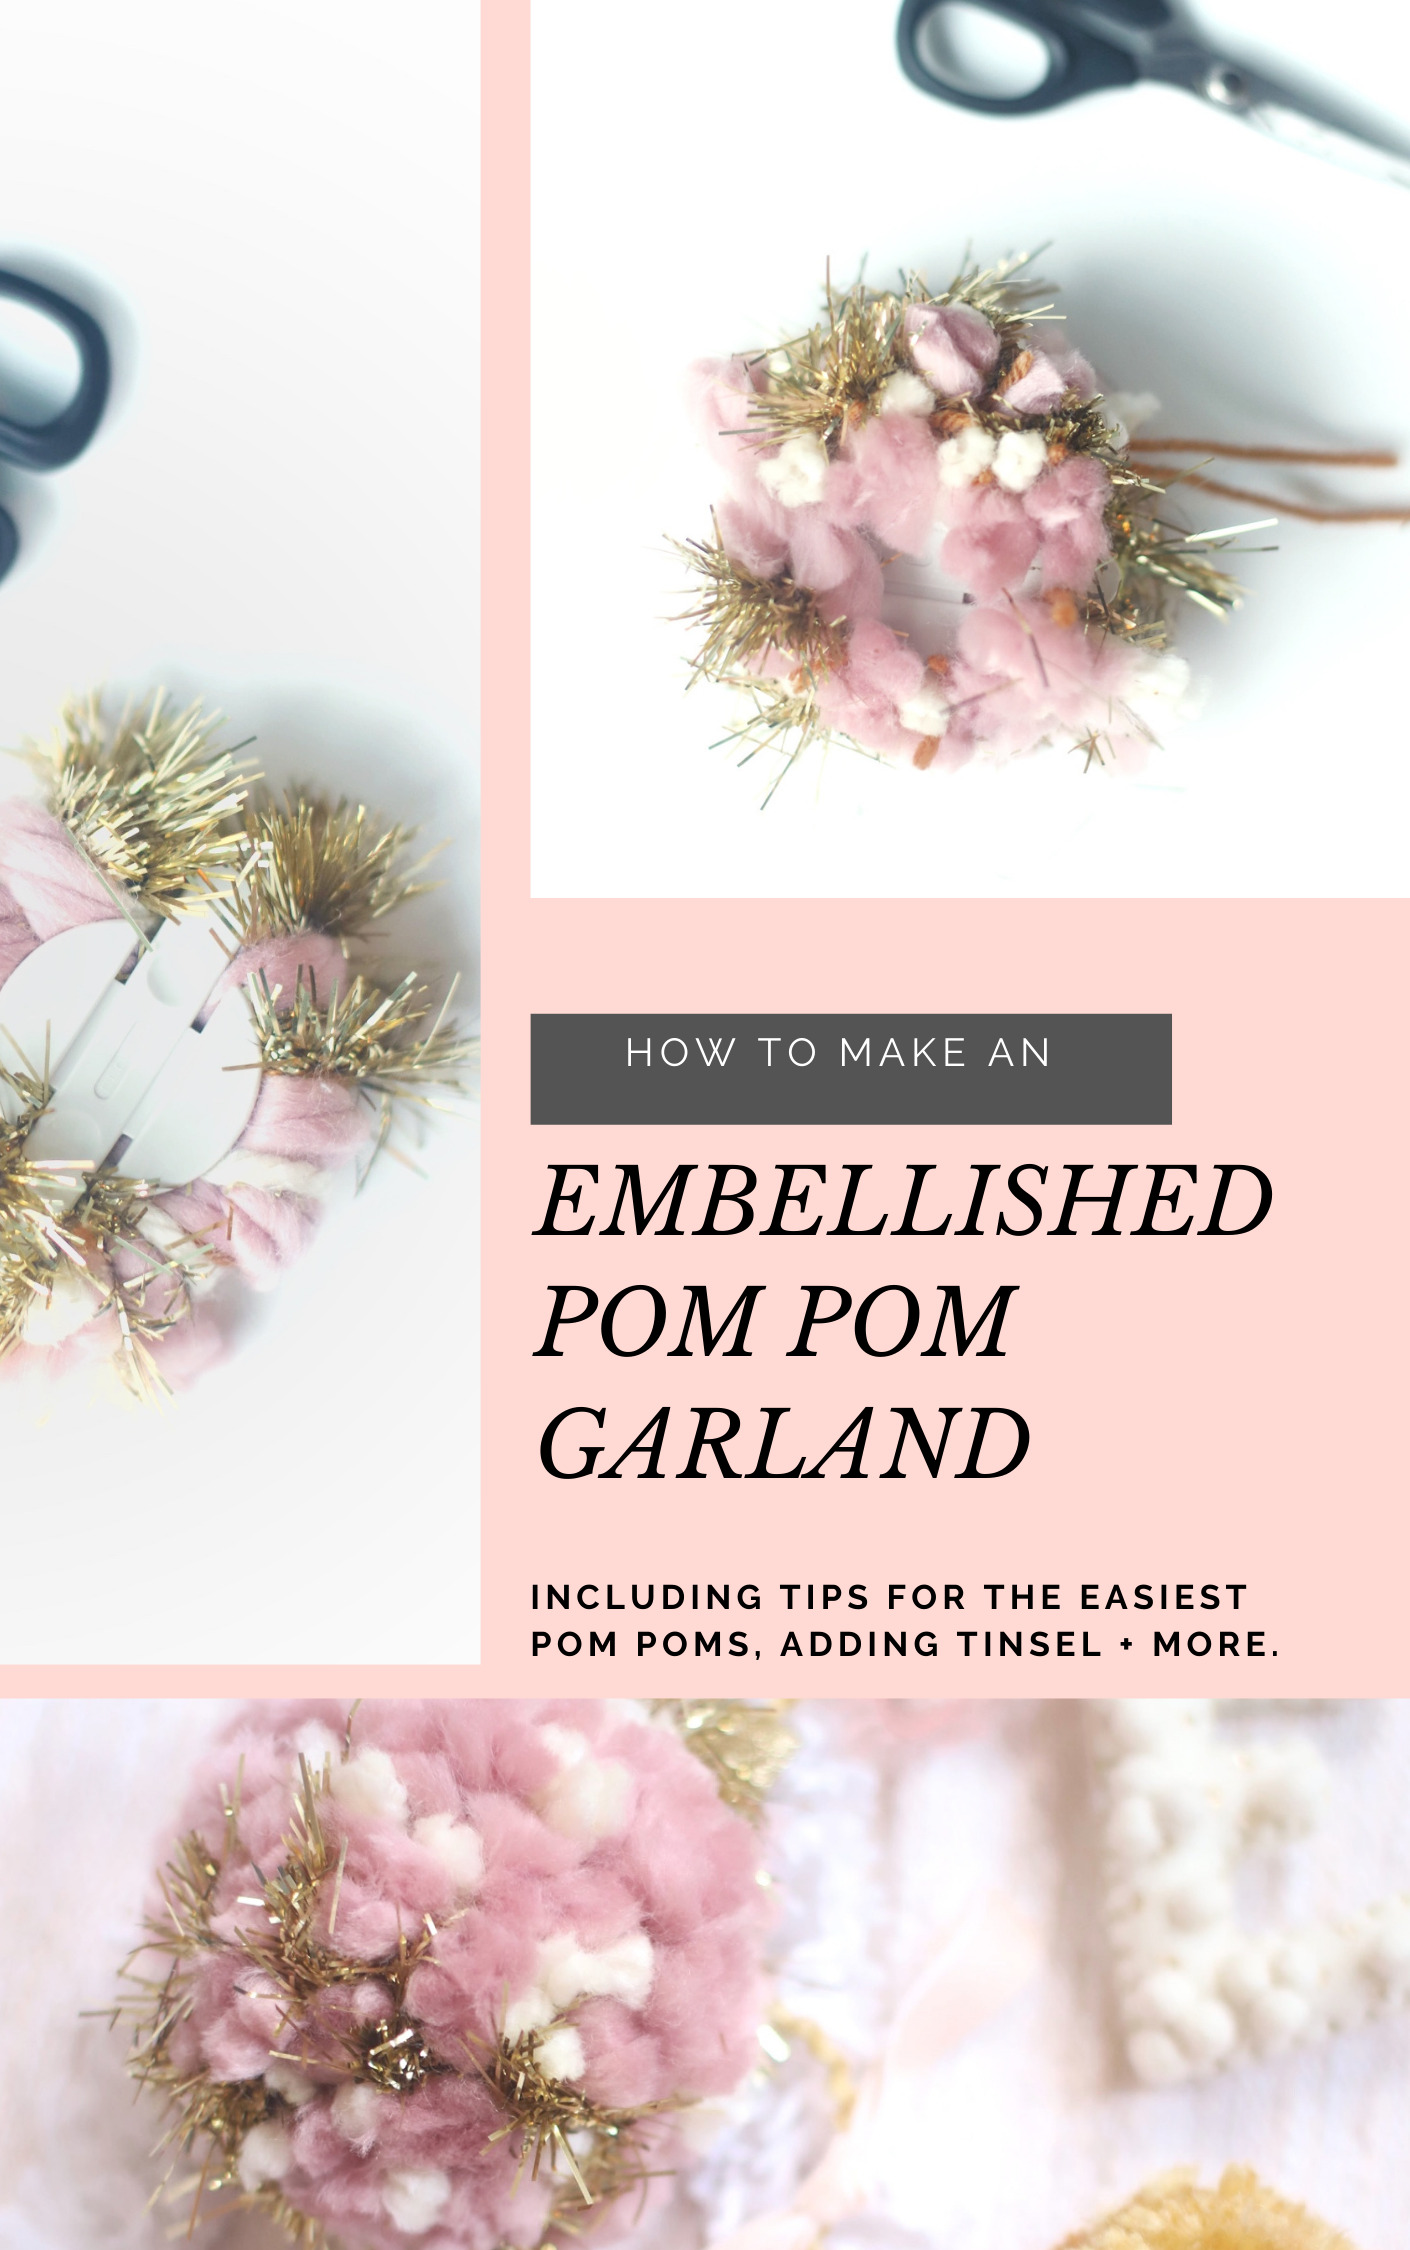
TO MAKE A POM POM GARLAND
- Start by making your yarn pom poms. You’ll need yarn, sharp scissors, and something to make your pom poms on. I love using Clover pom pom makers to make yarn pom poms because it really makes it so easy. To make a pom pom using the Clover pom pom maker, following the directions on the package, start by wrapping the yarn around each semicircle half of the pom pom maker. Once you have a few layers of yarn on there (I like to make mine nice and thick so I wrap us much as I can while still being sure the pom pom maker will close shut), you will close the frame and start cutting around the perimeter of the circle (in between the sandwiched frames) with very sharp scissors. Next you’ll slide a piece of yarn around 8 inches in length in between the two frames and tie that piece of yarn into a knot to secure your pom pom at the center. (The piece of yarn you use to secure the core of the pom pom is the same yarn you’ll use to fasten your pom pom to your yarn garland, so it’s okay if it’s a bit long.) Finally, you’ll remove the Clover frame from the yarn, fluff up your completed pom pom and trim any pieces that seem a bit longer than the rest. This video tutorial is great to get you started using the clover! (You can also make pom poms using a fork!) You’ll want to make about 7 to 8 pom poms. (See NOTE* below about colors, textures, etc.)
- Measure out your garland — a.k.a., your base yarn — roughly 2 to 3 feet (or longer, depending on where you plan to hang your garland. If you make a longer garland, make a few more pom poms.)
- Using the yarn that hangs from the top of your pom pom (what’s left of the yarn you use to tie the knot at the center of your pom pom when using the Clover pom pom maker), tie the pom poms to your garland base piece of yarn, being sure to space out your pom poms a bit. Trim any excess yarn about an inch above the top of your knot.
- Embellish your garland. See details below.
- Tie loops at either end of your completed pom pom yarn garland so that you can easily hang it.
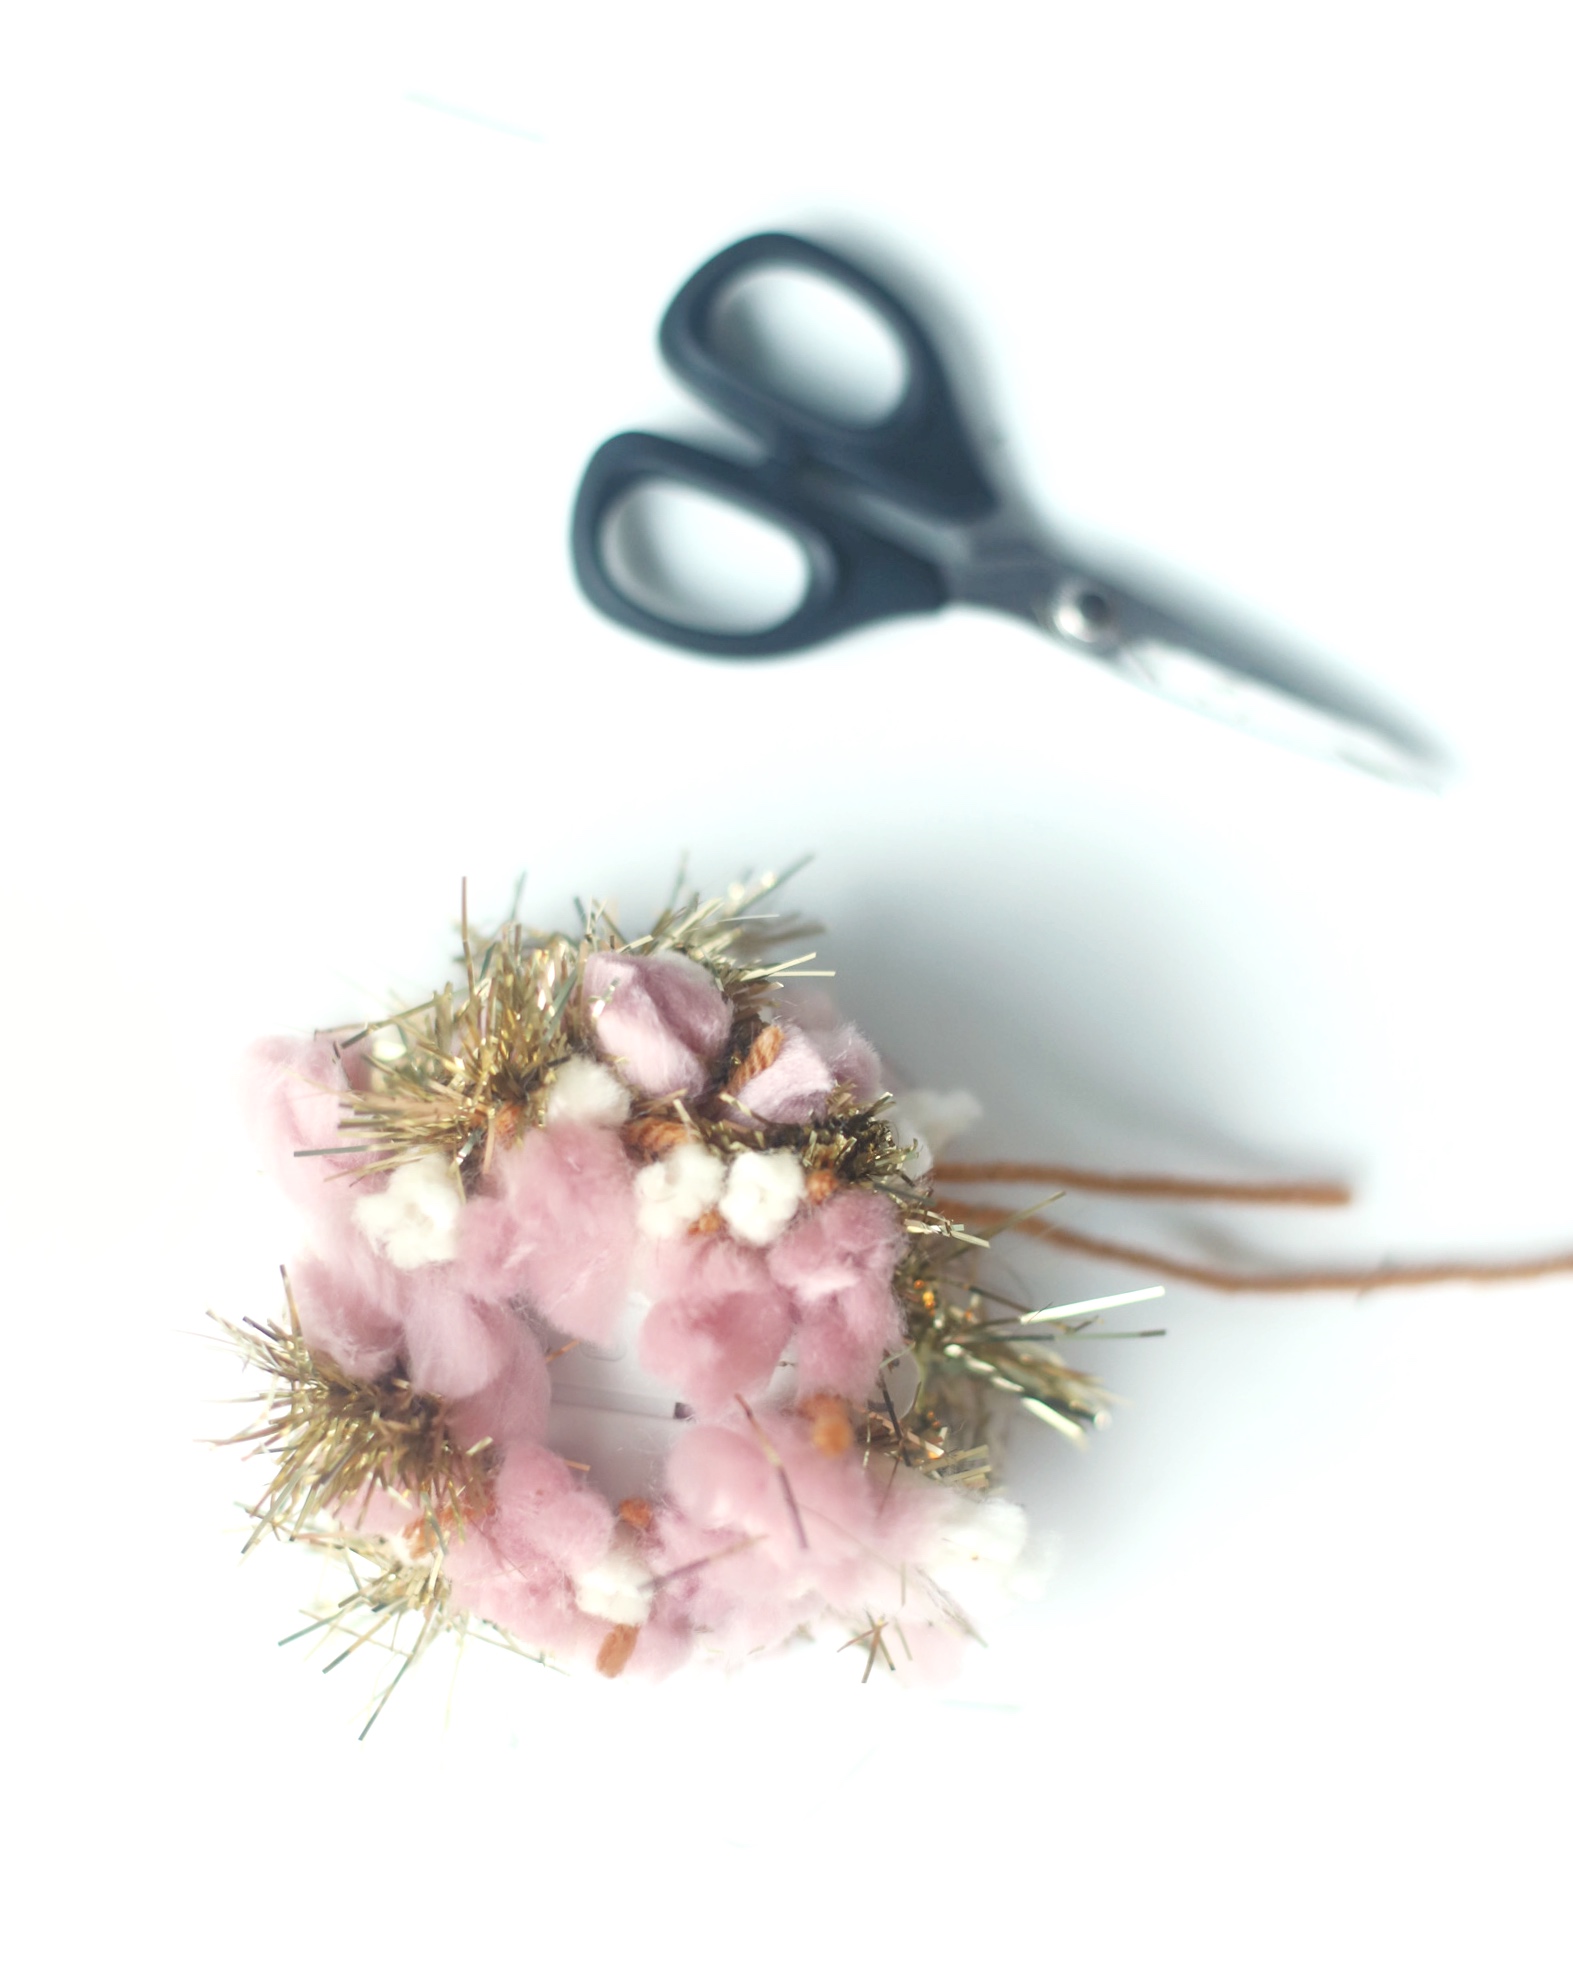
Now let’s talk about the different colors, textures, and patterns you can use to make your pom poms …
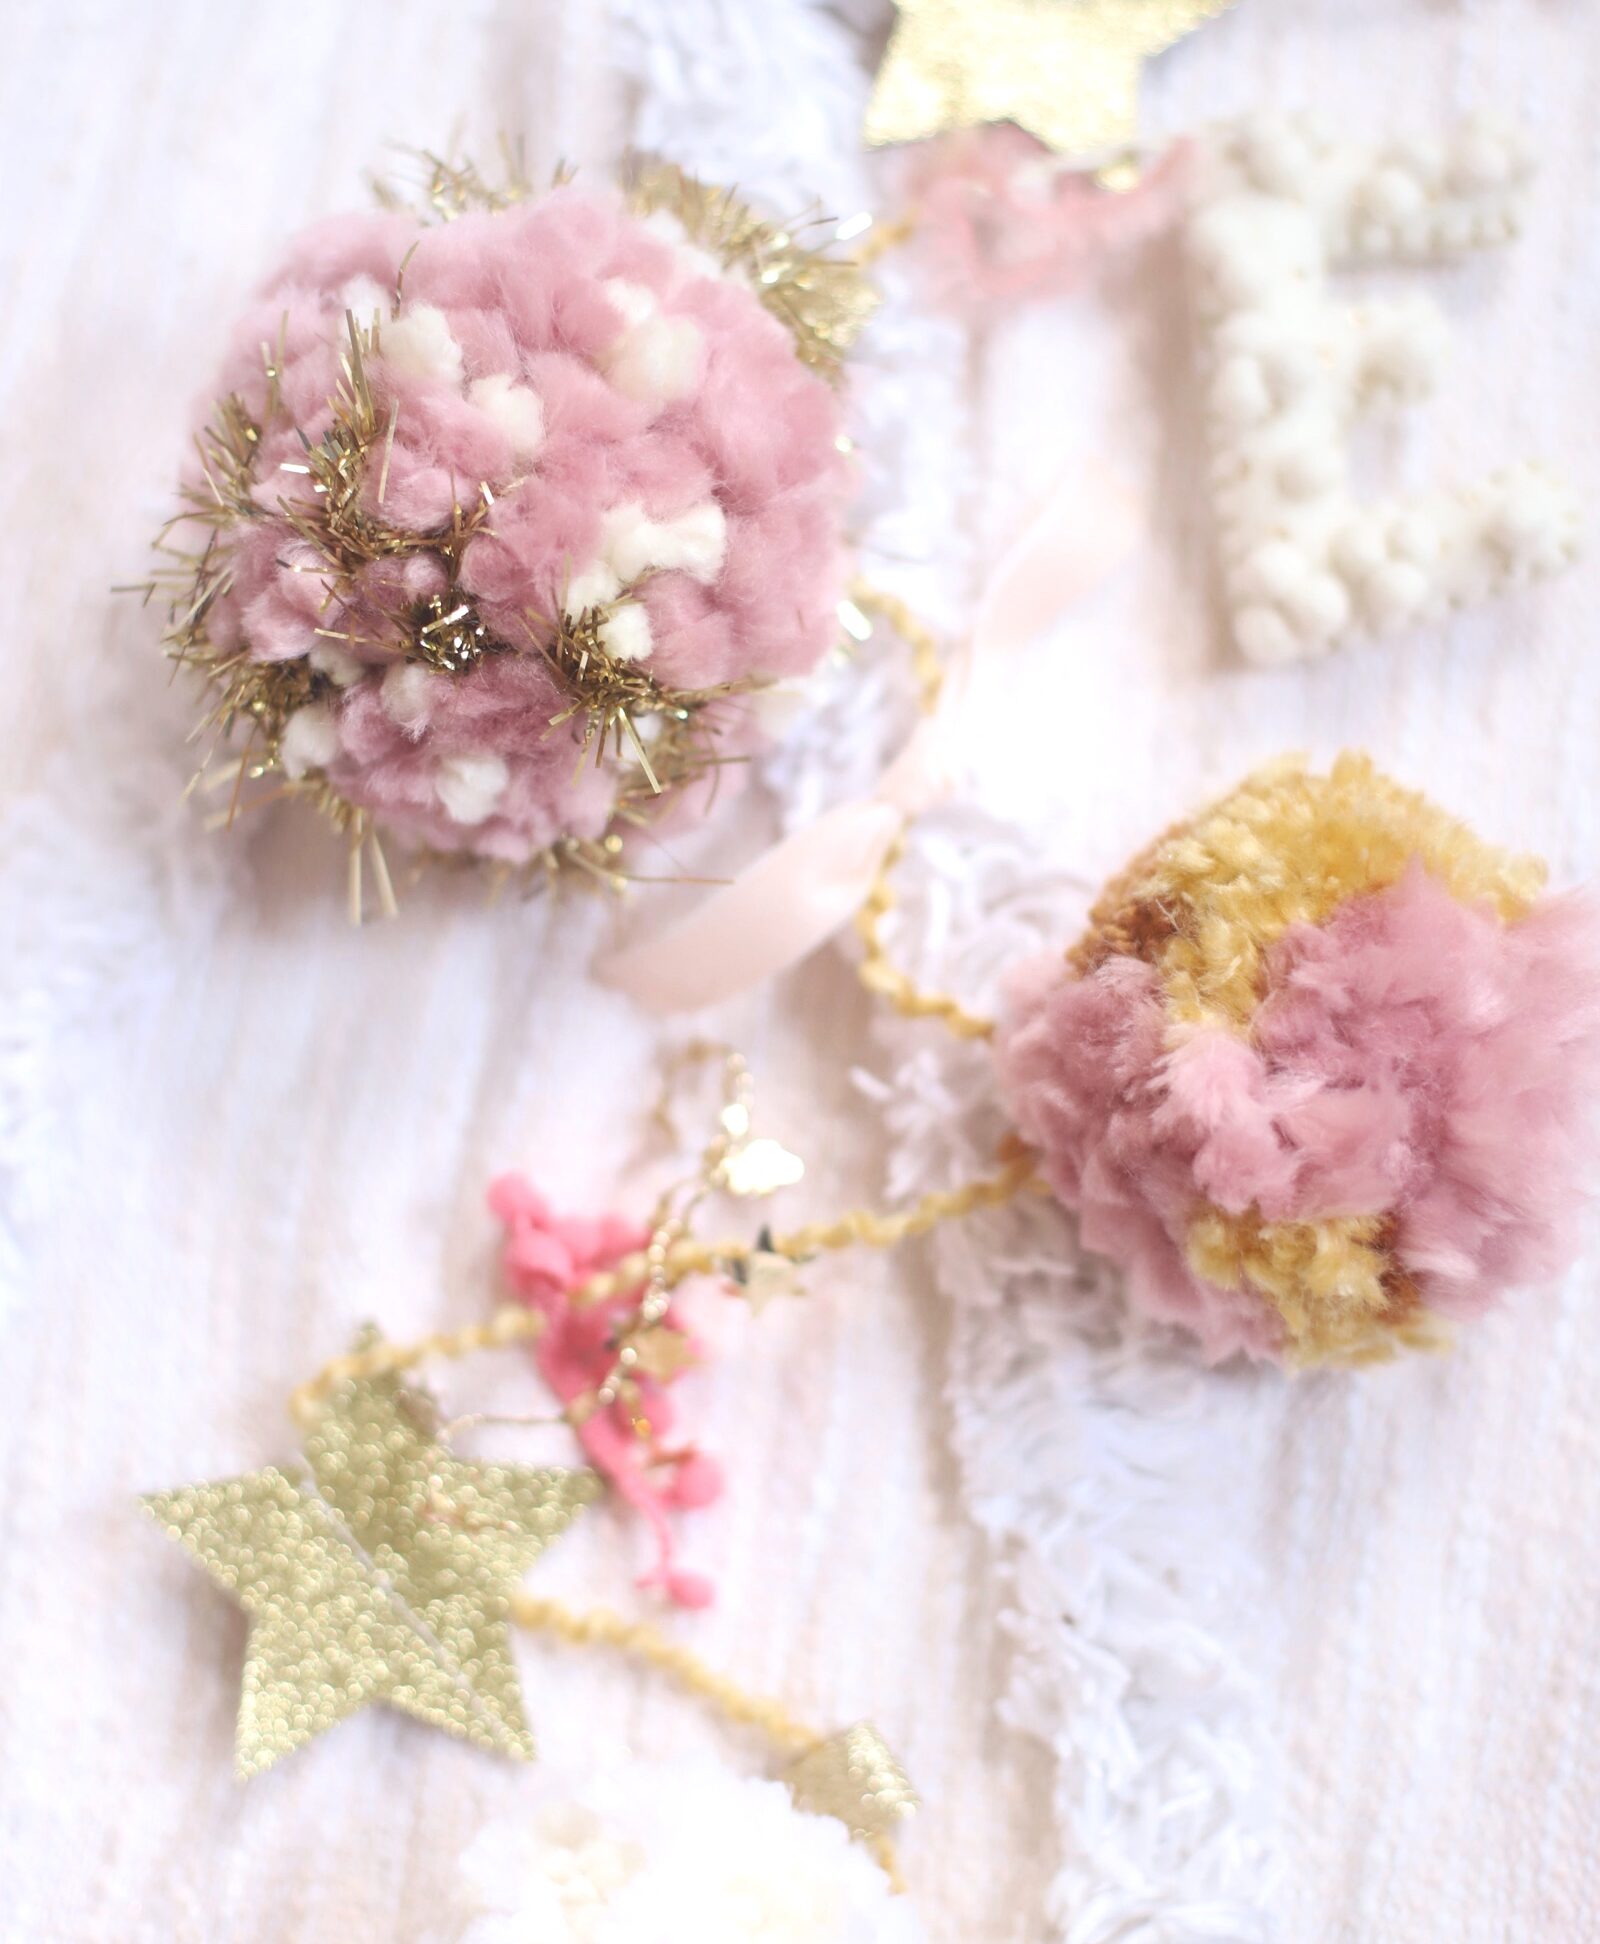
NOTE: I made multi-color pom poms, color-blocked pom poms, solid color pom poms, pom poms with more textured and/or chunky yarn, and I even added a bit of tinsel garland to a few of my poms.
If you decide to use tinsel in your pom poms, you only need a little. Use a few inches, enough to wrap around the pom pom maker just a few times, and then cut the remainder and continue on with the rest of the yarn. Too much tinsel will make your pom pom difficult to work with and cut.
Same goes for the thicker/chunkier ribbon. You’ll only be able to wrap the chunky yarn around your pom pom maker a few times before needing to cut it off. That’s okay! Because chunkier yarn is so fluffy, even with what seems like less wrapping/yarn, your pom pom should still be nice and fluffy.
If you want to make a multi-color pom pom, I found this tutorial for multi-colored pom poms to be super helpful!
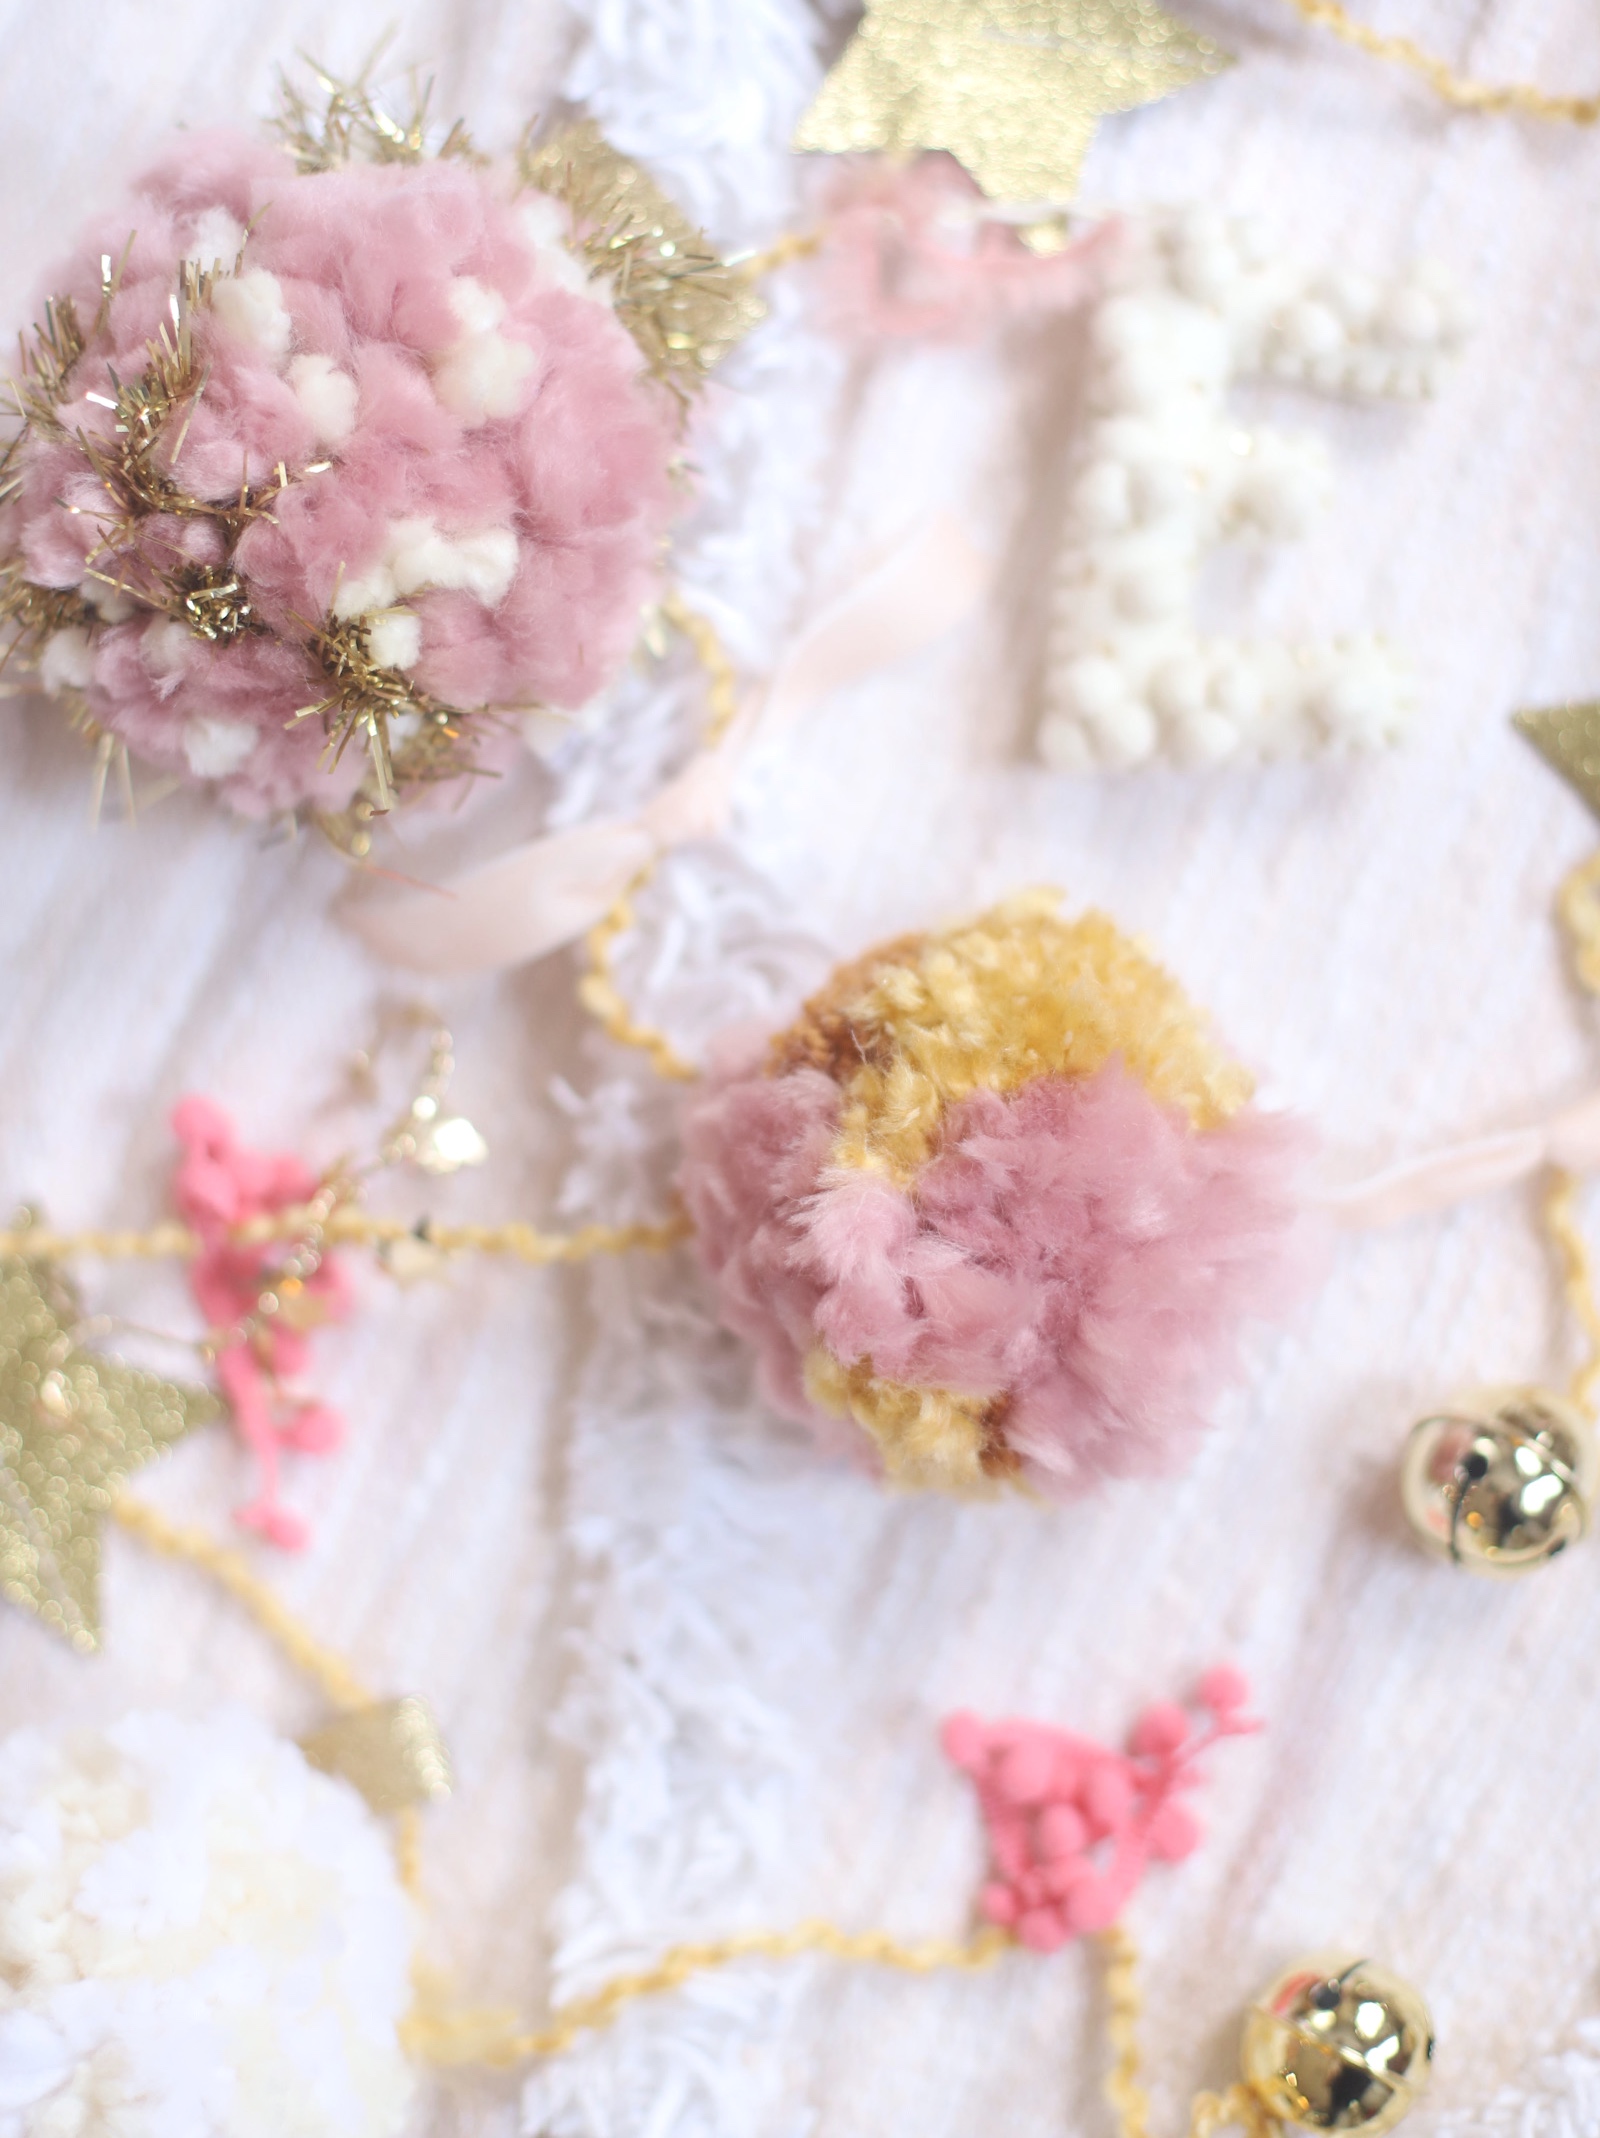
DECORATE YOUR POM POM GARLAND
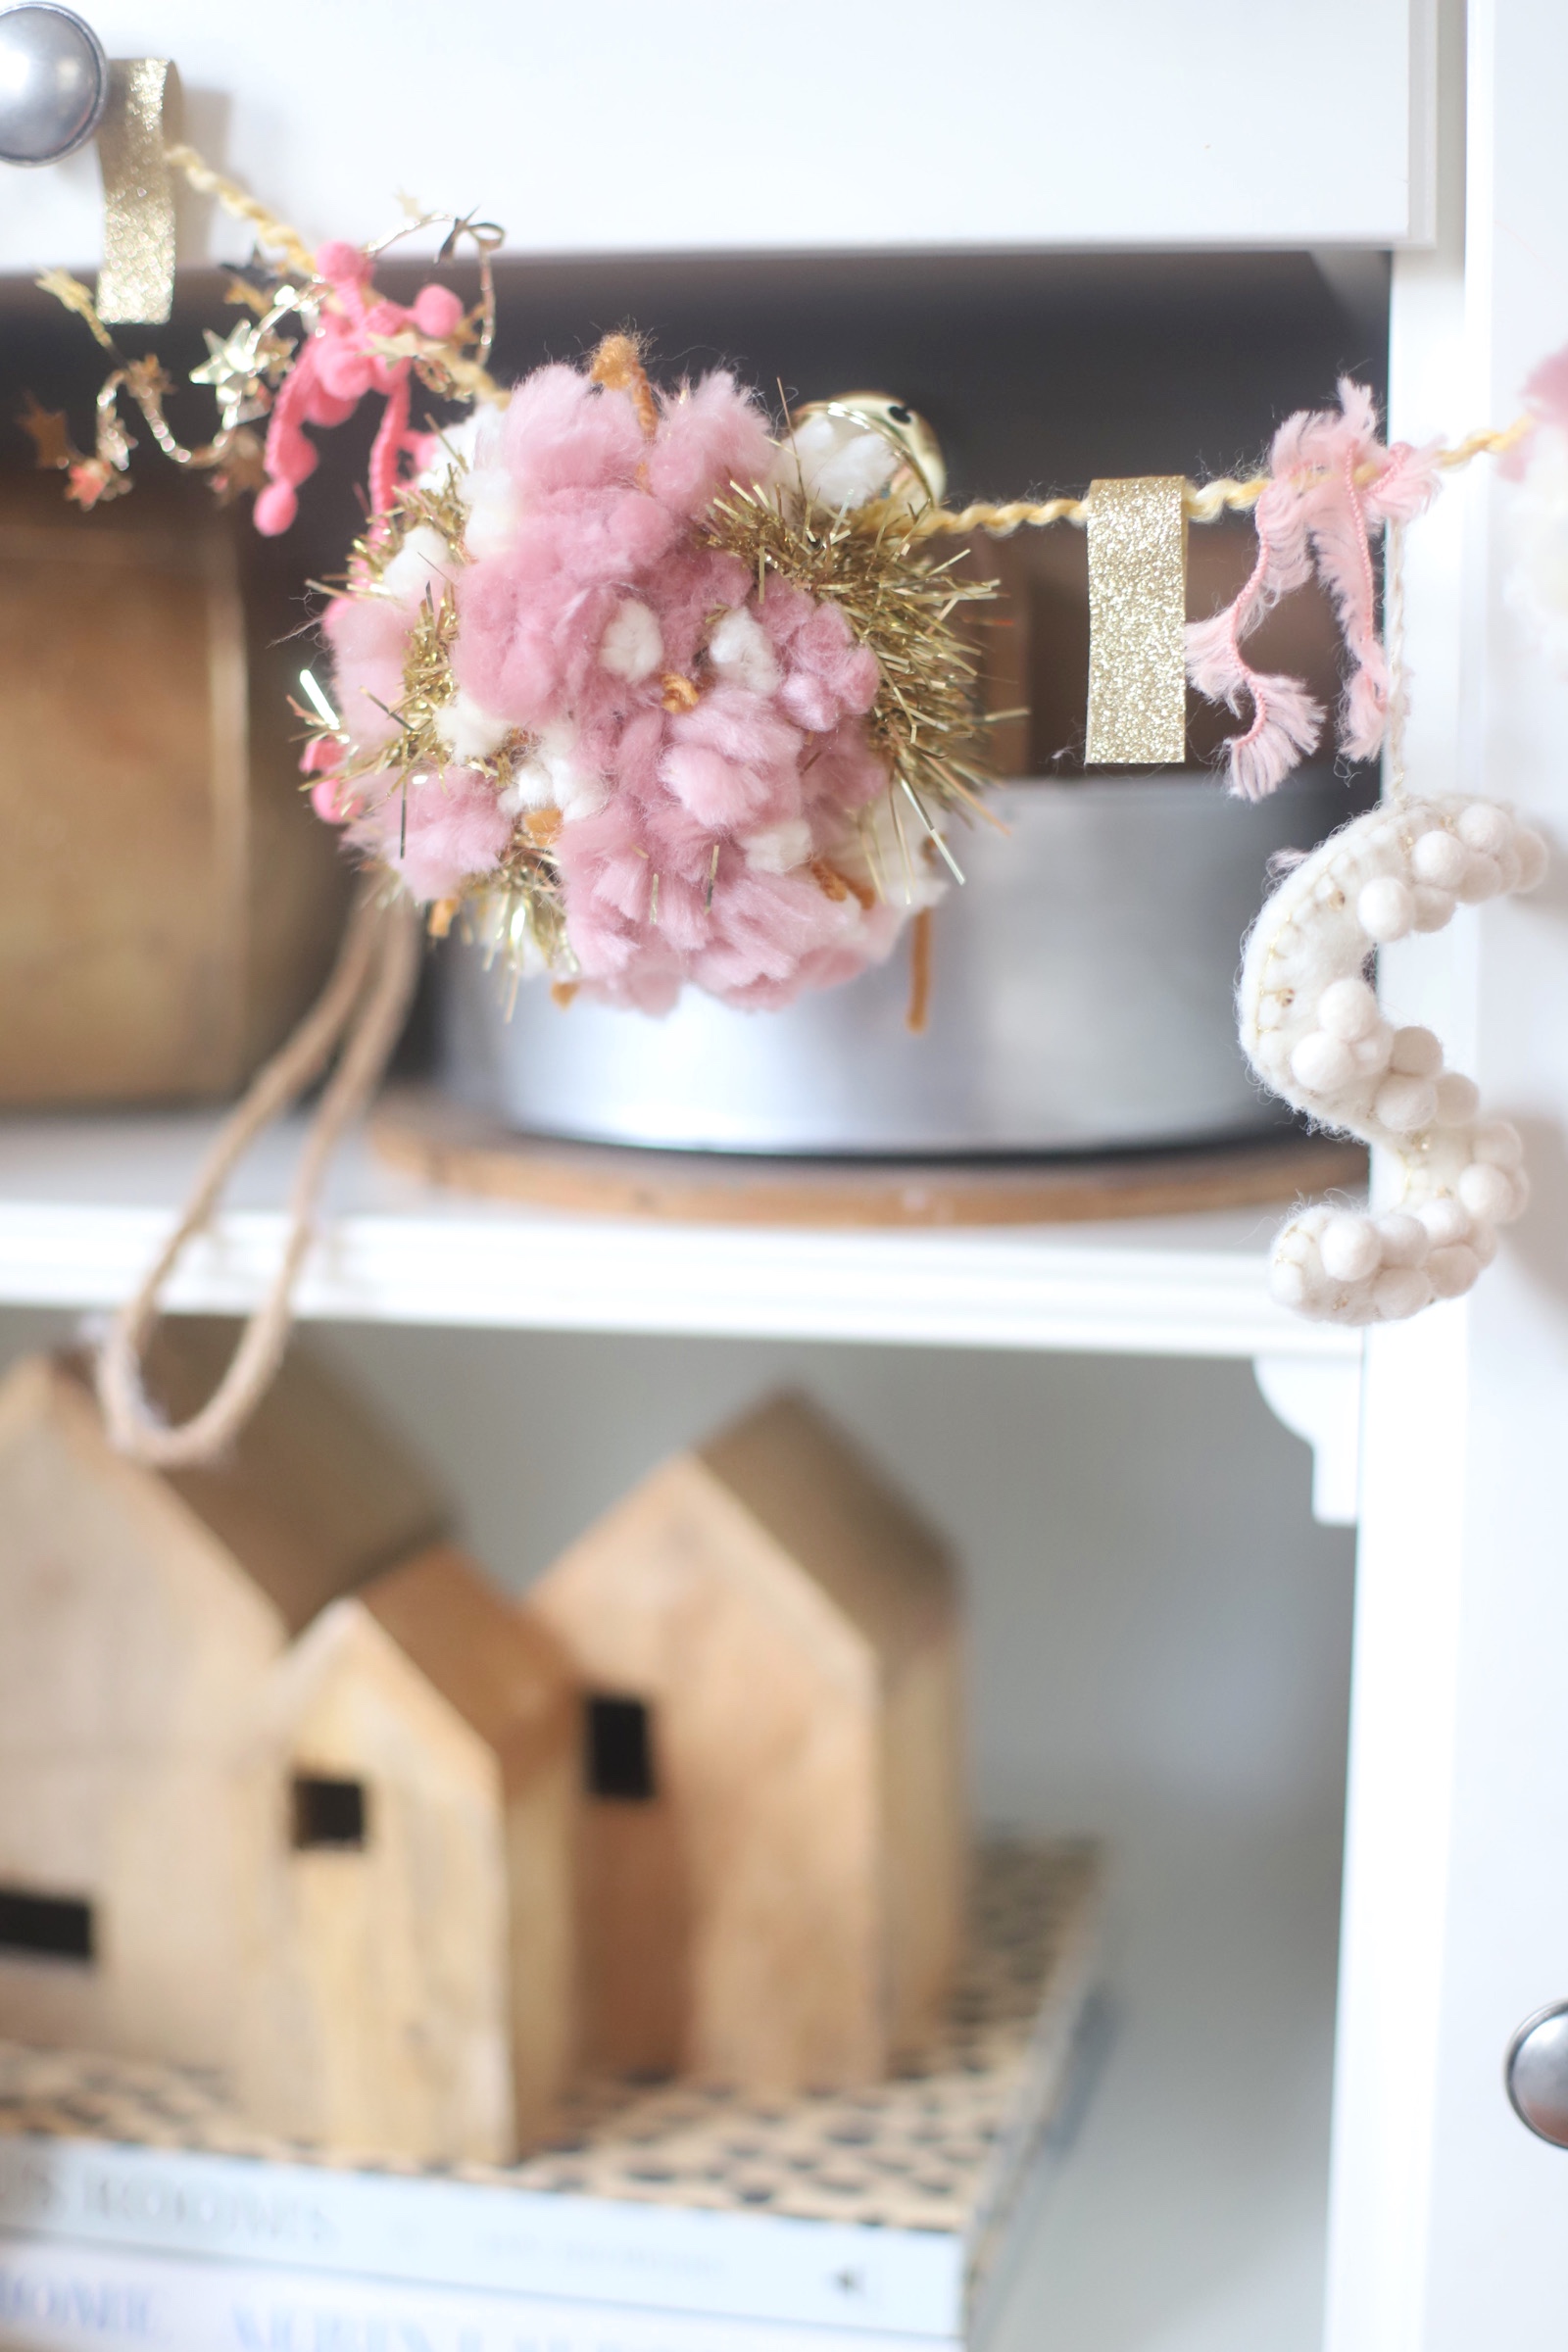
It’s time to embellish your pom pom garland! Basically, add embellishments to any open spaces between pom poms. For the bells, you can either string a bell on between each pom pom (befor you time the next pom pom on), or thread a short piece of yarn through the top of the bell and tie it to the garland at varying intervals between poms. Cut and fold pieces of wash tape at different spots on your garland. Cut and tie ribbon at different spots on your garland as well. Same goes for the tinsel.
At the last minute I also decided to add a few festive monogram ornaments to our pom pom garland to make things extra festive. I am in love with this year’s Anthropologie monogram felt pom pom ornaments, and I thought that they added the perfect neutral touch to our DIY embellished pom pom garland! (If you like a bit more color, their Deck the Halls monogram felt ornaments are equally beautiful.)
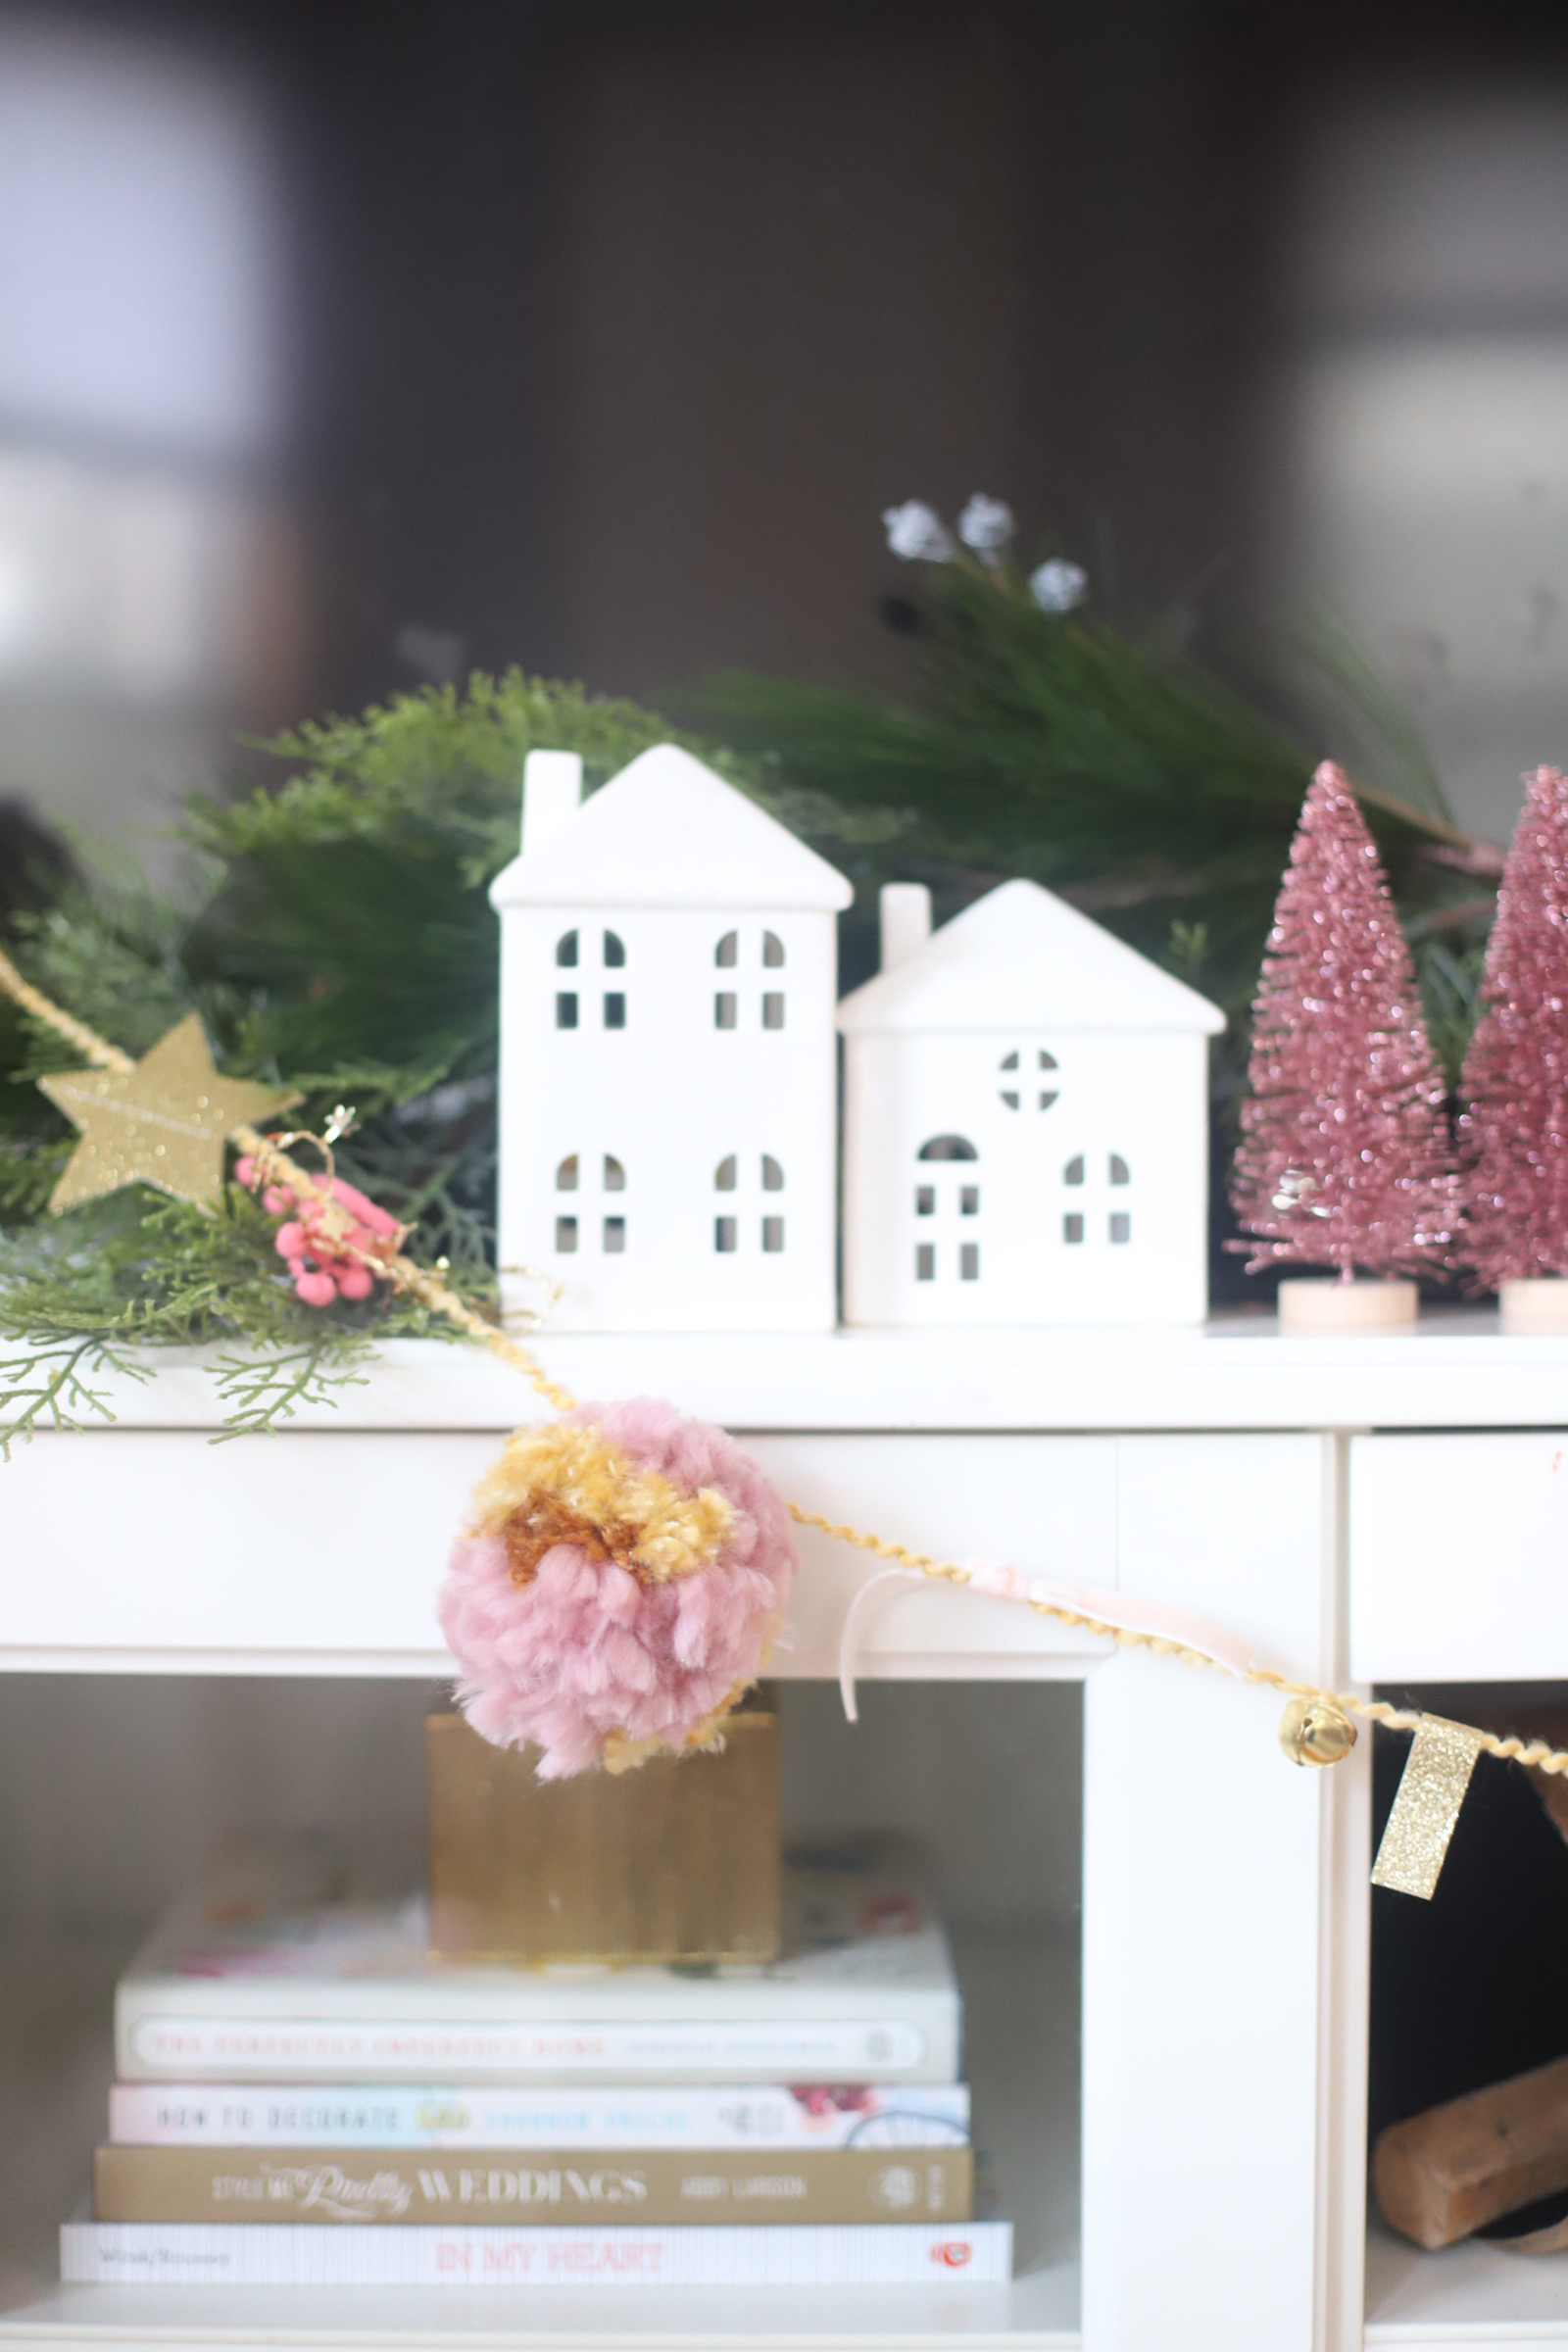
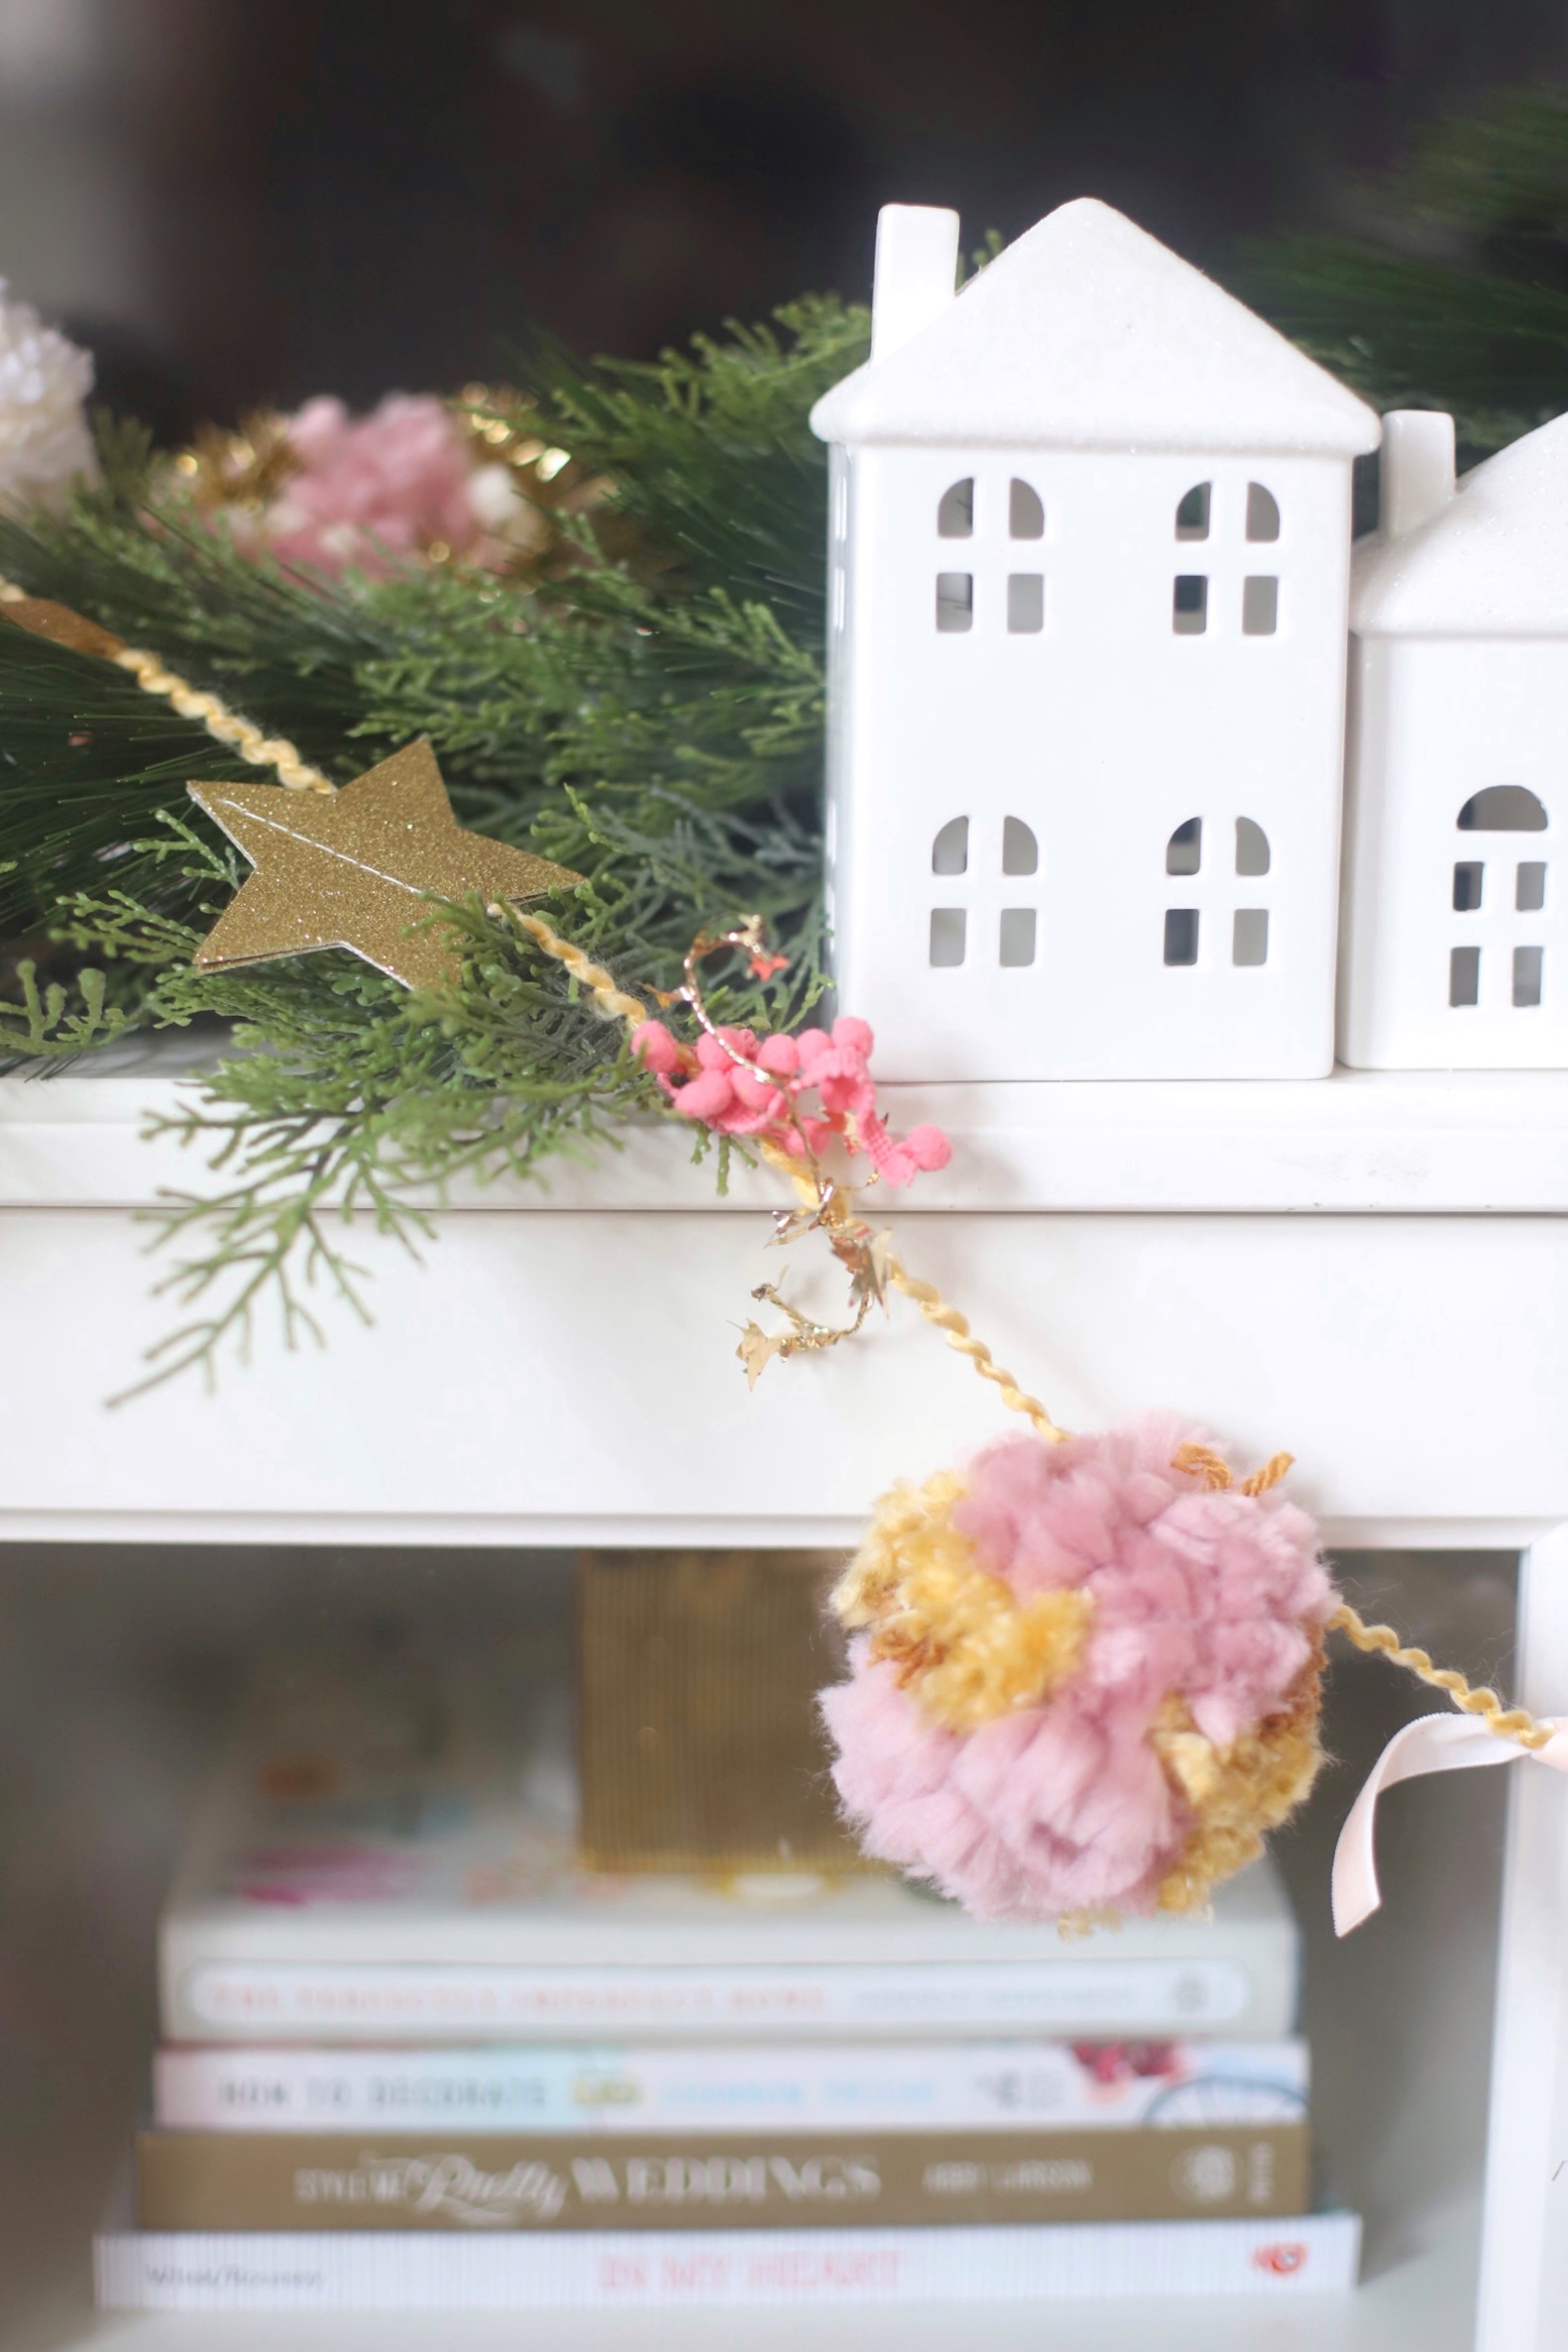
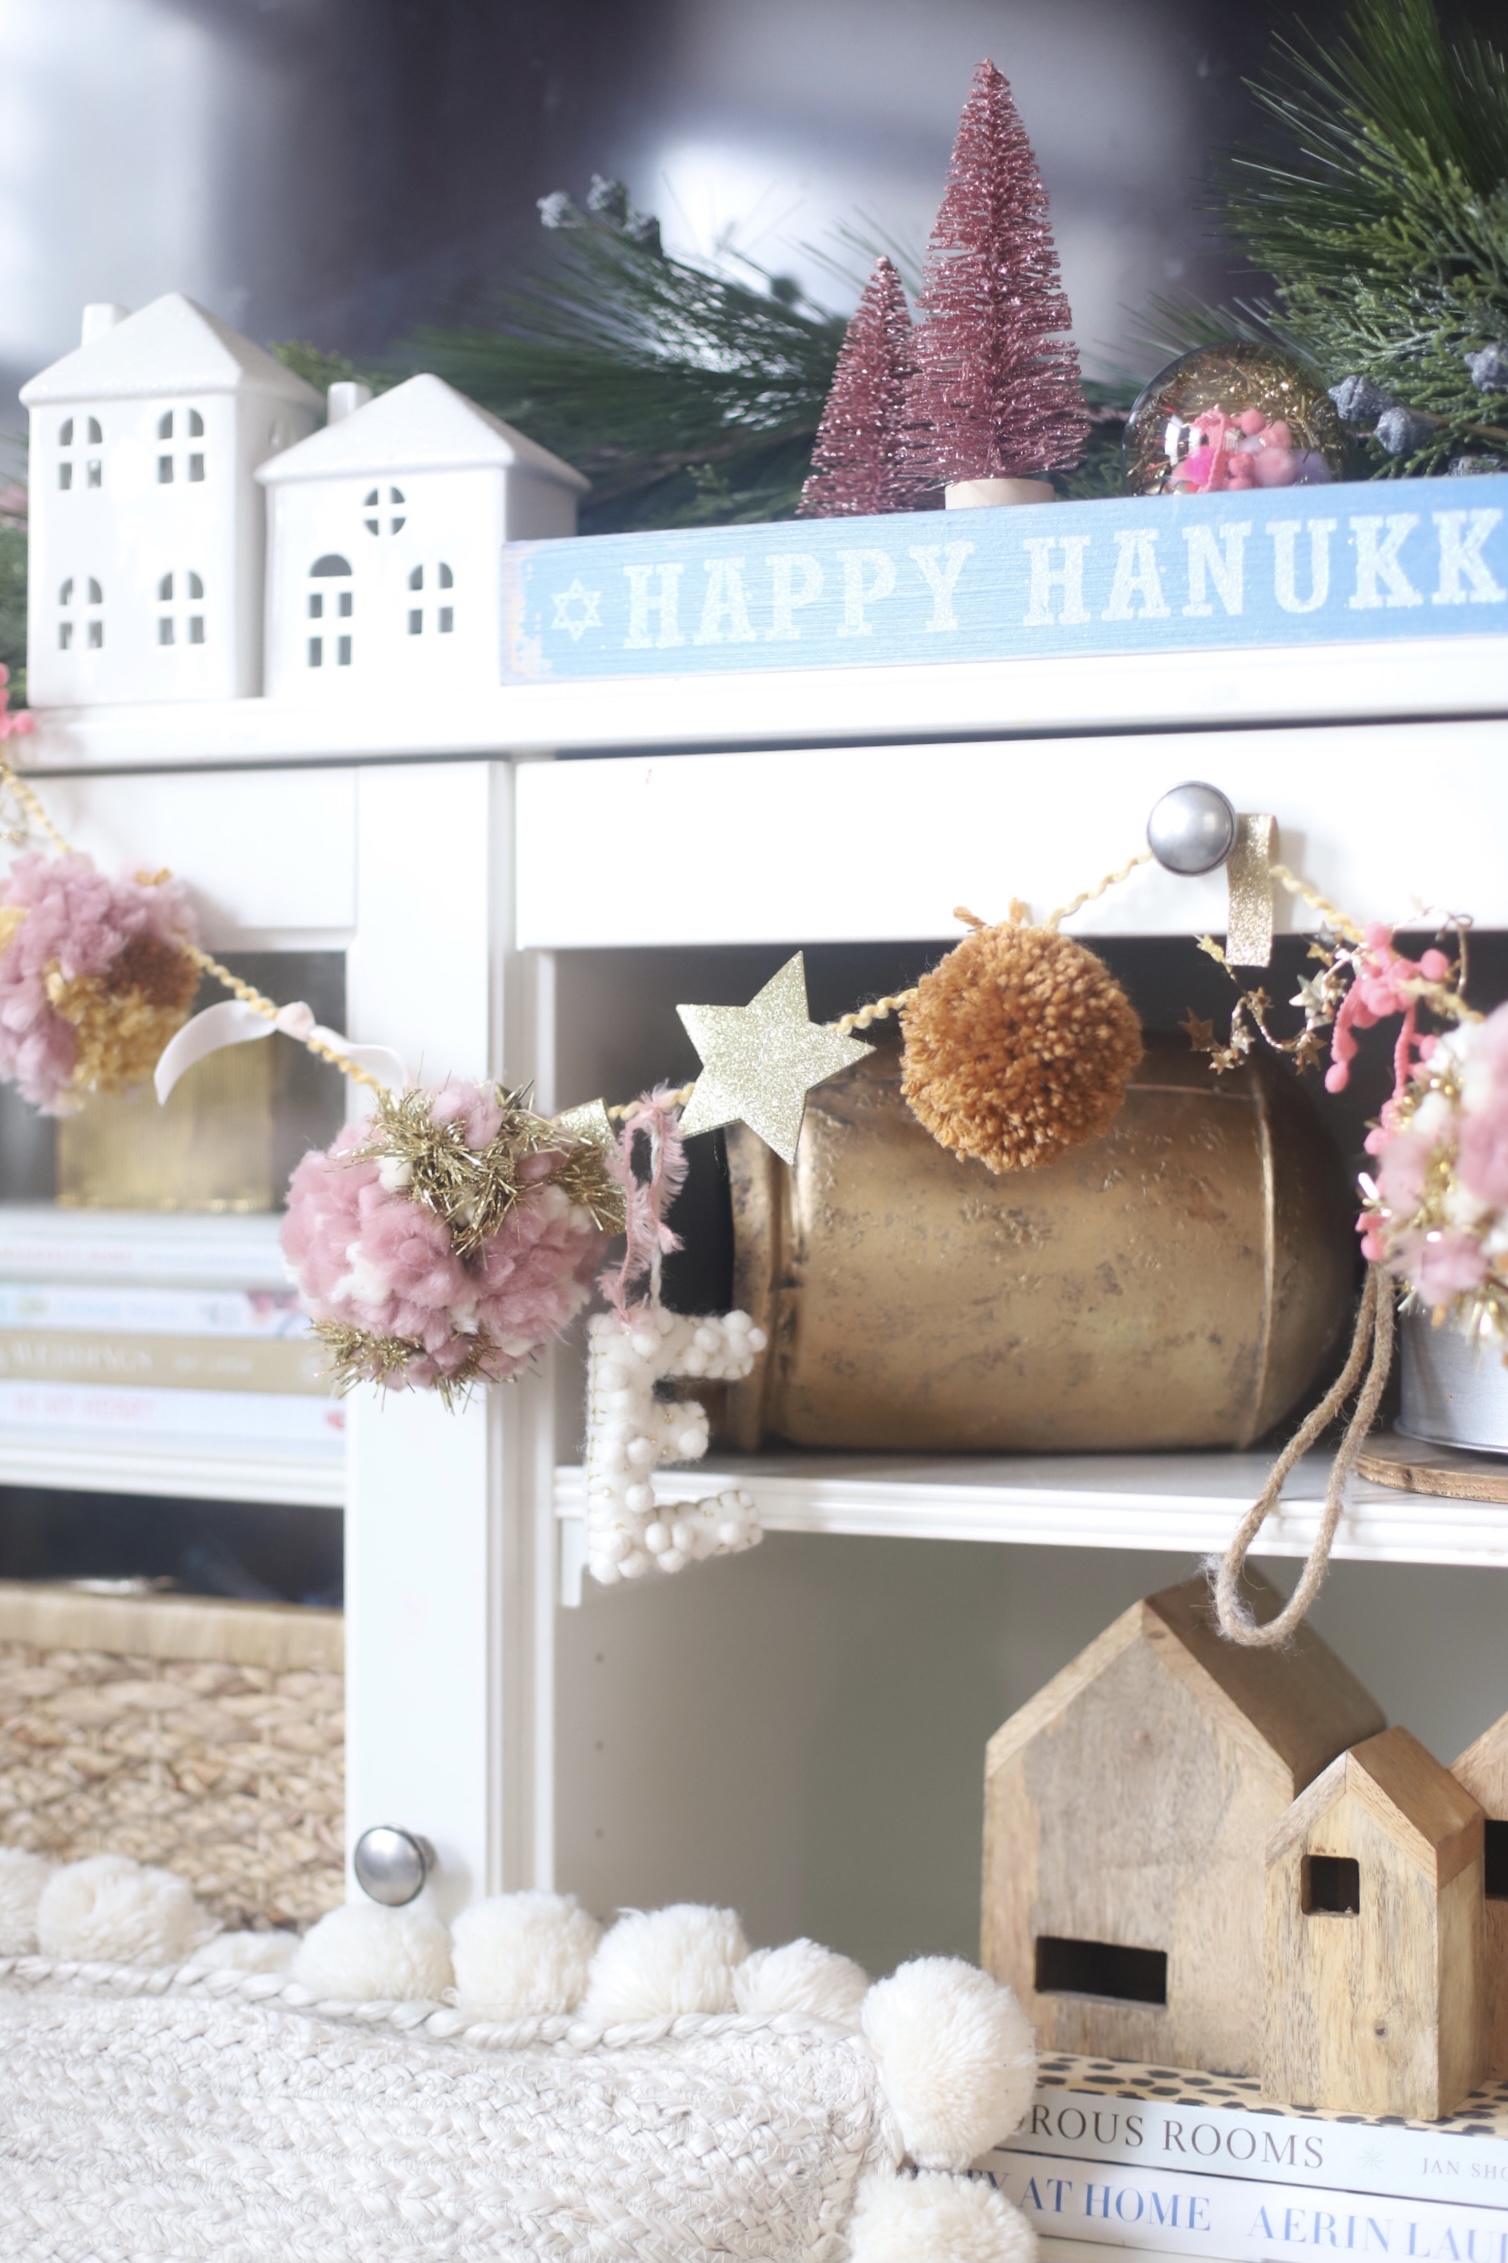
You can also see a little behind-the-scenes with a few more close-up views of the DIY embellished pom pom garland here on IGTV:
View this post on Instagram
IF YOU LOVED THIS ADORABLE AND FESTIVE DIY, YOU CAN SEE MORE OF OUR LIFE WITH TWO LITTLE ONES HERE AND ALL OF OUR CRAFTS HERE.
And be sure to check out the all new Glitter, Inc. Holiday page for SO MUCH MORE festive inspiration!
SHOP OUR HOLIDAY DECOR | CLICK LEFT & RIGHT ARROWS TO EXPLORE
SHOP THE FESTIVE DIY EMBELLISHED GARLAND DIY | CLICK LEFT & RIGHT ARROWS TO EXPLORE


 Older Post


