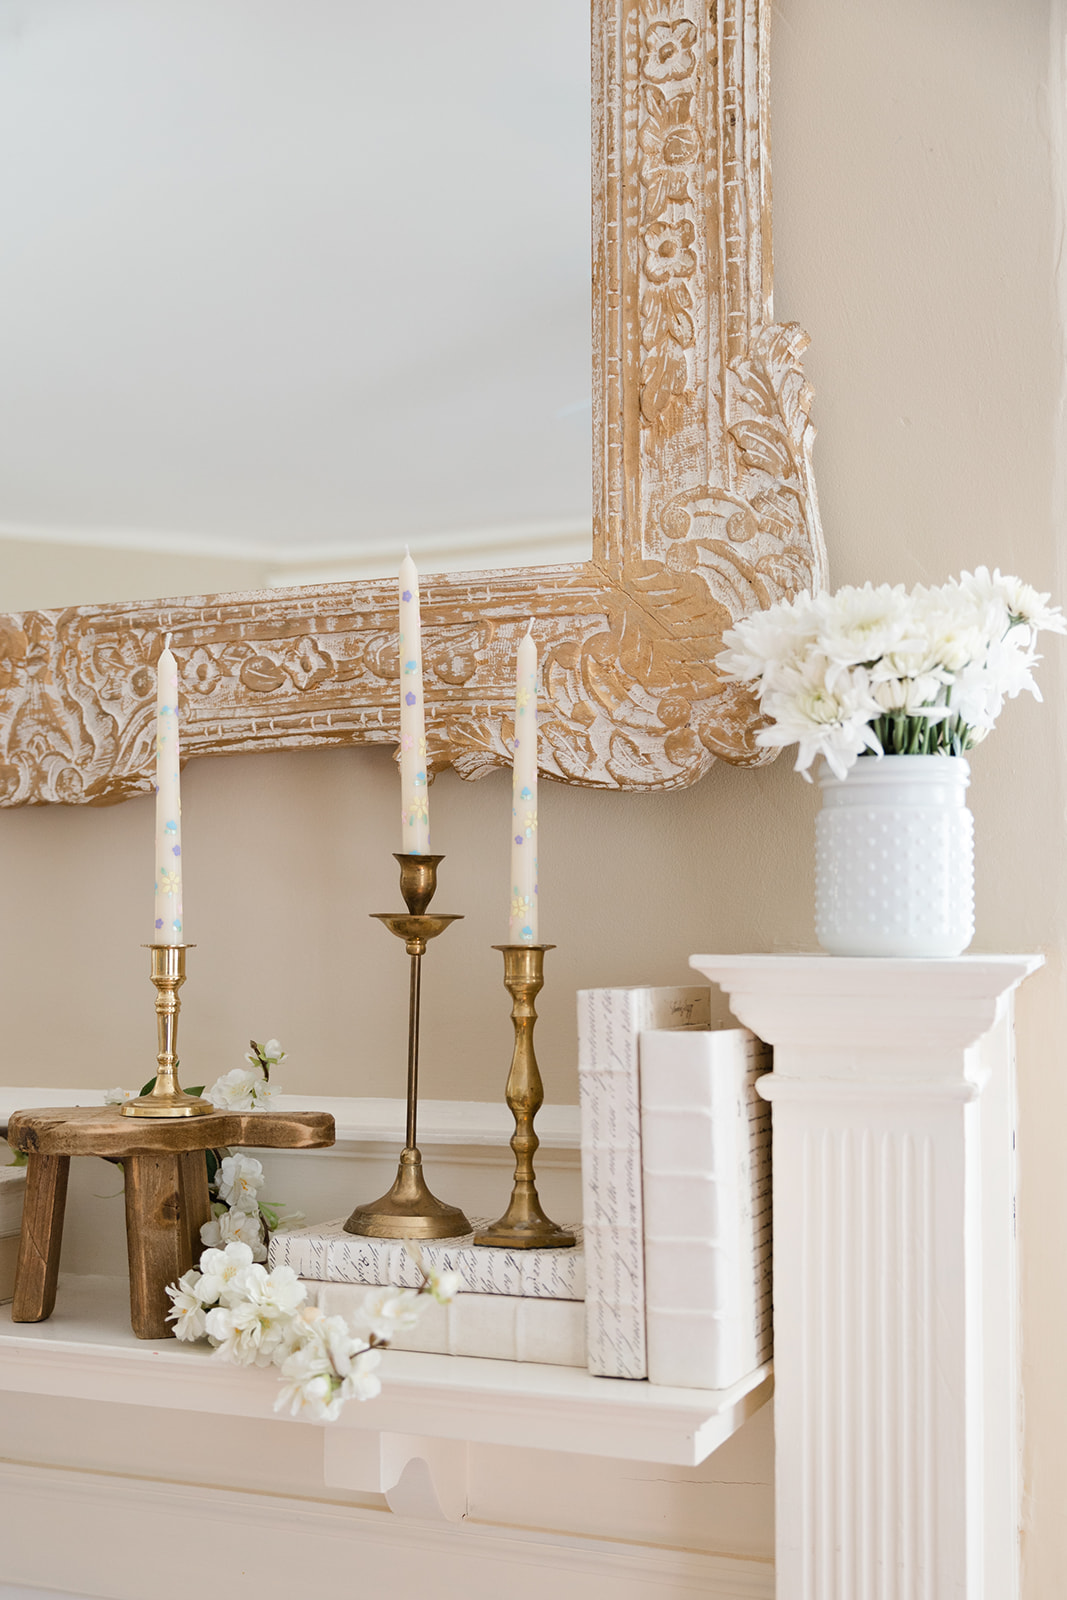
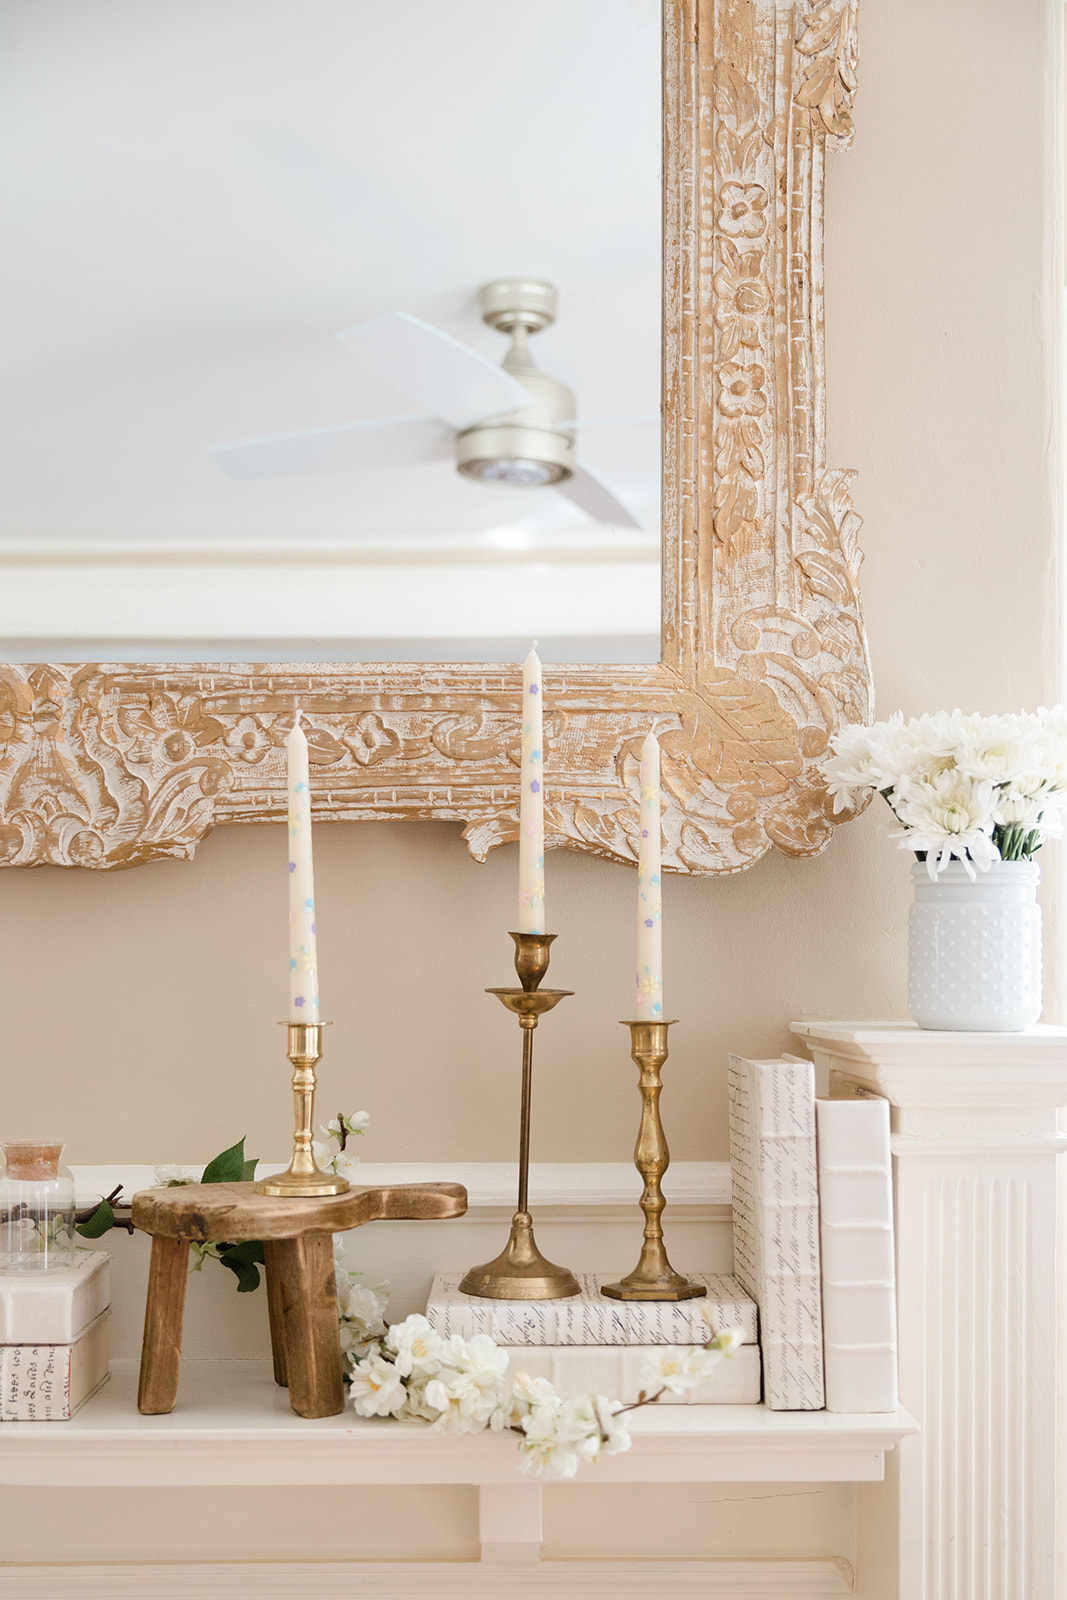
Spring has me putting flowers on everything. I’ve seen several beautiful taper candles with gorgeous patterns and prints, and I thought: oh man, I could totally DIY that!
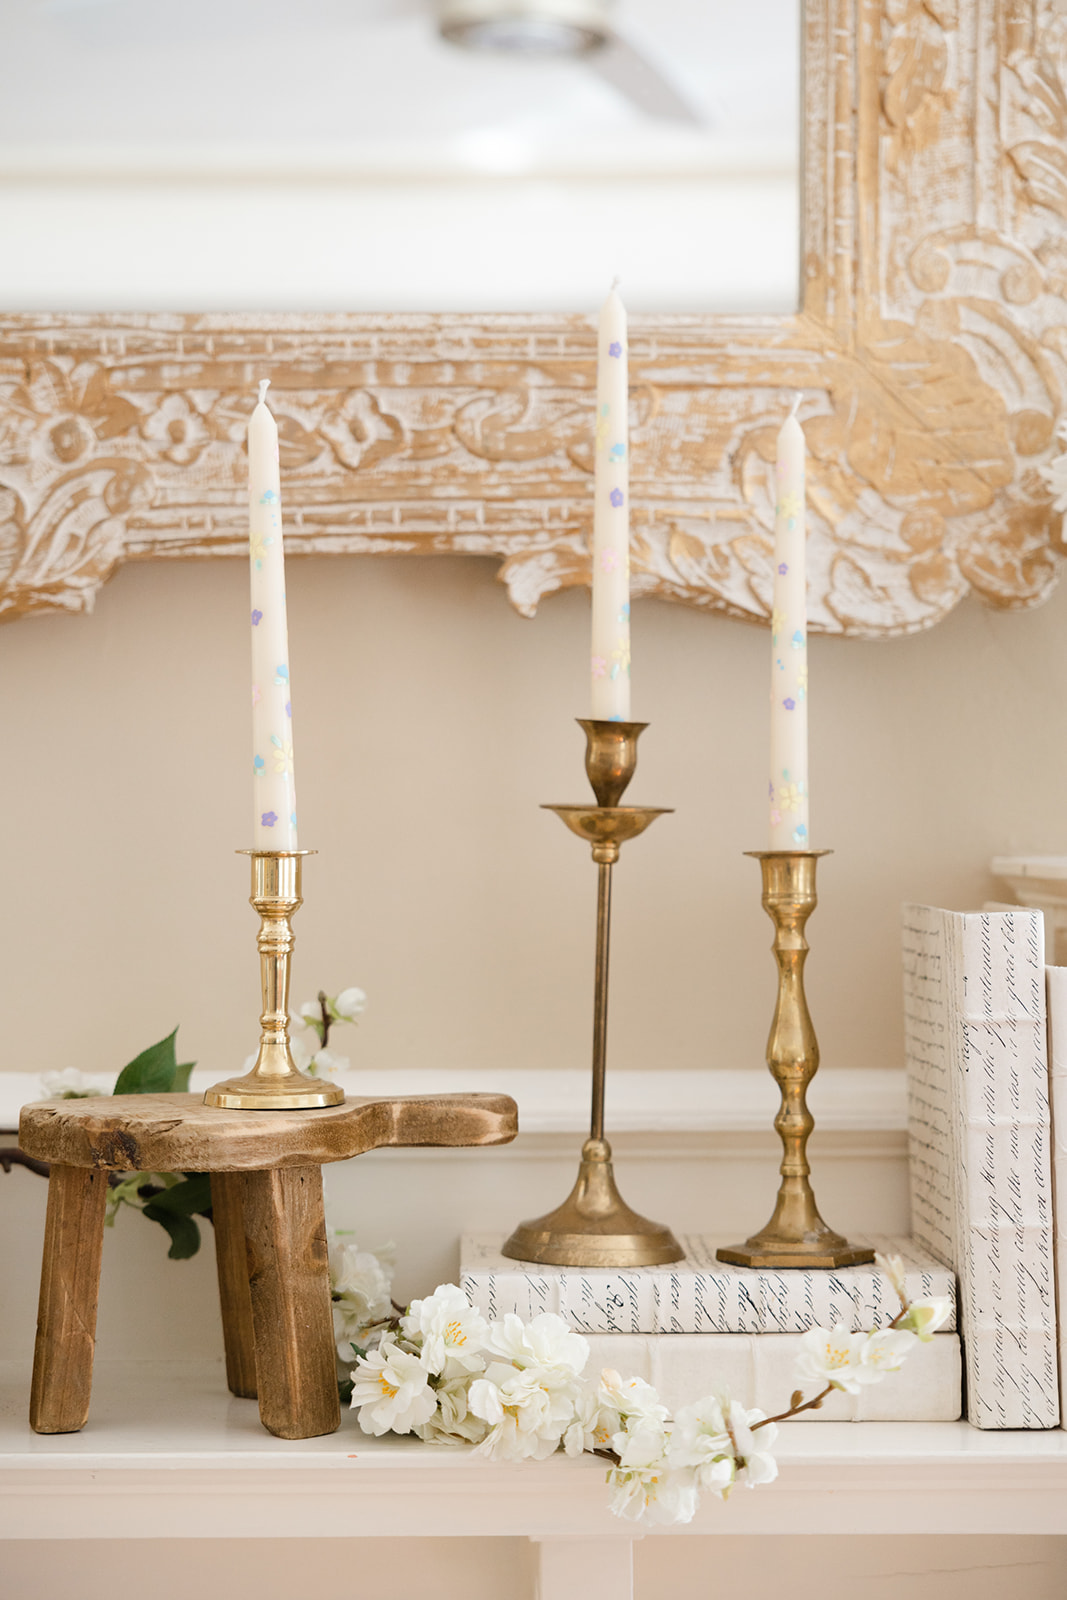
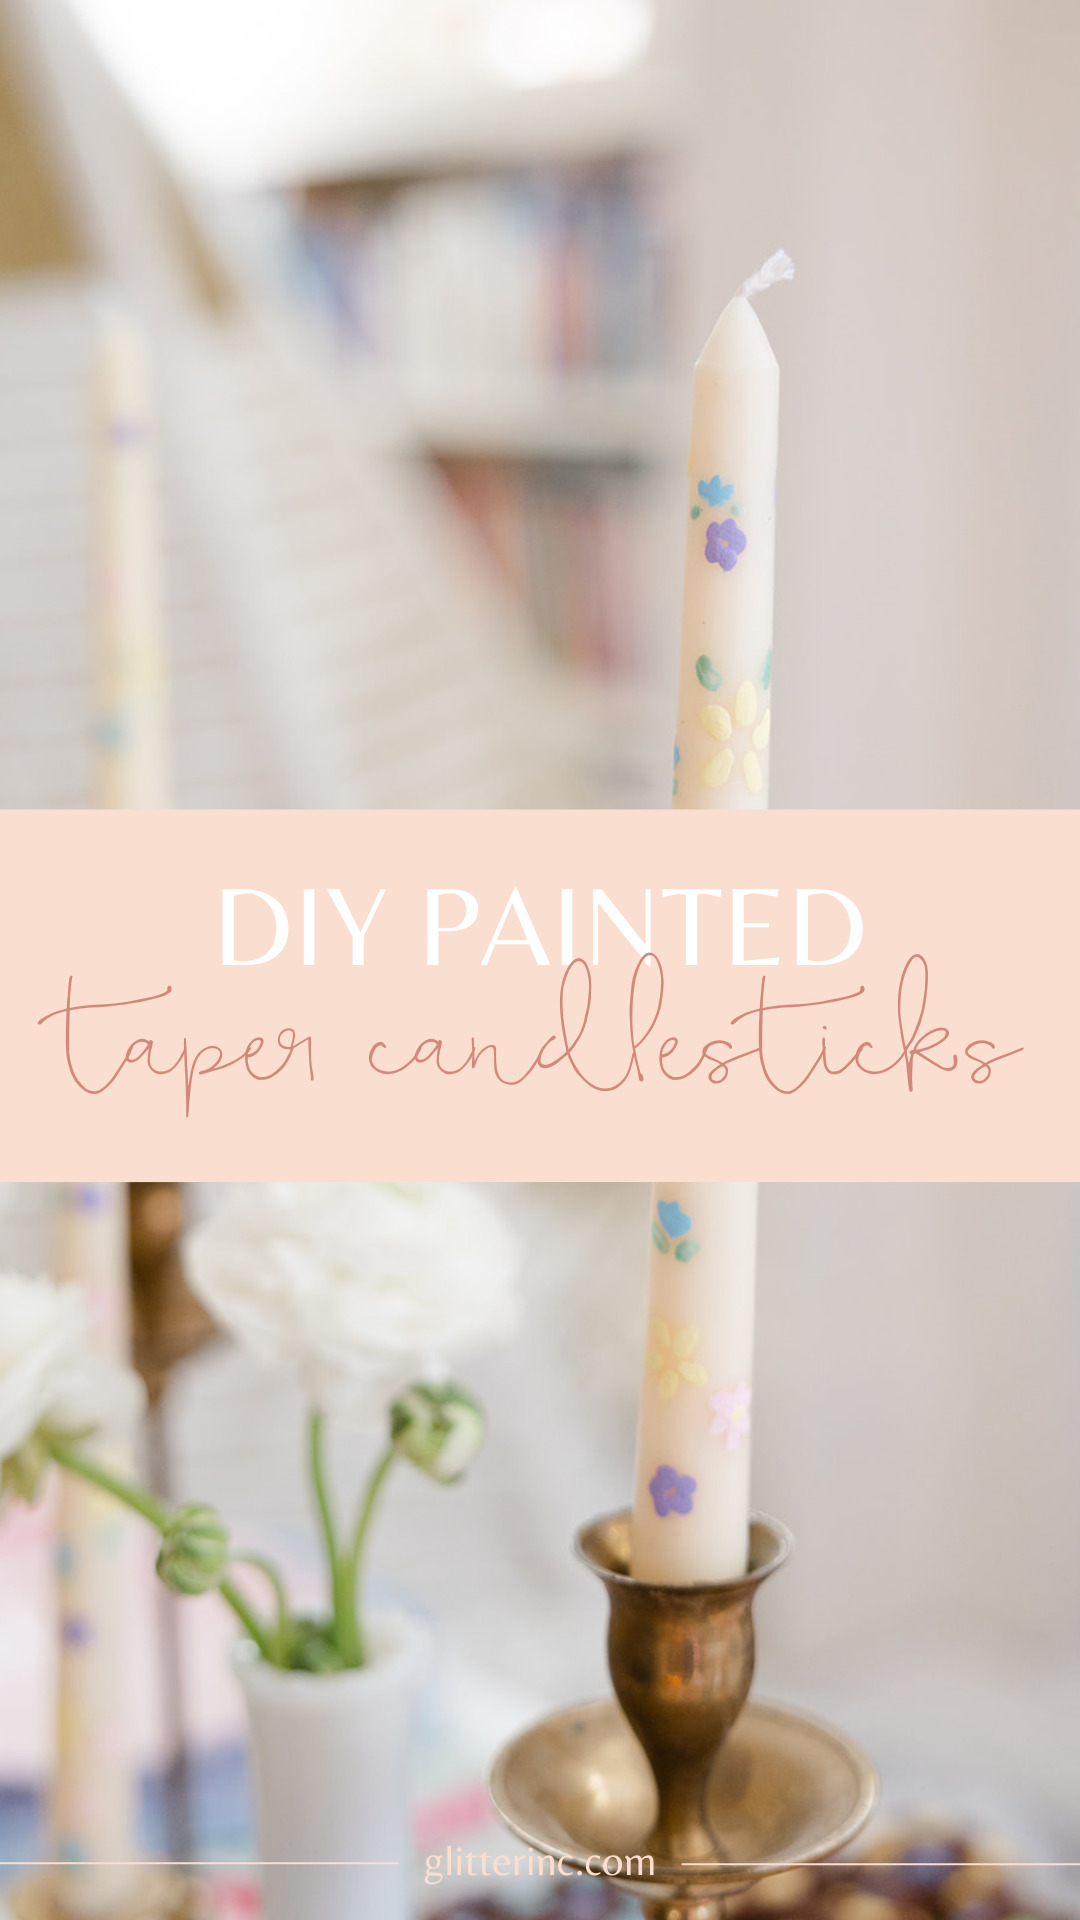
DIY Painted Taper Candlesticks
After a bit of research, and five minutes of rummaging through our craft closet, these super simple DIY painted taper floral candlesticks were born.
How to Paint Candles
I learned a few tips along the way when it comes to painting candles, that I thought I should share here. This DIY project is so easy and the flower-studded end result is stunning and such a fun conversation starter.
These candles would also make a really sweet gift and is also something you could do just to relax. (I painted these candles during baby girl’s nap time!)
I used the painted candlesticks on our tablescape for Adelaide’s first birthday party and our photographer, Sam, couldn’t get over how pretty the floral candles were. She was convinced I could sell these candles on Etsy, which means, despite how easy they were to create, they look totally legit!
What Kind of Paint Can You Use to Paint Candles?
To paint wax candles, you will definitely want to use acrylic paint. It’s important that you use acrylic paint to paint your candles.
Acrylic paint is safe to use on candles so long as you use non-toxic, water-based acrylic paint. And to be extra safe, the acrylic paint should only be applied to the surface of the candlesticks away from the wick to ensure that the paint isn’t directly burned by the flame.
We love this water-based, non-toxic acrylic paint from Target and use it for so many DIY projects!
The Best Reusable Paint Trays
Also, grab a pack of these plastic paint trays from Amazon. They’re affordable, the perfect size for most small projects, wash easily, are great for kids and grownups alike, and they’re reusable.

How to Make DIY Painted Candles
What You’ll Need
taper candles
acrylic paint*
paint tray or paper plate
small paintbrushes
paper towel and a small bowl of water
candleholders
Directions
- Set up your work station with a paint tray or palette topped with your paint colors of choice. Gather a few thinner paintbrushes, paper towel and a small bowl of water.
- Clean your candles either with a paper towel and water or paper towel and a bit of rubbing alcohol. (Allow them to dry completely before painting.)
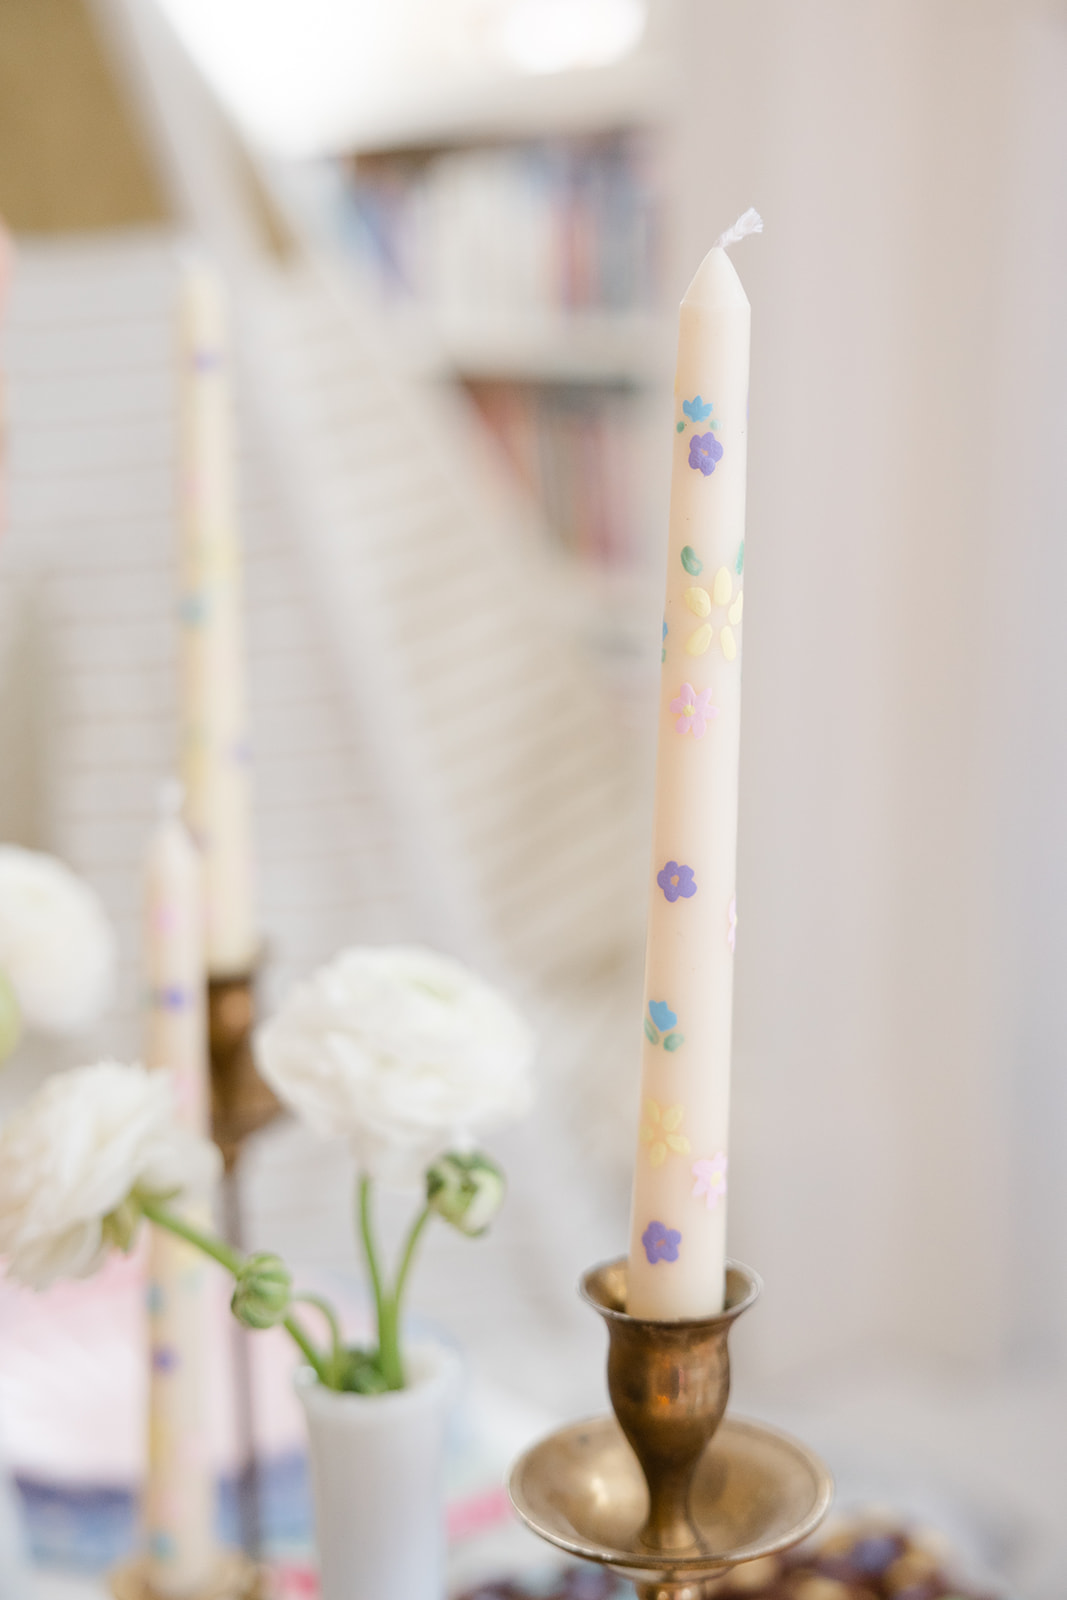
- Paint your design directly onto each candle using a thin paint brush and acrylic paint. You can create your designs freehand or using paper stencils. (Even if you’re not a painter, painting something like flowers or hearts is surprisingly simple using small dots of paint in the shapes of flowers, etc.) I also worked with one color at a time; i.e., painting all of my purple petals first, then blue dots, and so on.
- Allow the candles to dry completely before using. This is where candleholders come in handy. (If you plan to store these or gift these DIY candles before use, be sure to handle with care and wrap them in tissue paper for transport, as the paint can chip.)
I’m also sharing all of the pretty details on Instagram in a REEL, in case seeing the DIY in action is helpful!
By the way, I have zero painting skills; I simply created tiny flowers with a dot method; i.e., for a daisy shape I painted five dots in a ring and then added a contrasting color dot in the center, etc.
SHOP THE DIY PAINTED TAPER CANDLESTICKS POST | CLICK LEFT & RIGHT ARROWS TO EXPLORE
If you make your own DIY painted candlesticks, be sure to tag me on social media (@glitterinclexi) so I can live vicariously through all of your gorgeously chic and easy painted candle creations!
Love this DIY? Head to our DIY page to check out what else we’re creating.
Photos by Golden Hour Photography for Glitter, Inc.
Join the Fun


 Older Post