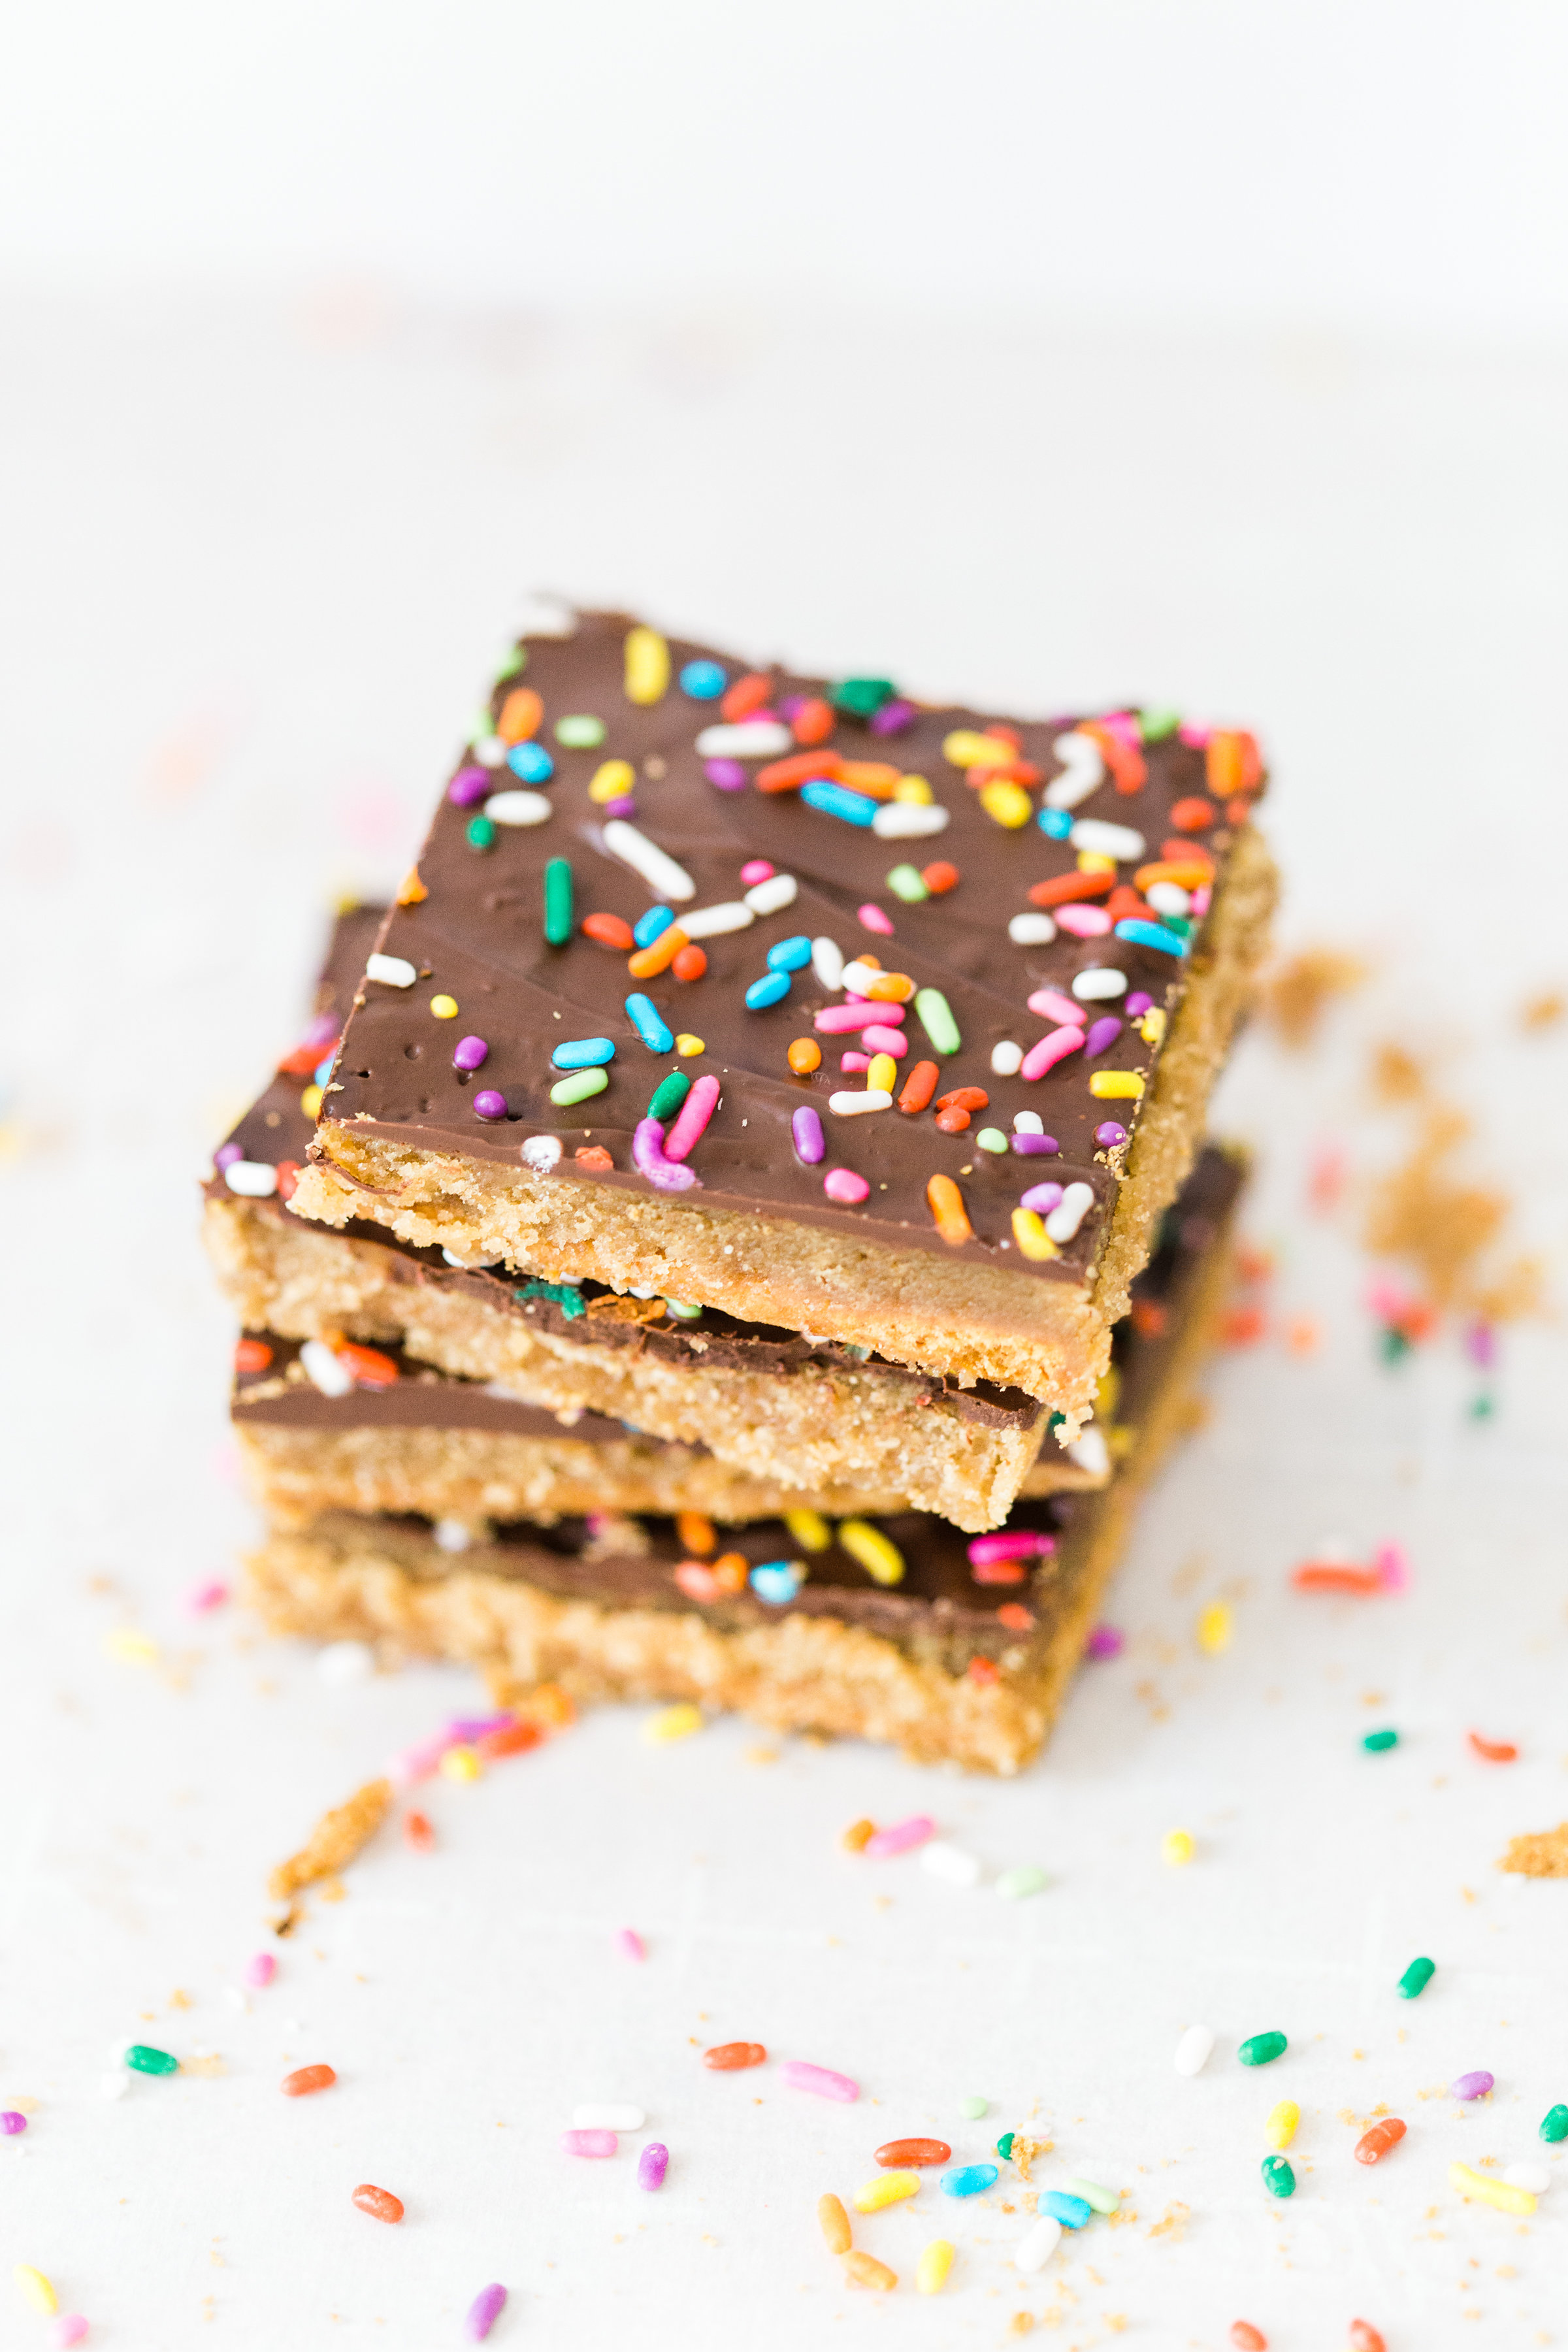
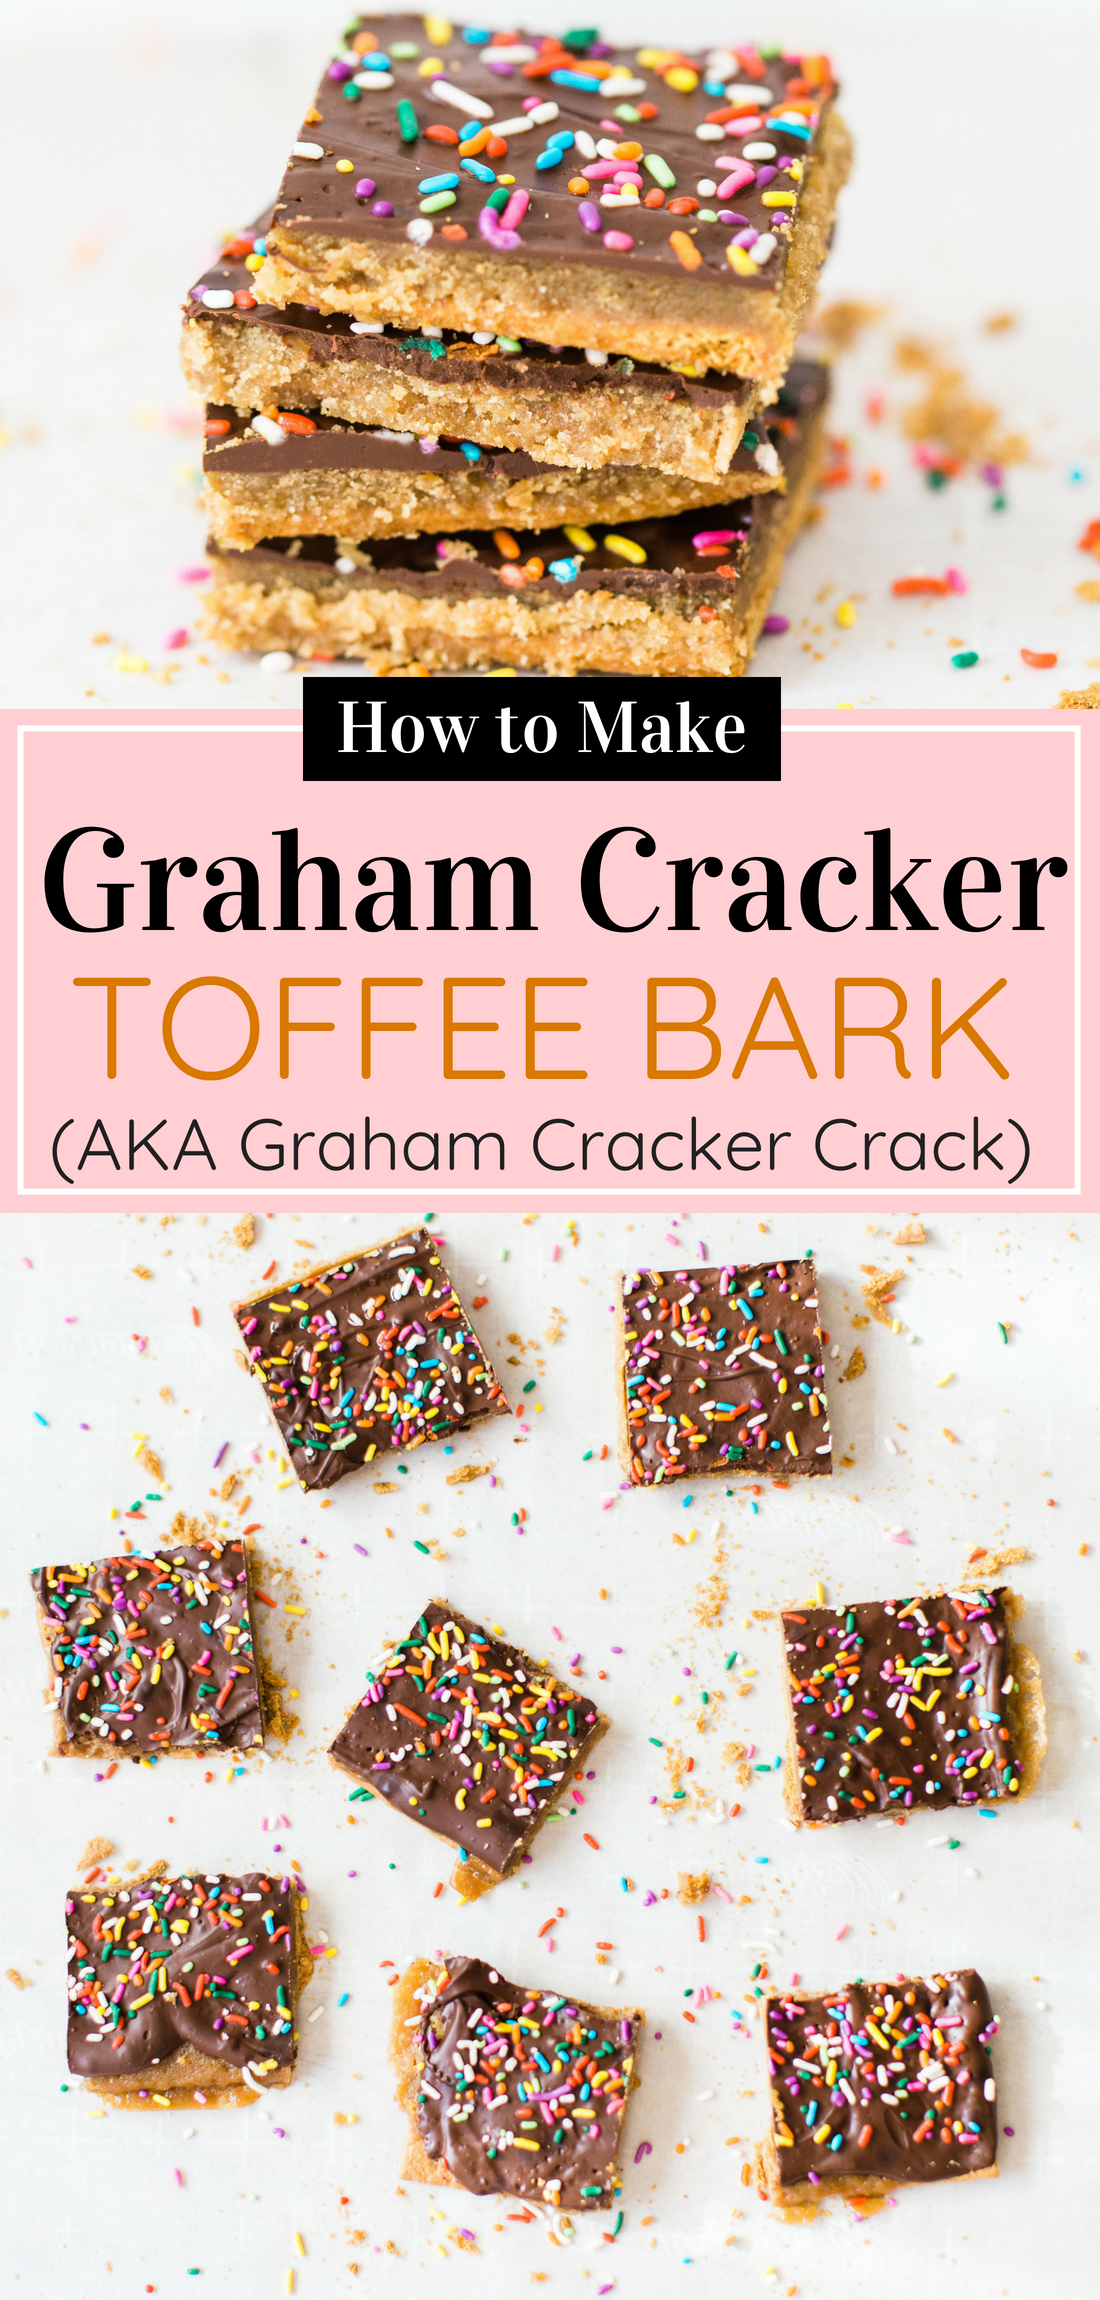
If you haven’t ever tried graham cracker toffee bark, I’d like to formally introduce you to everyone’s favorite graham cracker “crack.” Often created using saltines, I’m from the school of thought that subbing out the saltine crackers for graham crackers makes the whole sweet treat over-the-top. The thicker, denser, graham crackers soak up all of that homemade toffee caramel goodness, and the melted chocolate crust is the perfect pairing. I can’t decide which variation I’m more obsessed with: topped with a hardened semi-sweet chocolate shell or milk chocolate shell. My hubby on the other hand, he’s ALL about that white chocolate.
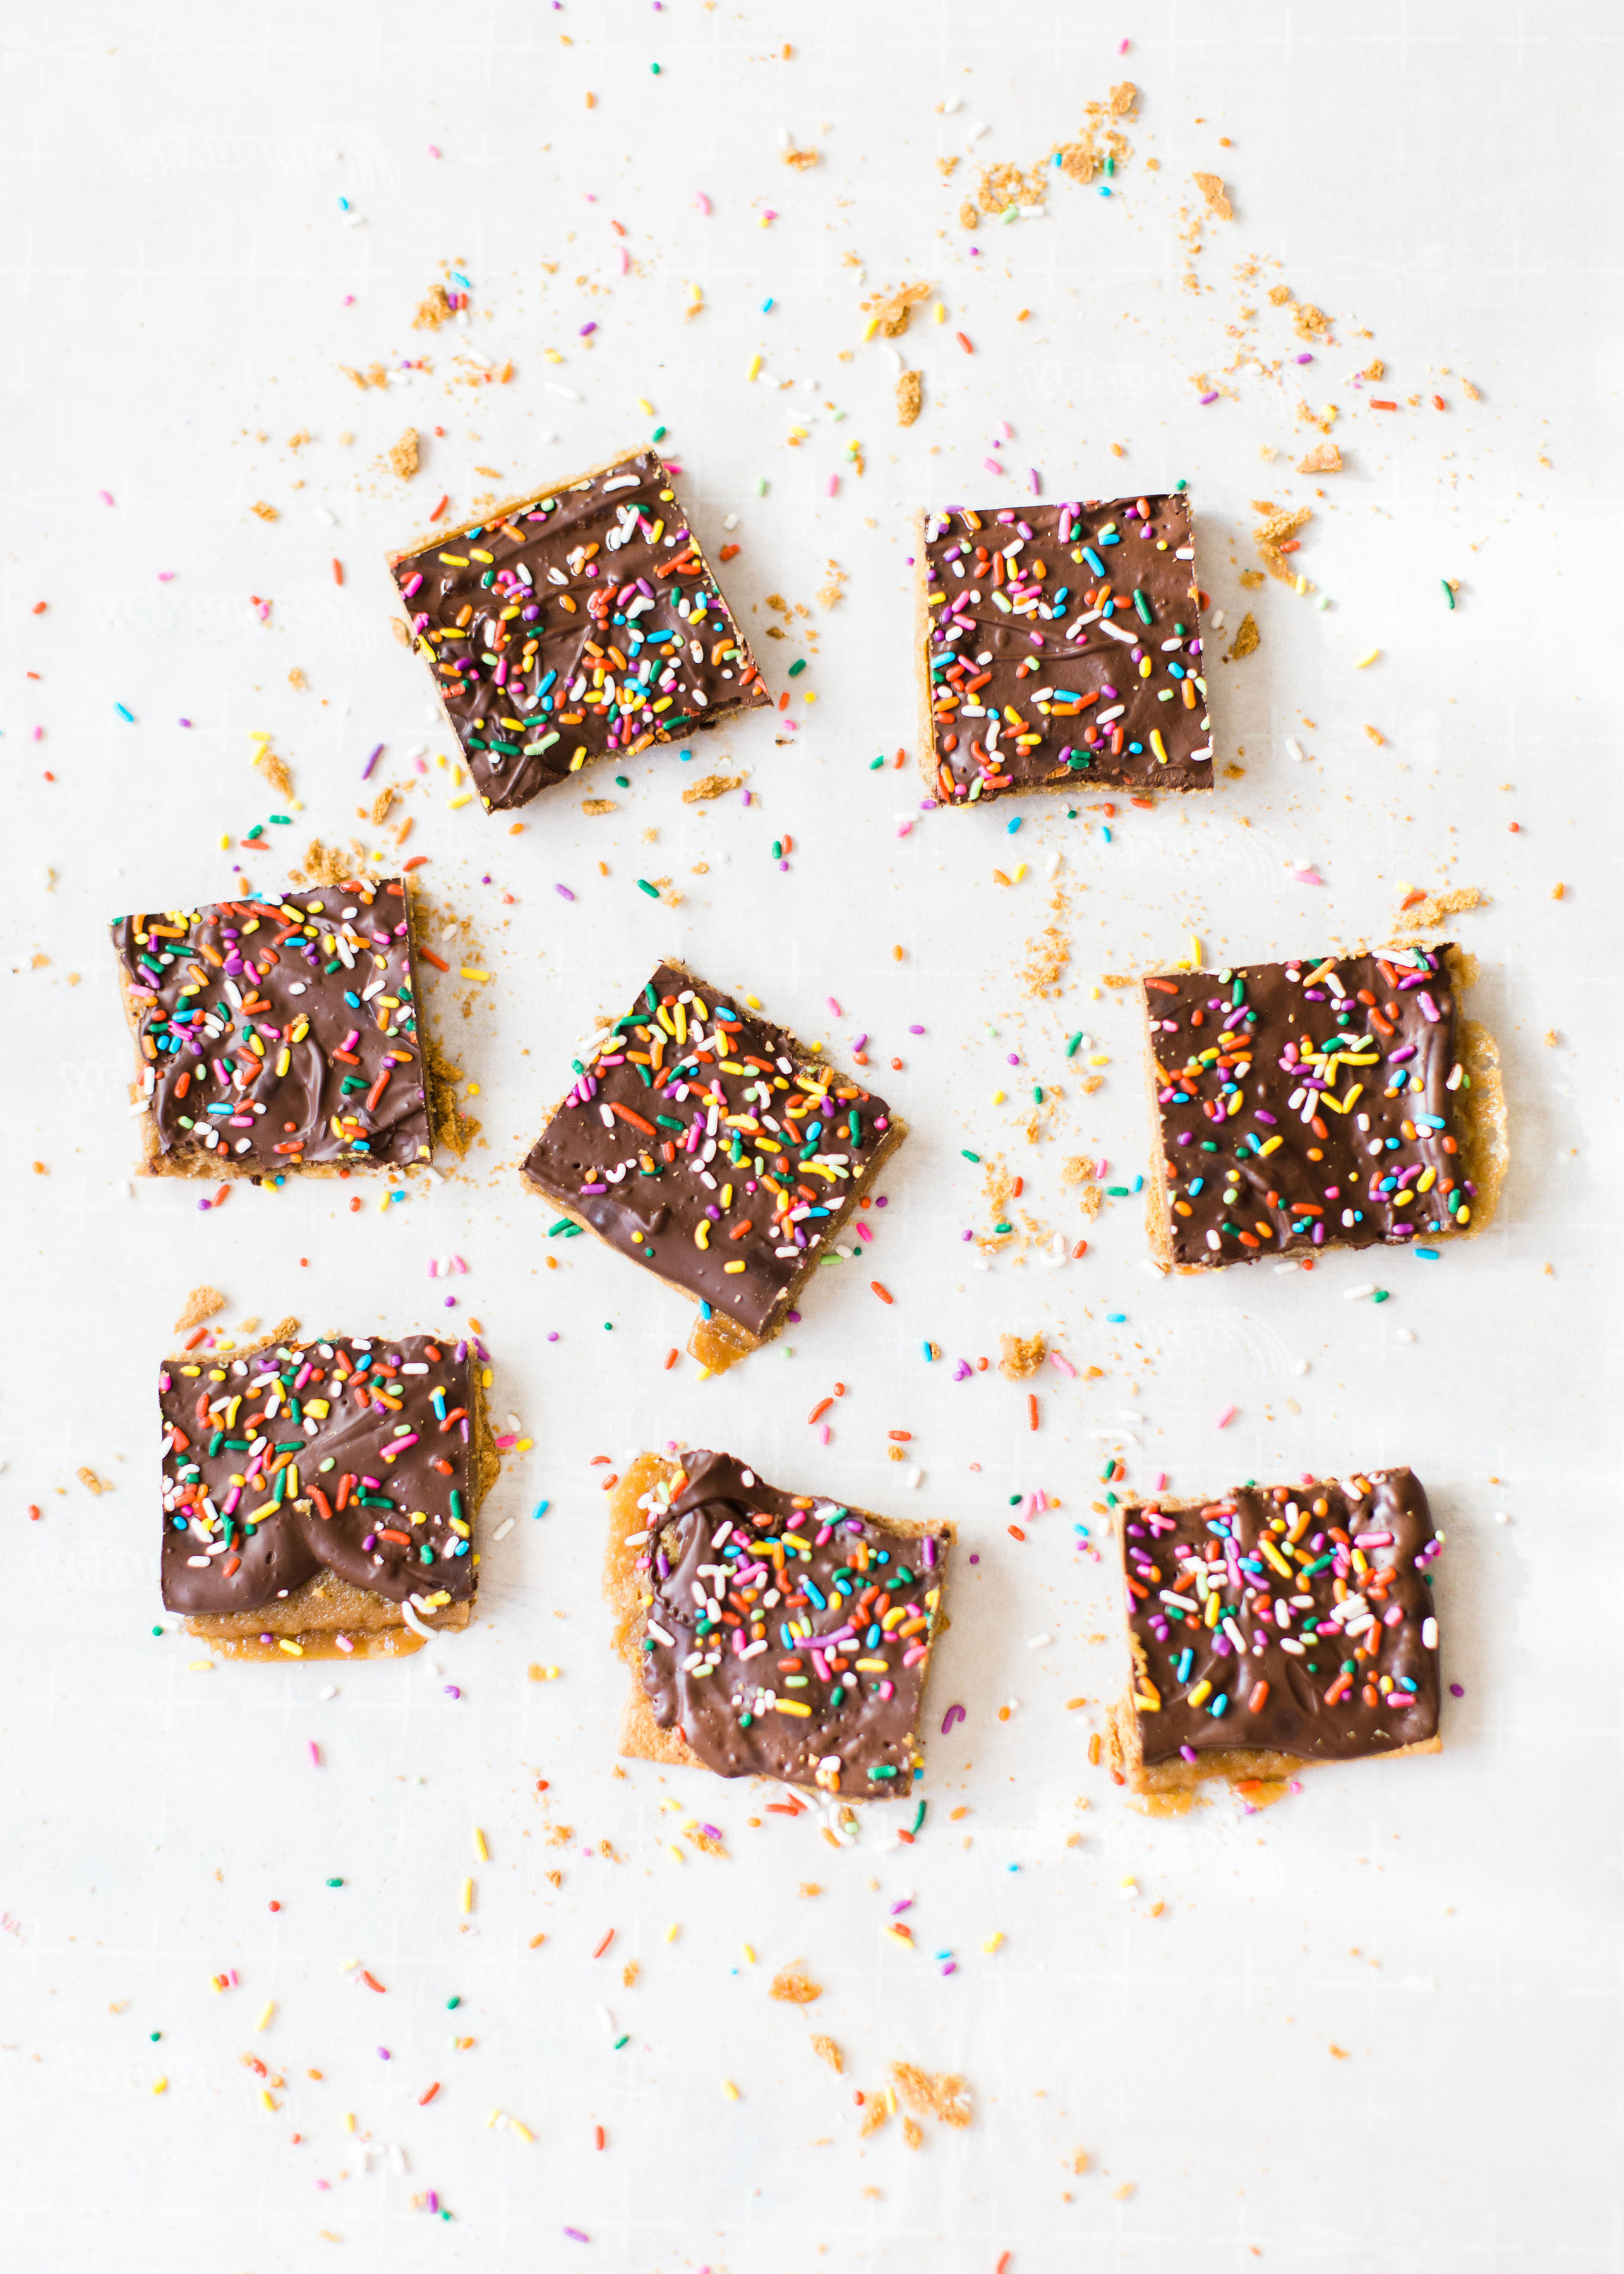
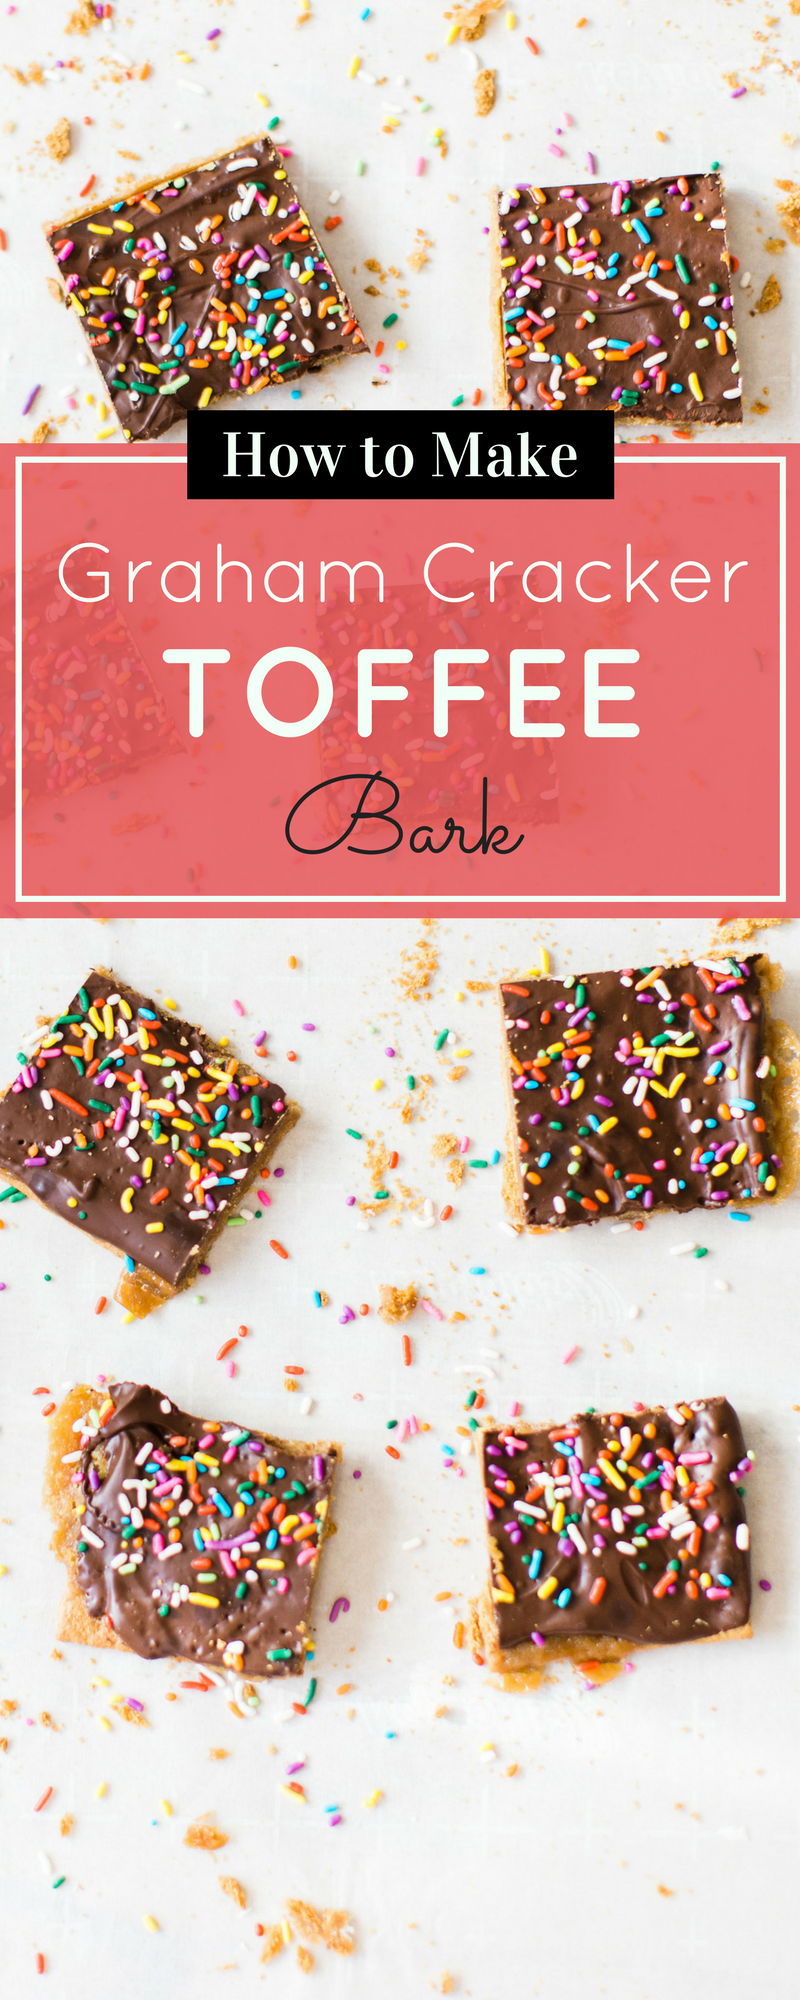
You may remember earlier this year I shared a super sweet, pretty in pink marbled graham cracker toffee bark version of this dessert – that one was created using white chocolate and it is rich, but I wanted to go with the classic, especially because this classic graham cracker toffee bark (covered in sprinkles, of course), works so well for summer.
I’m actually planning to make a big ol’ batch for Scarlett’s upcoming birthday party. It’s always a crowd-pleaser.
So without further ado, the easy steps to make your own classic graham cracker toffee bark …
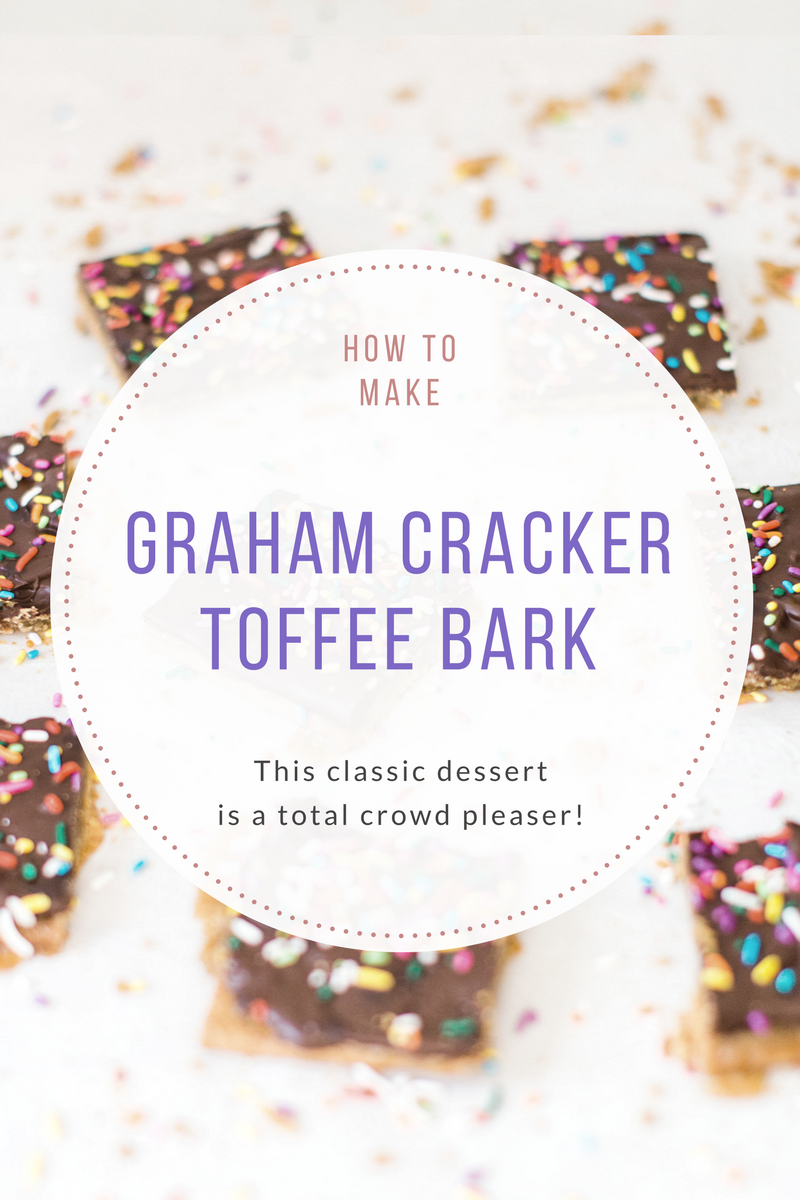
Classic Graham Cracker Toffee Bark (a.k.a., Graham Cracker Crack)
You'll fall instantly in love with this nostalgic sweet treat. The thick and dense graham crackers soak up all of that homemade toffee caramel goodness, and the melted chocolate topping is the perfect pairing.
Ingredients
- about 10 full-size honey graham crackers, or enough to cover pan
- 1 cup (2 sticks) unsalted butter
- 1 cup light brown sugar, packed tight
- 1/2 teaspoon salt, or to taste
- 2 cups semi-sweet or milk chocolate chips
- sprinkles (or toffee bits) - optional
Instructions
- Preheat oven to 350F. Line a 9x13-inch pan with a non-stick silicone baking mat*, parchment paper or aluminum foil and spray with cooking spray. (*The baking mat you see in the pictures is a Silpat, and it's my absolute favorite for baking.)
- Place graham crackers in pan in a single, flat layer so pan is completely covered with them. You will have to break some crackers to fill in the smaller spaces at the edges. It's ok if there are slight gaps; it doesn't have to be perfect. Set aside.
- In a medium, heavy-bottomed saucepan with high sides, add the butter, brown sugar, salt, and heat over medium-high heat to melt. Stir constantly until butter has melted.
- After butter has melted, allow mixture to boil for about 4 1/2 to 5 minutes at a medium-fast boil (lots of bubbles). Stir constantly to prevent burning. As you approach the 4 minute mark, mixture should seem thickened with the consistency of medium-thick caramel sauce. Don't overcook.
- Evenly pour mixture over graham crackers.
- Bake for about 7 minutes, or until there's bubbling around the edges.
- While baking, melt chocolate in a microwave-safe bowl, removing from microwave and stirring every 30 seconds until melted.
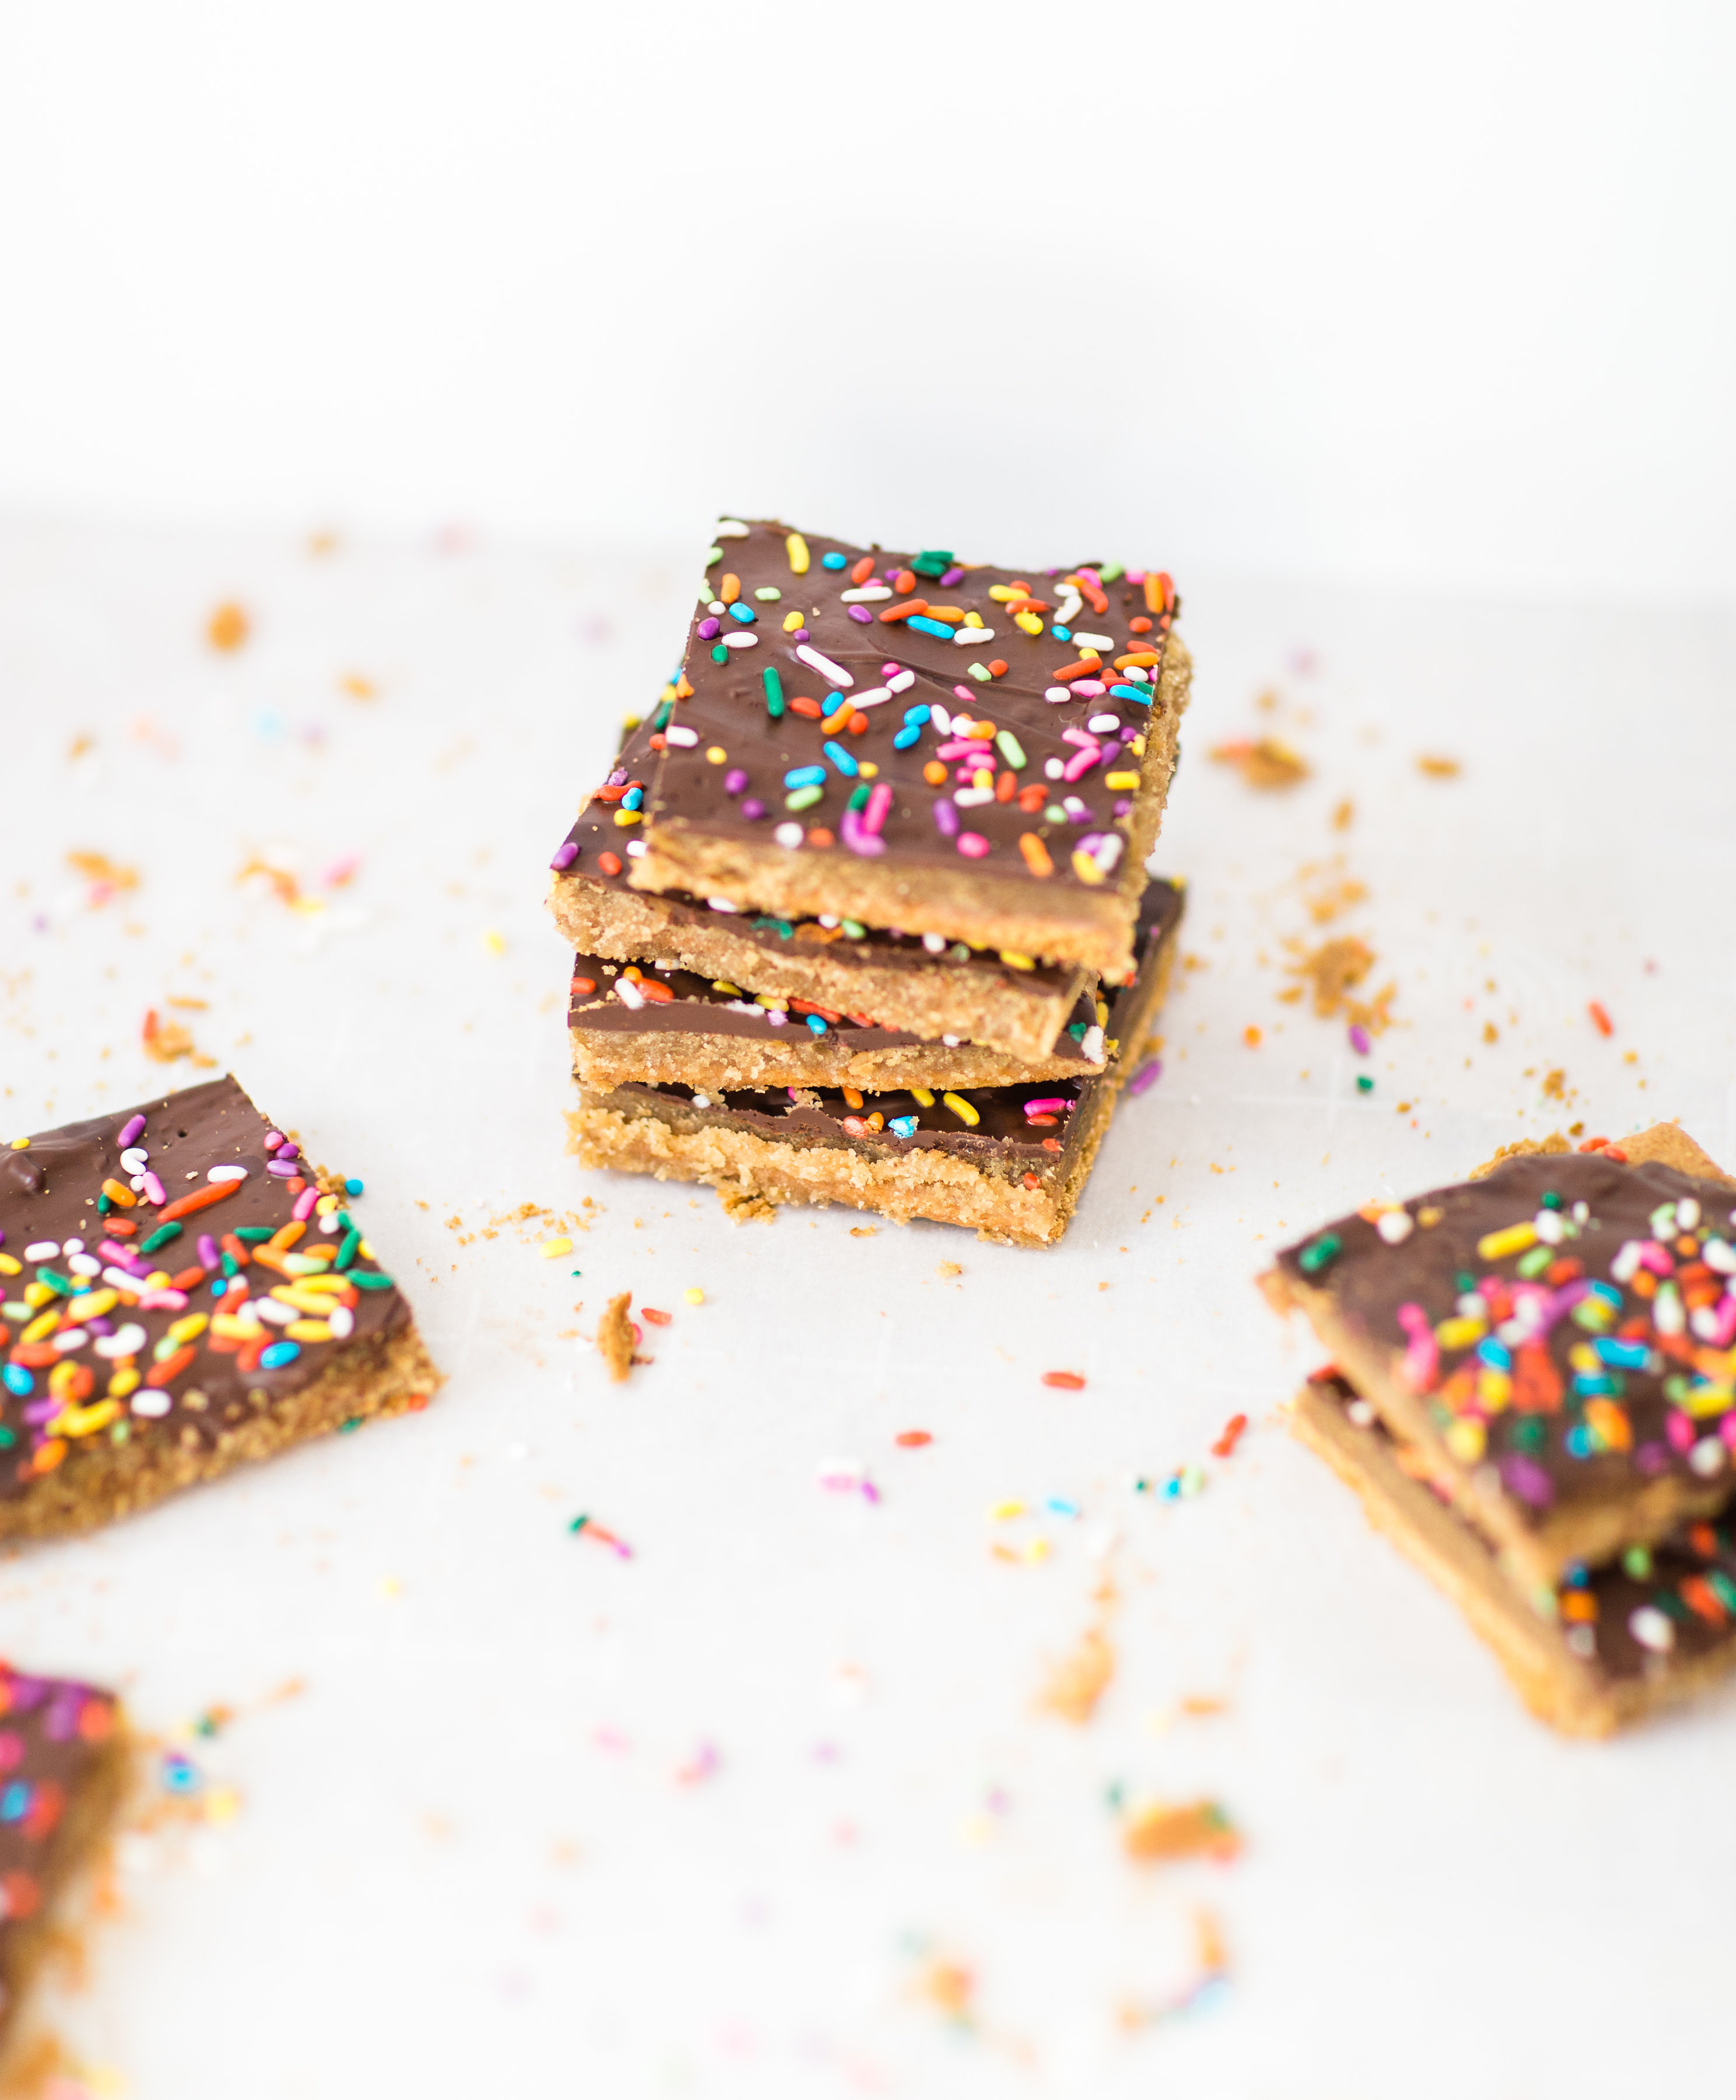
- Remove pan from oven at the 7-minute mark. Pour melted chocolate evenly over the caramel-covered grahams. If needed, use a spatula to smooth it into an even, smooth layer of melted chocolate. Top with sprinkles or toffee bits.
- Allow to cool for about 3 to 4 hours, or until chocolate has set and dessert is sliceable. Cut into squares once chocolate has completely hardened. Note: you can refrigerate this to speed up the cooling/firming process, but it will create a bit of condensation on the chocolate. This is merely a cosmetic issue, but obviously, you can avoid this by just allowing it to dry completely on your countertop. Your toffee bark will keep airtight at room temperature for up to 2 weeks, in the refrigerator for up to 1 month, or in the freezer for up to 3 months.
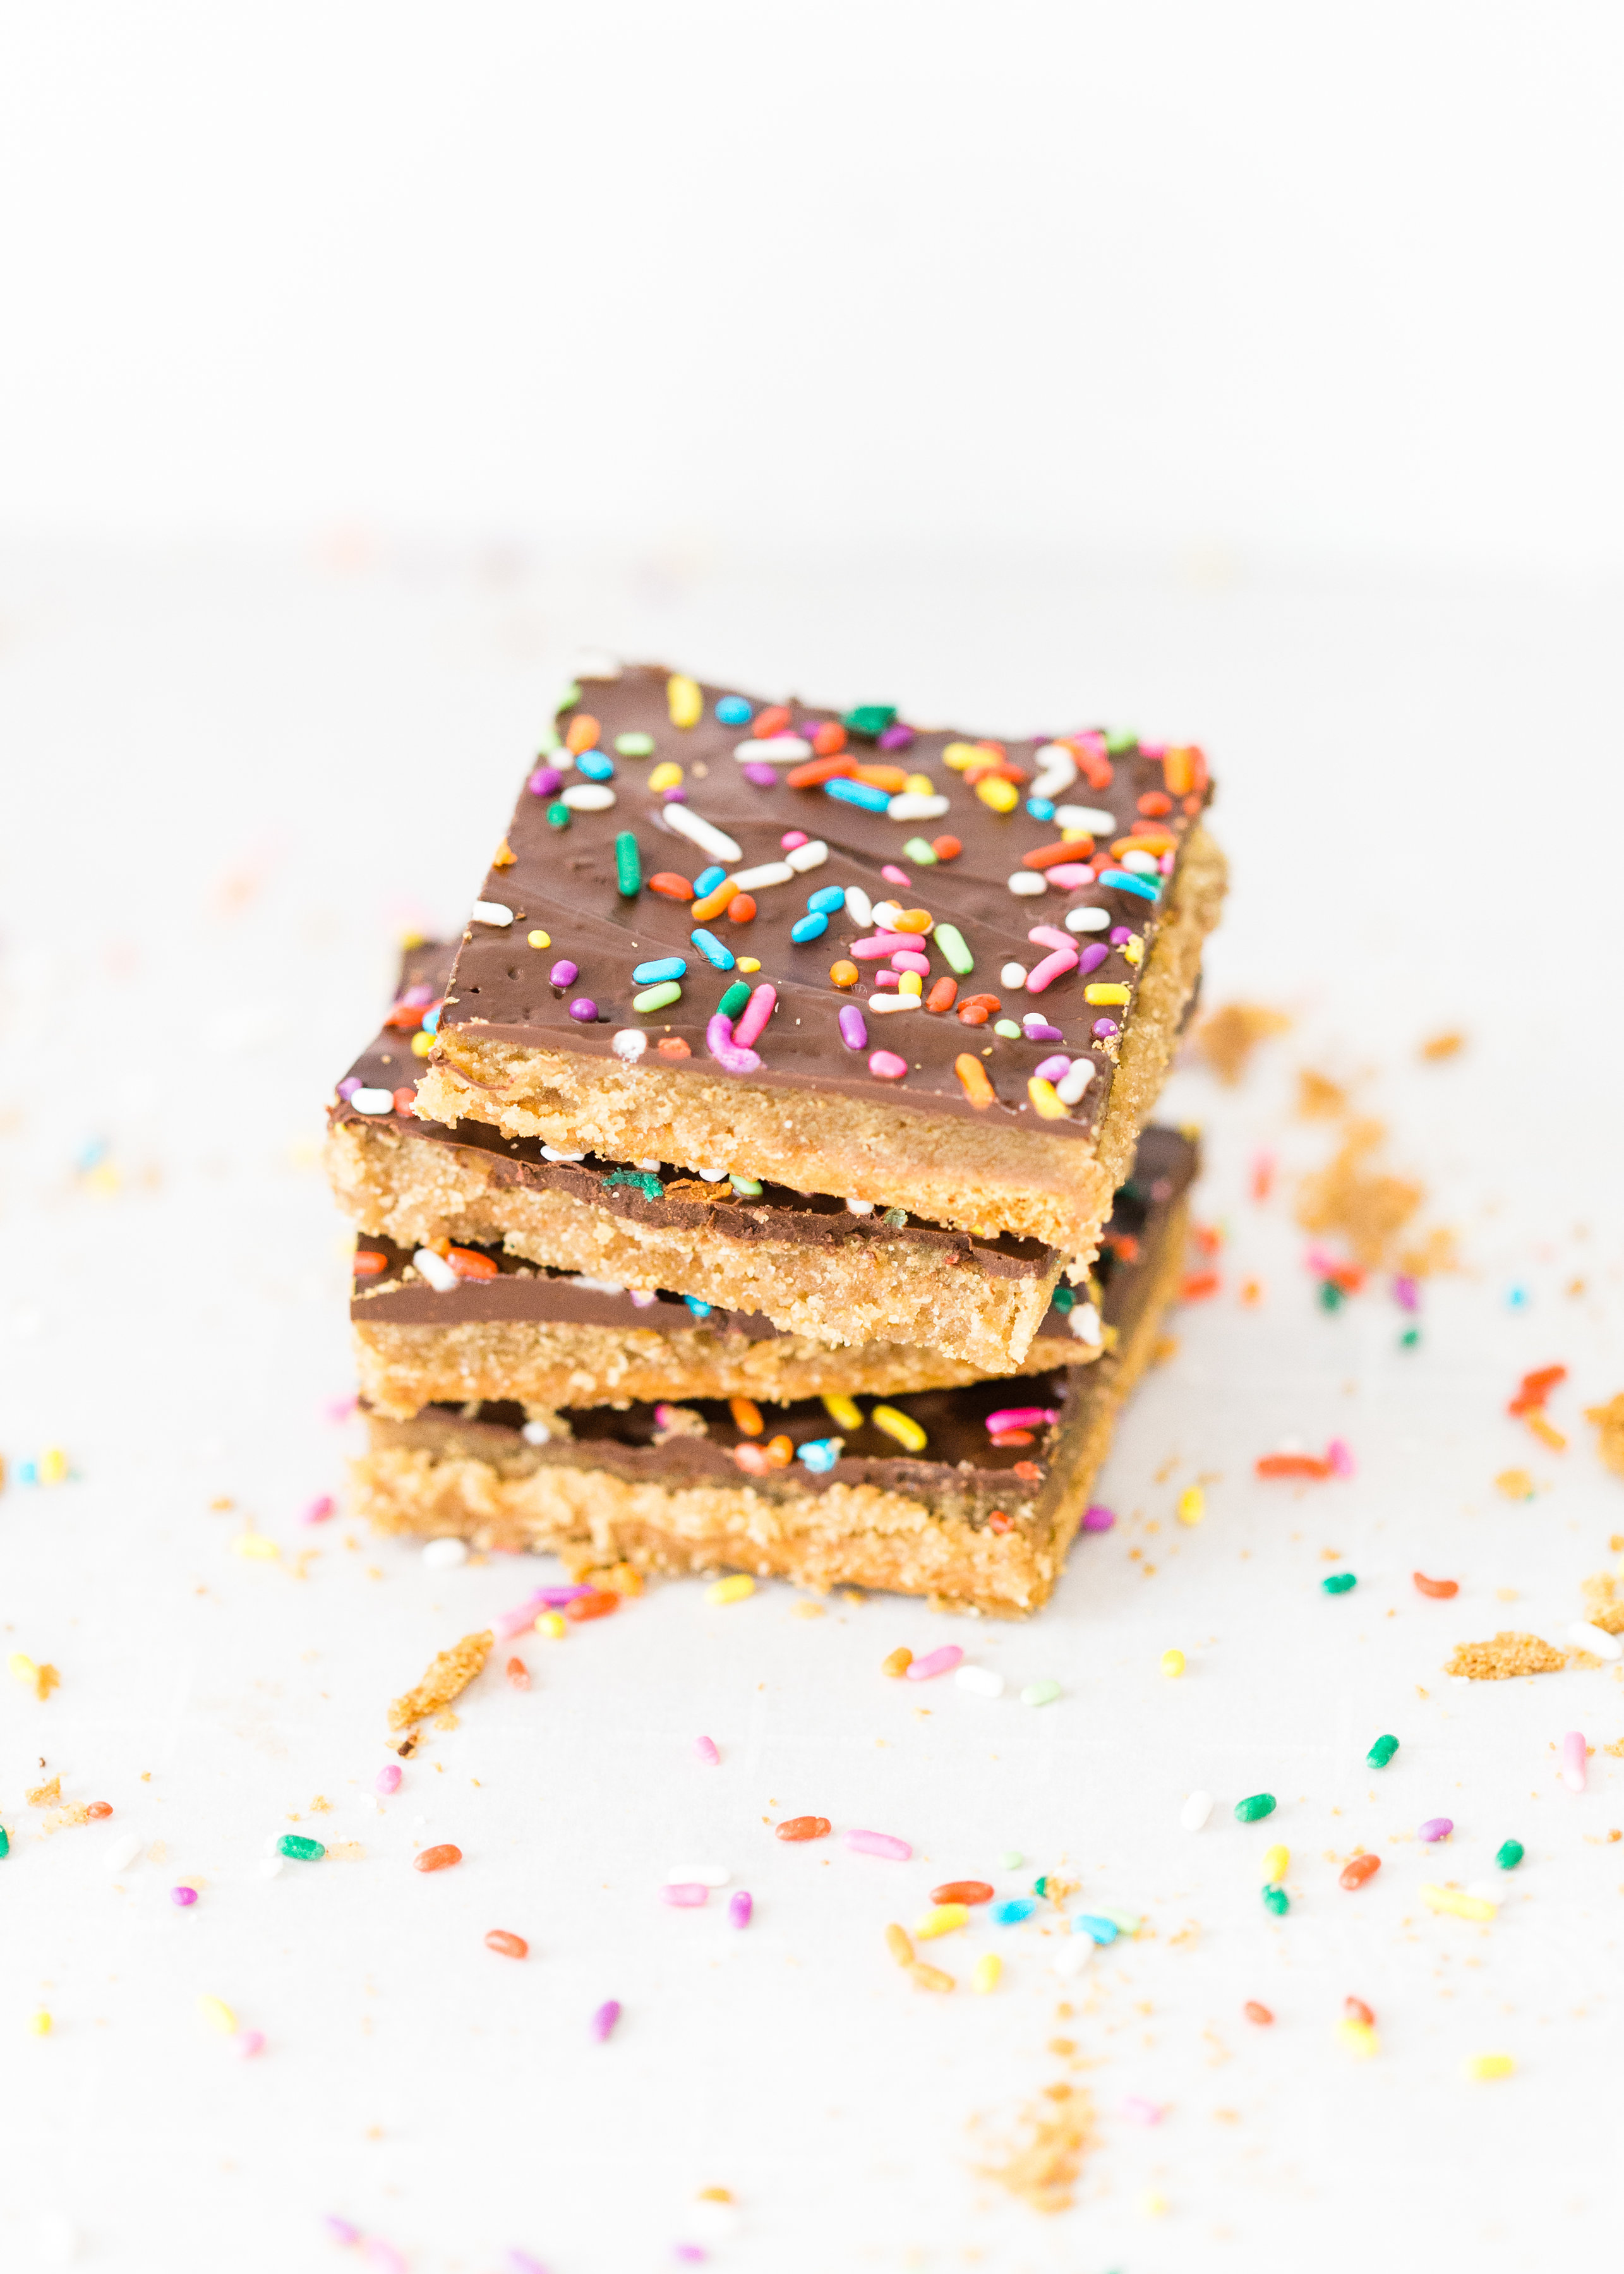
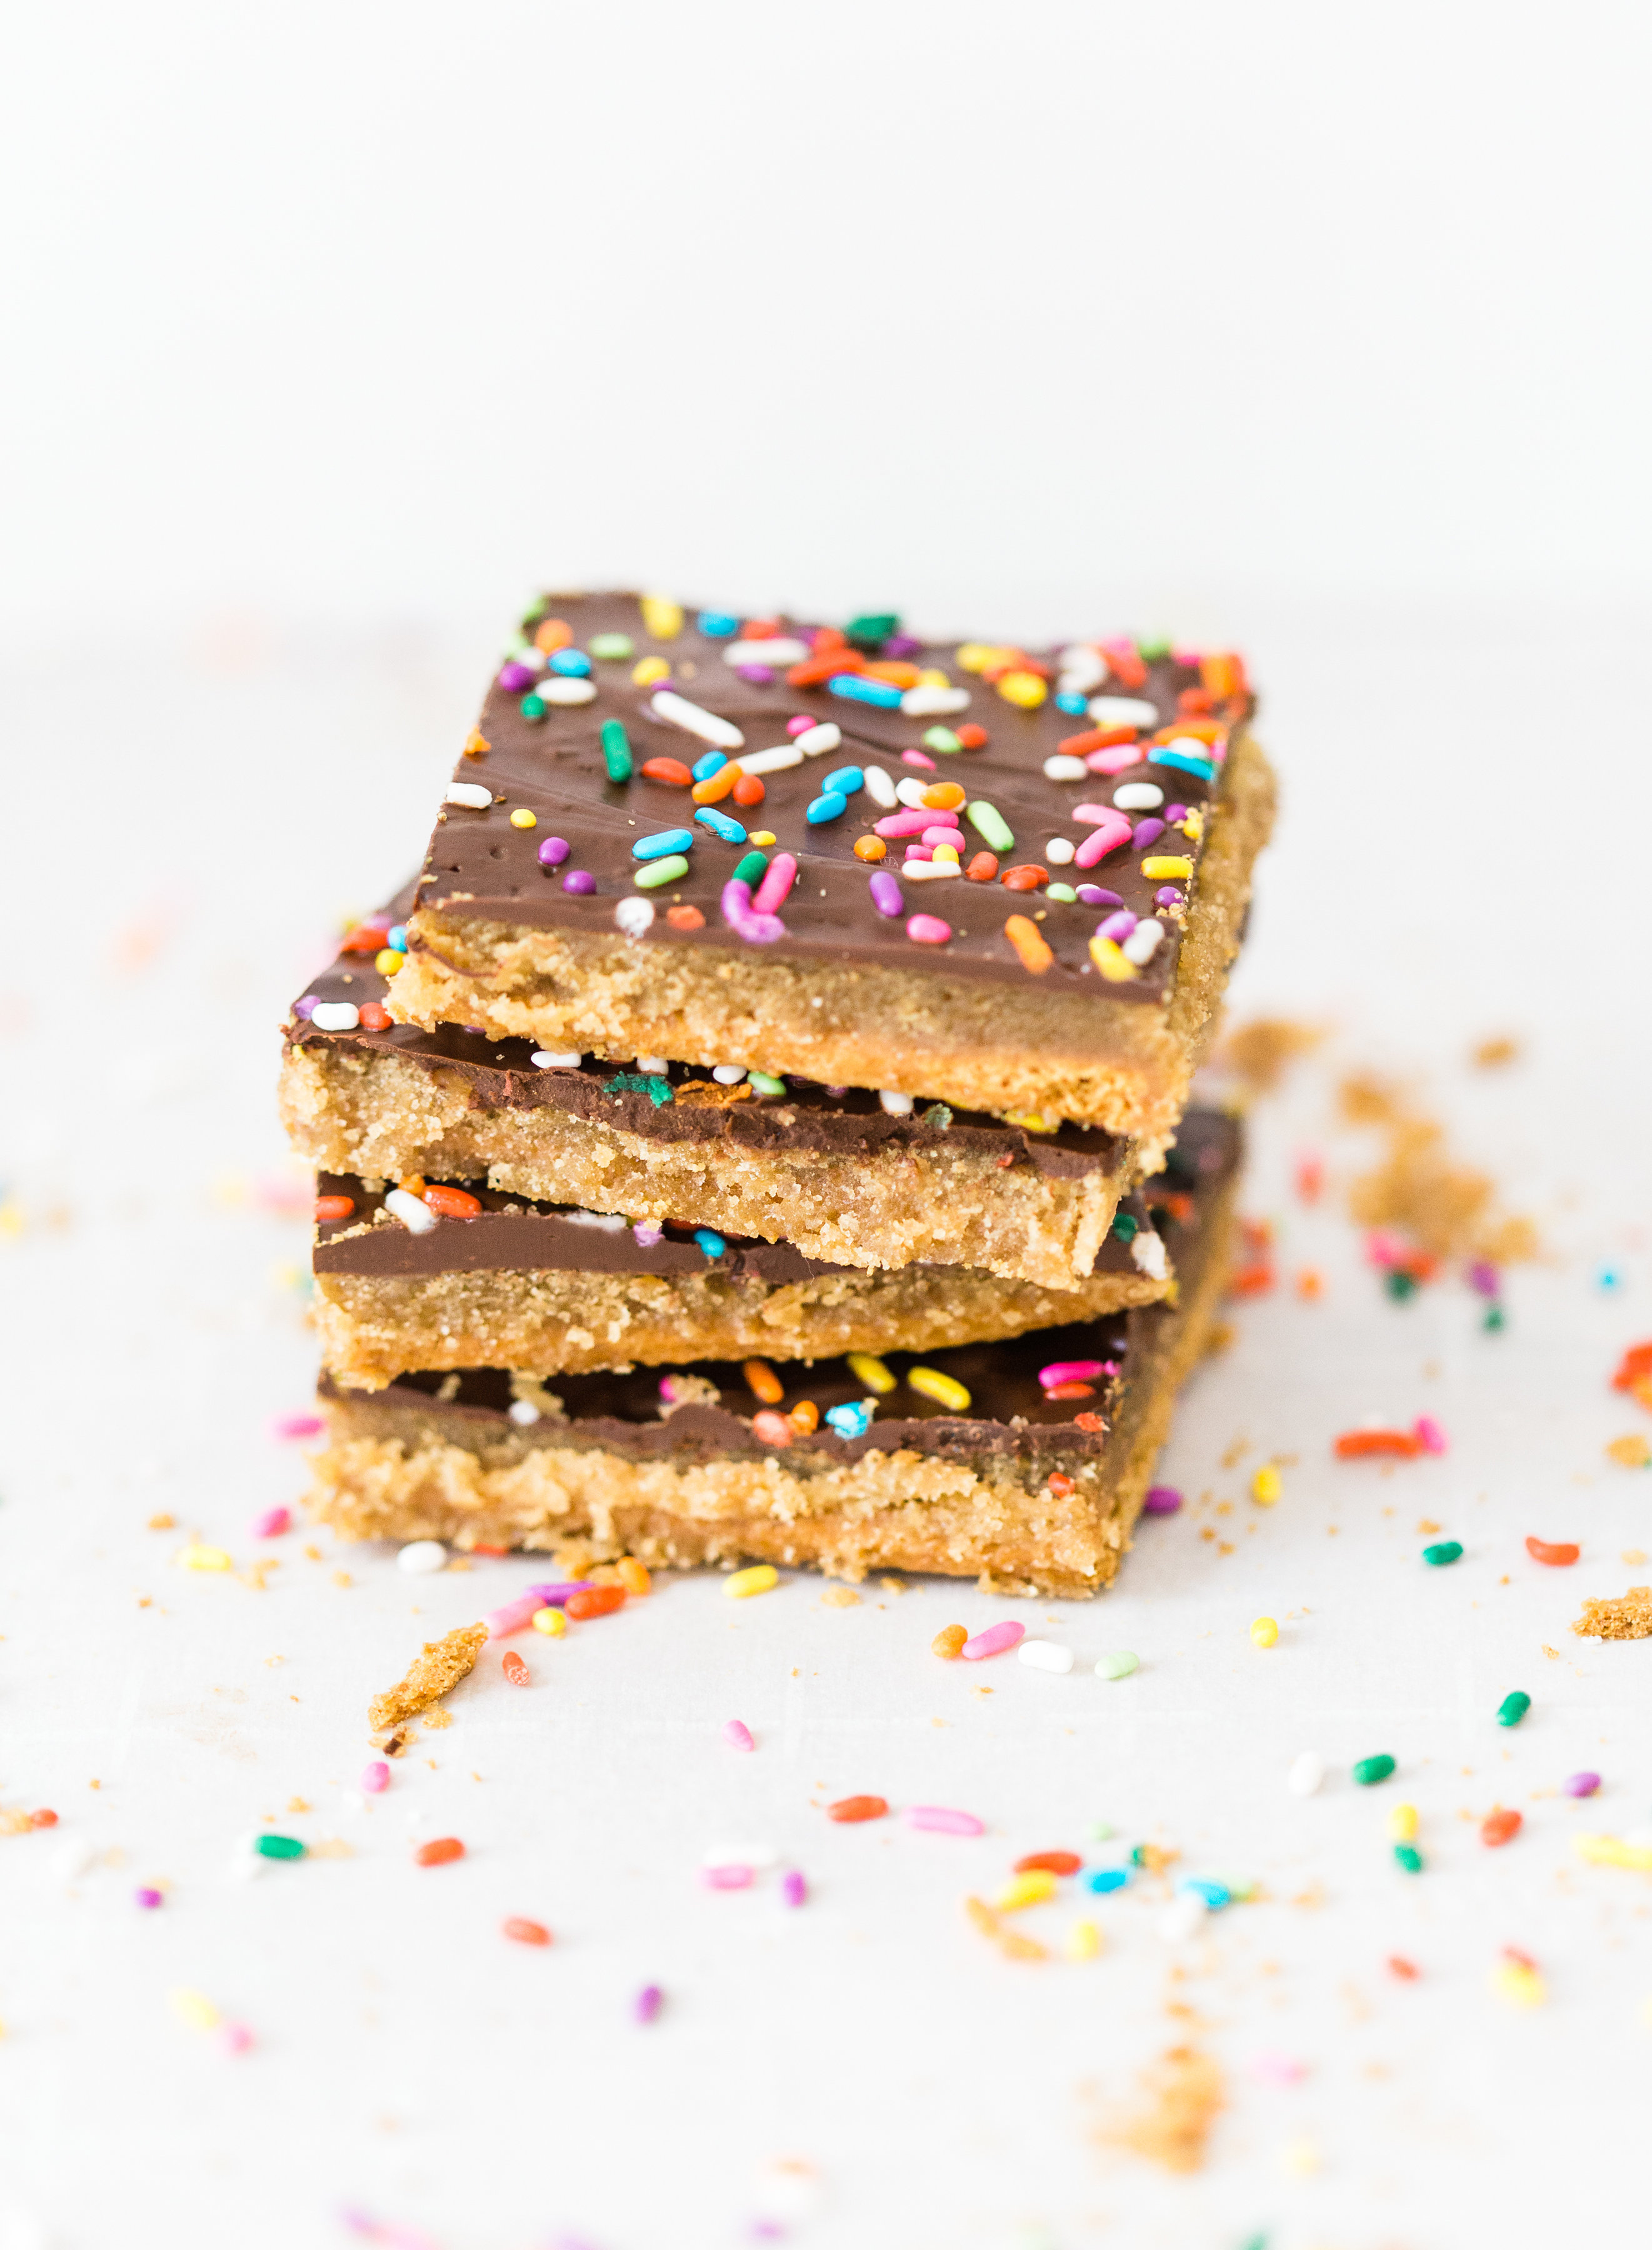
I mean, how good does that caramel-soaked graham cracker layer look? It’s buttery, dense, sweet, but not too sweet; perfection in my book.
Plus, sprinkles make everything better.
If you find yourself baking up a batch of classic graham cracker toffee bark (a.k.a., graham cracker crack), be sure to tag me on social media (@glitterinclexi) so I can live vicariously through all of your fun parties and desserts!
Photos by Annie Watts Photography
Join the Fun


 Older Post