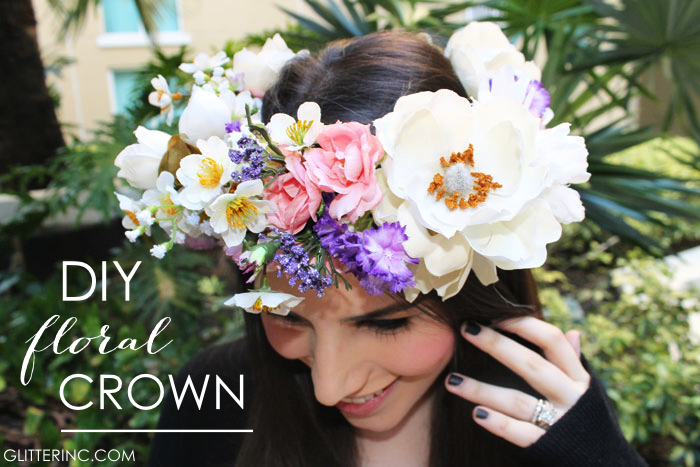
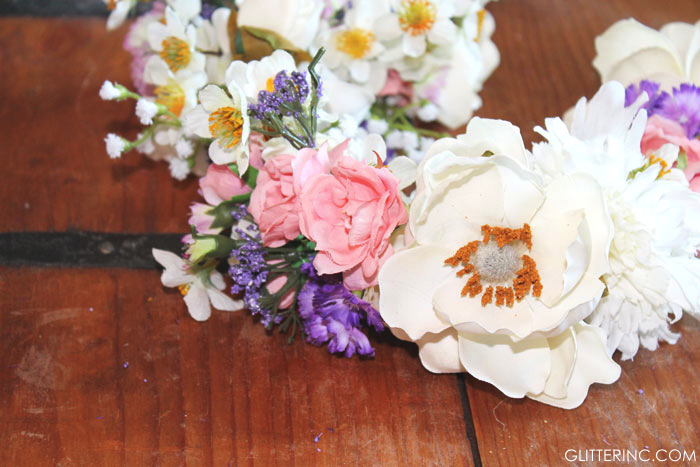
Part of the fun of announcing recently that hubby and I were having a girl, was making a DIY floral crown for the big reveal. My sister and I went supply crazy at Michaels (though really, any craft store will do), and then we went to work creating our own floral crowns. With a few easy steps, and a bit of time, you can create your own gorgeous floral crown for parties, festivals, Renaissance fairs, and prancing around your living room. It is music festival season after all …
We went for a more lush floral version, a.k.a., lots and lots of full blooms, though a delicate crown looks just as lovely.
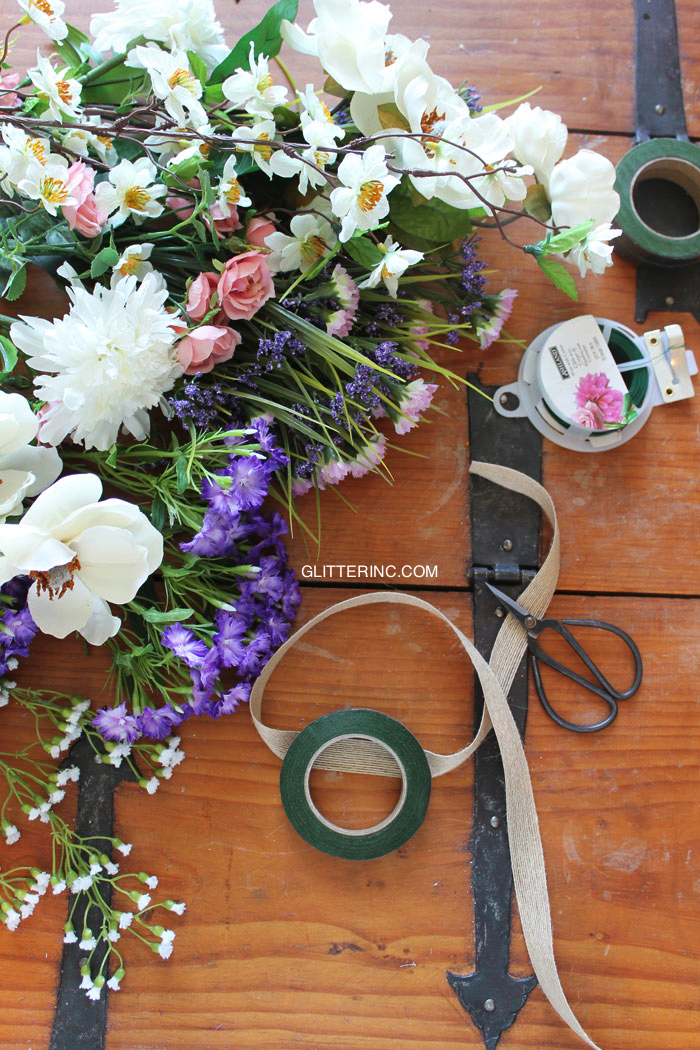
What You’ll Need:
- faux flowers (or fresh)*
- green florist tape
- green florist wire
- scissors or shears
- wire cutters/pliers (helpful but not necessary)
- ribbon
*I went with the higher quality faux/silk flowers because they tend to look a lot more lush and lifelike. Wait for a good sale and scoop up a bunch.
STEP 1: Gather your supplies! Start by cutting the flowers you plan to use off of the thicker plastic stems, leaving at least a few inches of the thinner stems for working with.
STEP 2: Take your floral wire and shape it into a circle that fits comfortably on your head, from ear to ear, plus add about four or more extra inches (better to oversize the wire so that you have room to tie on the ribbon to each end and fill the crown with flowers which may bunch, you can always trim excess wire at the end), and cut at that length.
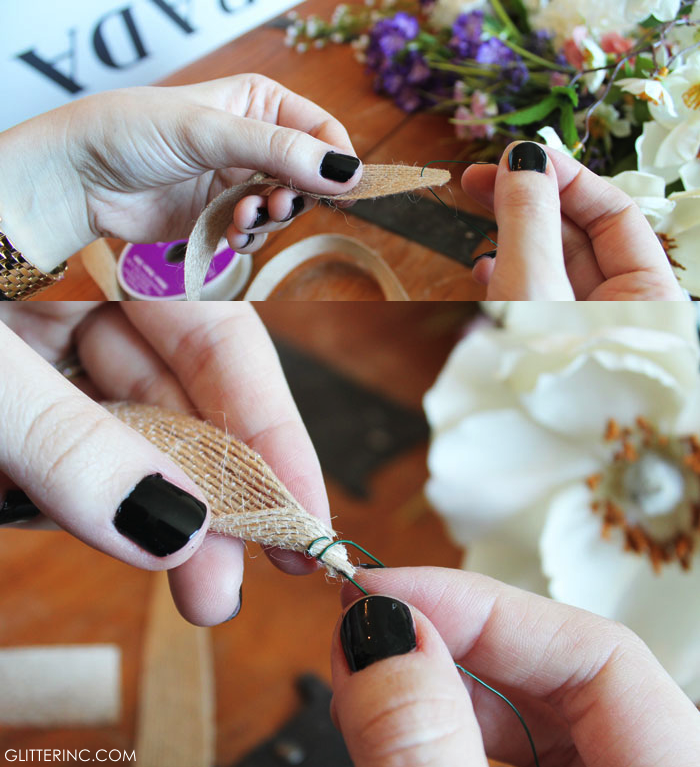
STEP 3: Cut two strips of ribbon, each about a foot long (i.e., the length of a ruler), and then using the wire headband you’ve just cut, secure each end of the wire to each piece of ribbon. I poked each side of the wire through the end of one of the pieces of ribbon, pulled a bit of the wire through, and then wrapped about an inch of the wire around that end of the ribbon. (See pictures below.)
STEP 4: Begin arranging your flowers on the wire base – start from the back and begin working forward, using your thin green floral wire and floral tape to secure each flower with the stem into place by wrapping tightly around the base several times (until you feel like it is secure).
STEP 5: Continue the process moving around to the front of the crown and then start again at the opposite side, again working your way towards the front center. There is really no “right” way to arrange your flowers; just play with the look and bunches of flowers until you feel like they lie the way you like. Be sure to keep securing everything with the wire and florist tape.
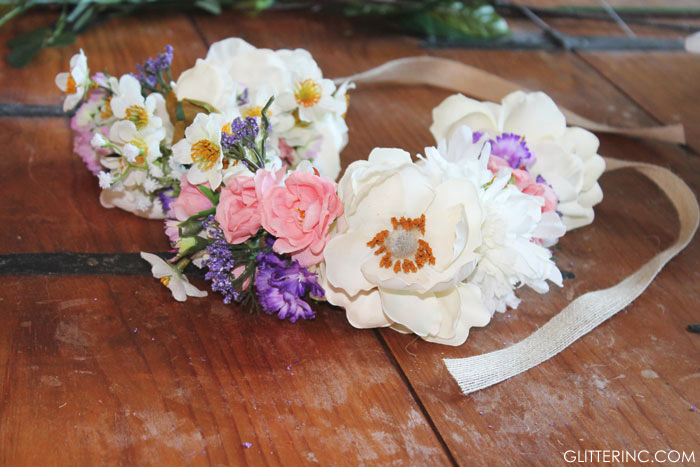
STEP 6: Once your flowers are securely wrapped around the entire half circle of the crown – up to the base where your wire meets the ribbon, you can use your ribbon tails on each end to fasten over and behind your head in a bow. (For extra hold you may want to secure with a few bobby pins.) And voilà! You have yourself a flower crown!
After the photo shoot, I hung my floral crown over the corner of my mirror in my bedroom and it looks adorable. Hello little wreath!




 Older Post









LOVE! I’ve been dying for a flower crown!
XO Sahra
Que Sera Sahra
Gorgeous! But why do we never see your whole face!?
haha, I guess I’m a little camera shy. #badblogger
You can get away with it! If I posed from that angle, you’d only see my nose 🙂 Walking down the aisle with my father at my wedding I got shy from everyone looking at me and ALL the photos are of my nose!!
haha, that happens to me a lot too! It’s hard being right under the spotlight. (But thank you!) 🙂