Thank you to Elmer’s®, Sharpie®, and X-ACTO® brands for sponsoring this post! All thoughts and opinions are my own.
Remember when we were kids and we used those Elmer’s foam tri-fold poster boards for science fair projects? Do you have kids? Are you even the slightest bit crafty? Well have I got a project for you!
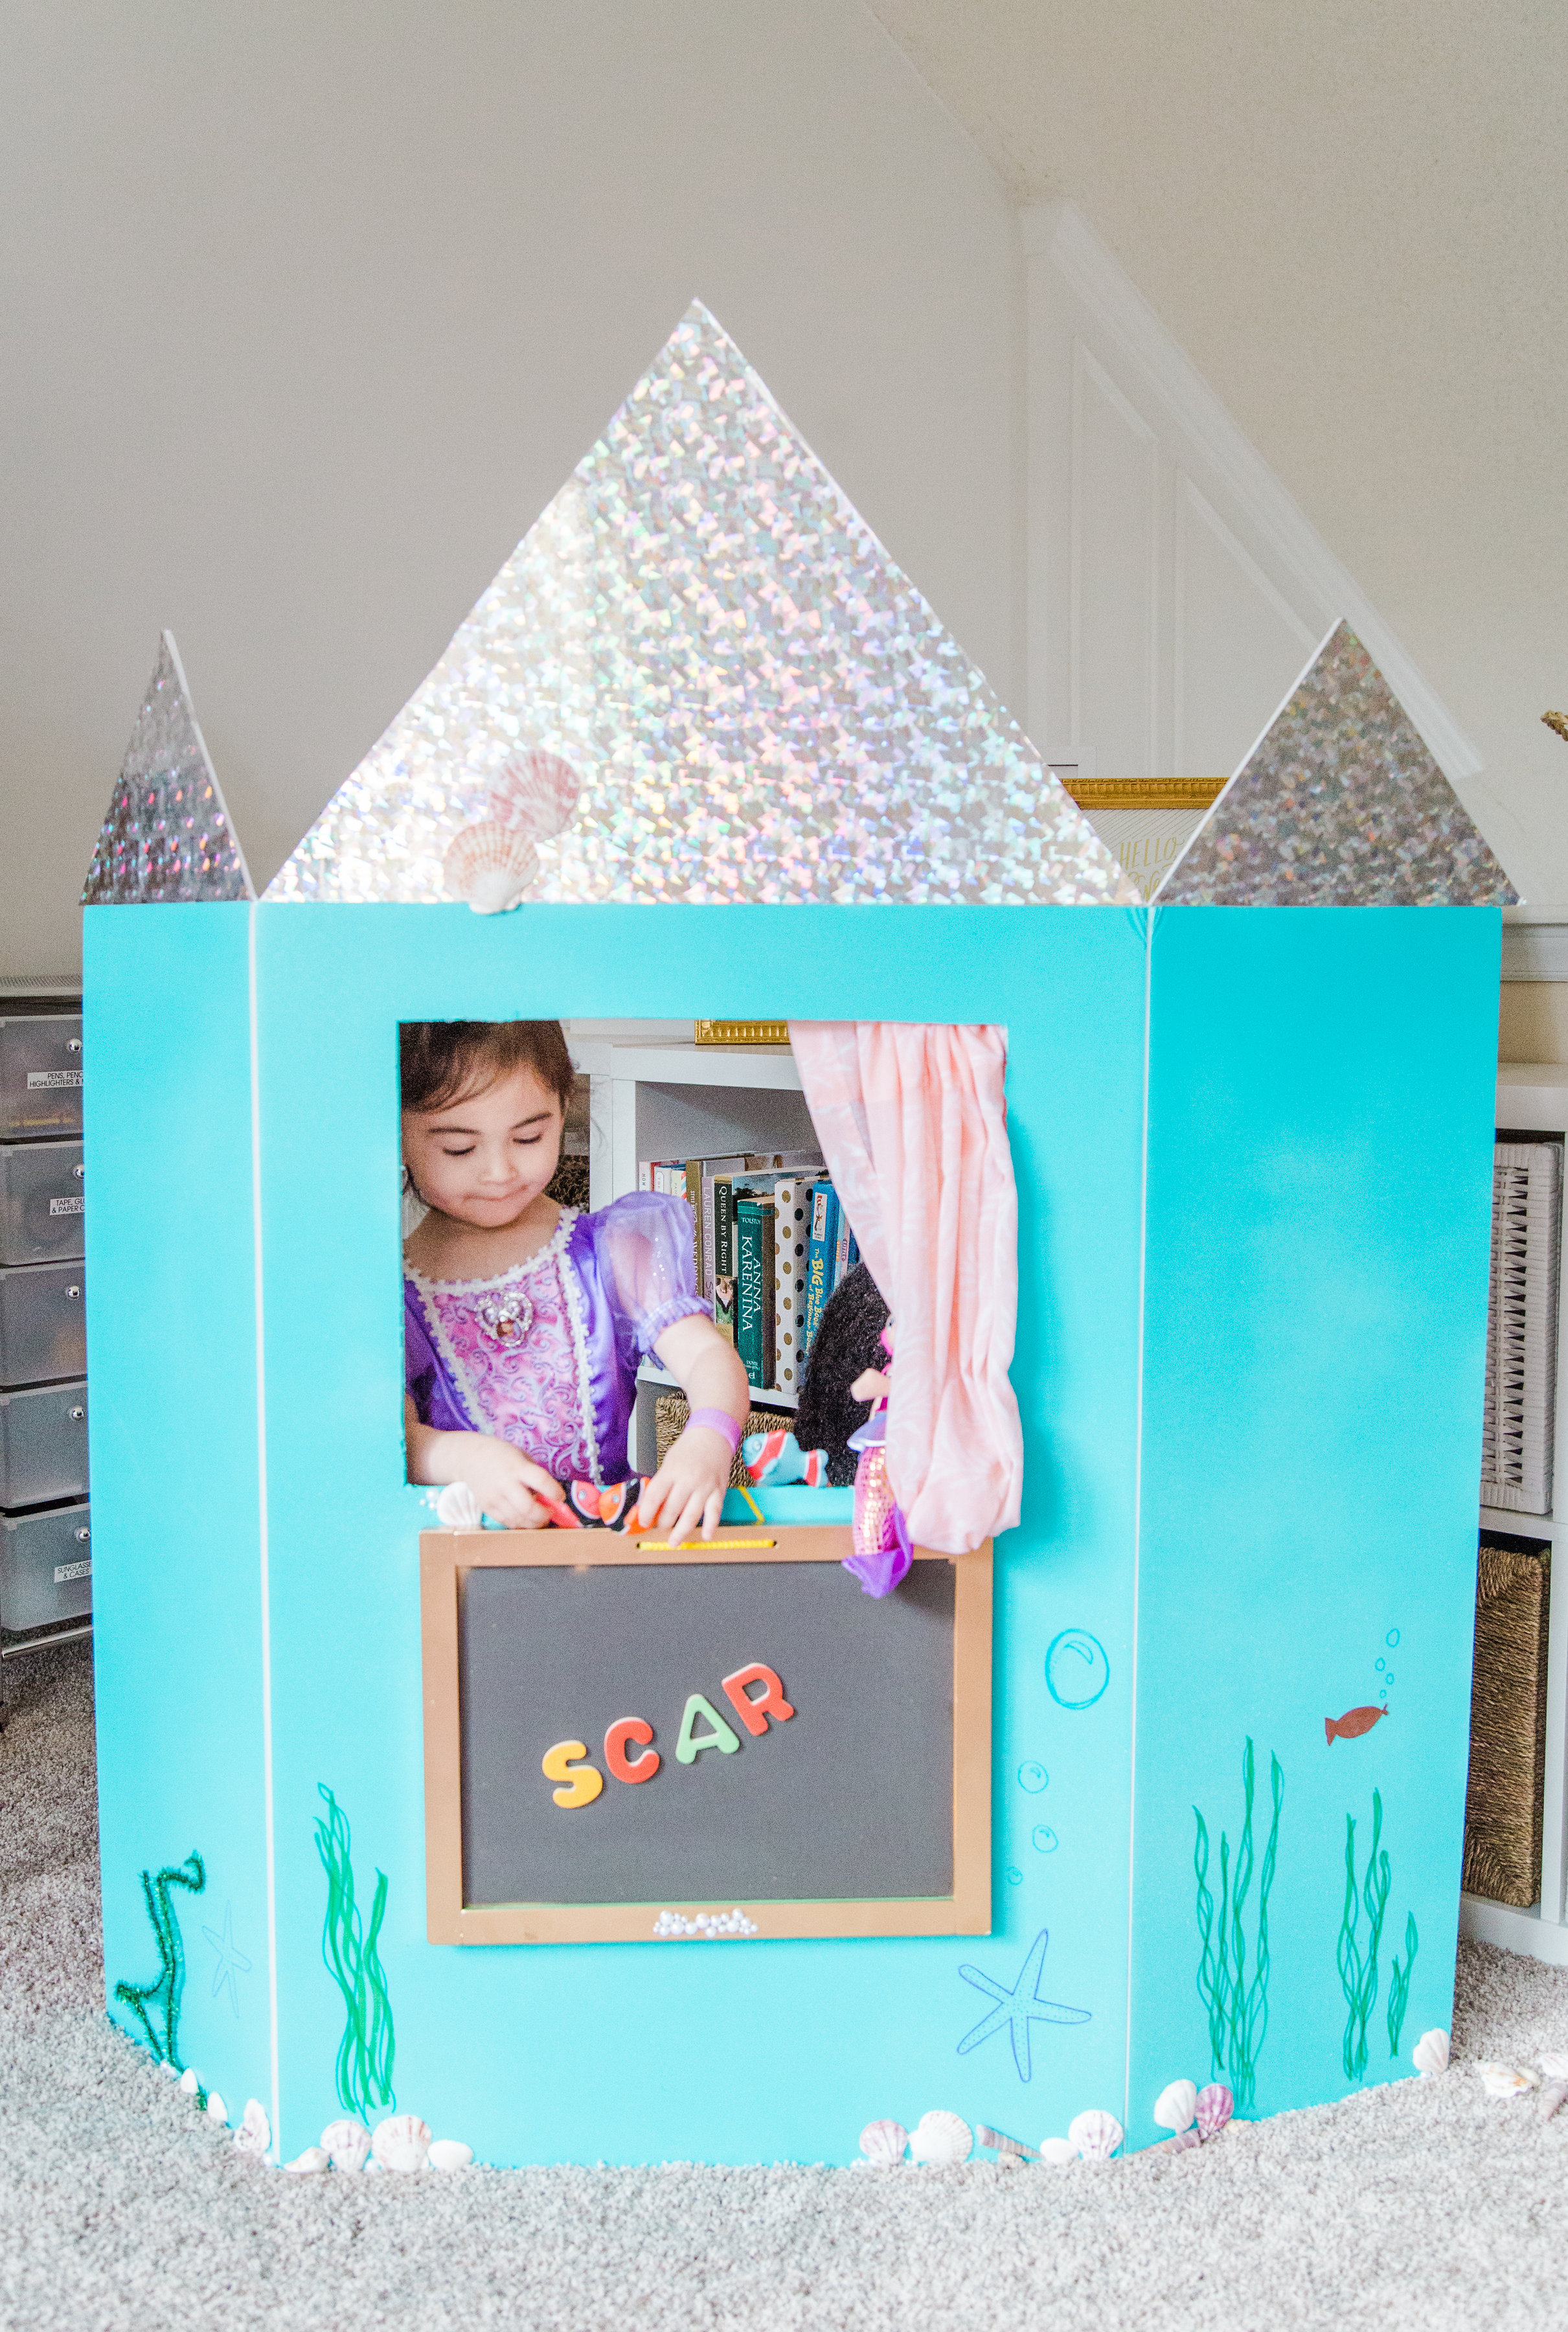
We made a DIY puppet theatre (and we’re learning colors, numbers, and letters too … in an under-the-sea CASTLE!) If you’re trying to teach your toddler and young kids something new – think letters, colors, numbers and counting, addition and subtraction, even spelling, then this DIY puppet theatre – made using a tri-fold foam poster board – might just be perfect for you.
A DIY puppet theatre for toddlers and little ones is an easy way to help kids to study in a fun and exciting way; and I’m not gonna lie, I had plenty of fun too. I’m a crafter by nature, so making this simple puppet theatre was half the fun, but once we’d created the theatre, that’s when the fun began. Scarlett was SO excited.
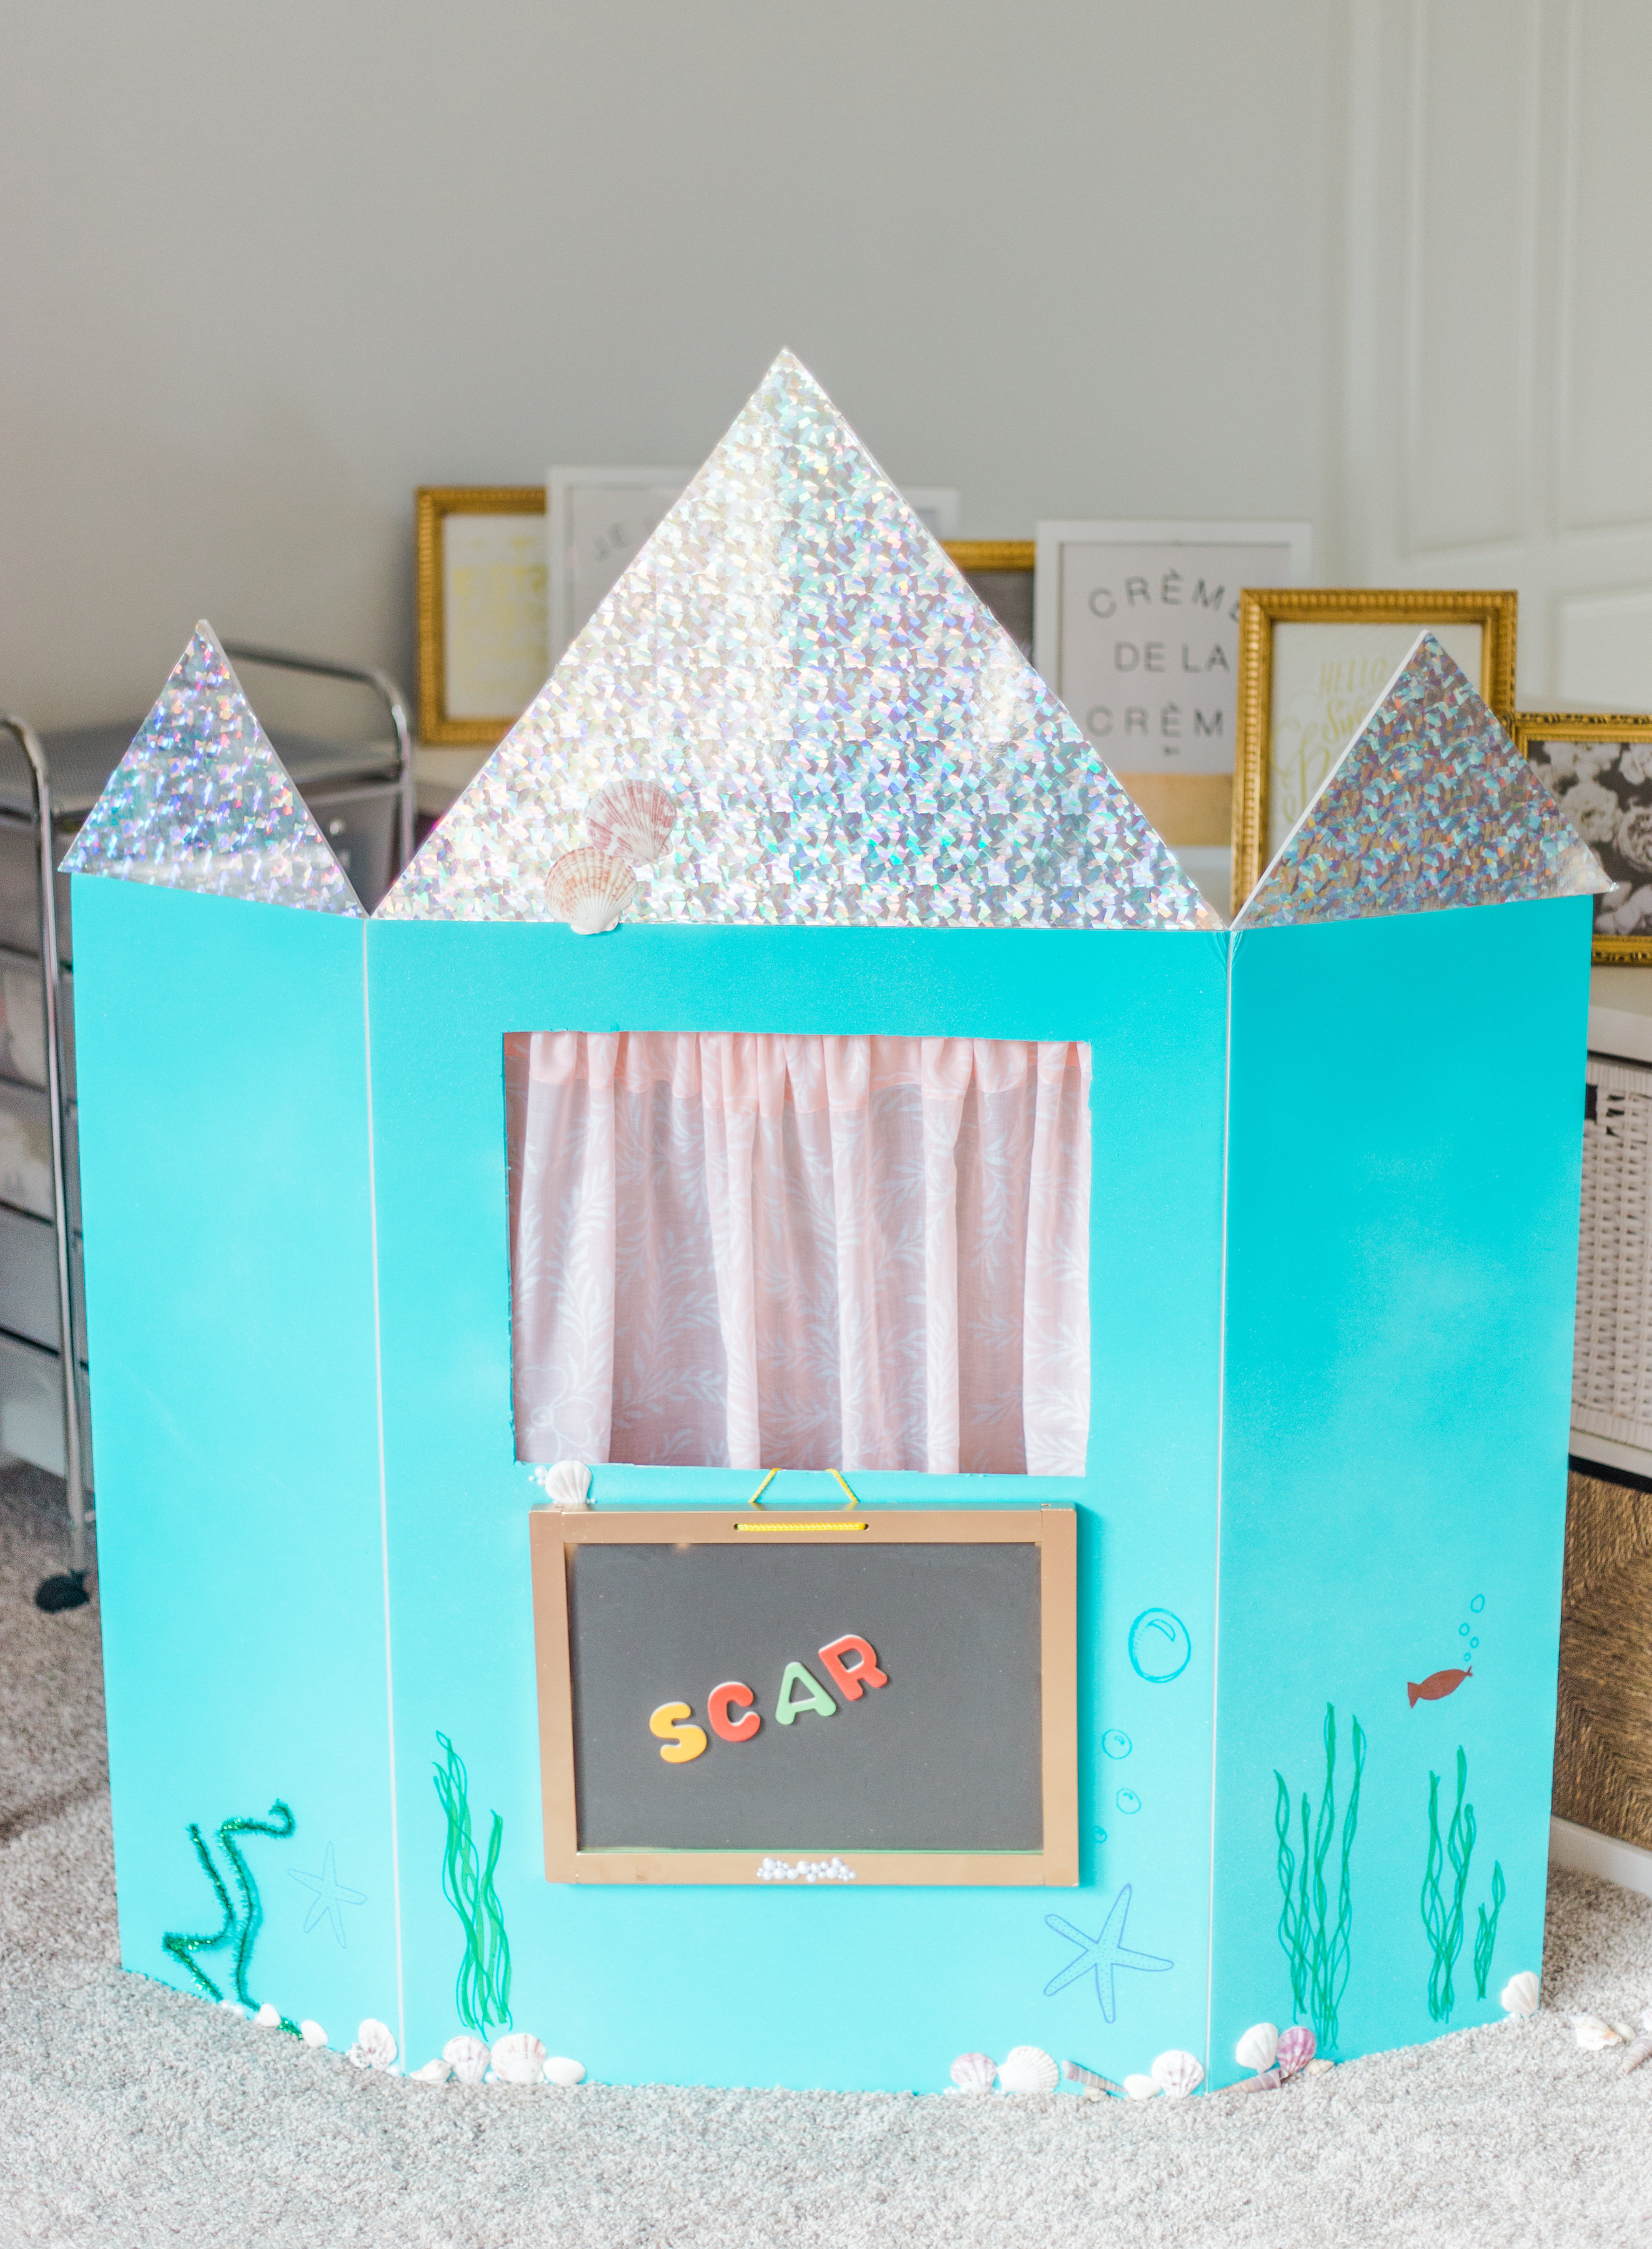
Of course I knew it would be a hit when I brought the white Elmer’s tri-fold board home from Target and Scarlett was already playing with it and calling it her “castle.” From there we knew a “castle” it would be!
We’re also always trying to incorporate learning in our house. A few months ago she started going to preschool three mornings a week, and now she has more questions than ever before. She’s exploding with curiosity and wonder, and it’s amazing to watch.
So far, she’s got her colors down. We talk about the colors of everything. Sometimes she totally blows me away when she corrects me and says things like, “No, mommy, that’s not grey, it’s silver because it’s shiny.” Or, “It’s dark green and light blue, with stripes.”
Listening to her sing the “alphabet” or “count to ten” is basically my favorite thing ever. It goes something like this: “A, B, C, D, C, D, C, H, I, Yay, K, elemen, Z, Geeeeeeeeeeeeeee” and “three, seven, nine …. TEN!”
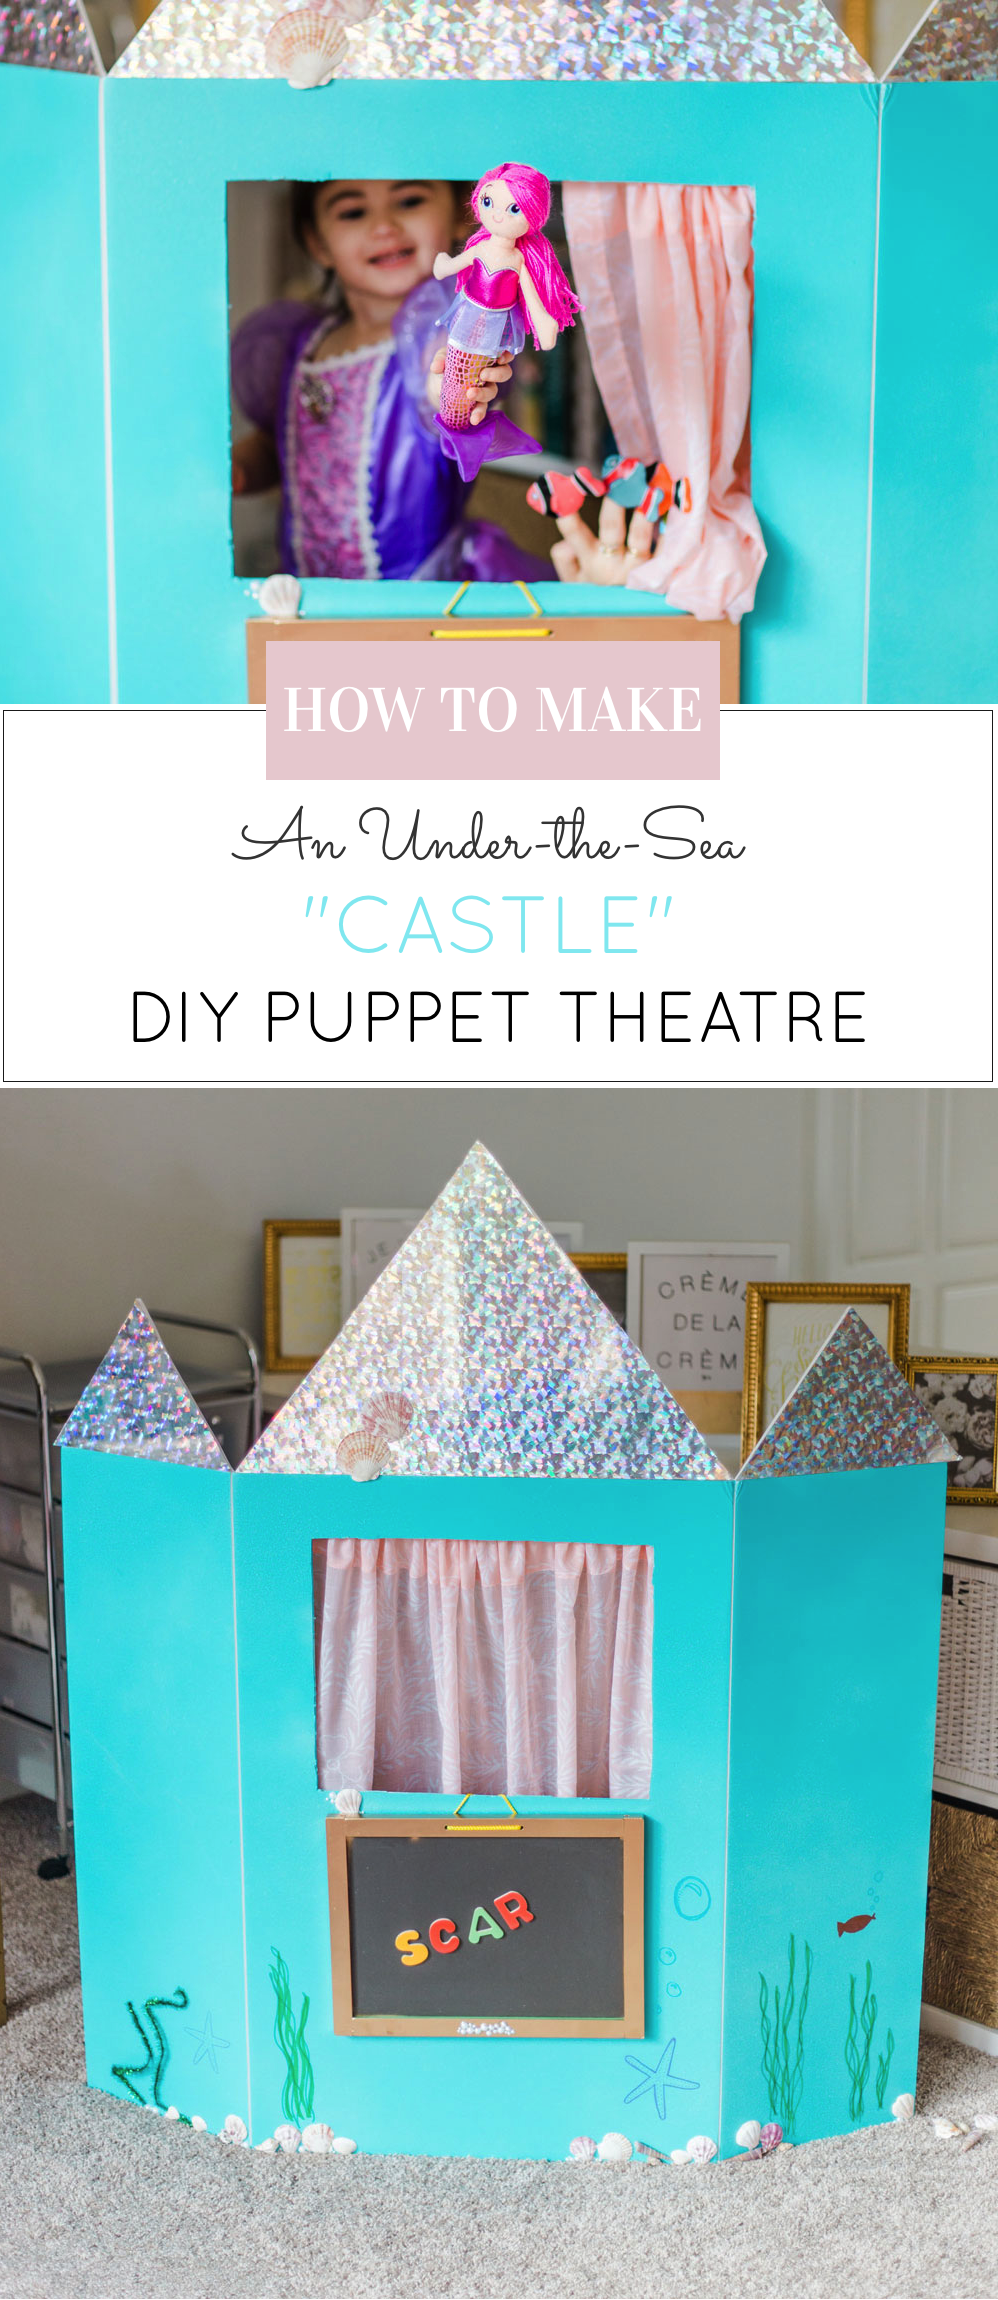
HOW TO MAKE A DIY PUPPET THEATRE
(Learning Colors, Numbers, and Letters too … in an under-the-sea CASTLE!)
What You’ll Need
Elmer’s 36” x 48” Foam Tri-Fold Display Board
Elmer’s Shiny Multi-Colored Presentation Board
X-ACTO Cutting Tool
Ruler
Pencil
Spray Paint (color: Seaside)
Glitter Spray Paint (color: Diamond Dust)
Sharpie Colored Permanent Markers
Elmer’s Board Mate Dual Tip Glue Pen
Elmer’s Board Mate® Foam Mounting Tape (optional)
Elmer’s Washable Glue Sticks or Washable Liquid School Glue (so your little one can help gluing too!)
Hot glue gun (optional)
Elmer’s Glitter Glue (optional)
Elmer’s Reusable Stencils (optional)
chalkboard (optional)*
gold metallic spray paint (optional)
blue painter’s tape (optional)
Sea Shells (optional)
Flat-Backed Pearls (optional)
Finger Puppet Fish (optional)
Mermaids (optional)
Green Tinsel (optional; for seaweed)
Curtain (optional)
Instructions
- Using a ruler and a pencil, draw a rectangular towards the top of the middle section of your foam board. Then with your X-ACTO cutting tool, cut out the rectangle to make your playhouse “window”.
- Next, using your ruler and pencil, draw a large triangle and two equal-sized smaller triangles in your shiny presentation board – those triangles will be the tops of your castle.
- Take your tri-fold board outside and spray paint the front any color you want. We went with an aquamarine to really get that “under-the-sea” feel. Allow it to dry completely.
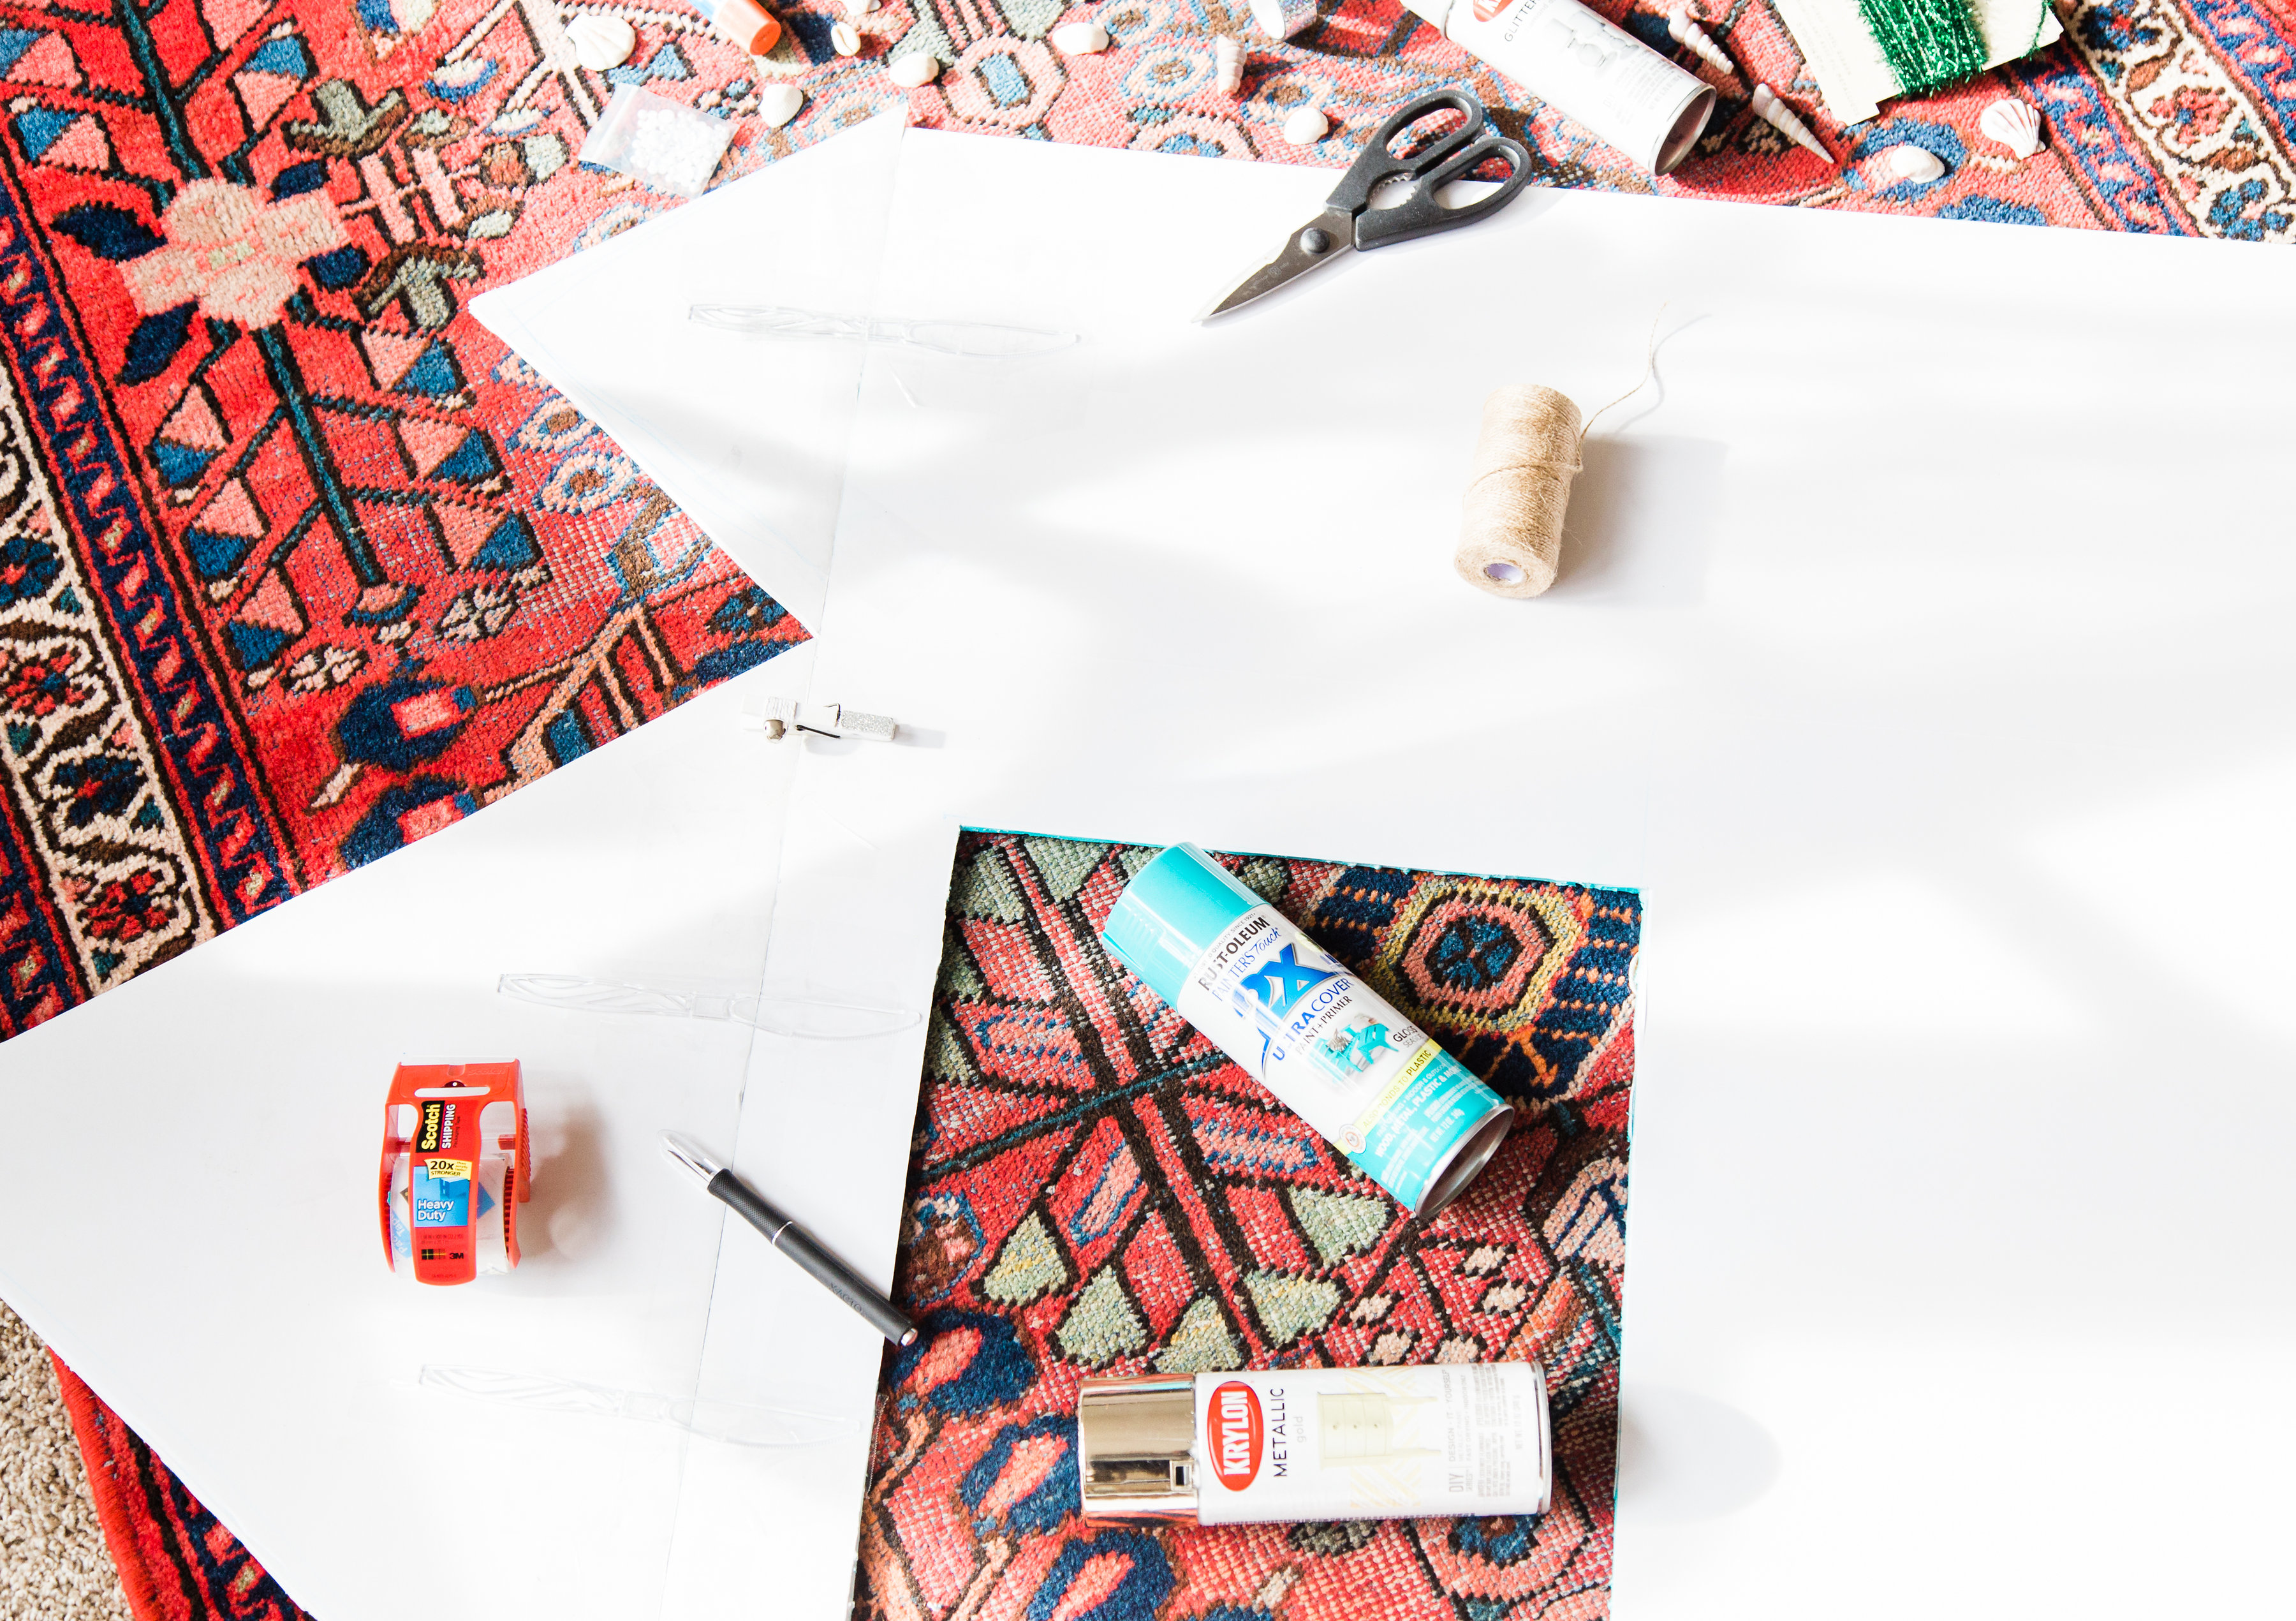
- To secure your castle tops (three triangles: one large, and two small), lay your tri-fold presentation board on the floor so that the inside/un-painted side is up, place the triangles on top of the three sections of the board (where they would go on top of the castle), and then use a plastic knife or tongue depressor (something flat), and tape it to the backs of both the triangles and tri-fold board. (Visual below.)
- Turn your board over so that the front-side is facing up, and get to decorating. We glued shells, tinsel “seaweed,” and doodled on the board to make it look like an underwater castle. You can use stencils, permanent markers, glitter glue, finger paints, the decorating options are pretty endless. Allow to dry.
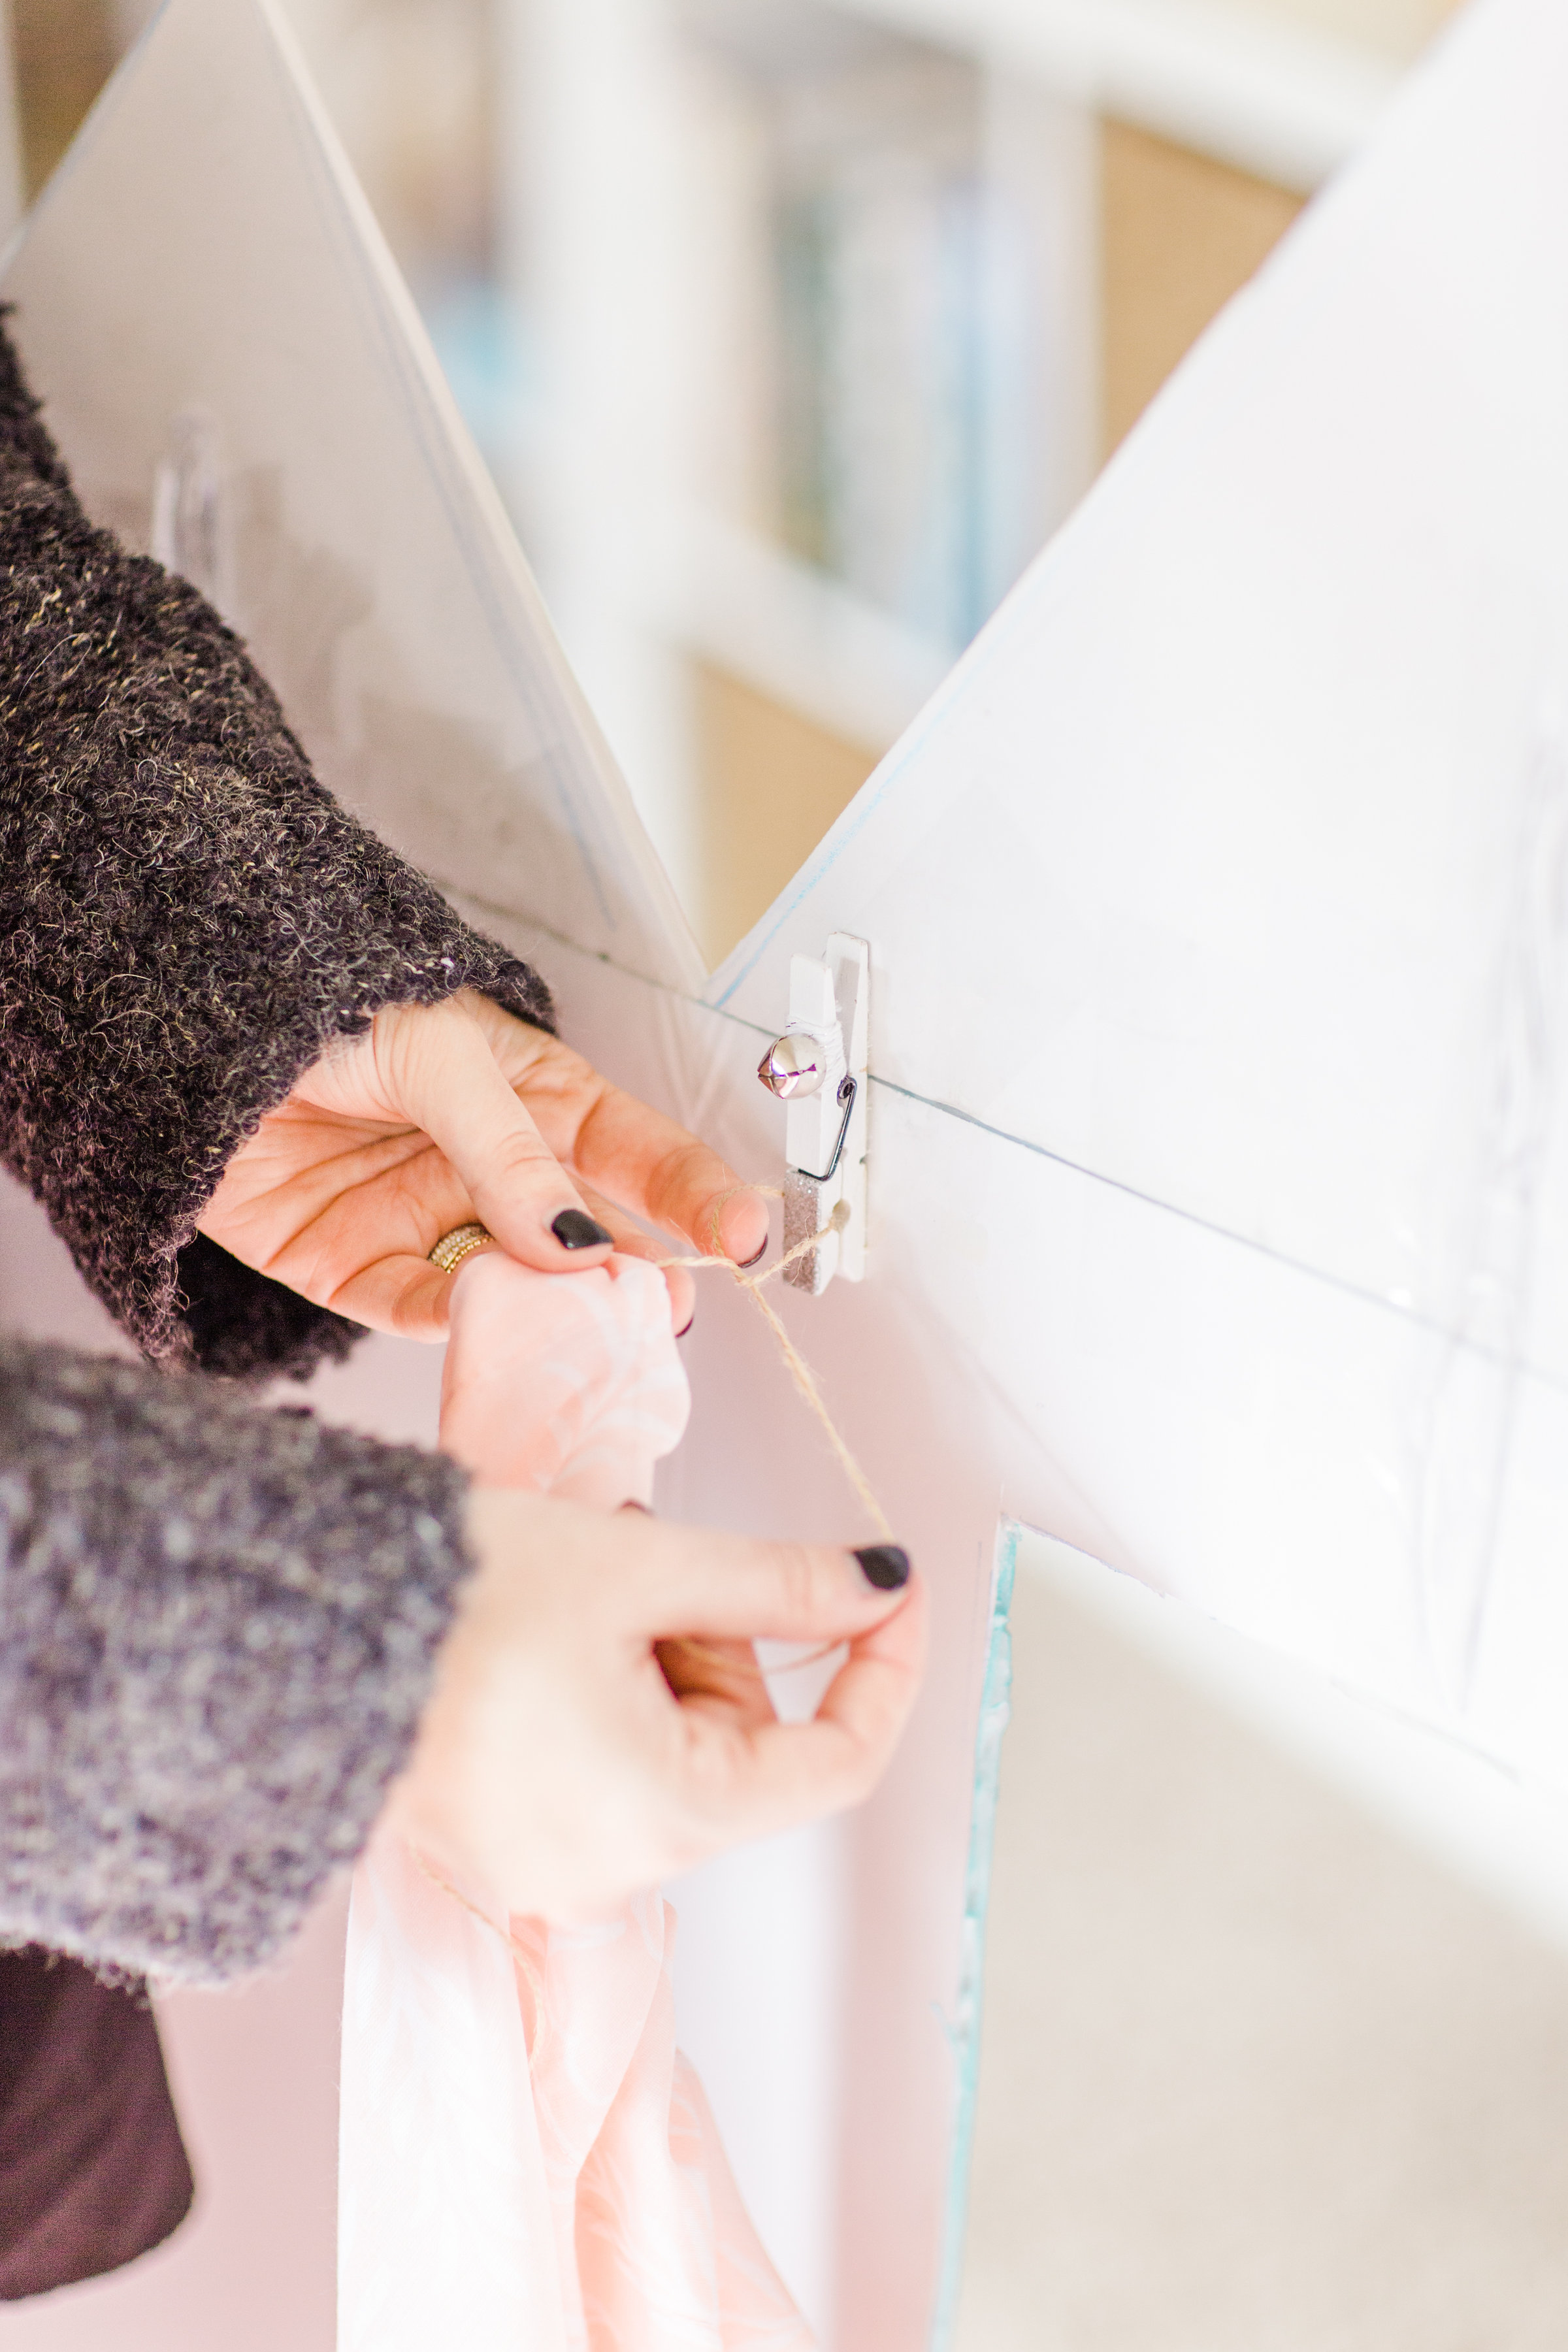
- To create a “curtain rod,” flip your board back over (backside now facing up) and glue two clothespins – one onto either side of the back of the “window.” Allow to dry. Then tie a rope or string to one clothespin clip. String your curtain onto the string, and then tie the other end of the string to the opposite clothespin. (Visual below.) We actually found a pretty pink curtain on clearance at Target. (It saved me having to buy, cut and sew fabric for a curtain!)
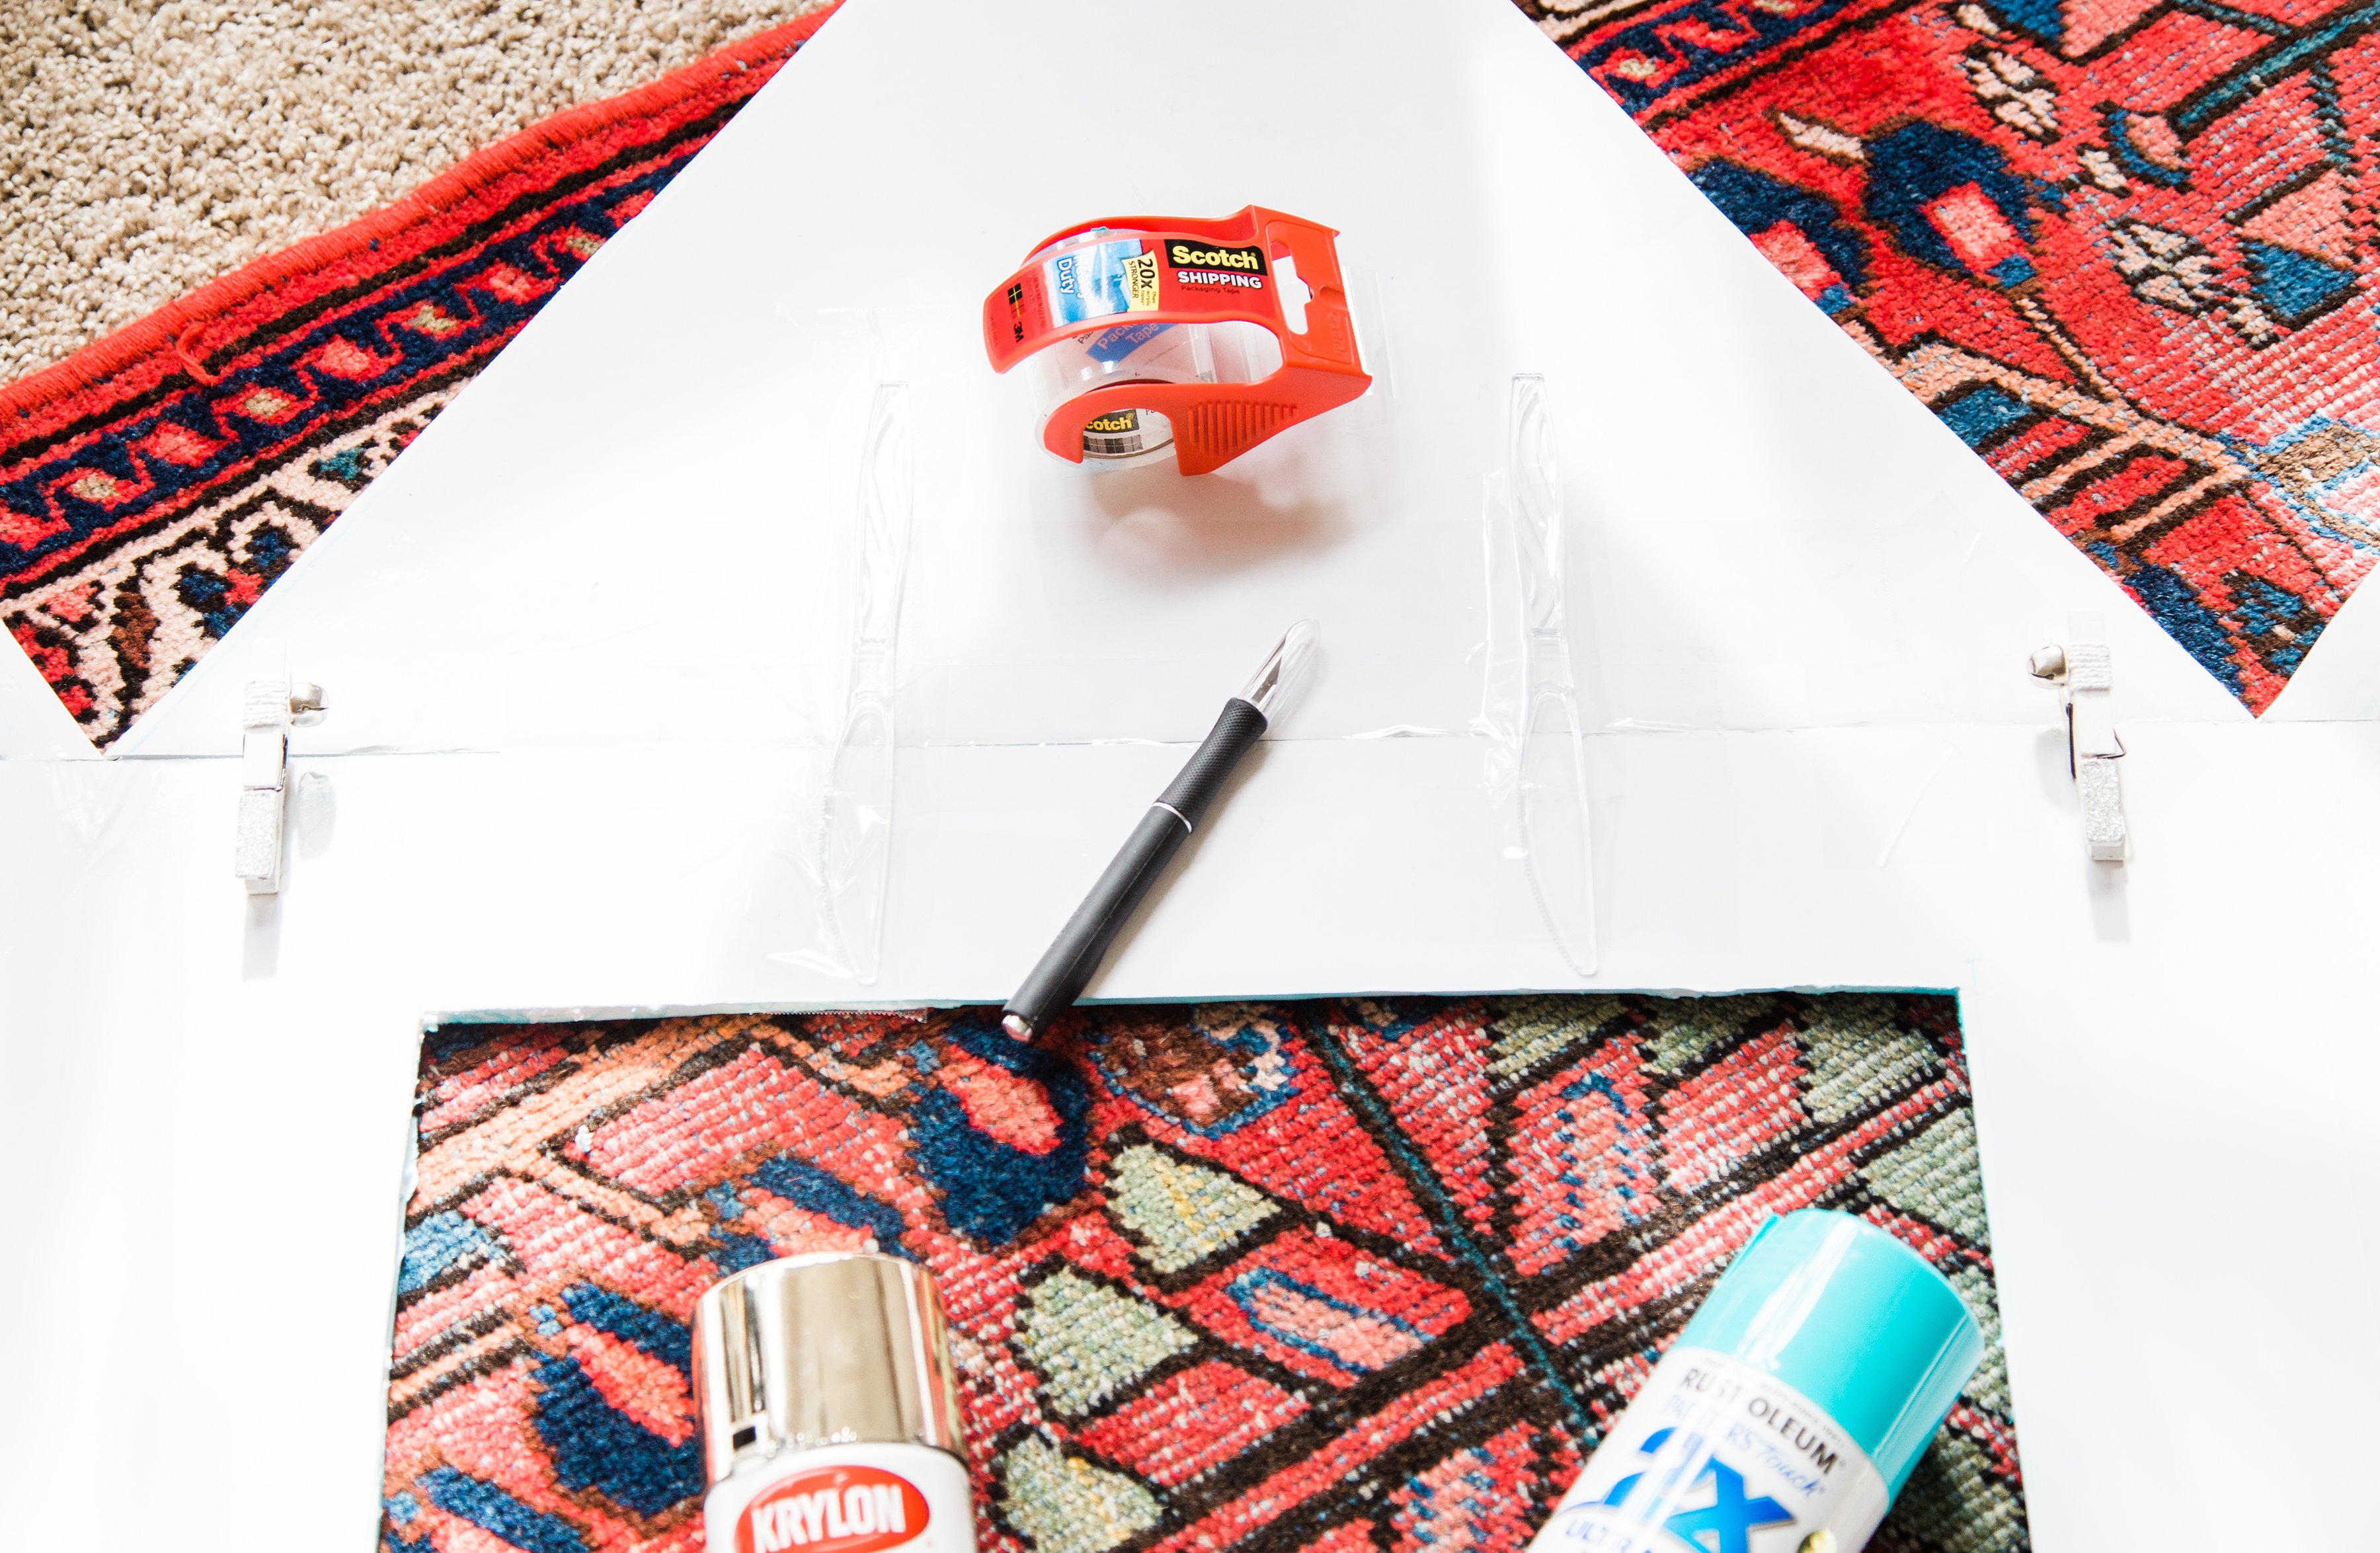
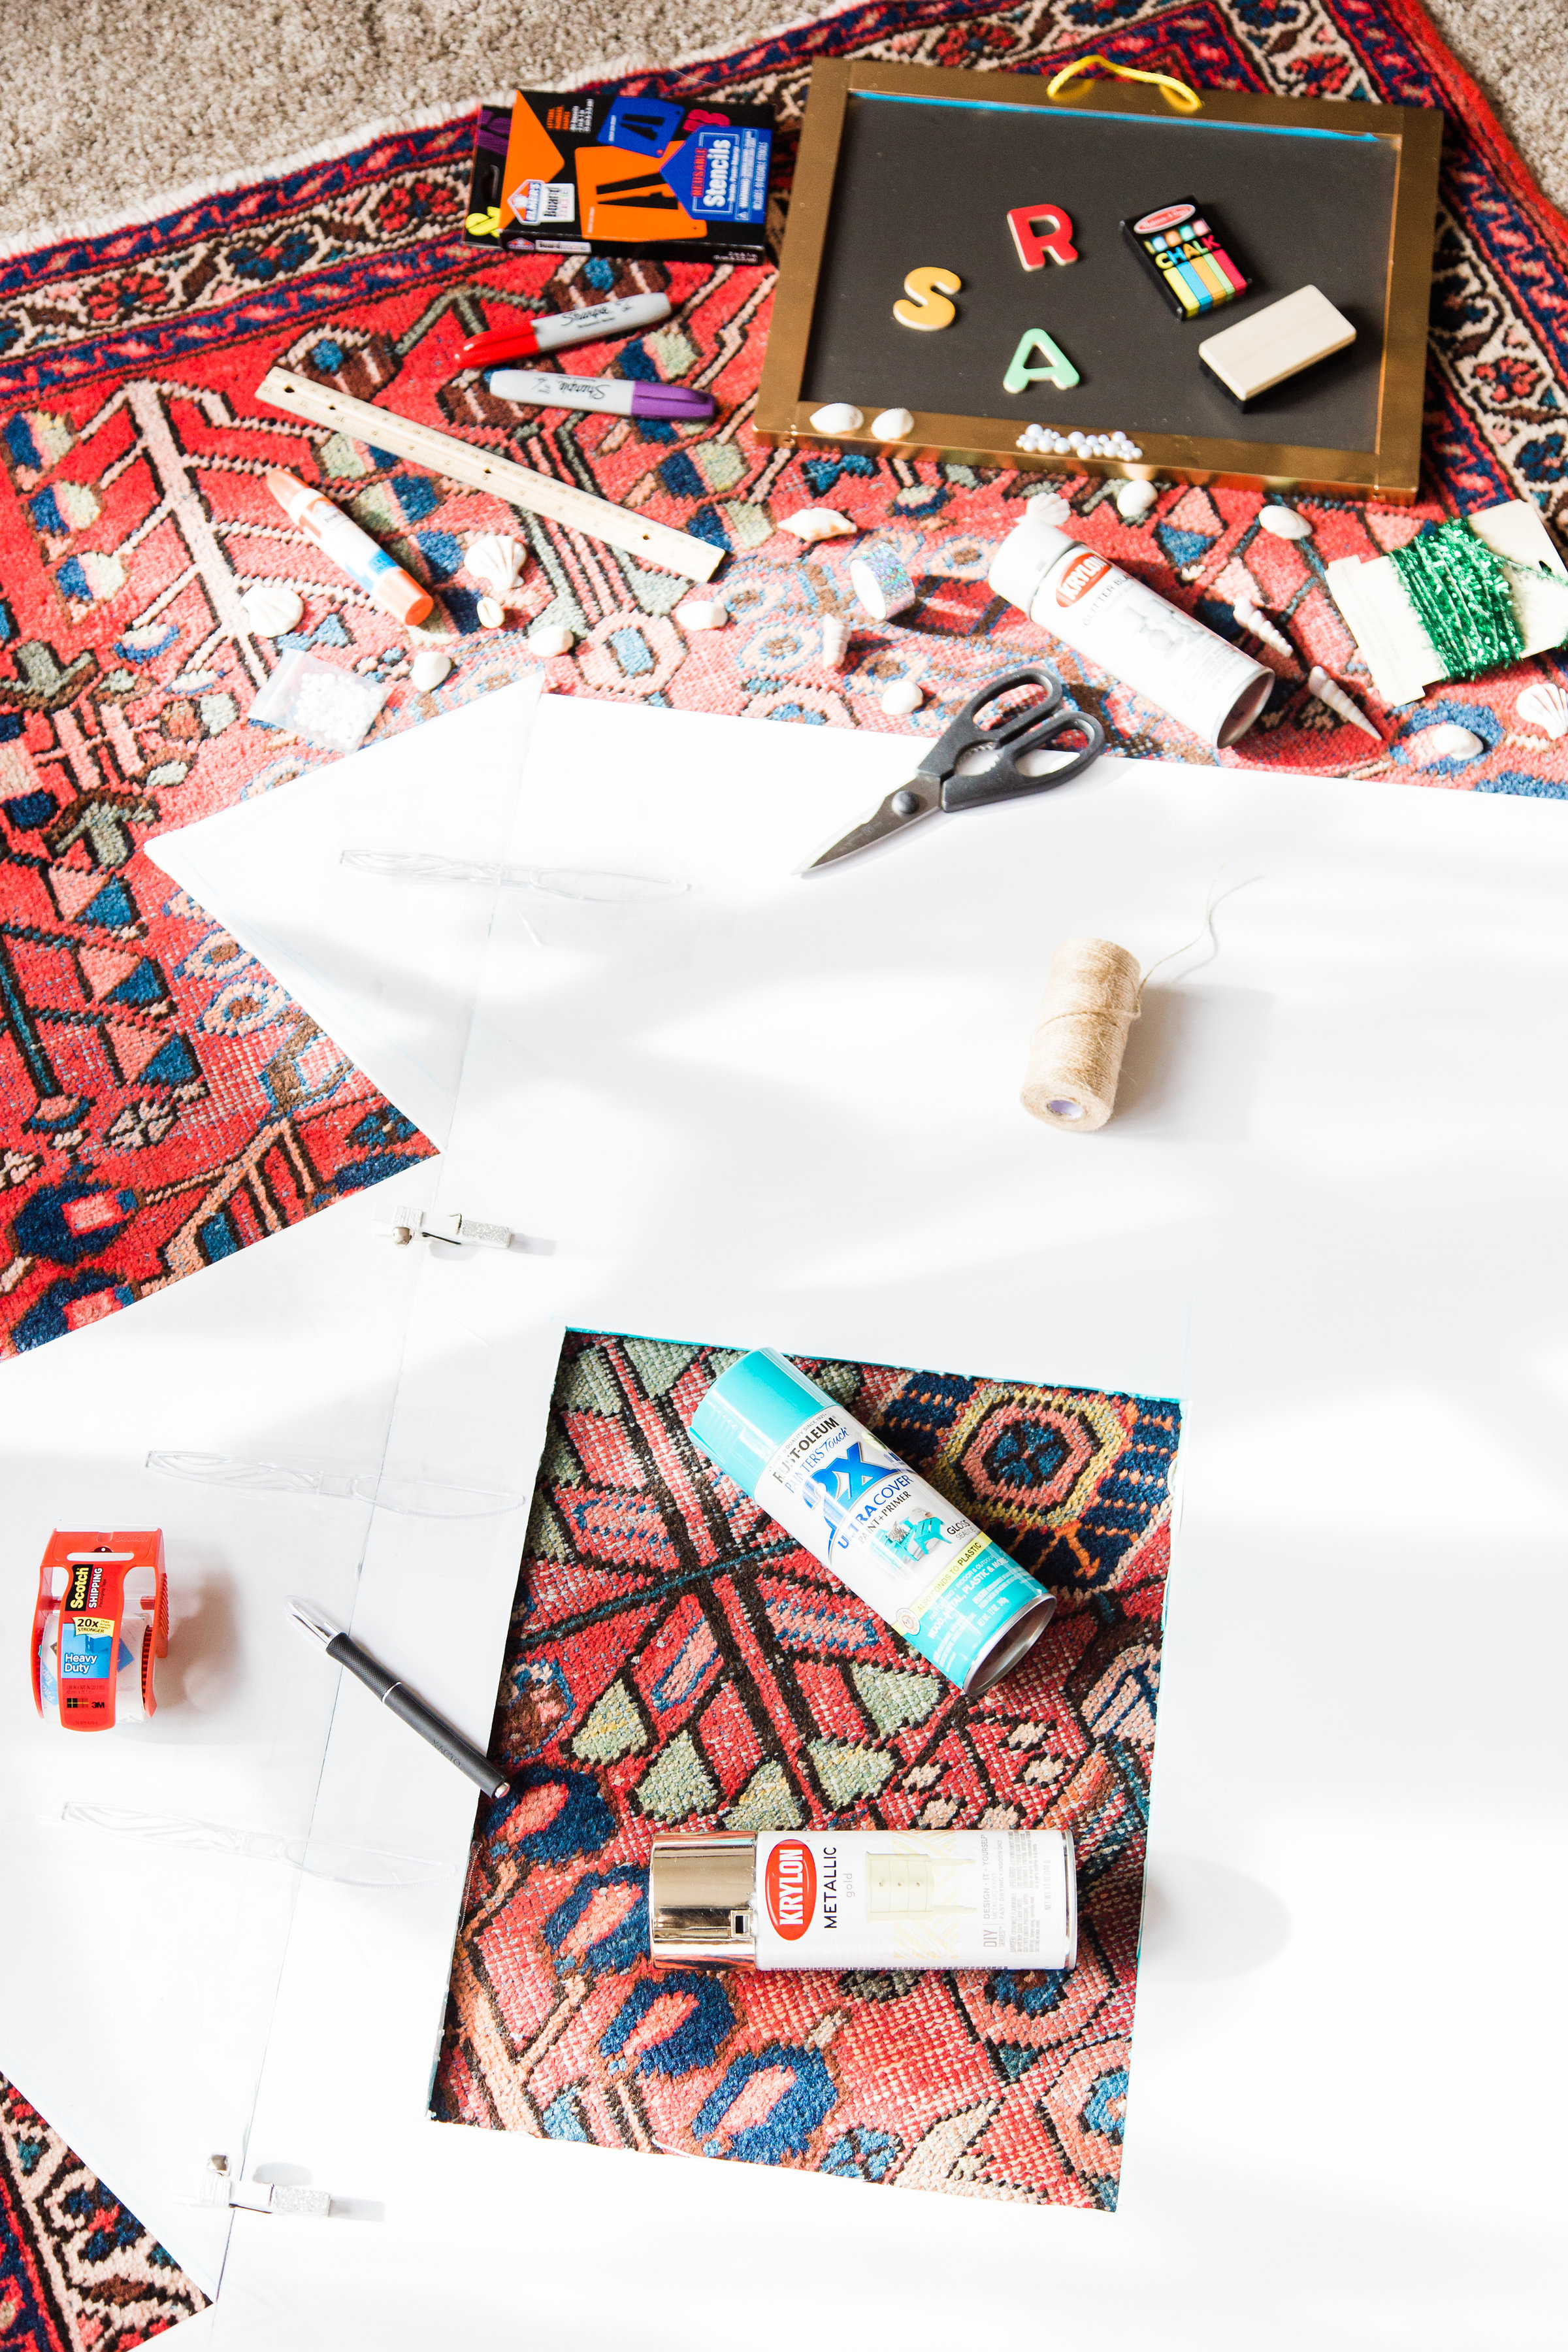
*Adding a lightweight chalkboard or drawing board is a great learning tool because it encourages kids to visually try out letters, numbers, spelling, and counting. We love this Melissa & Doug Magnetic Chalk Board because it’s a great way to promote use of the alphabet and plenty of imagination for your little one. Whether they use the magnetic letters on the board or the chalk to practice writing, the creativity is pretty endless. Using blue painter’s tape and newspaper to cover the chalkboard, I spray-painted the edges using gold metallic spray paint; because I can’t help myself.
I glued clothespins onto either side of the back of the “window” to hang our own curtains on a string. Clothespins are great because you can easily add or remove the curtains.
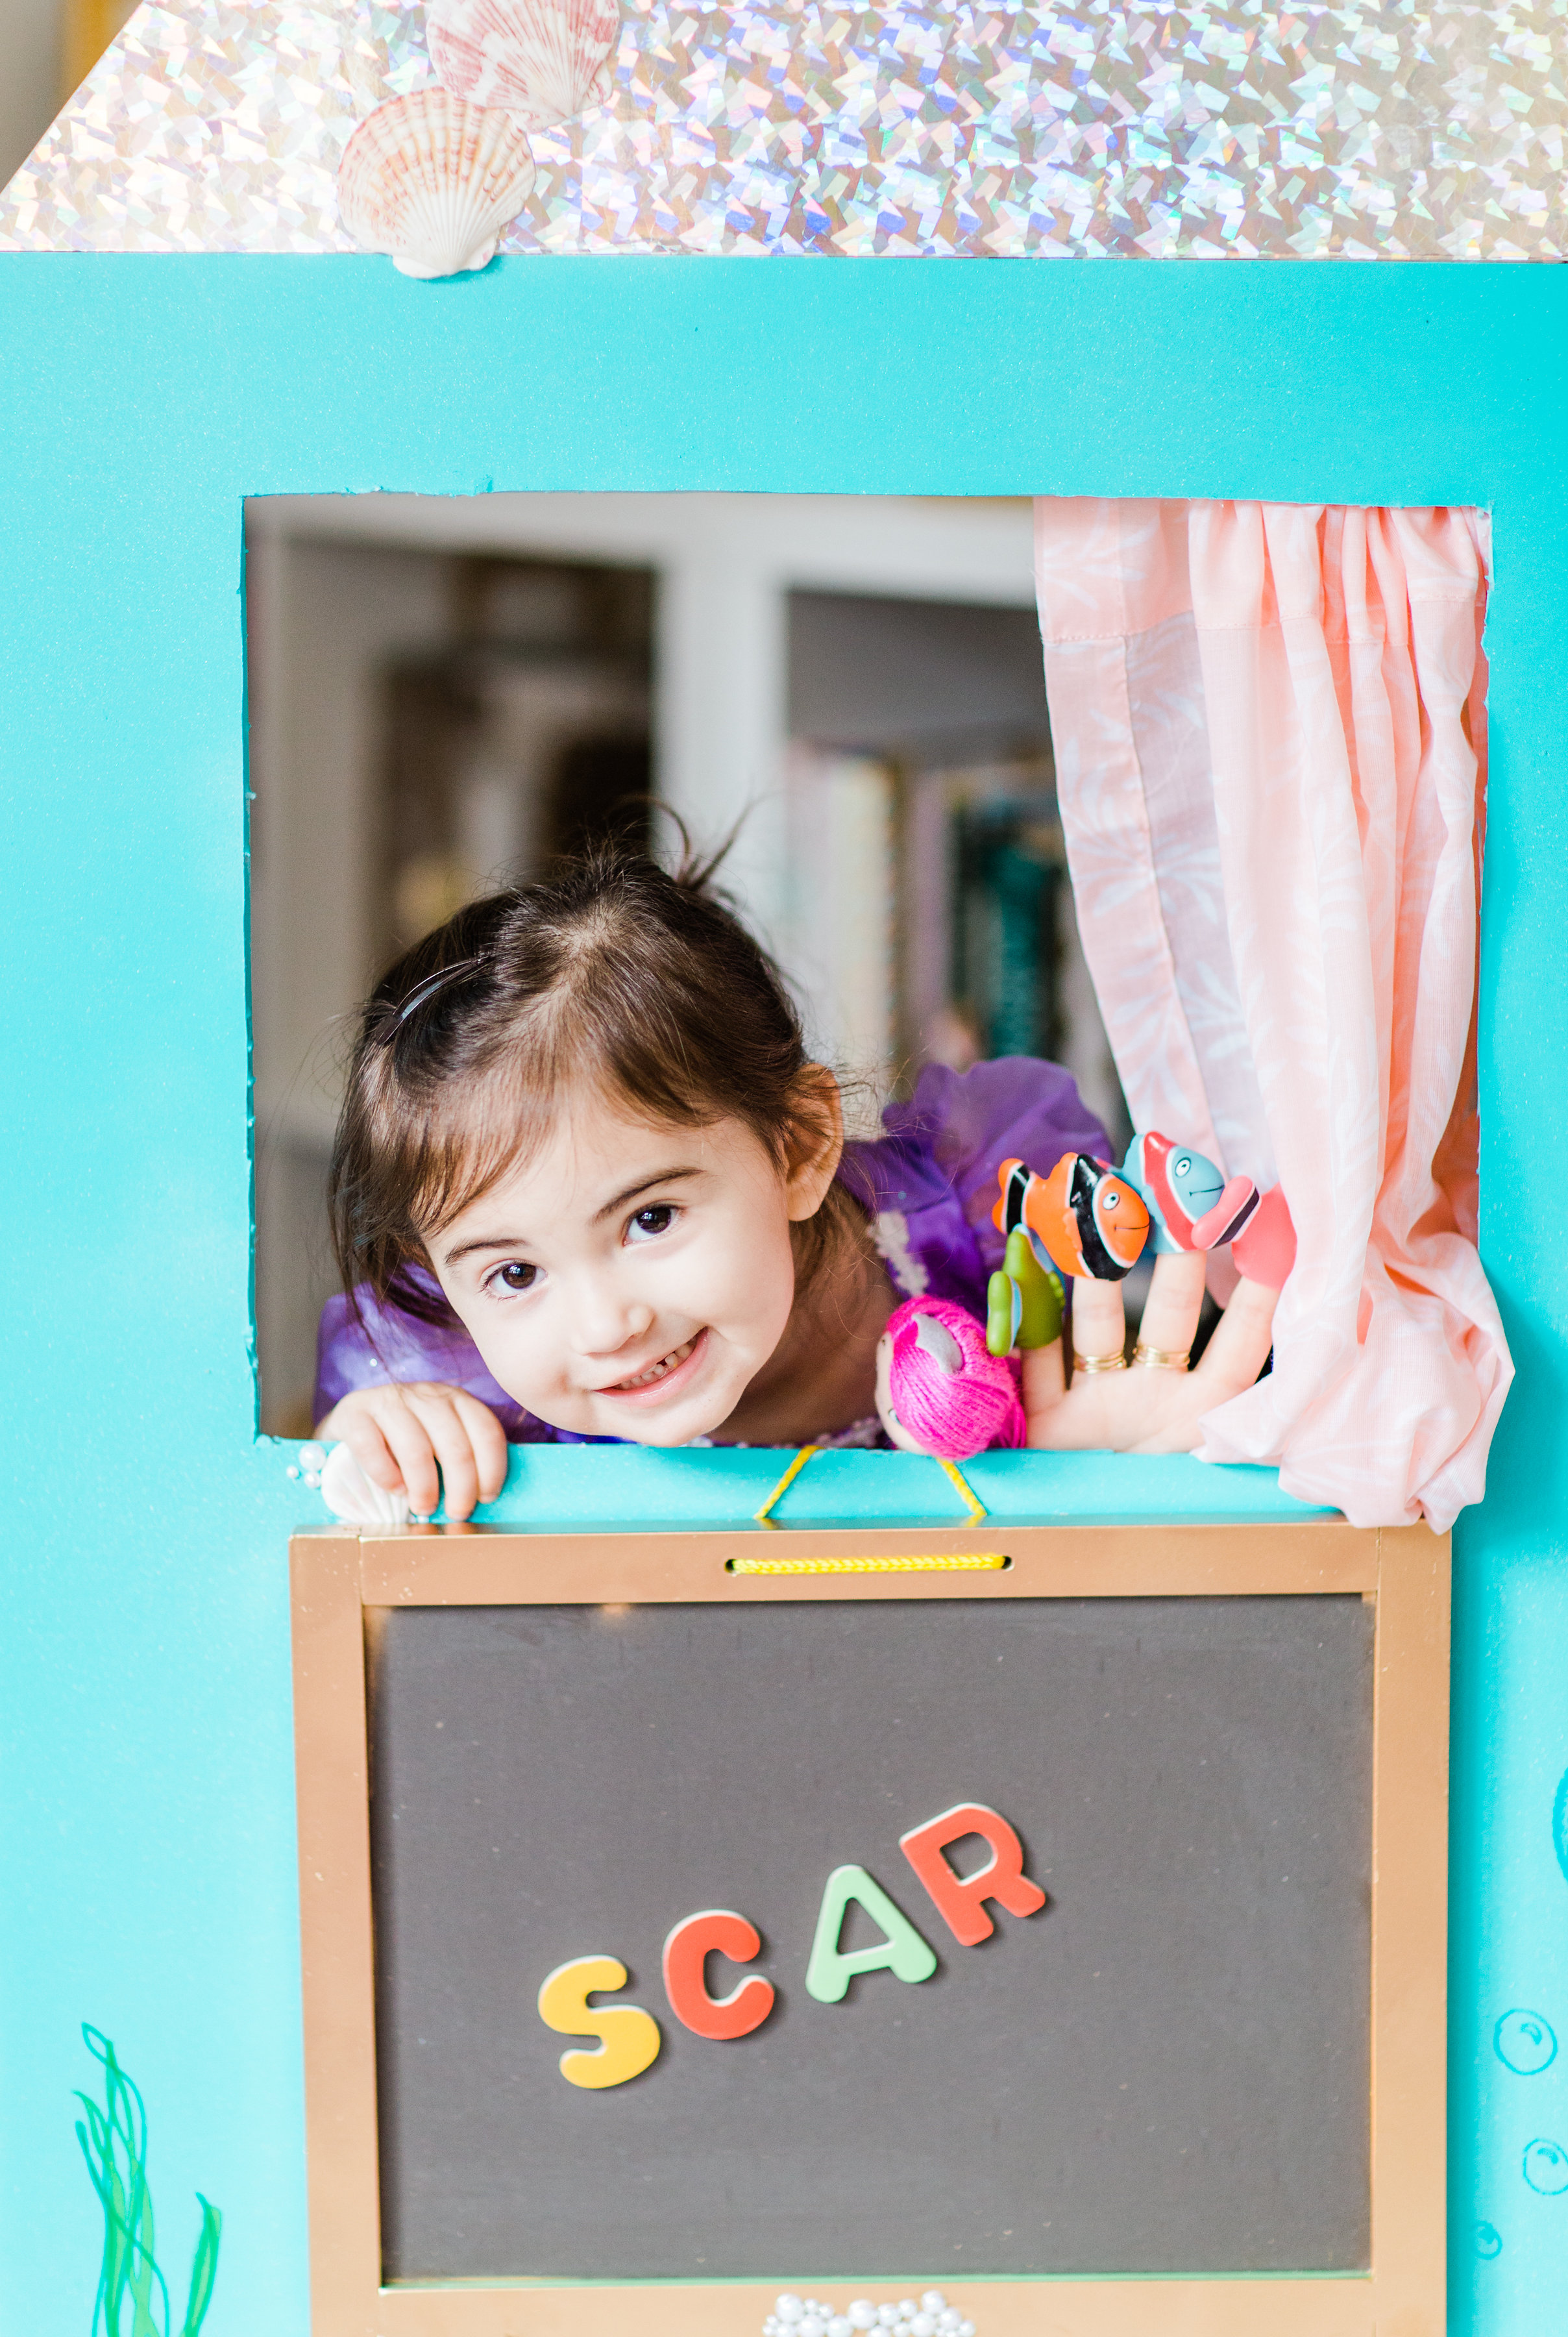
We had a lot of fun doodling …
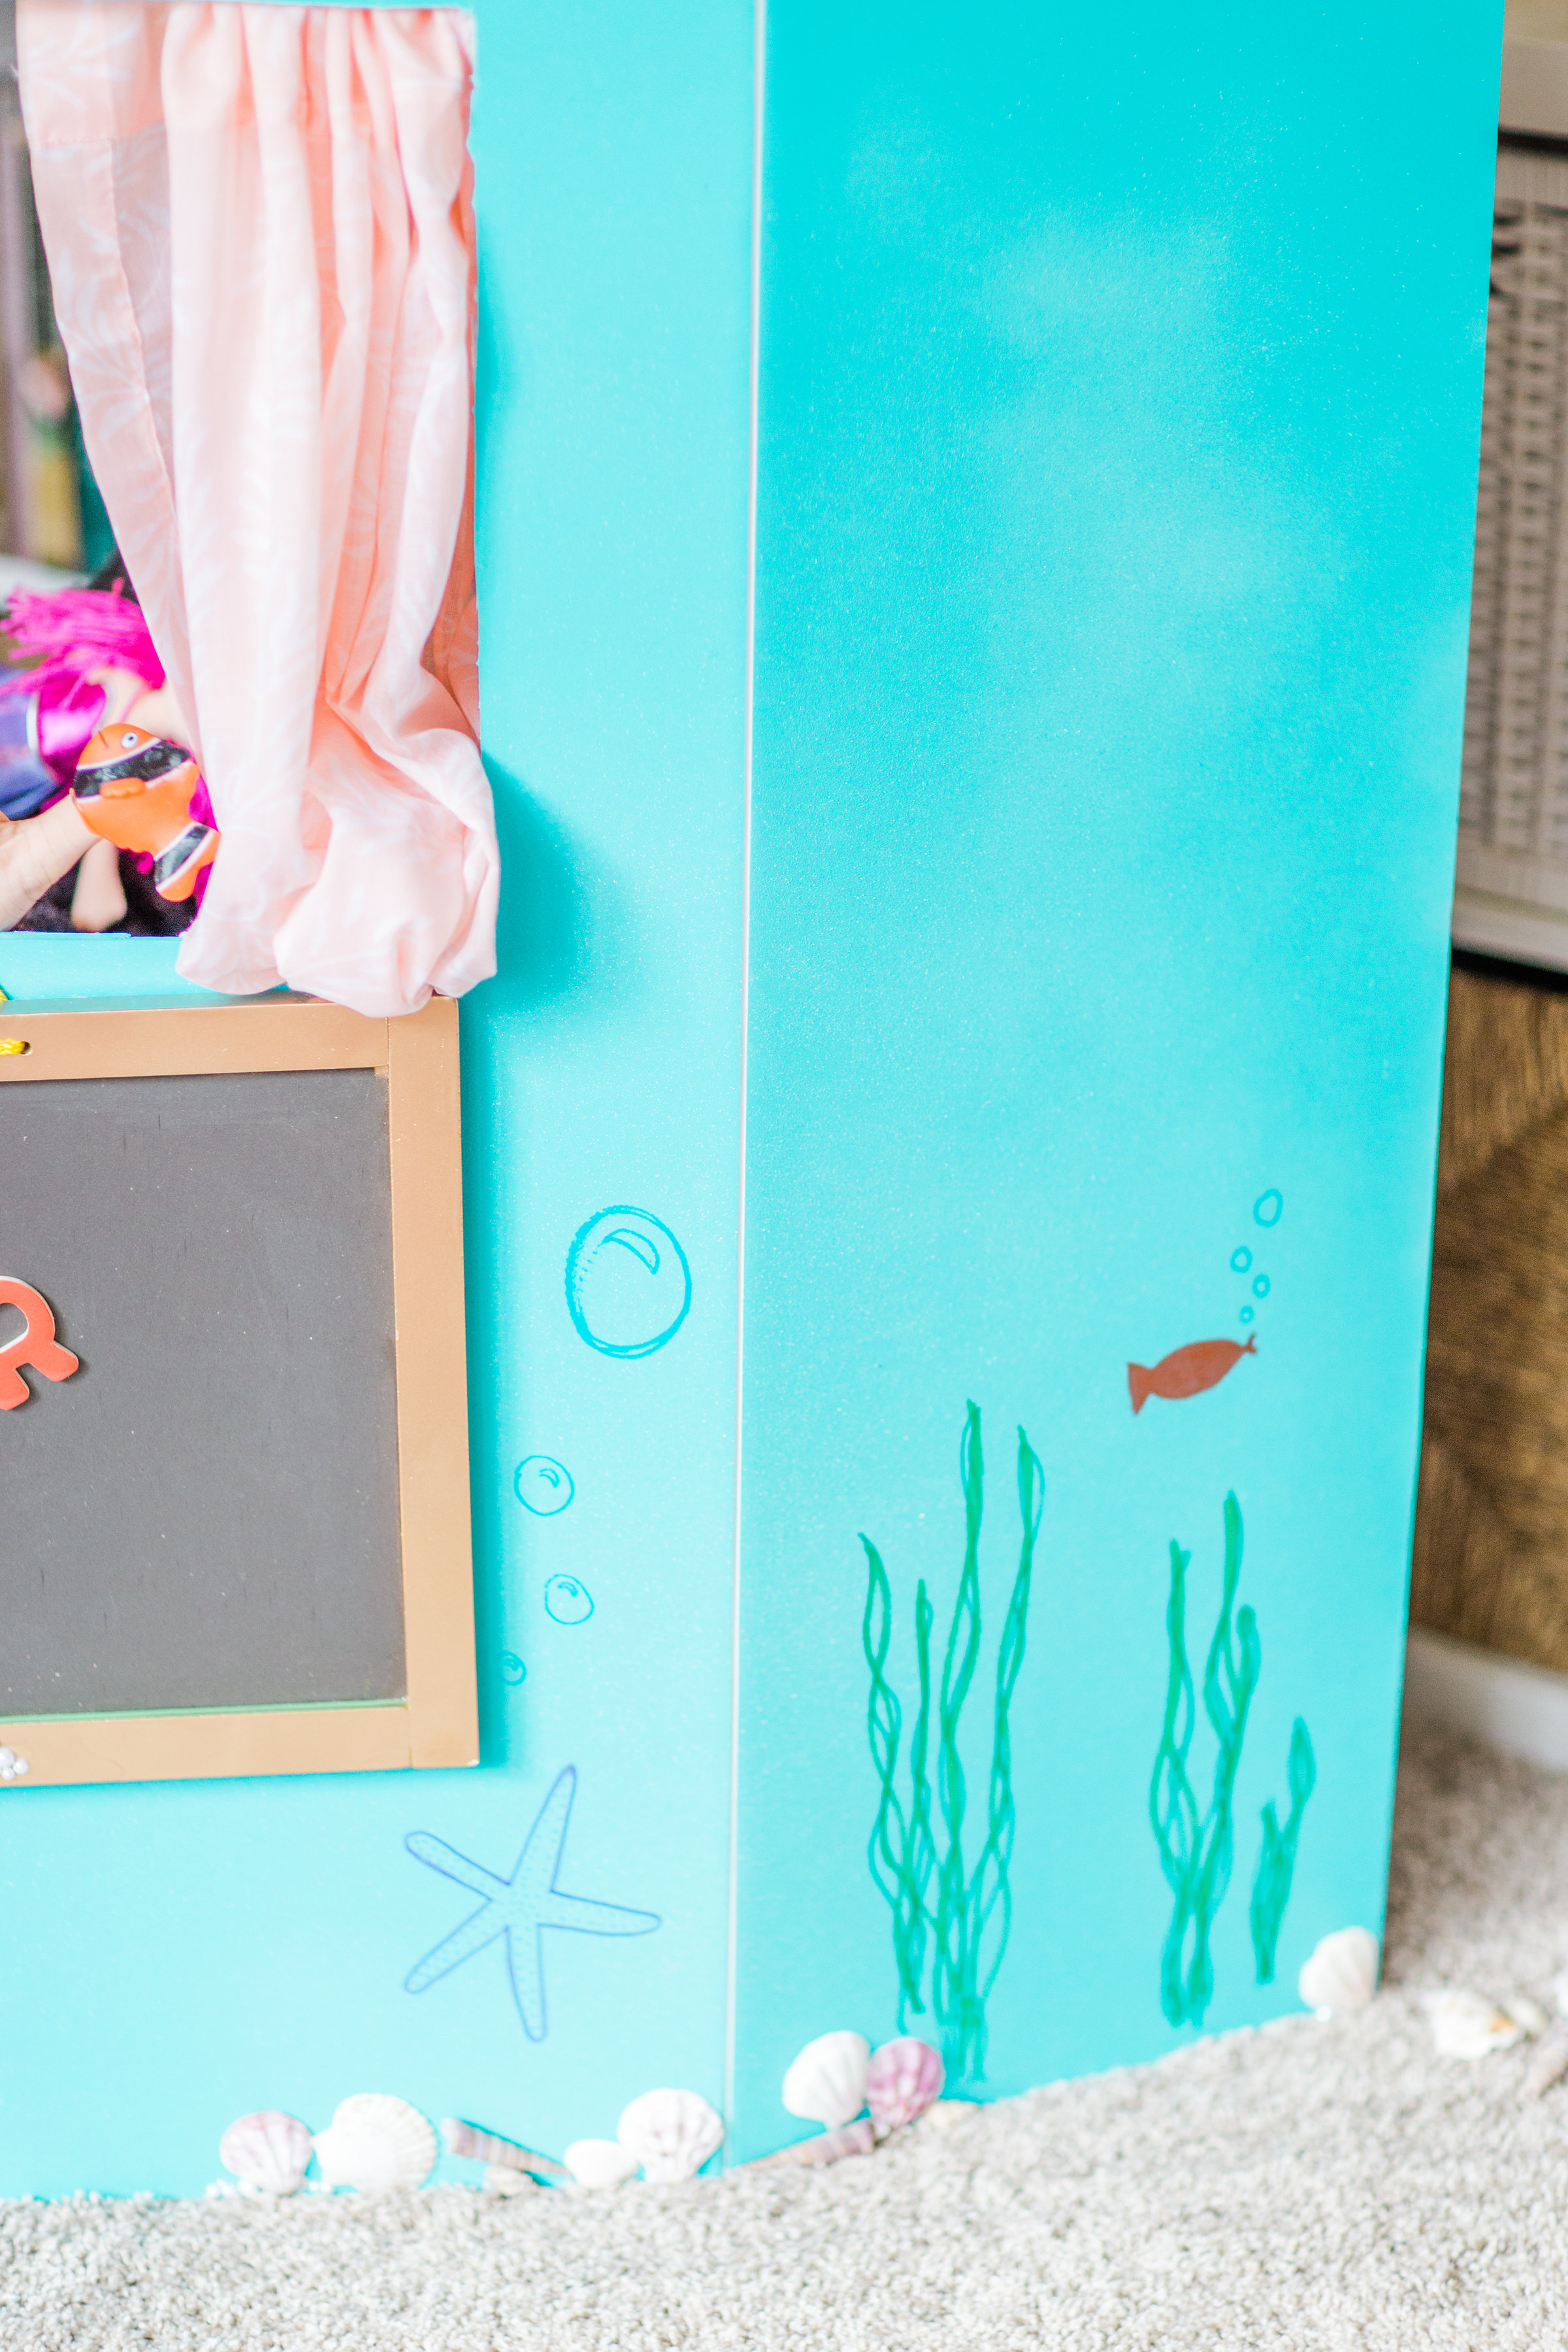
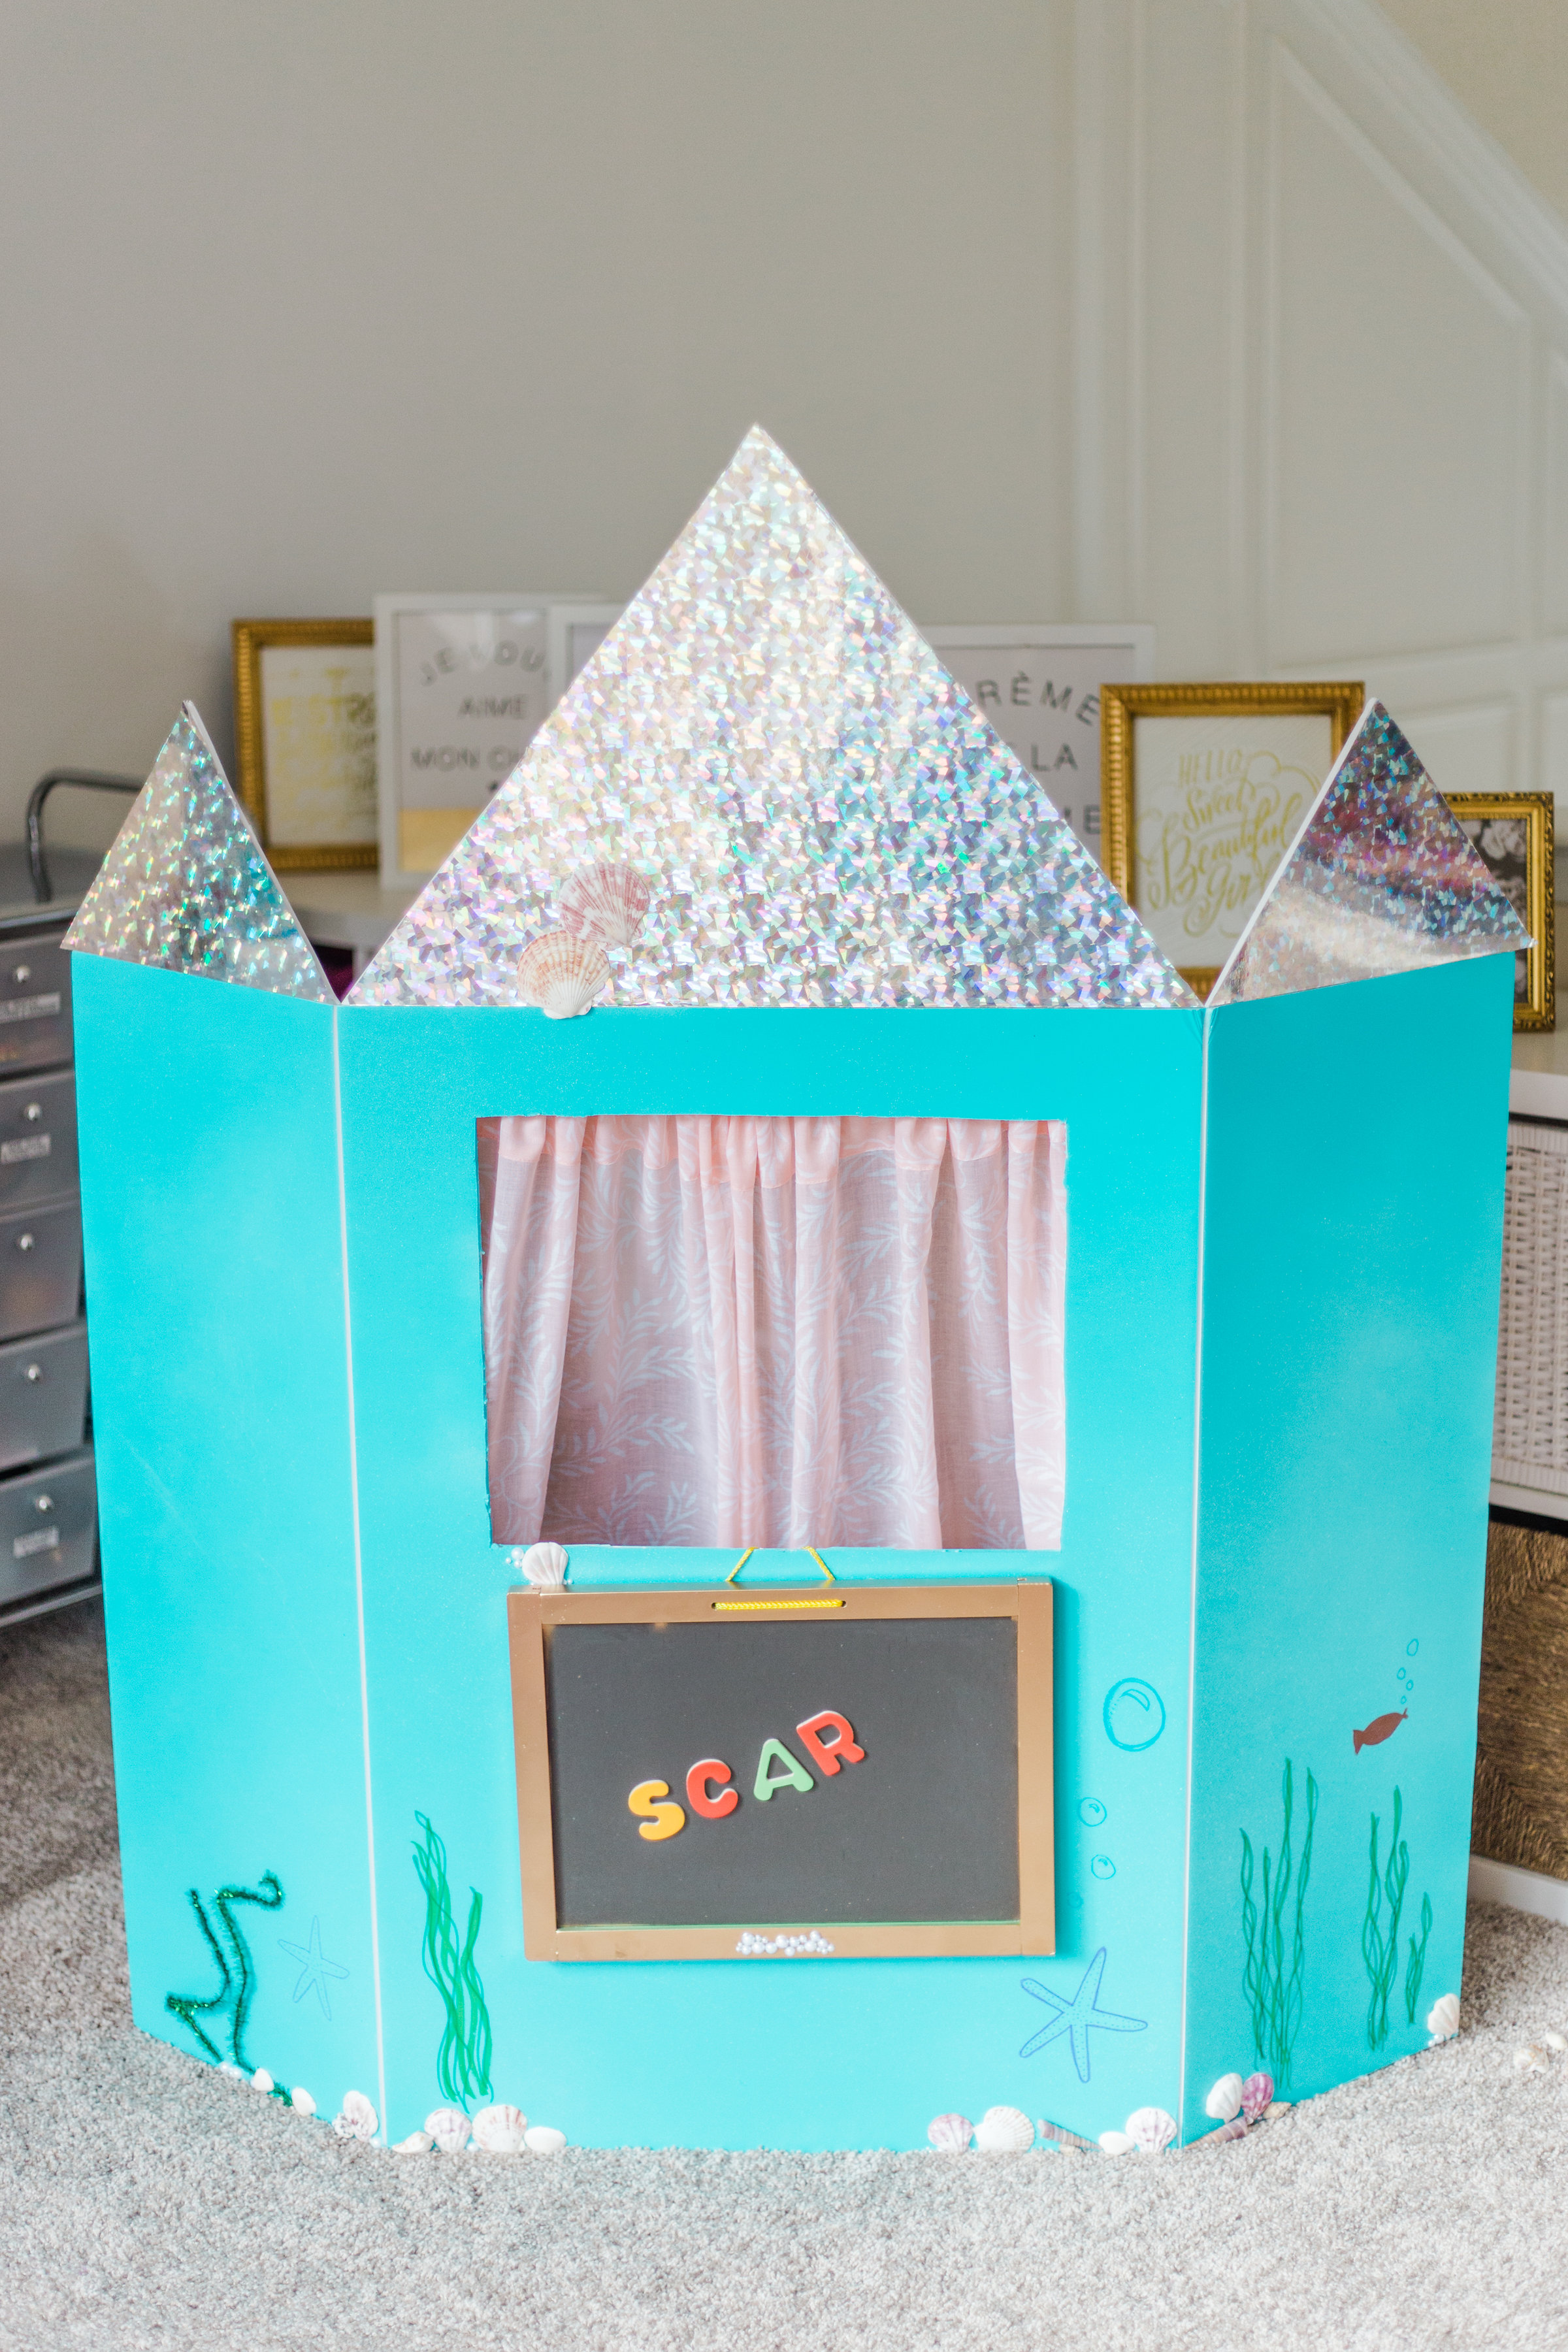
We went with an under-the-sea theme because Scarlett is a big fan of fish, sharks, and mermaids. And as I mentioned before, turning our playhouse/puppet theatre into a castle was a no-brainer. (We like castles … a lot.)
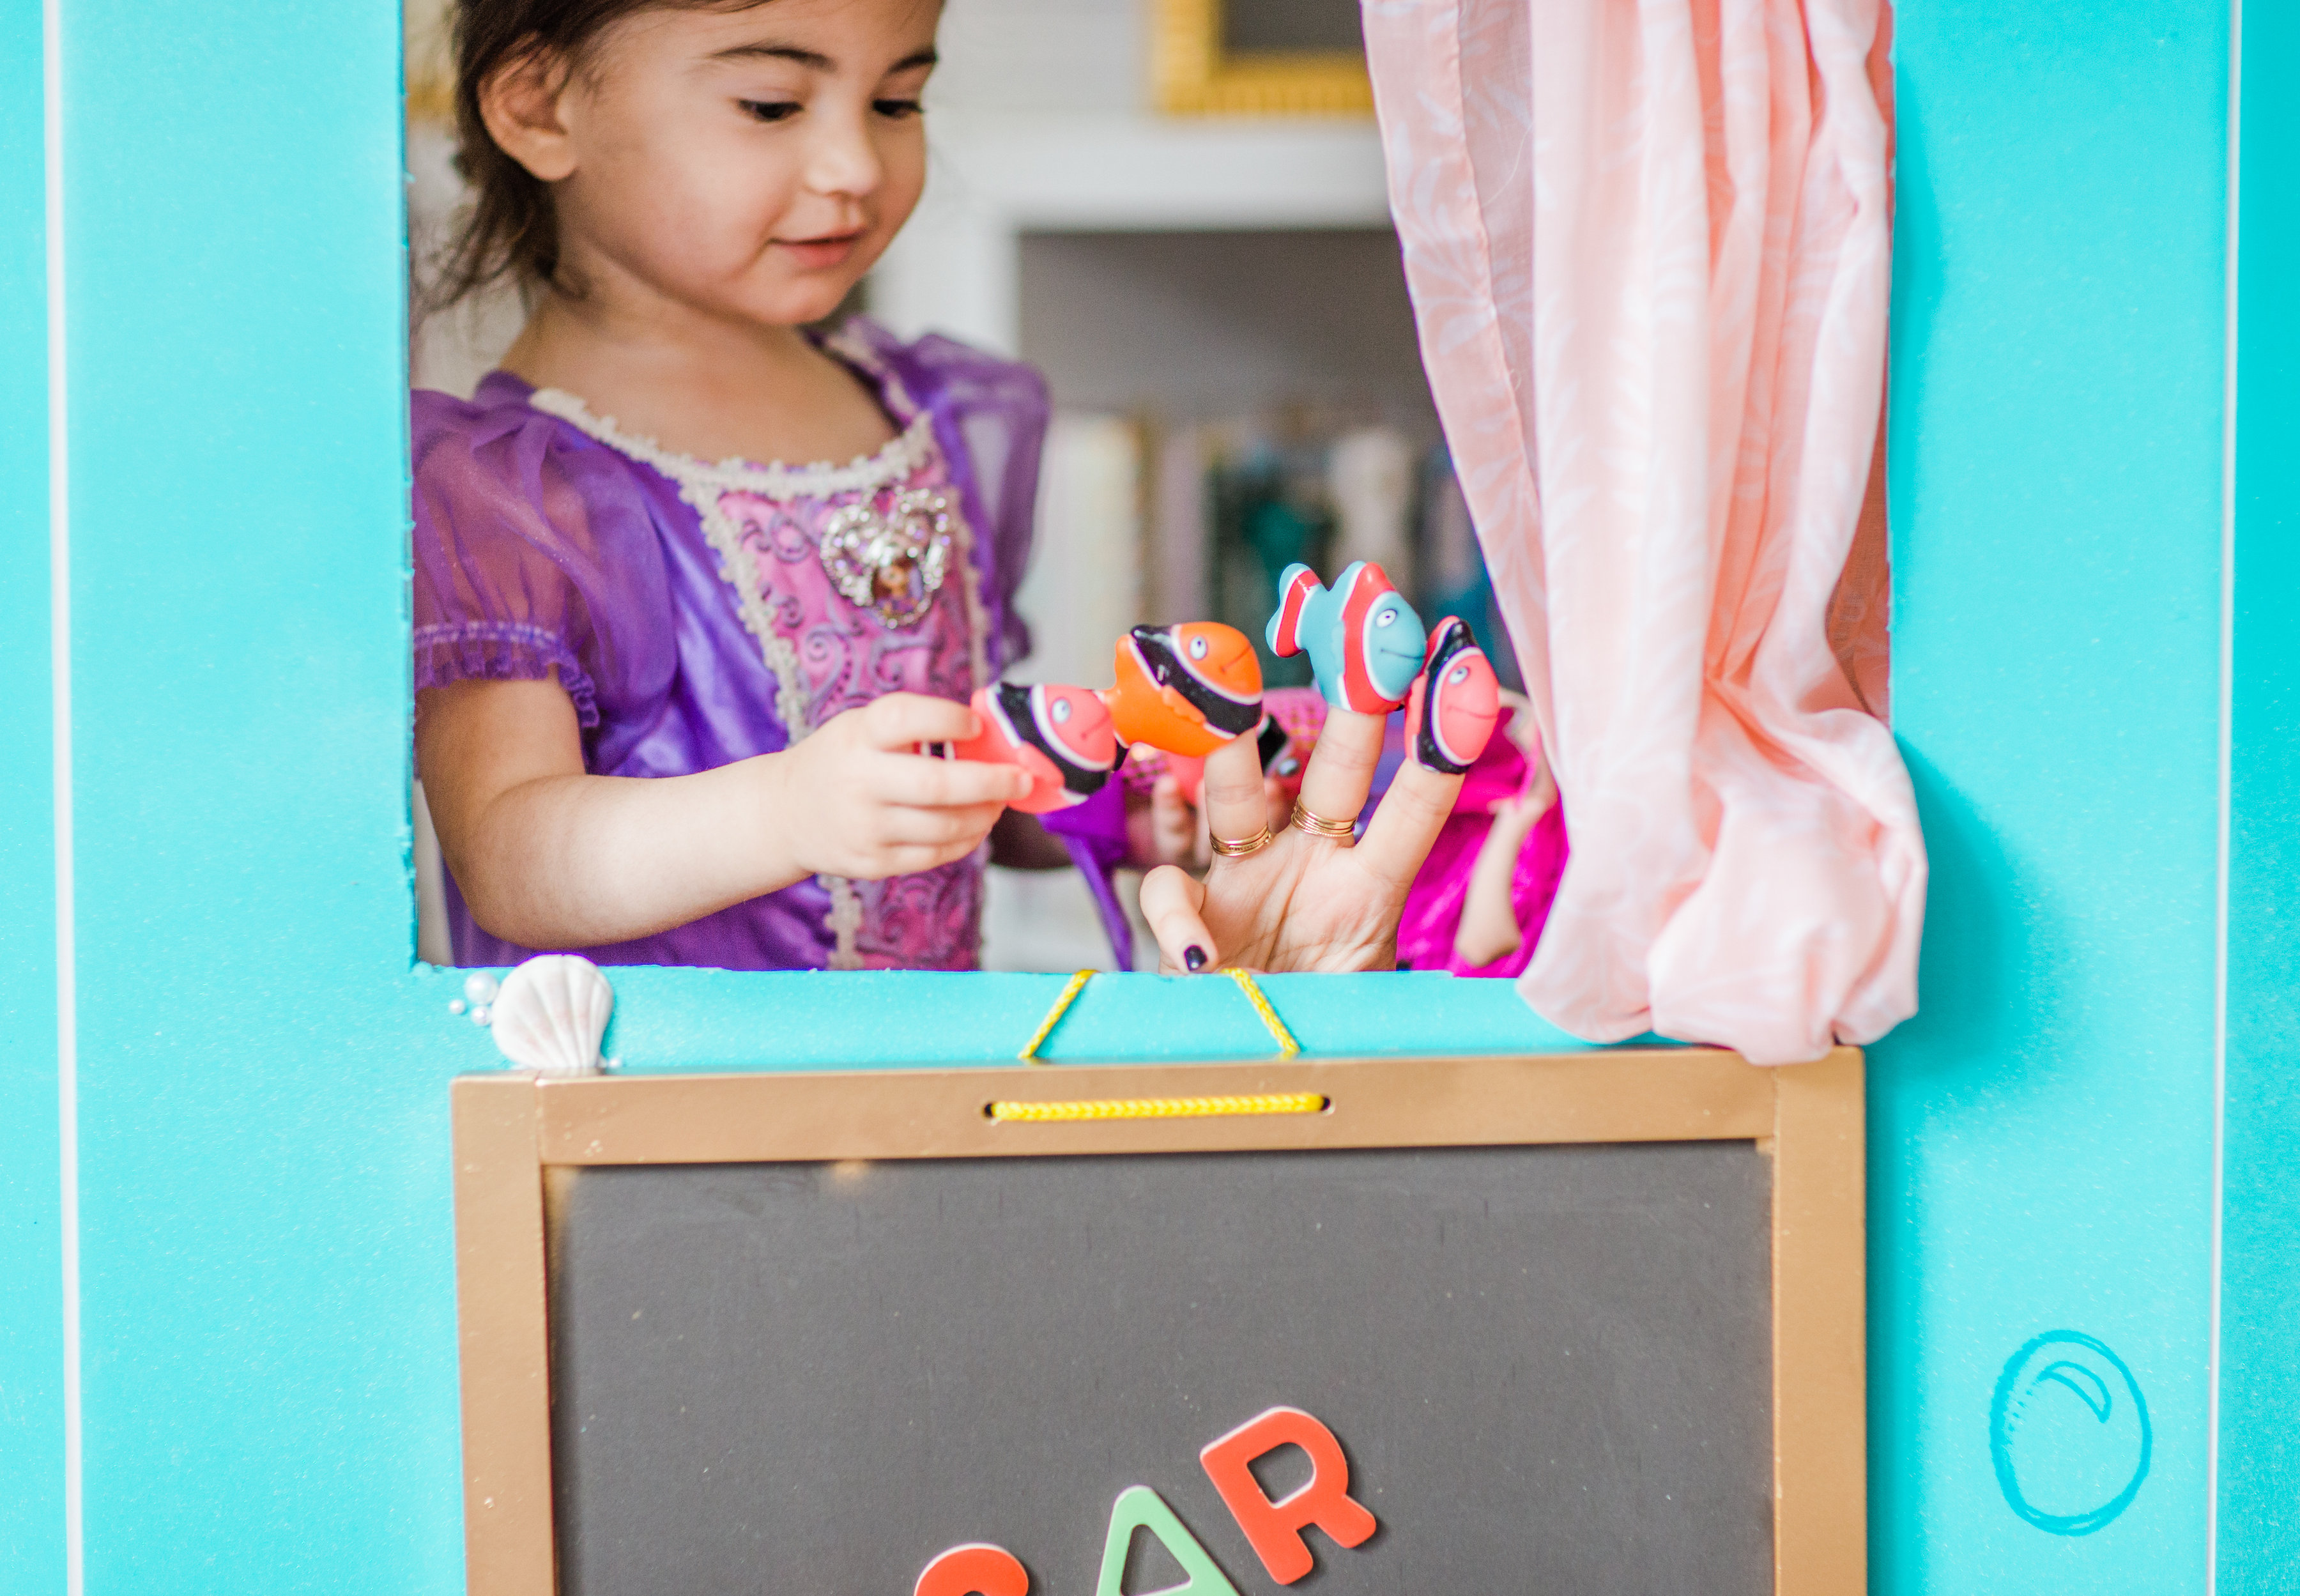
So far, Scarlett can count to 3!
Using something fun like colorful fish, in the playhouse “castle” setting, made counting so much more fun for our little girl.
Pink mermaid also got plenty of attention too!
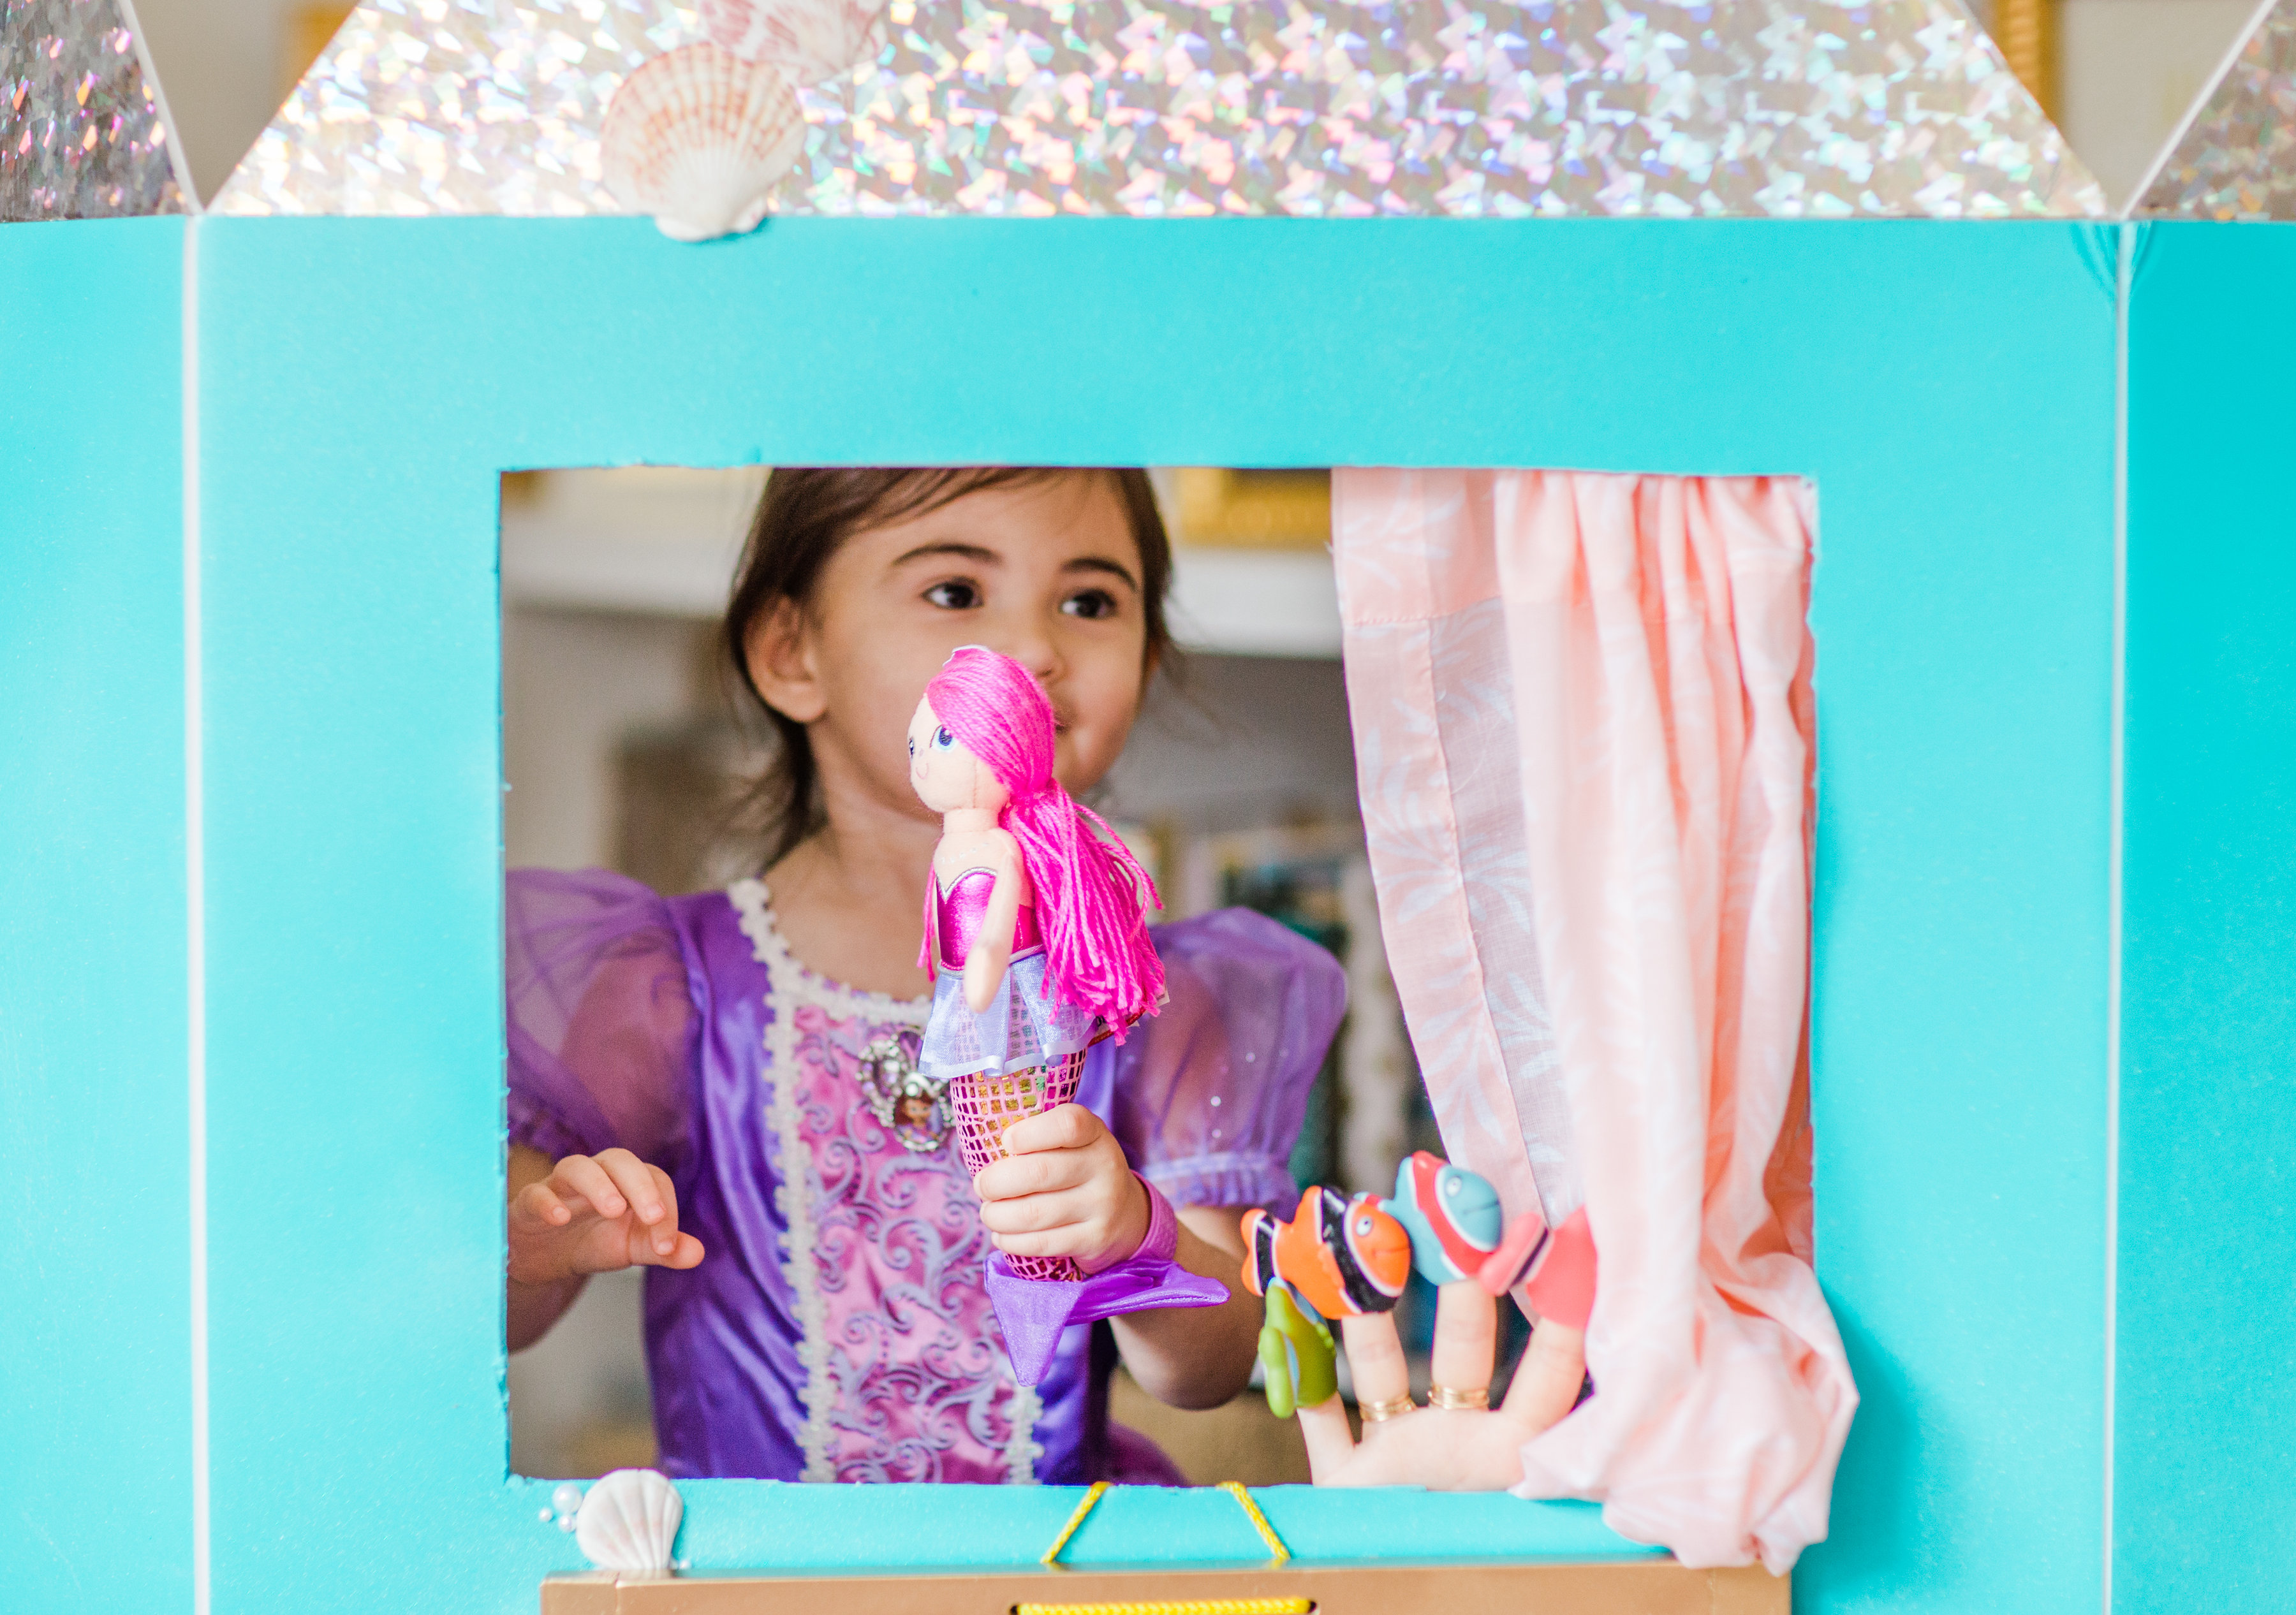
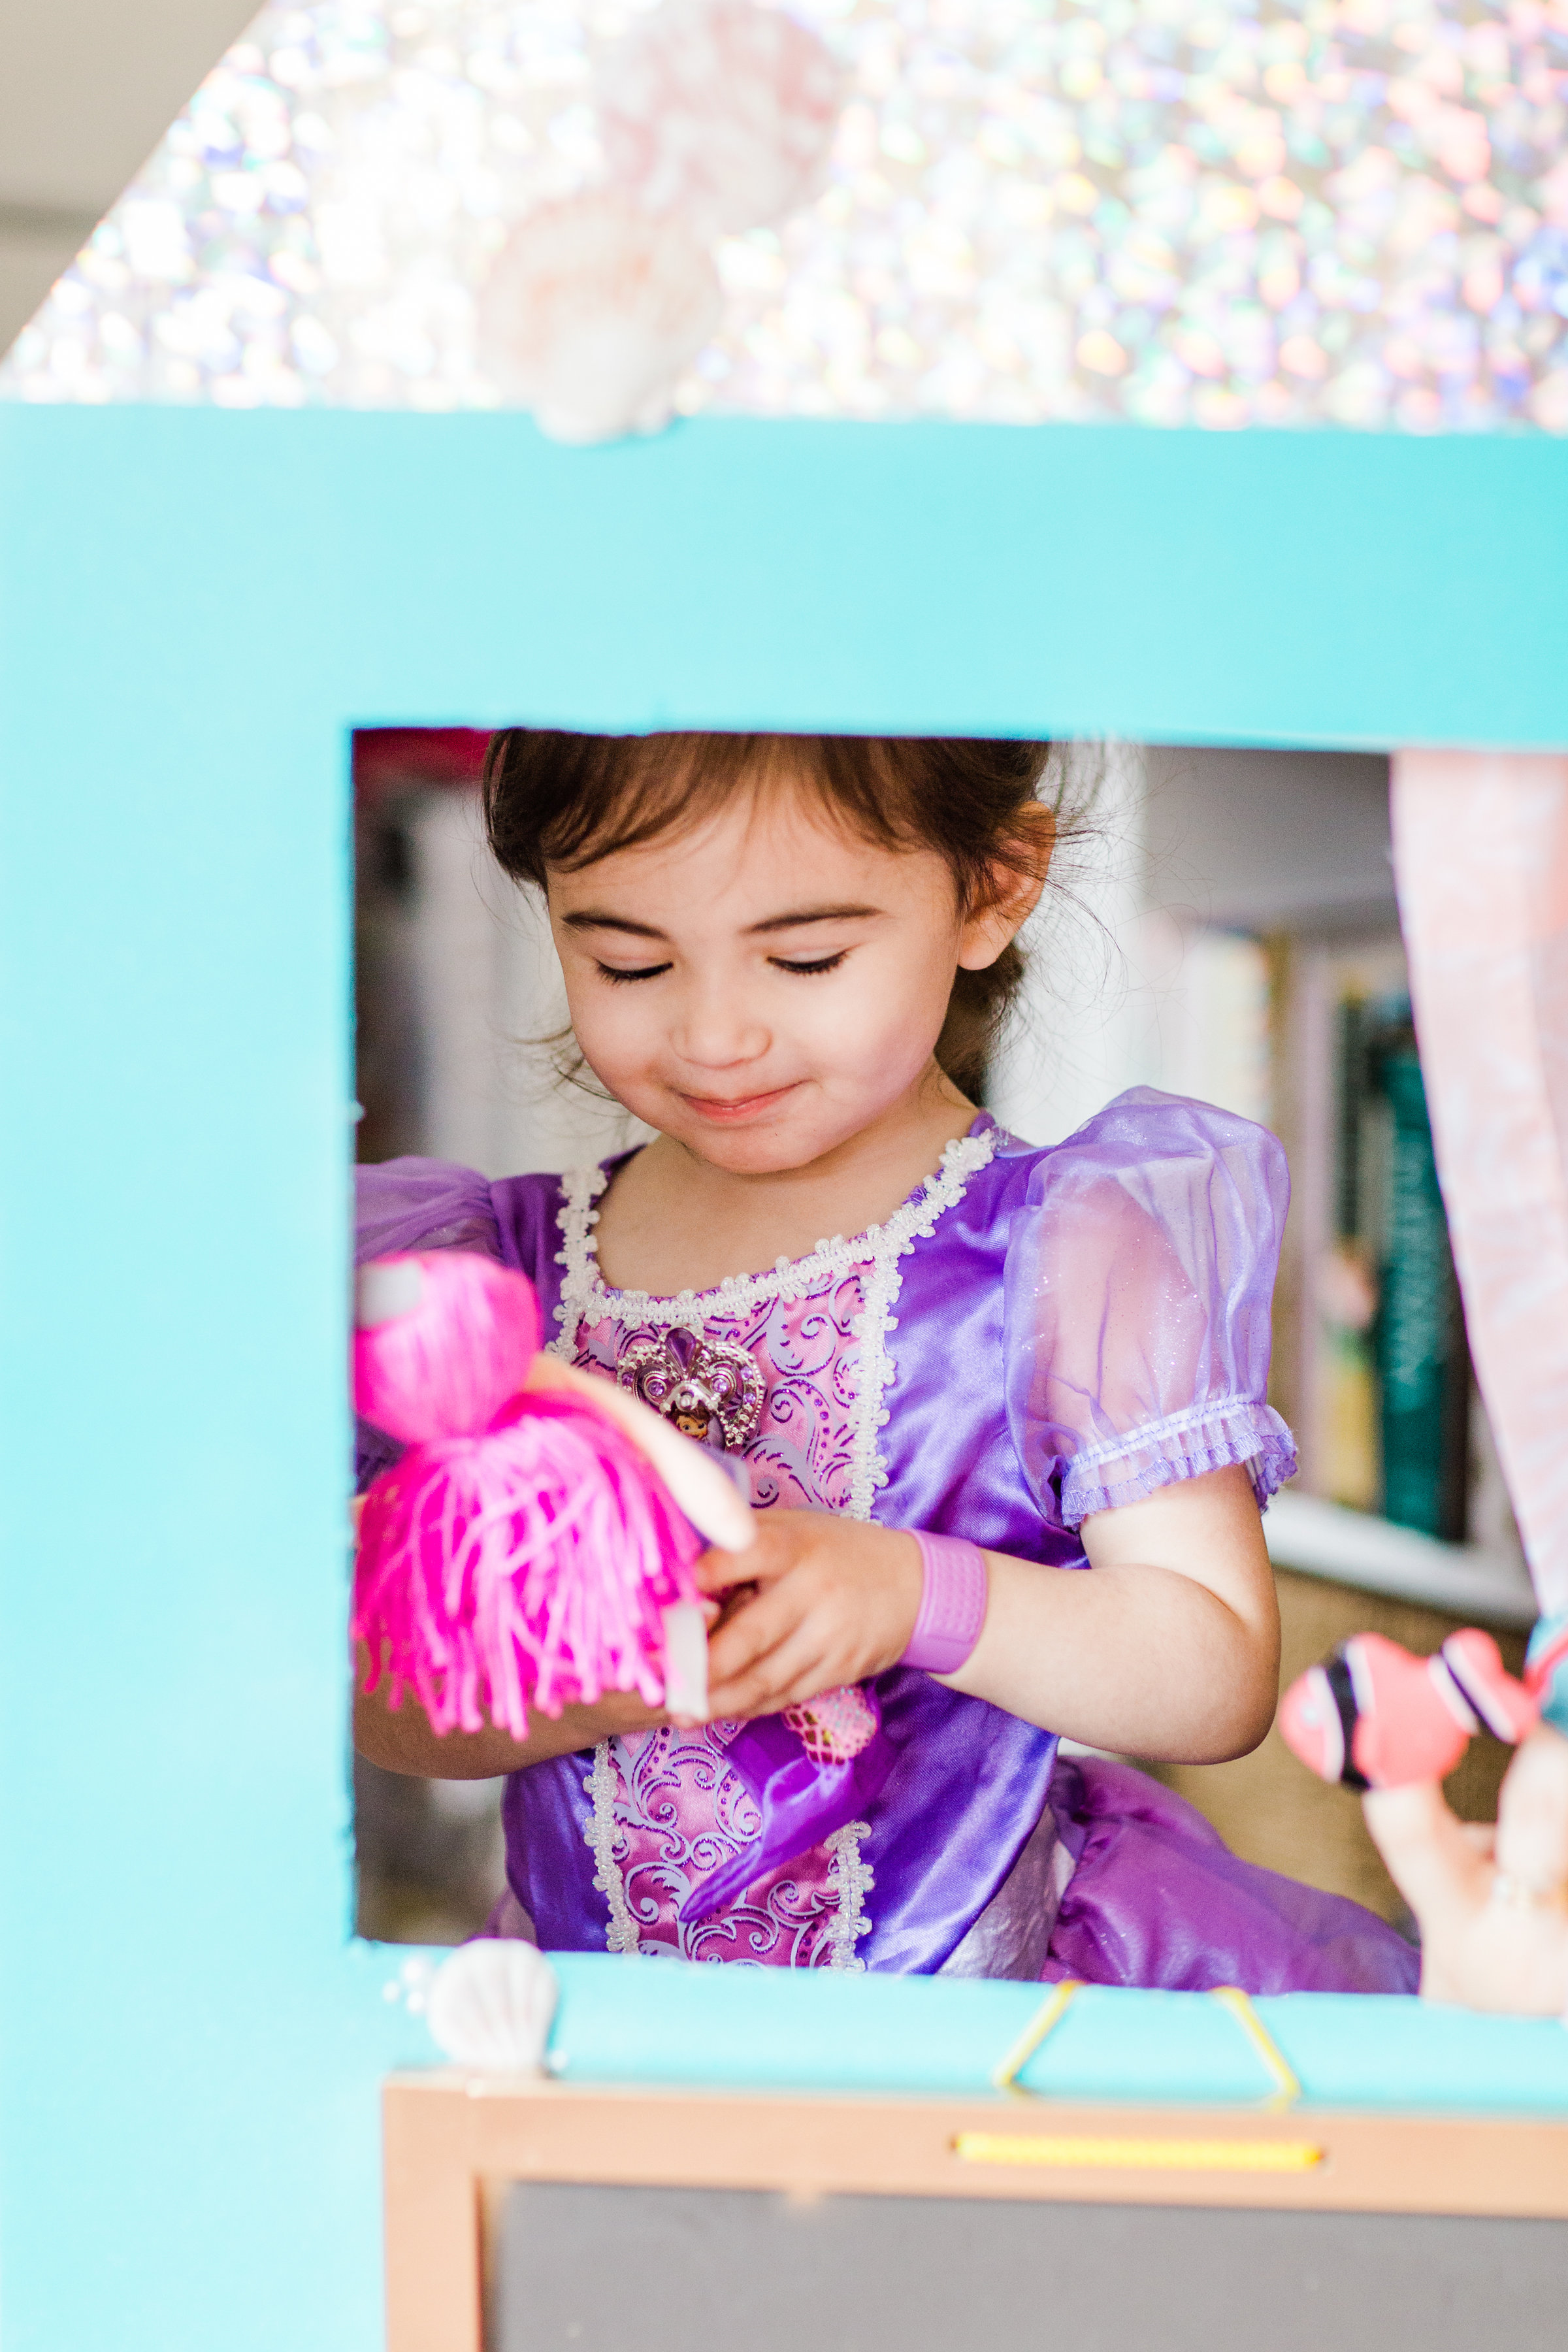
I’m also pretty sure I have a bright future playing finger puppet fish.
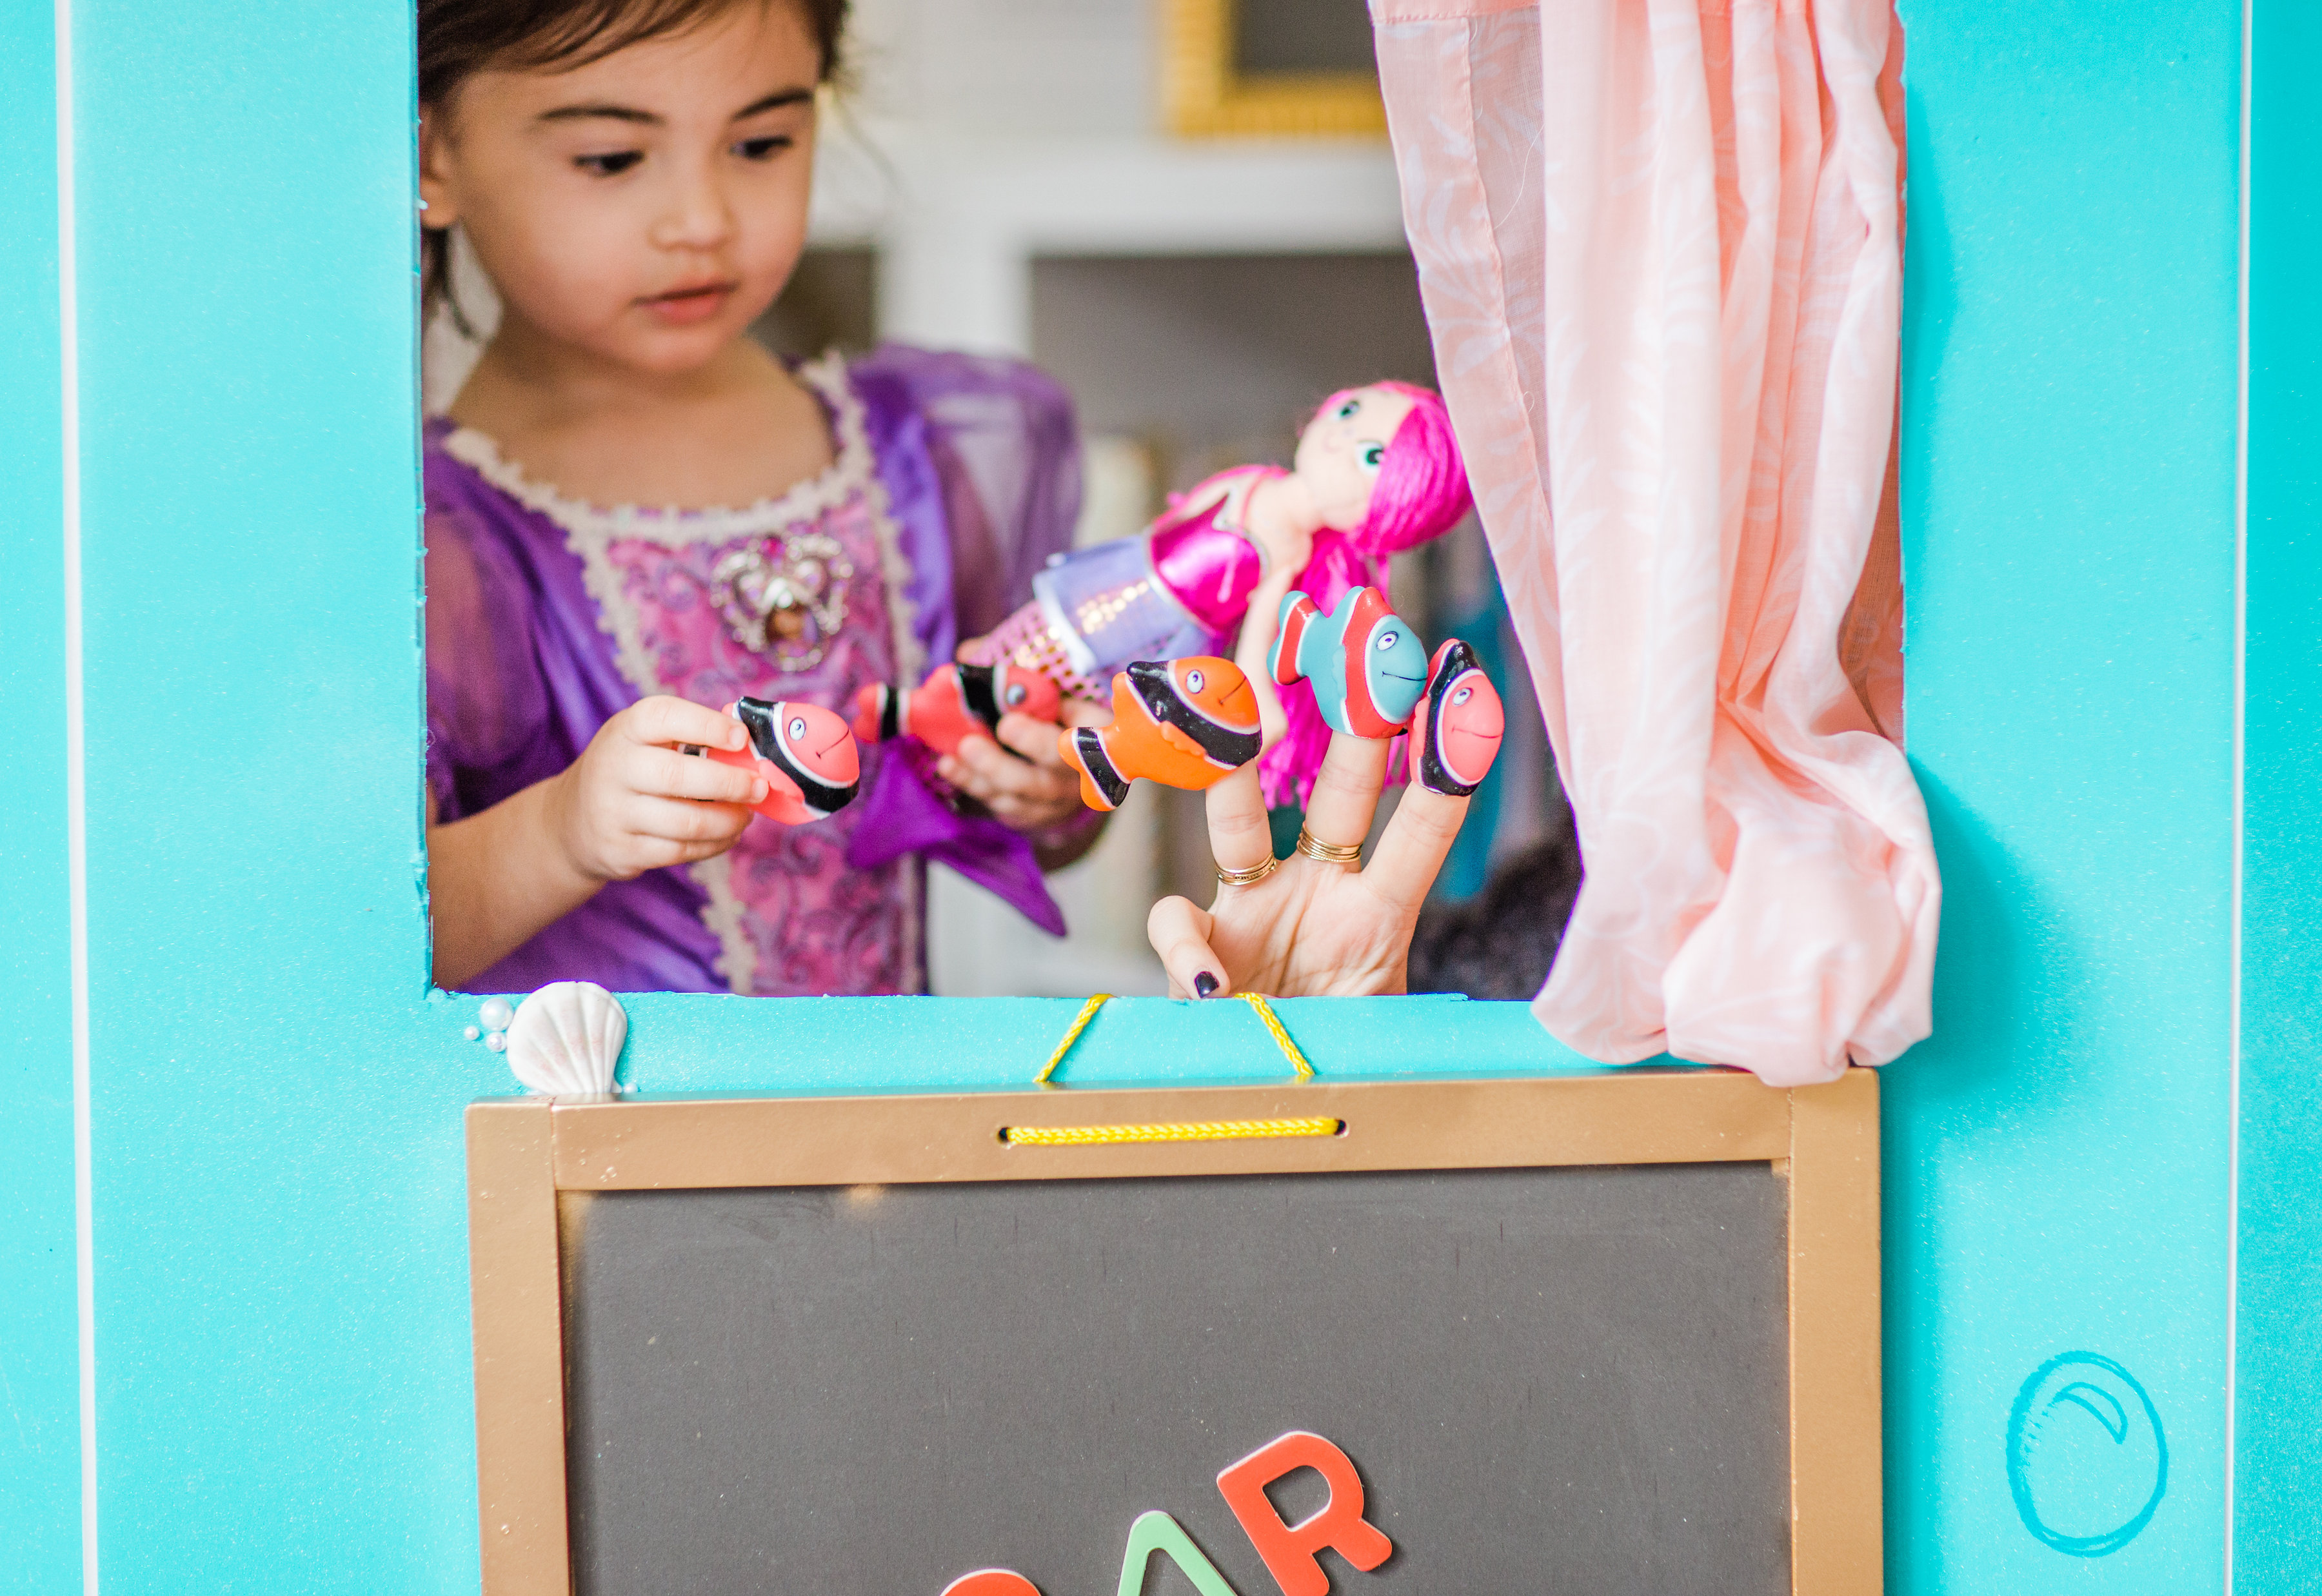
Take a bow!
You can find everything you’ll need to create your own DIY puppet theatre, including the Elmer’s foam tri-fold poster board, Sharpie® markers, the X-ACTO® cutting tool, glue, paint, and more at your local Target. Plus, there’s a Cartwheel offer starting Sunday, 1/29! Target is definitely my go-to for all of our crazy craft projects because not only do they have a huge selection for our DIY’s, but I can also score a great deal on diapers, pick up leggings for Scarlett and food for the dog, and get my home décor, beauty must-haves, and grocery shopping done too. I call that a MOM WIN.
Photos by Annie Watts Photography
This post contains affiliate links, which means that if you click on one of the product links, I’ll receive a small commission. Thank you so much for clicking through and helping to support this little blog business of mine! Read more about our site, privacy, and disclosure policies here.



 Older Post









This is SUCH a great idea! I will definitely be making this when LC gets older!
This is such a great idea! I will keep this in mind when we have kids! xo, Nataly
Omg! That puppet theatre is adorable! Super fun idea…one your children will enjoy for hours and hours!
Jessica Sheppard
Ah this is SO fun! One day when I have kids, I will have to make them something like this haha!
What a fun and super cute project! It turned out so amazing!
Thank you!! xo
aww this is such a great idea! How cute!
xx Leah / http://www.eatpraywearlove.com
Oh my gosh I would have been in heaven with this puppet theater as s kid. Such a great DIY!
xoxo,
Kim
http://www.champagneistablog.com
Right? Scarlett is obsessed! Thank you. <3
This is so adorable, you do the best DIYs!
Oh my gosh, thank you so much! <3
ok that is adorable!! She looks thrilled to have that!
What a fun little project!! I would’ve loved this as a kid!
Girl, I wish I was as crafty as you! So cute!
This is the cutest DIY project! I’ll have to remember this when I have little ones of my own!
xo, Alicia | AliciaTenise.com
Oh my… this couldn’t be any cuter!! Love this DIY. She’s adorable!
Xo Makayla
@ http://www.fashionablykay.com
Omg I would have LOVED this as a kid! Your daughter is adorable!
xx Mollie
This is THE most adorable idea! I love how creative you are and I have to try to do something like this with my son!
Aww, thank you!! He will LOVE it. <3
Well this might be the coolest and cutest puppet show I’ve ever seen! Can I be your kid? 🙂 Great post!
Sooooo cute!!! Truly adorable!!
Mel | http://www.thegossipdarling.com
This is adorable! I don’t have kids, but I remember when I was a wee one and loved playing theater. This DIY project seems fairly easy – even my non-crafty self would be able to make it! 😀
So darn cute!!!