Want to put together a stunning floral arrangement with that bunch of flowers you just picked up from the grocery store or farmers market? We teamed up with an incredible florist to teach you the easy step-by-step way to make beautiful floral arrangements at home.
I am incredibly excited about today’s post. Several weeks back I teamed up with Marsha of MEWS Designs and my amazing photographer, Annie of Annie Watts Photography, to create a couple of fun DIY flower projects to share with you all! And first up, we’re showing you how to make a simple DIY Spring floral arrangement or centerpiece; a step-by-step guide, including exactly what you’ll need and all of the pretty details.
Marsha is SO talented and can make magic out of everyday flowers. Though I’m pretty sure she has a knack for picking the most perfect Trader Joe’s stems and it doesn’t hurt that her backyard is bursting with her own home-grown beauties as well. And as evidenced ALL over my blog, Annie is the most unbelievably talented photographer who turns everything into magic. Magic, I tell you.
Okay, okay, enough of the gushy stuff; let’s talk flower centerpieces and spring floral arrangements. Most seasons and holidays, if you remember to grab a bunch of flowers at the grocery store or local farmer’s market, you’re chopping off the ends, plunging them into a vase, throwing the arrangement on your table, and calling it a day. That’s pretty much been my go-to; that is, until Marsha showed us just how easy it really is to create your own simple Spring floral arrangement using those same store-bought flowers.
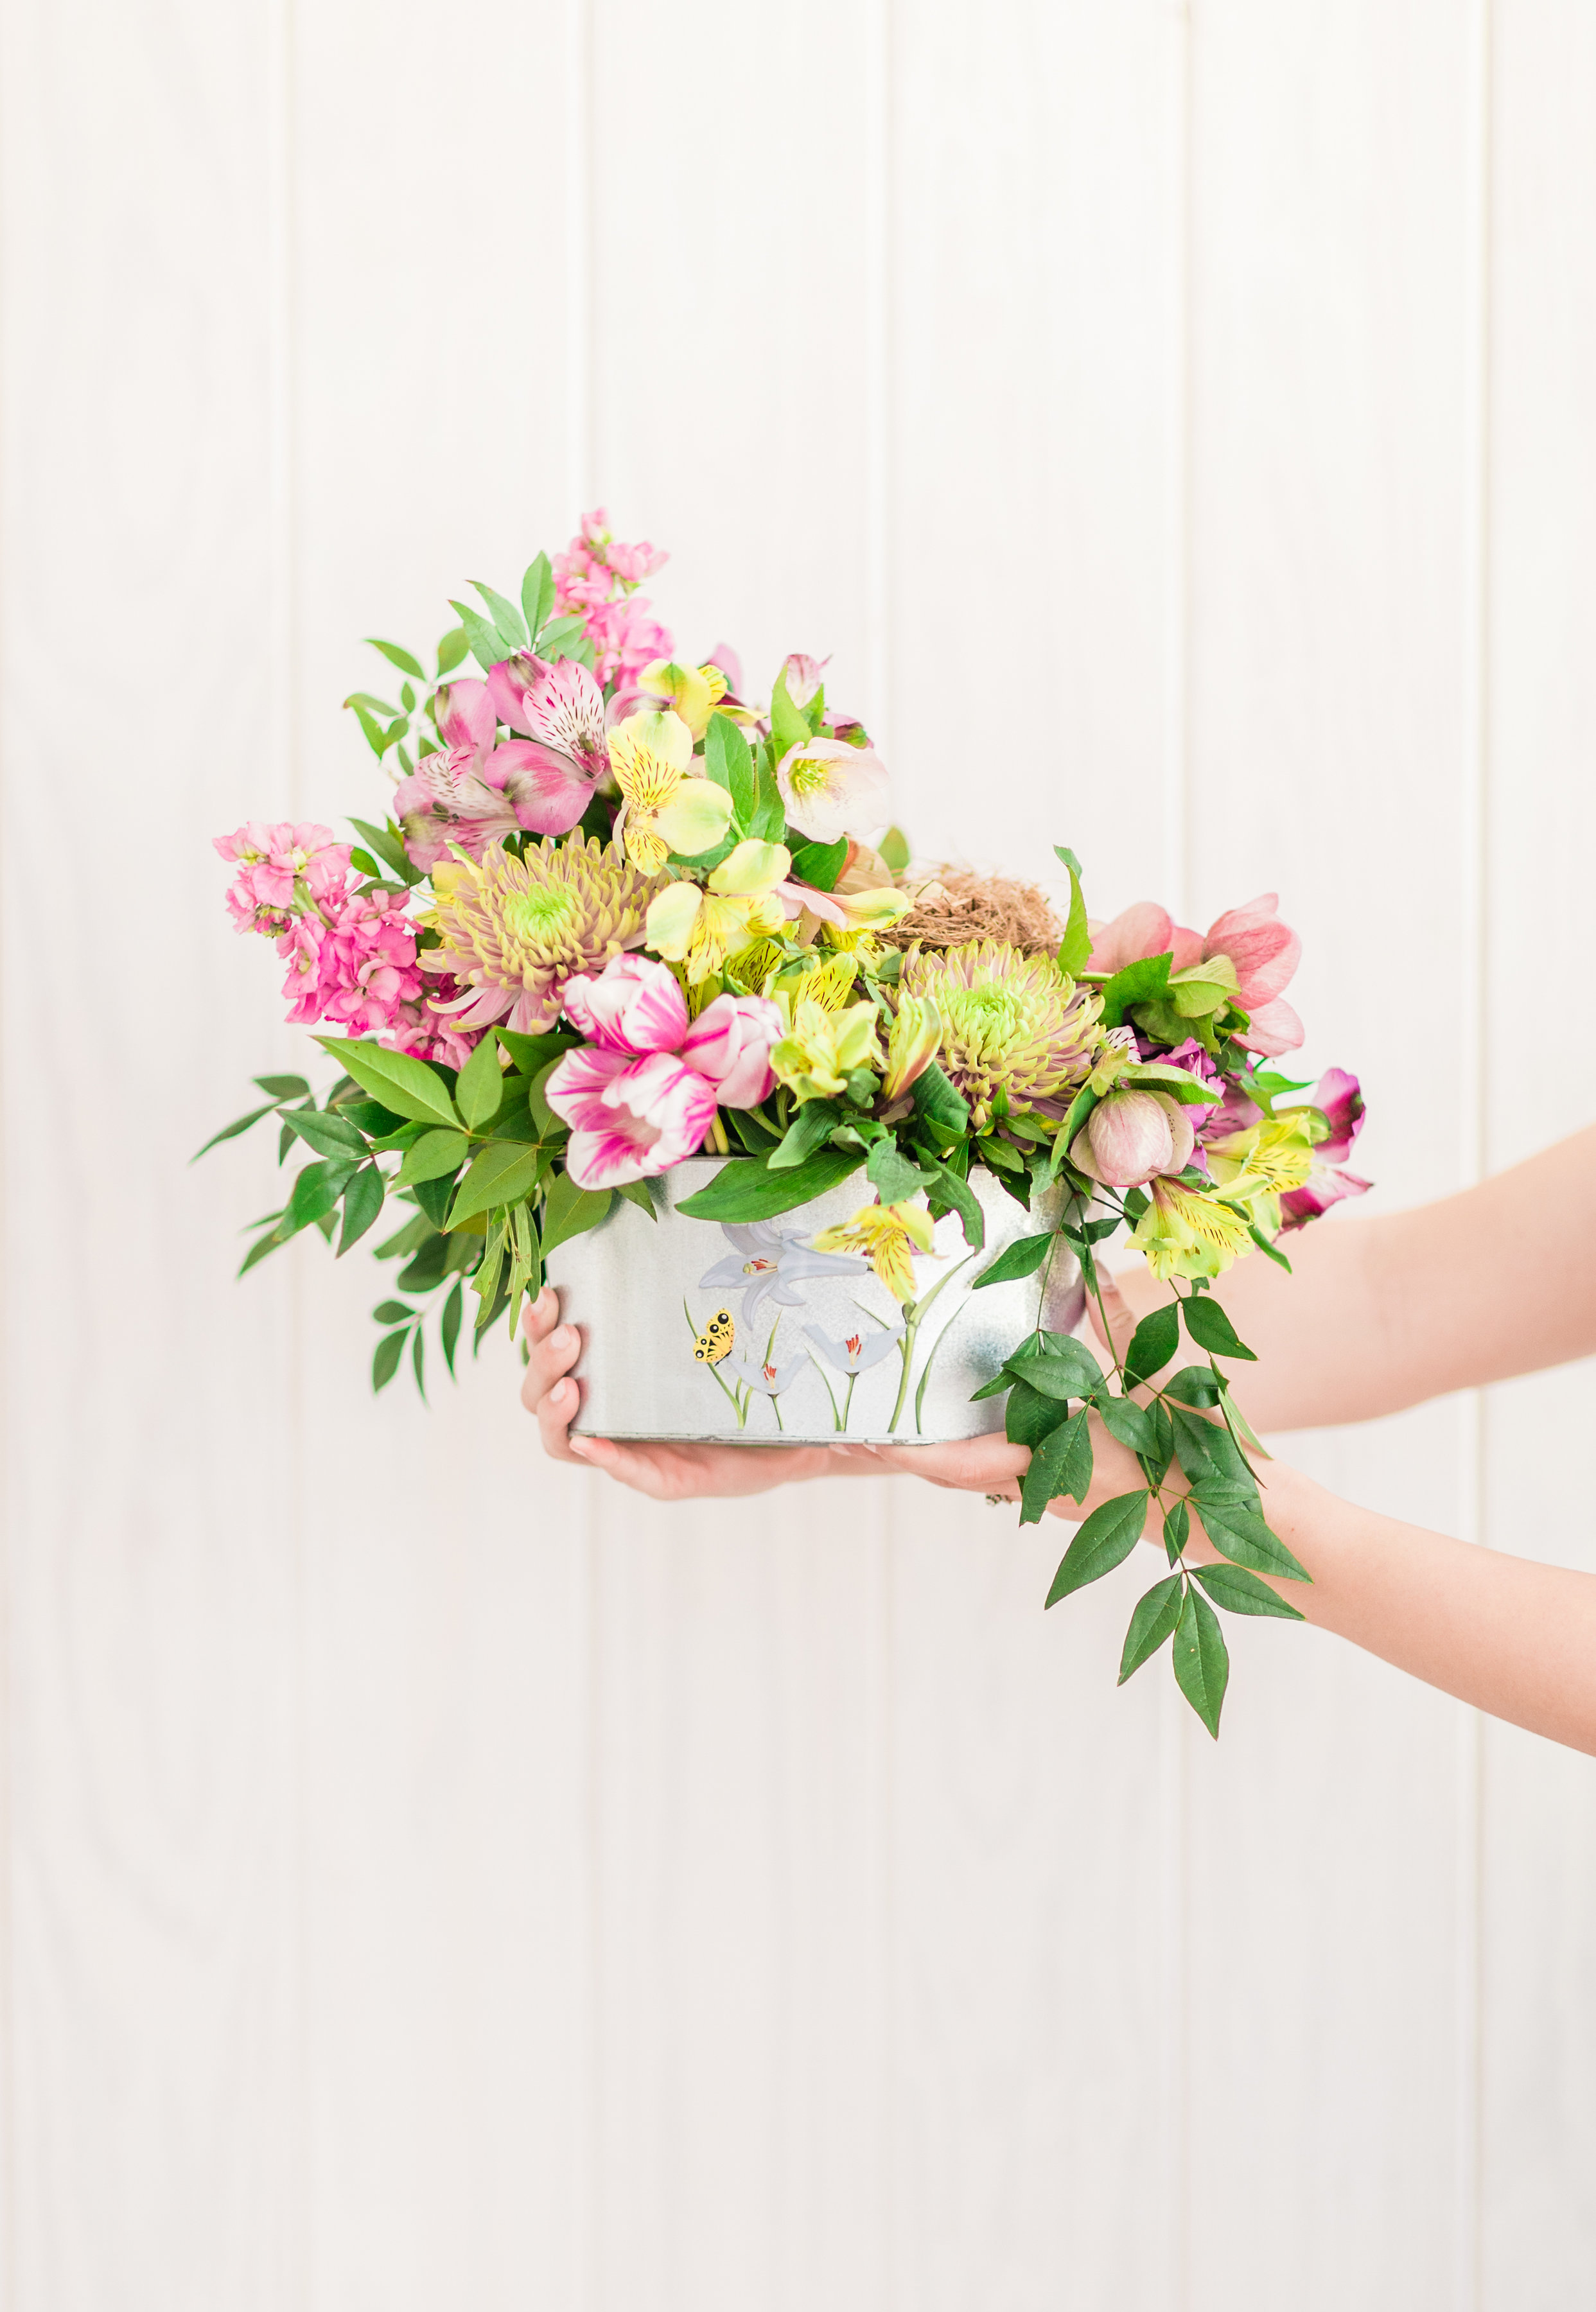
Yep, you CAN make a beautiful spring floral arrangement (or any seasonal arrangement for that matter!) with minimal effort, once you have a few handy floral arranging tricks up your sleeve.
How to Make a Beautiful Spring Floral Arrangement
For starters, always have a square or two of Oasis Foam on hand. You can get it at any Michaels or craft store, or on Amazon. (Amazon Prime, I love you.)
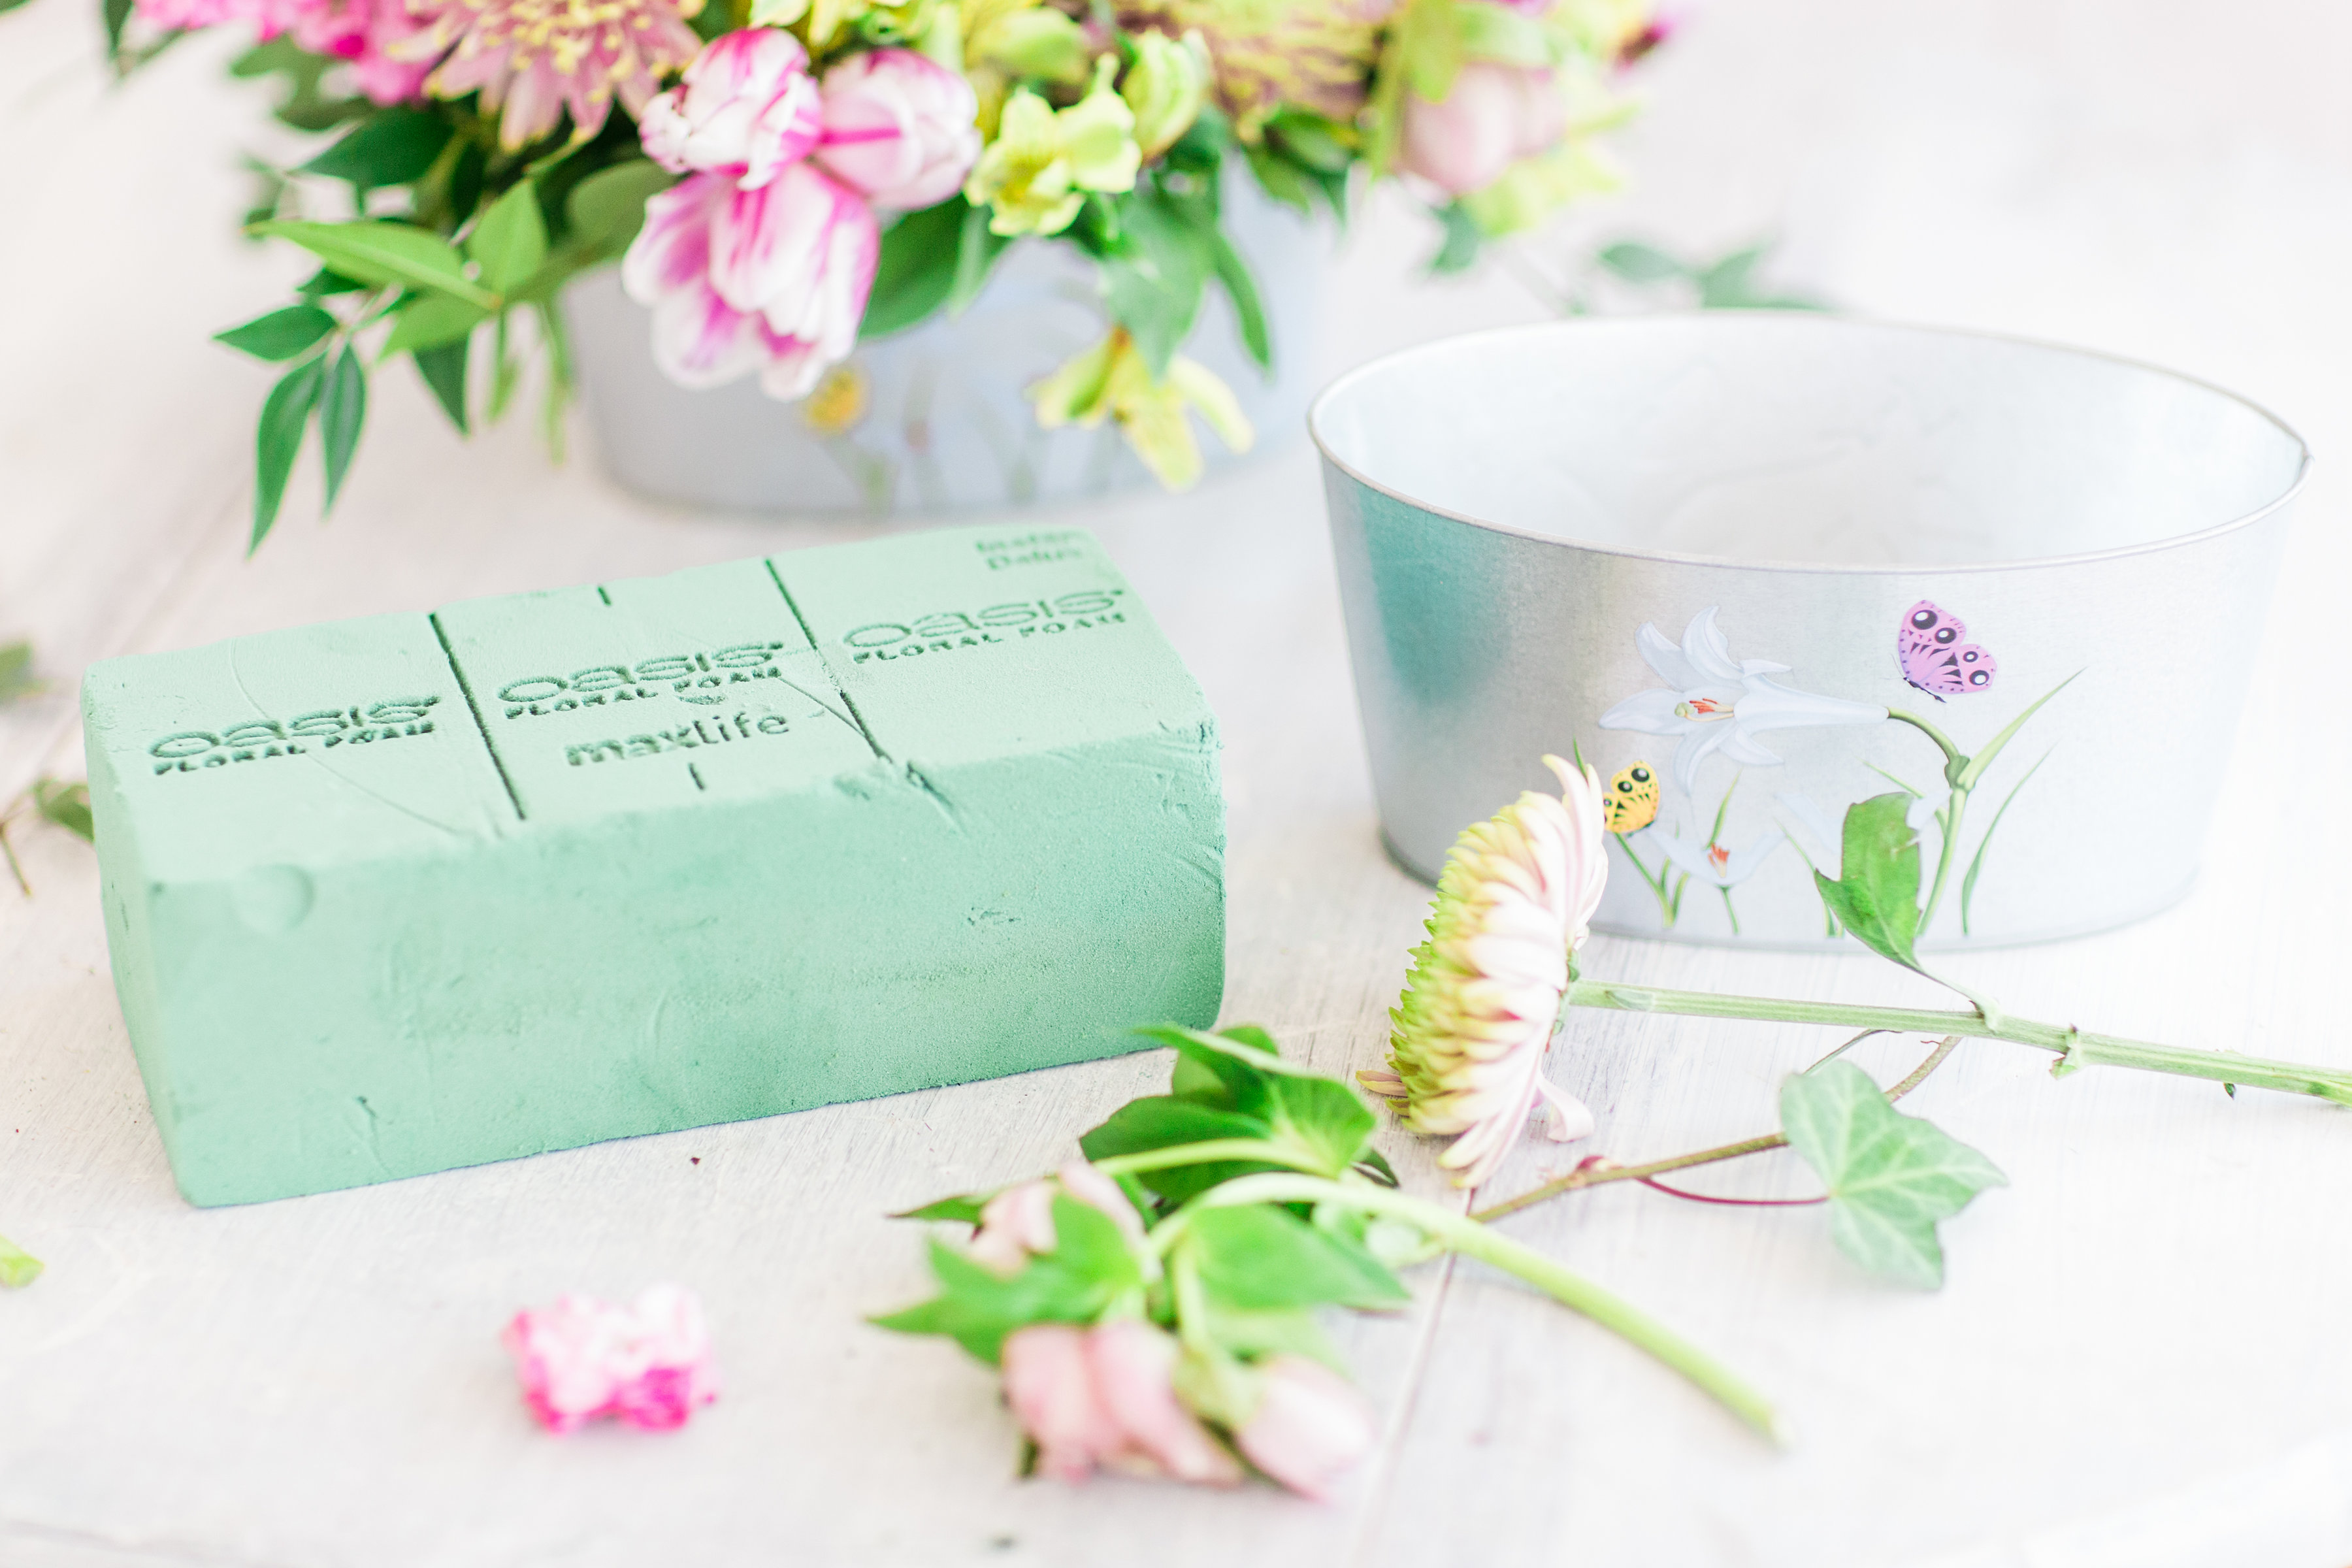
Then start collecting low/wide vases, baskets, and other containers that would work well to hold your simple centerpieces. The adorable metal tin you see in these pictures – Marsha found them at the Dollar Store! I kid you not. (Loving this vintage-inspired option as well!)
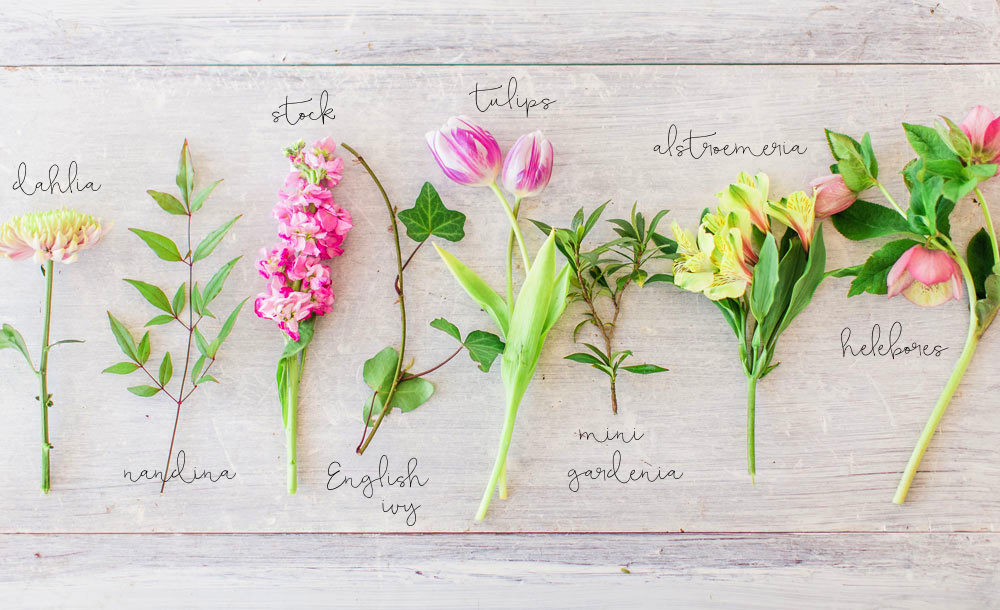
For this Spring floral arrangement, we used (from left to right) Dahlia, Nandina, Stock, English Ivy, Tulip, Mini Gardenia, Alstromeria, and Helebores.
How to Choose Flowers for a Floral Arrangement
Marsha’s suggestion is to head into your favorite grocery store – Trader Joe’s, Fresh market, and Whole Foods typically have nice flowers, and local farmers markets are even better – and try to pick flowers that fit in a color scheme or have complimentary colors that work well together.
Have fun with it, and choose flowers that you love.
Don’t forget a pack of greenery, like nandina, eucalyptus, english ivy, etc. Adding greenery really helps to make a floral arrangement pop.
You can also forage a bit in your neighborhood for any wild flowers, branches, greenery, etc. Get creative!

HOW TO MAKE A BEAUTIFUL FLORAL ARRANGEMENT
WHAT YOU’LL NEED:
Flowers
Greenery
Shears or Scissors
Oasis Foam
Vase*
Bird’s Nest (optional)
*If you’re looking for something similar to the tin vase we used, I love this vintage-inspired option on Amazon.
HOW TO:
Wet your oasis foam brick and cut to fit vase.
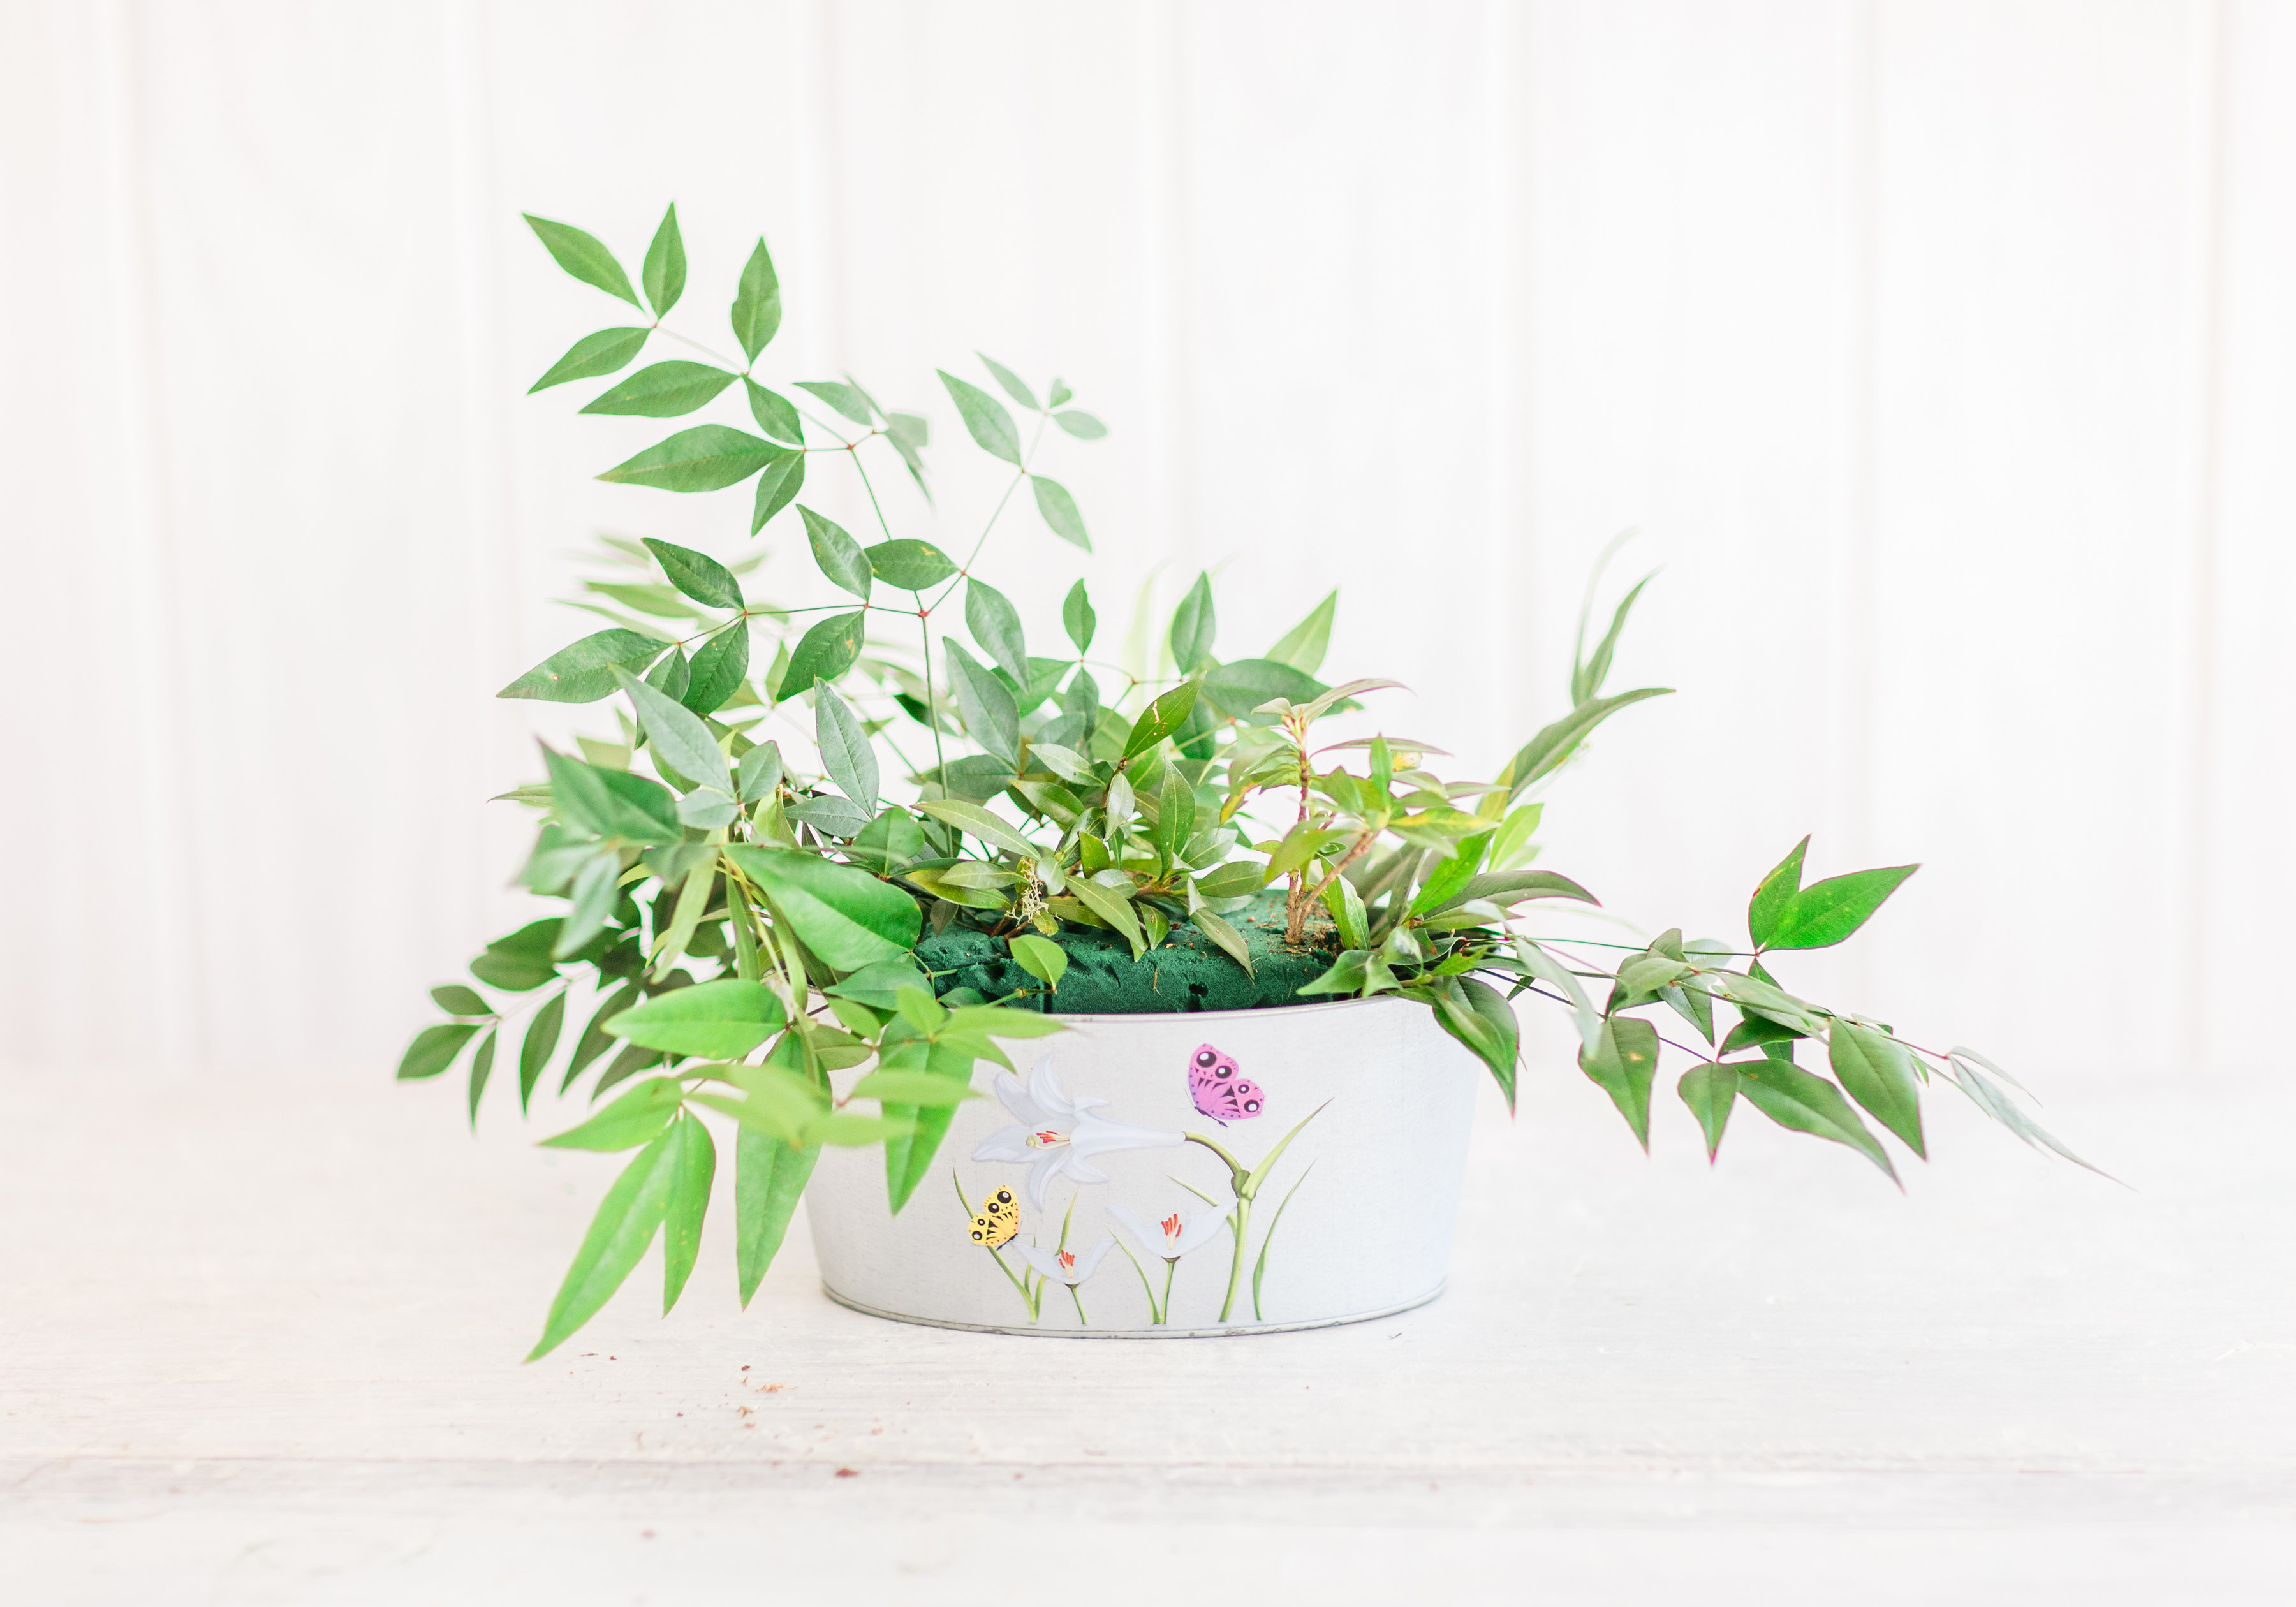
Begin by placing/inserting greenery (with the goal of eventually covering the Oasis foam). Marsha taught us to make the greenery and florals higher on one side, to add dimension and interest.
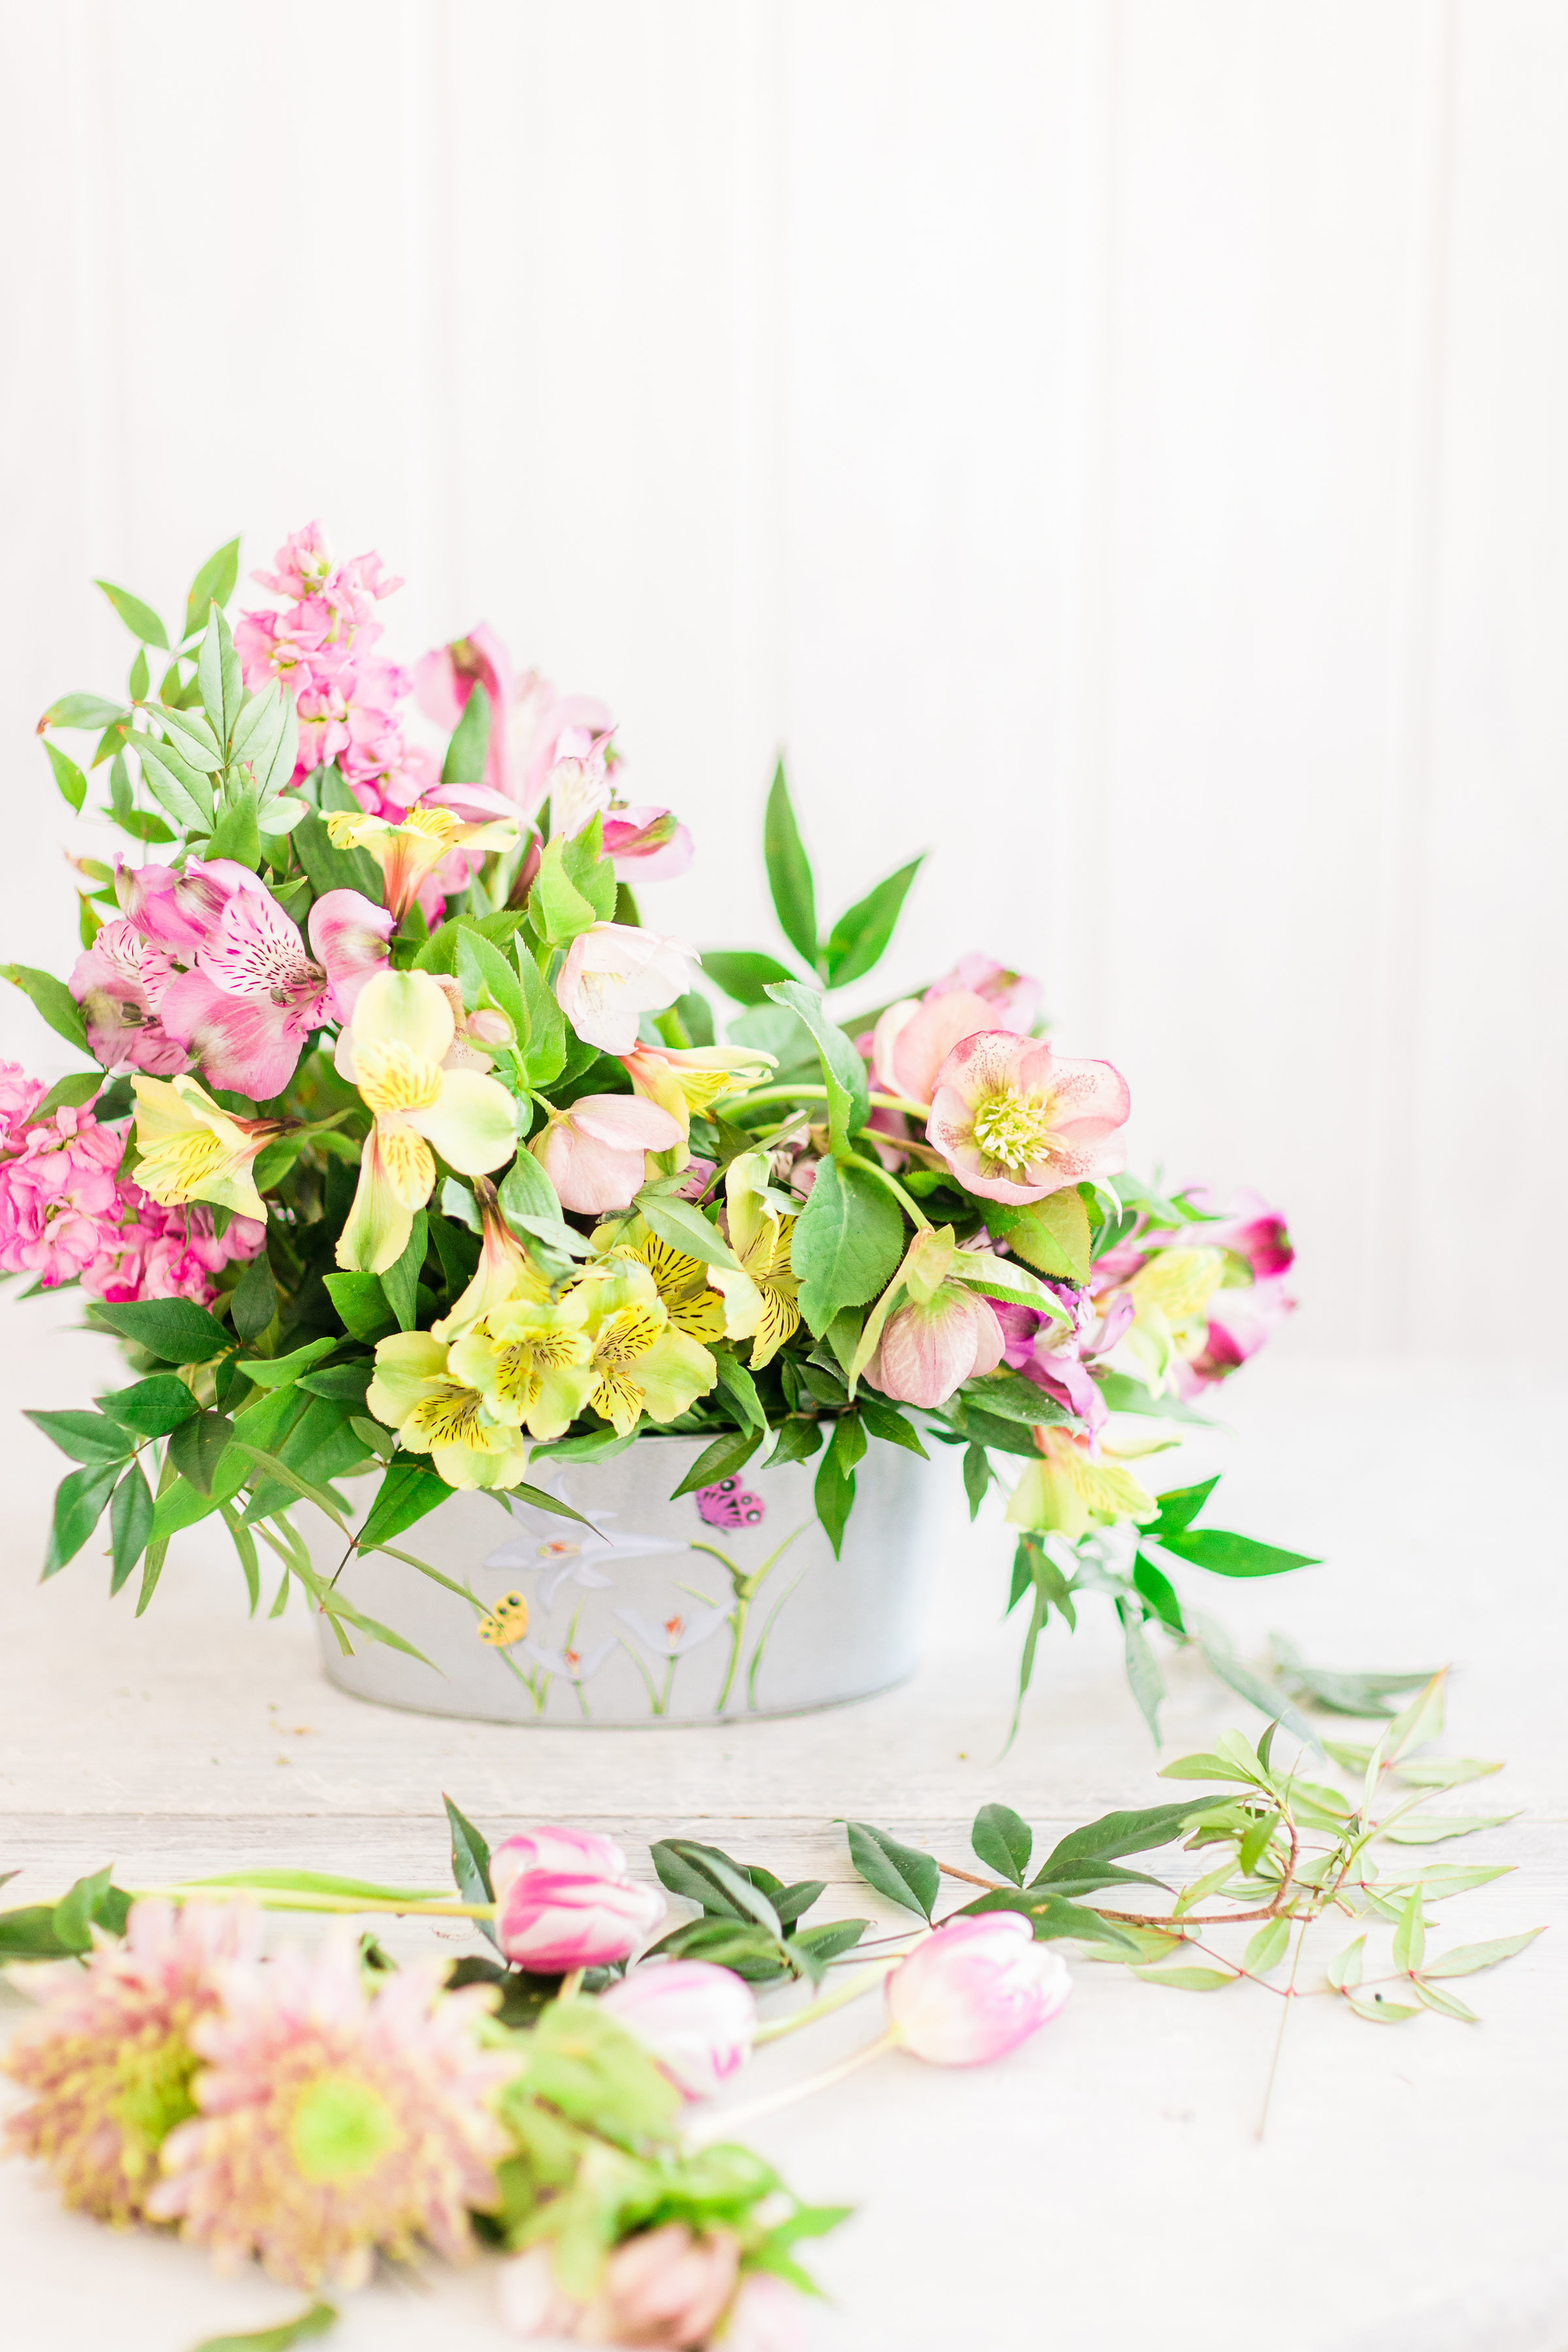
You’ll then follow the same pattern, placing/inserting one flower stem at a time, following the same line as the greenery. Fill in your flowers until the centerpiece looks full and lush.
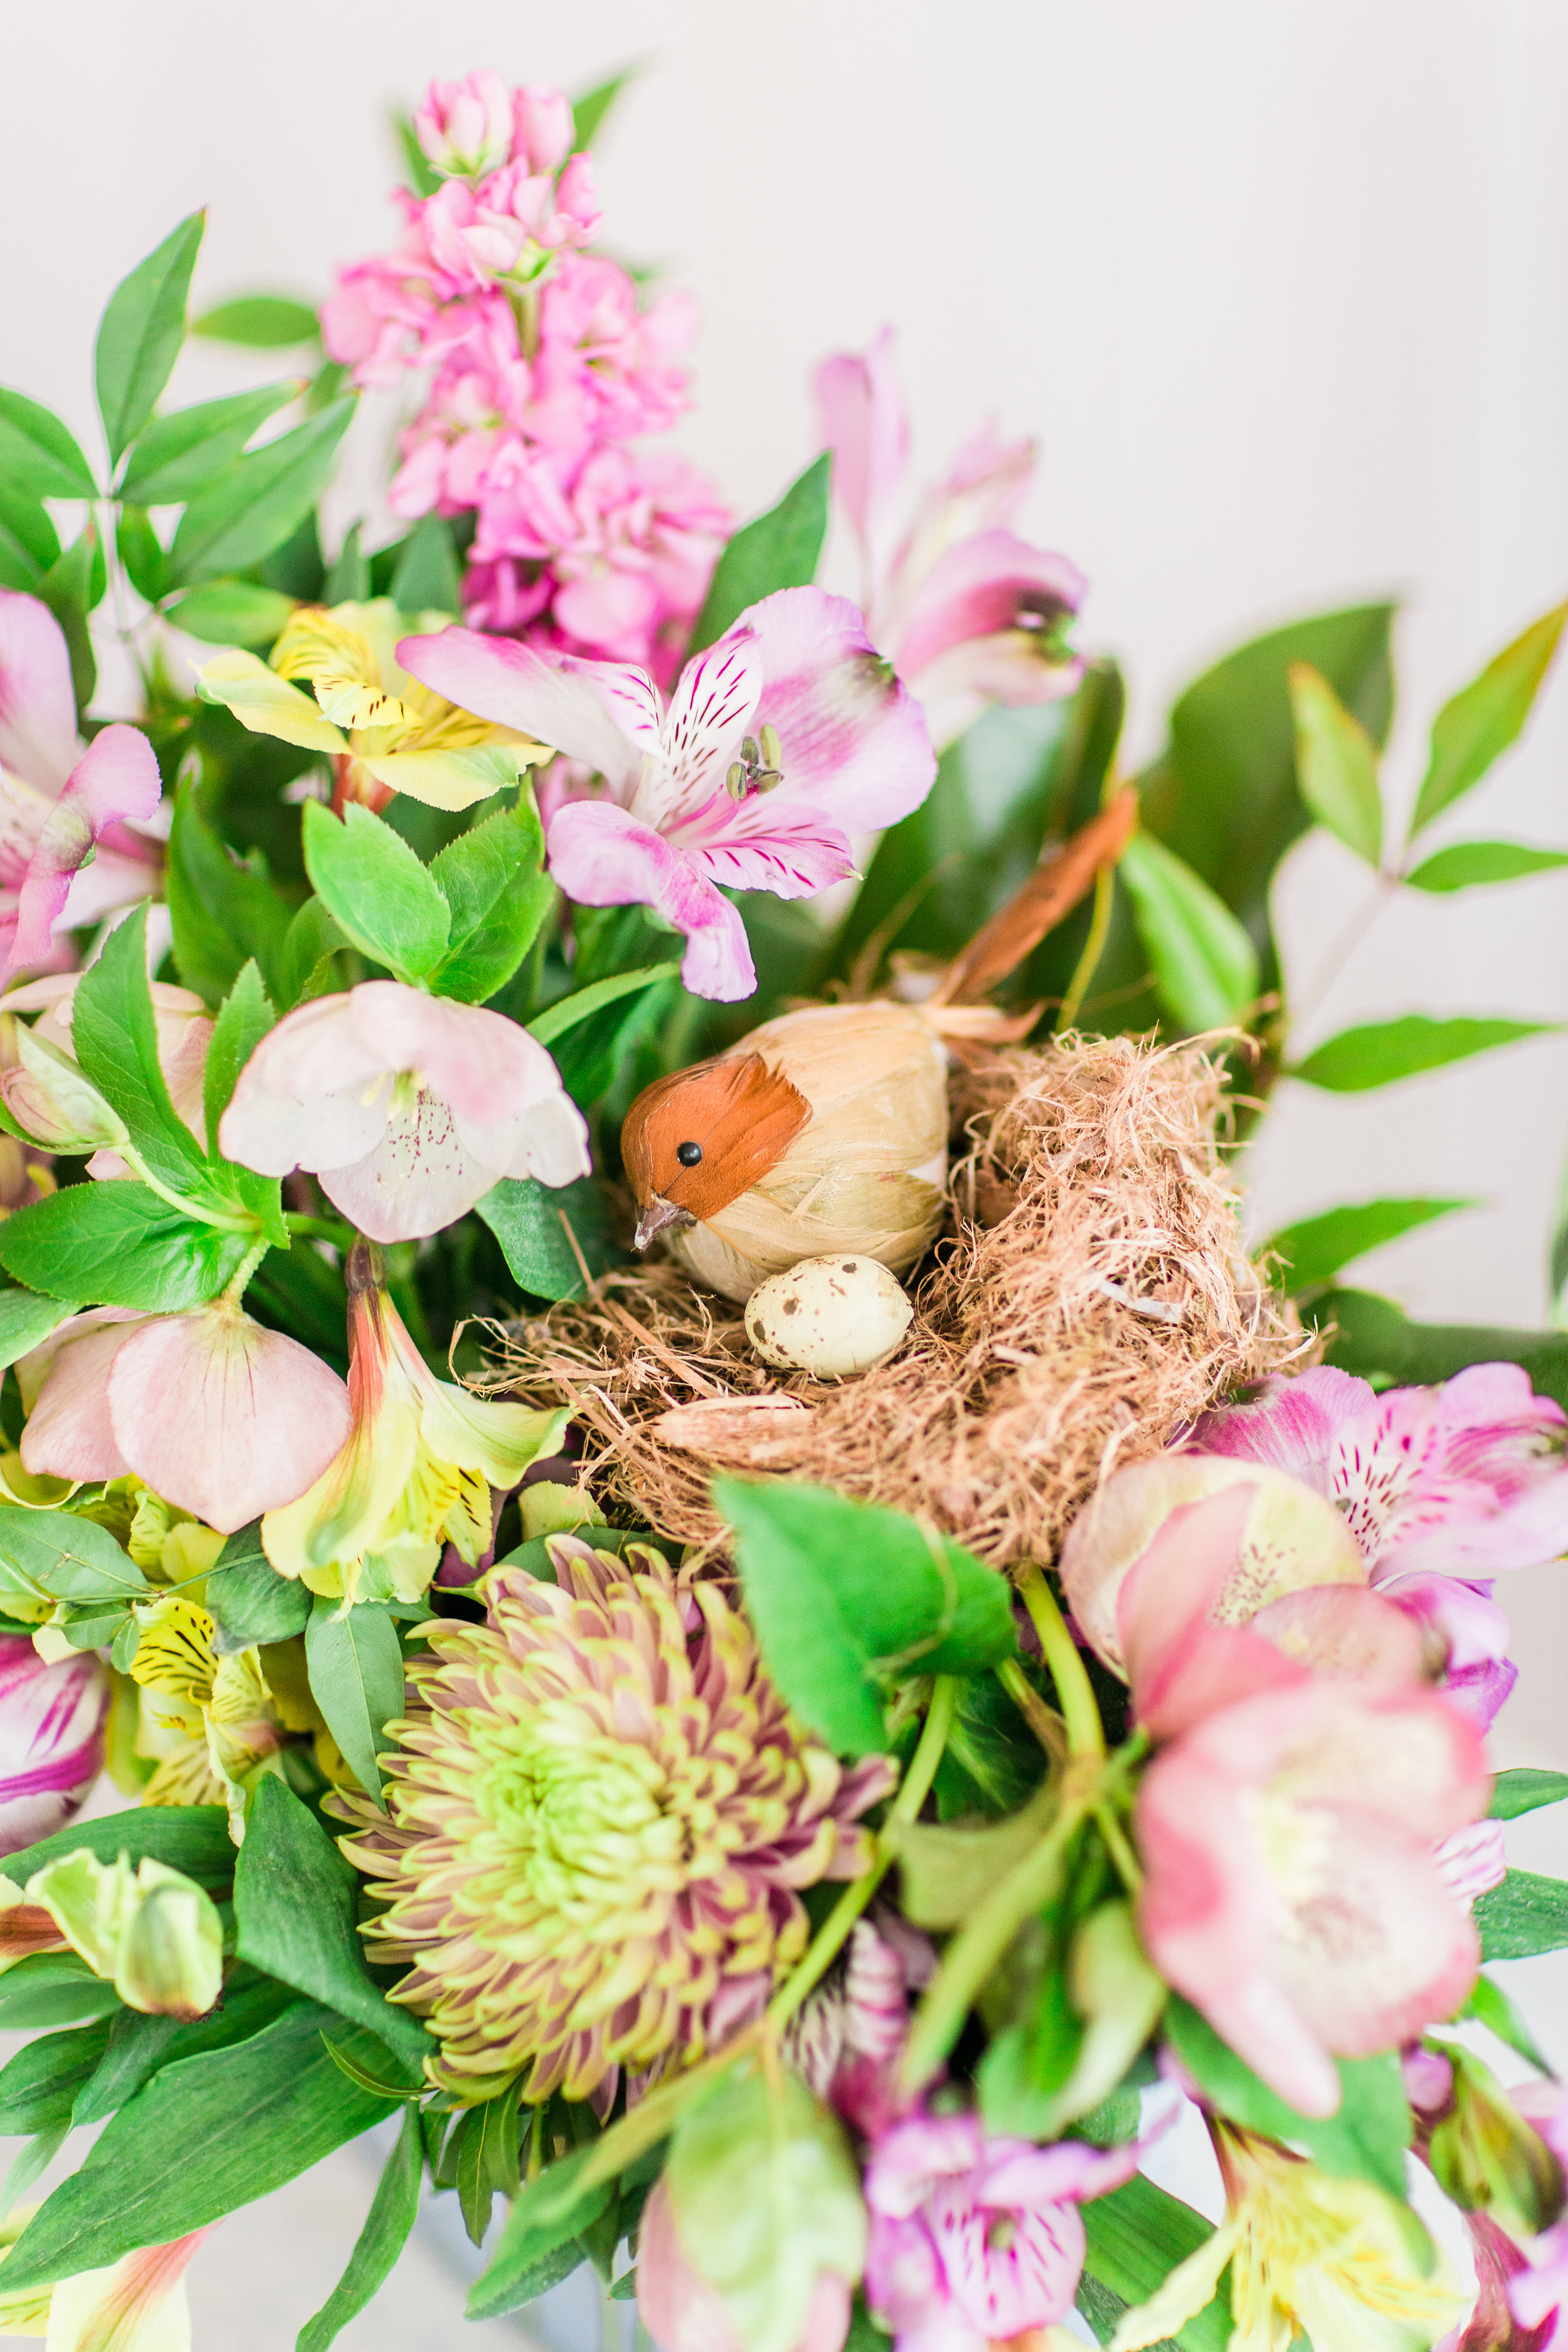
If you want this to have the full Spring-time effect, you can carefully nestle in a faux bird’s nest.
NOTE: If you use tulips, be sure to cut the stems very short, and expect them to hang over a bit after a day or two on display. Tulips actually continue to grow even after cut.

We break it down in photos below …
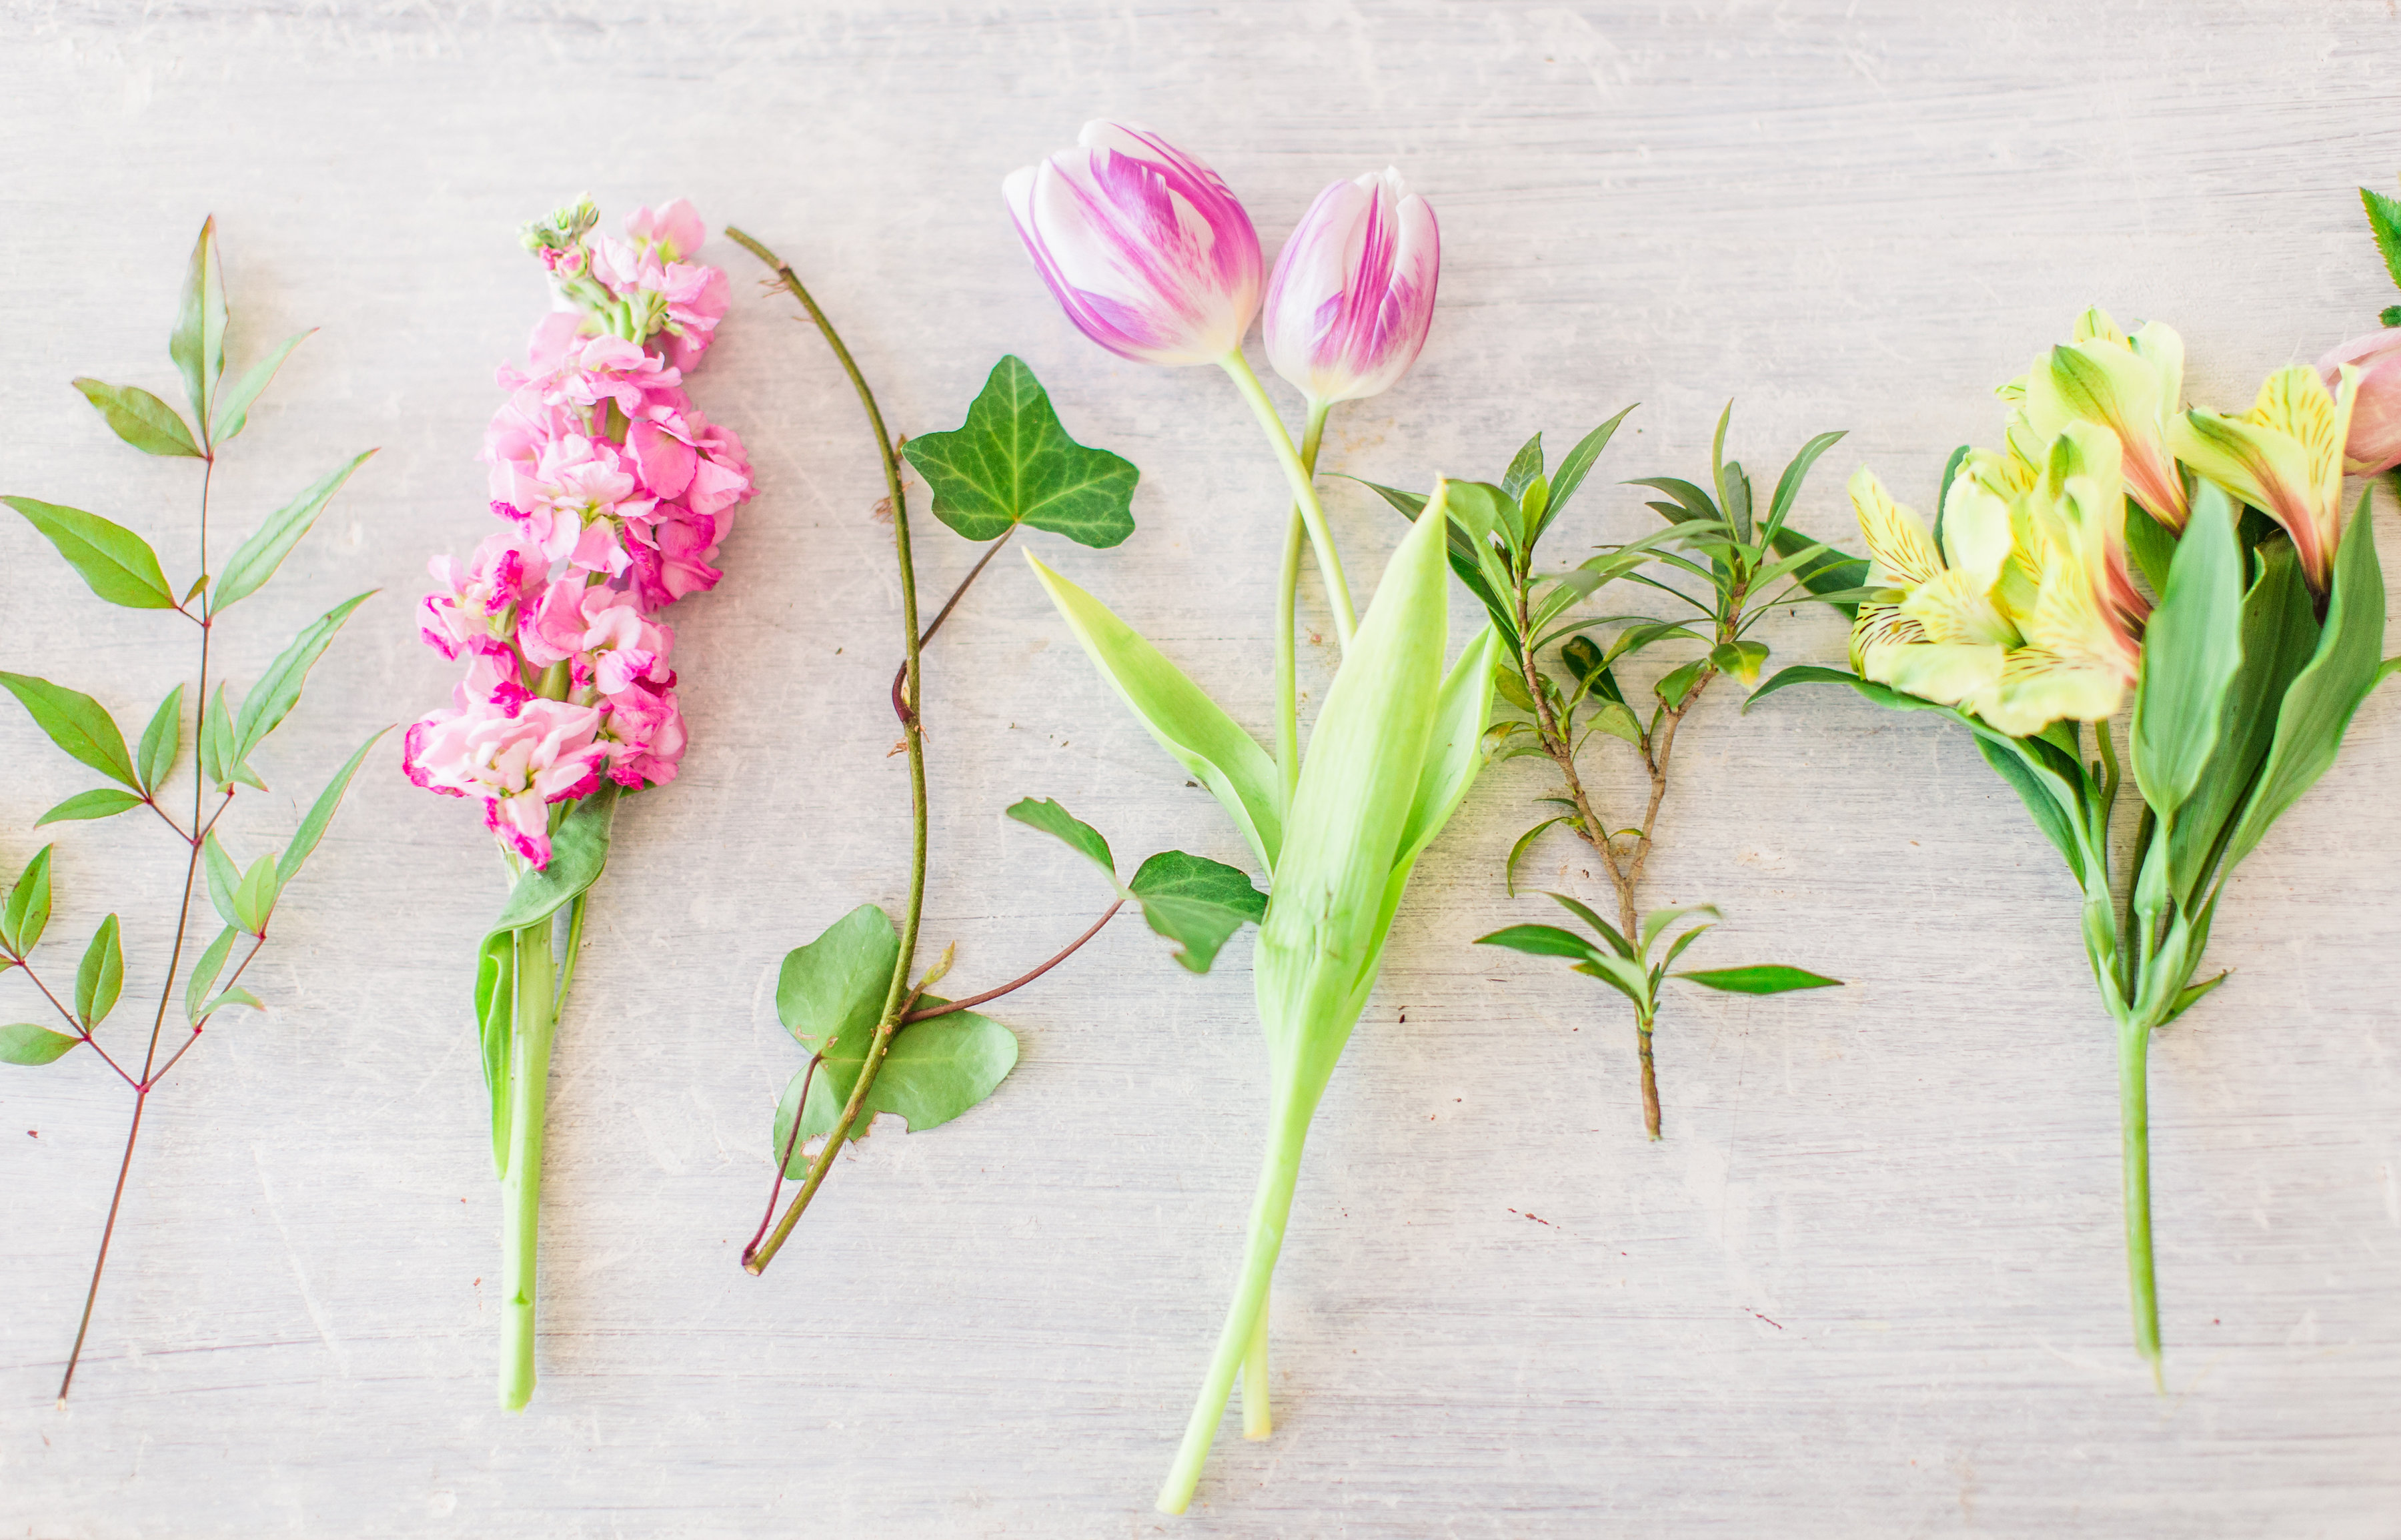
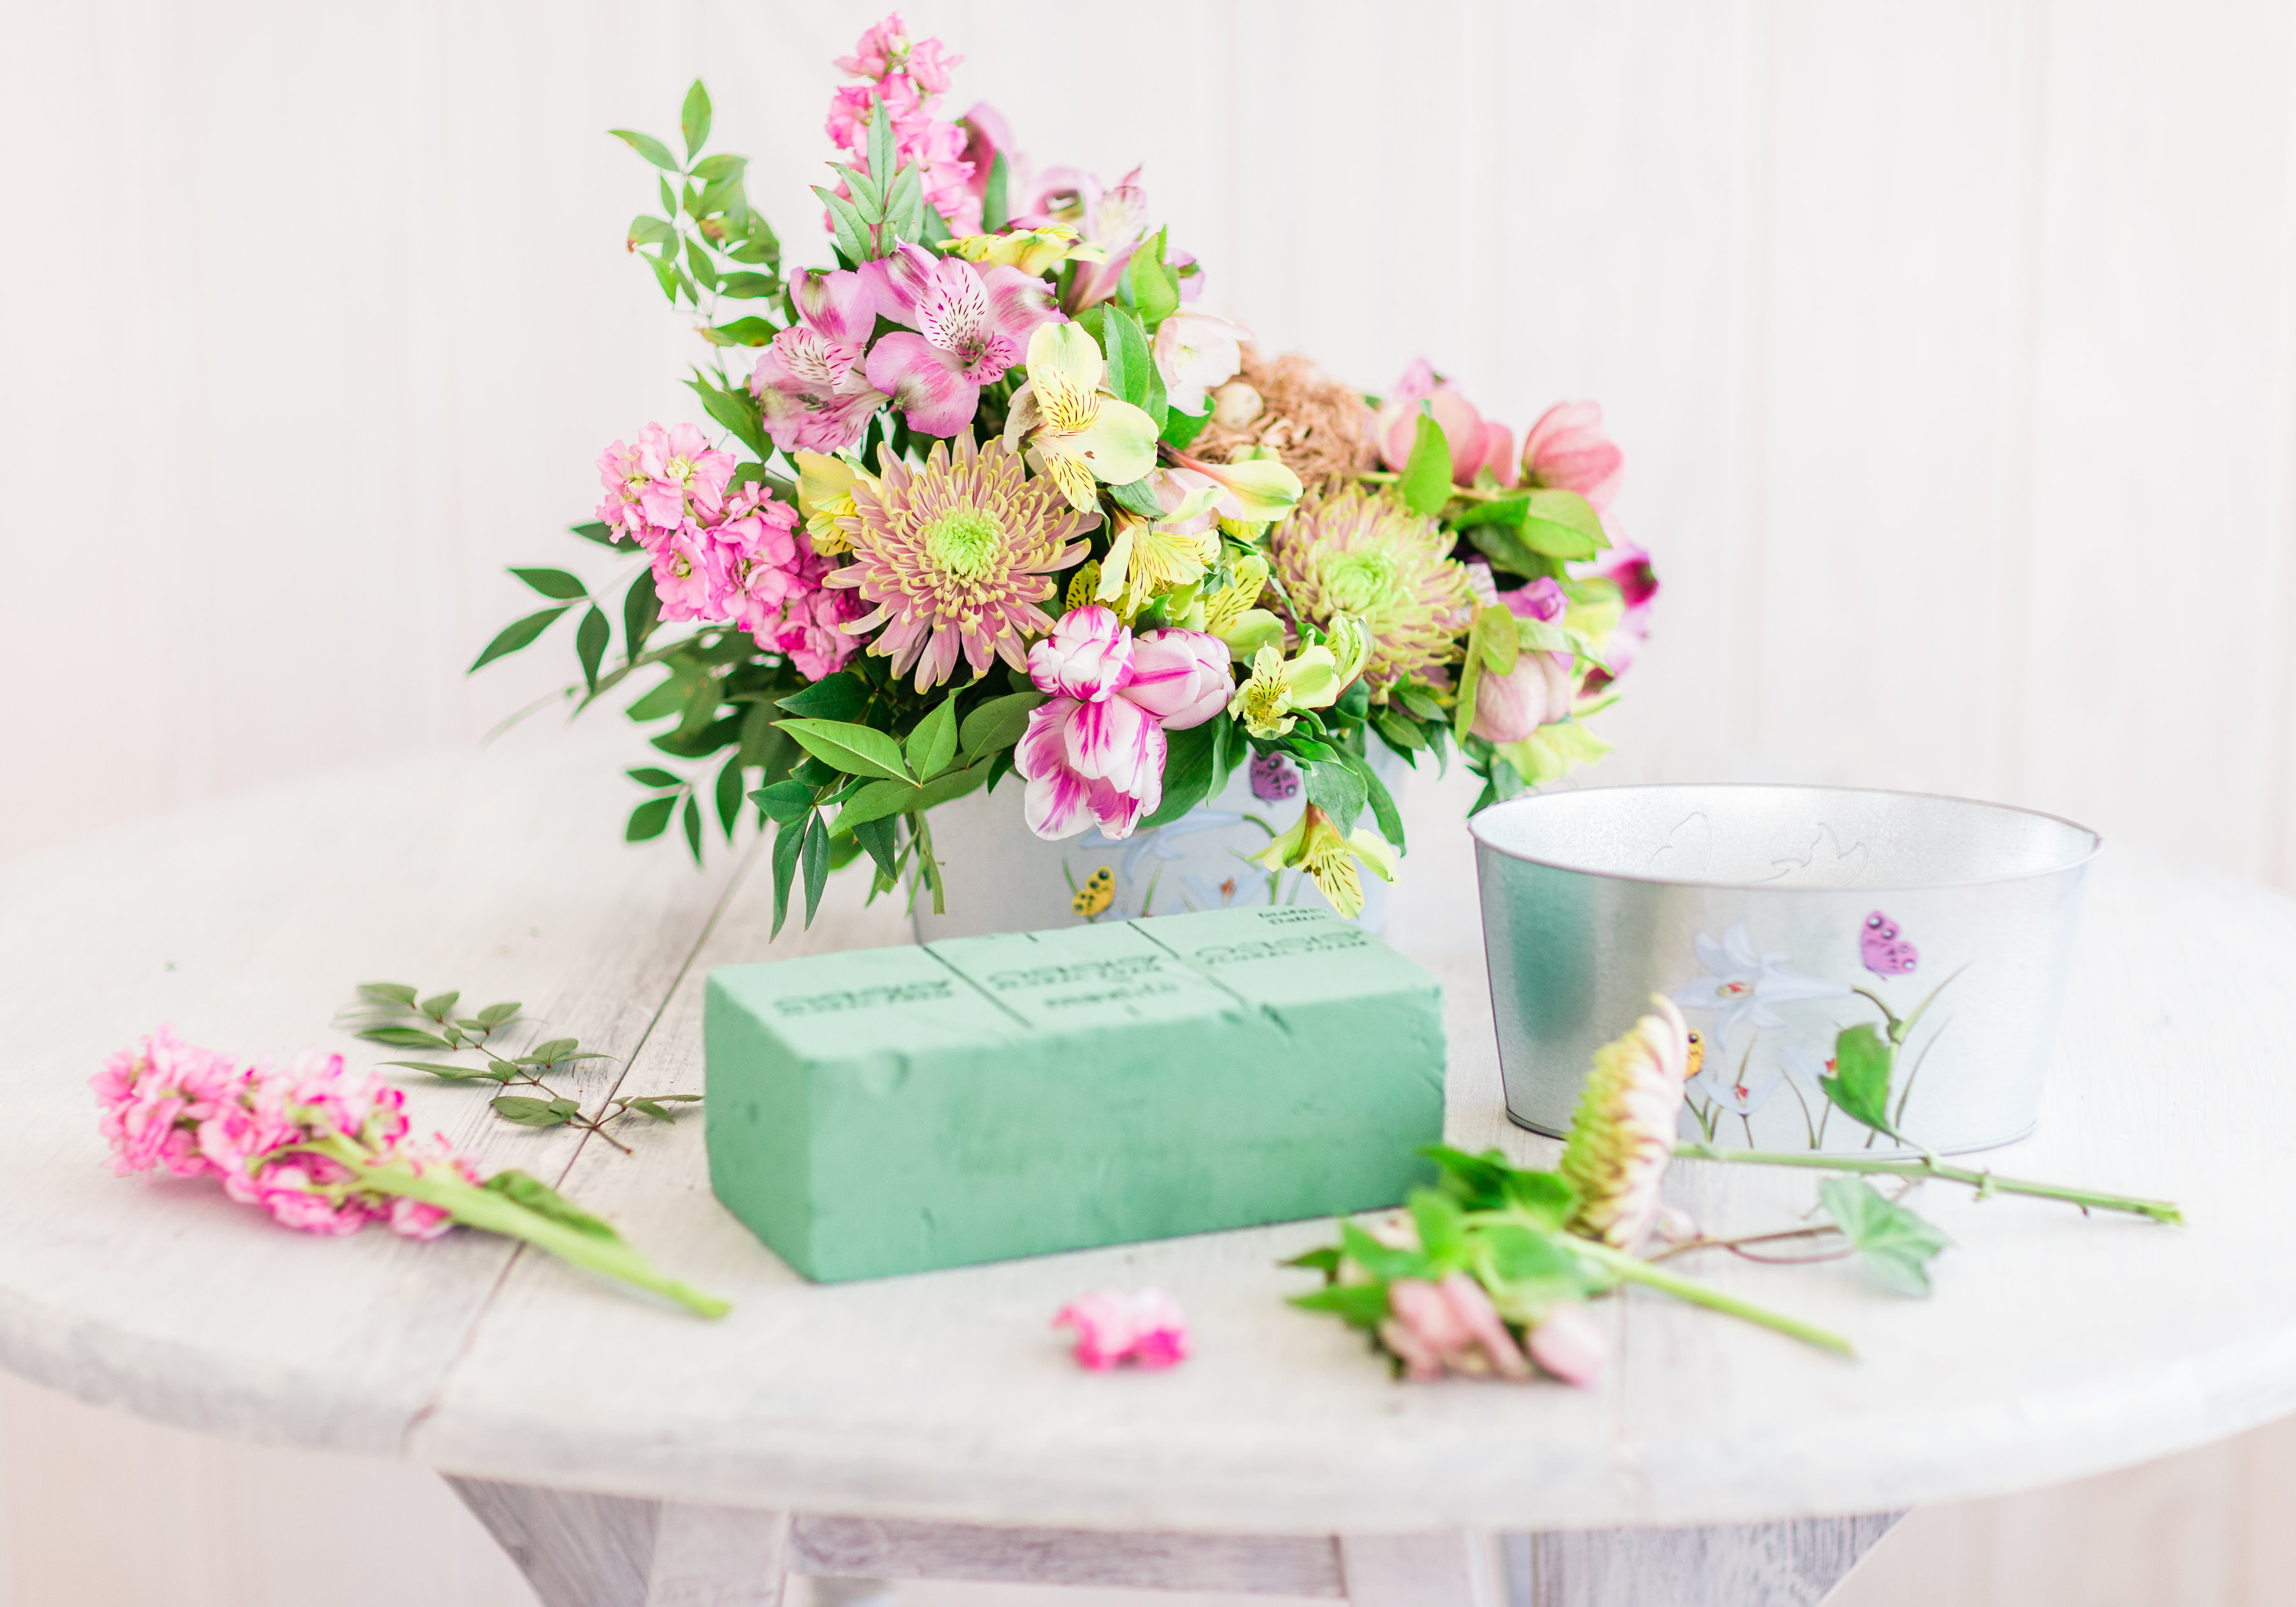
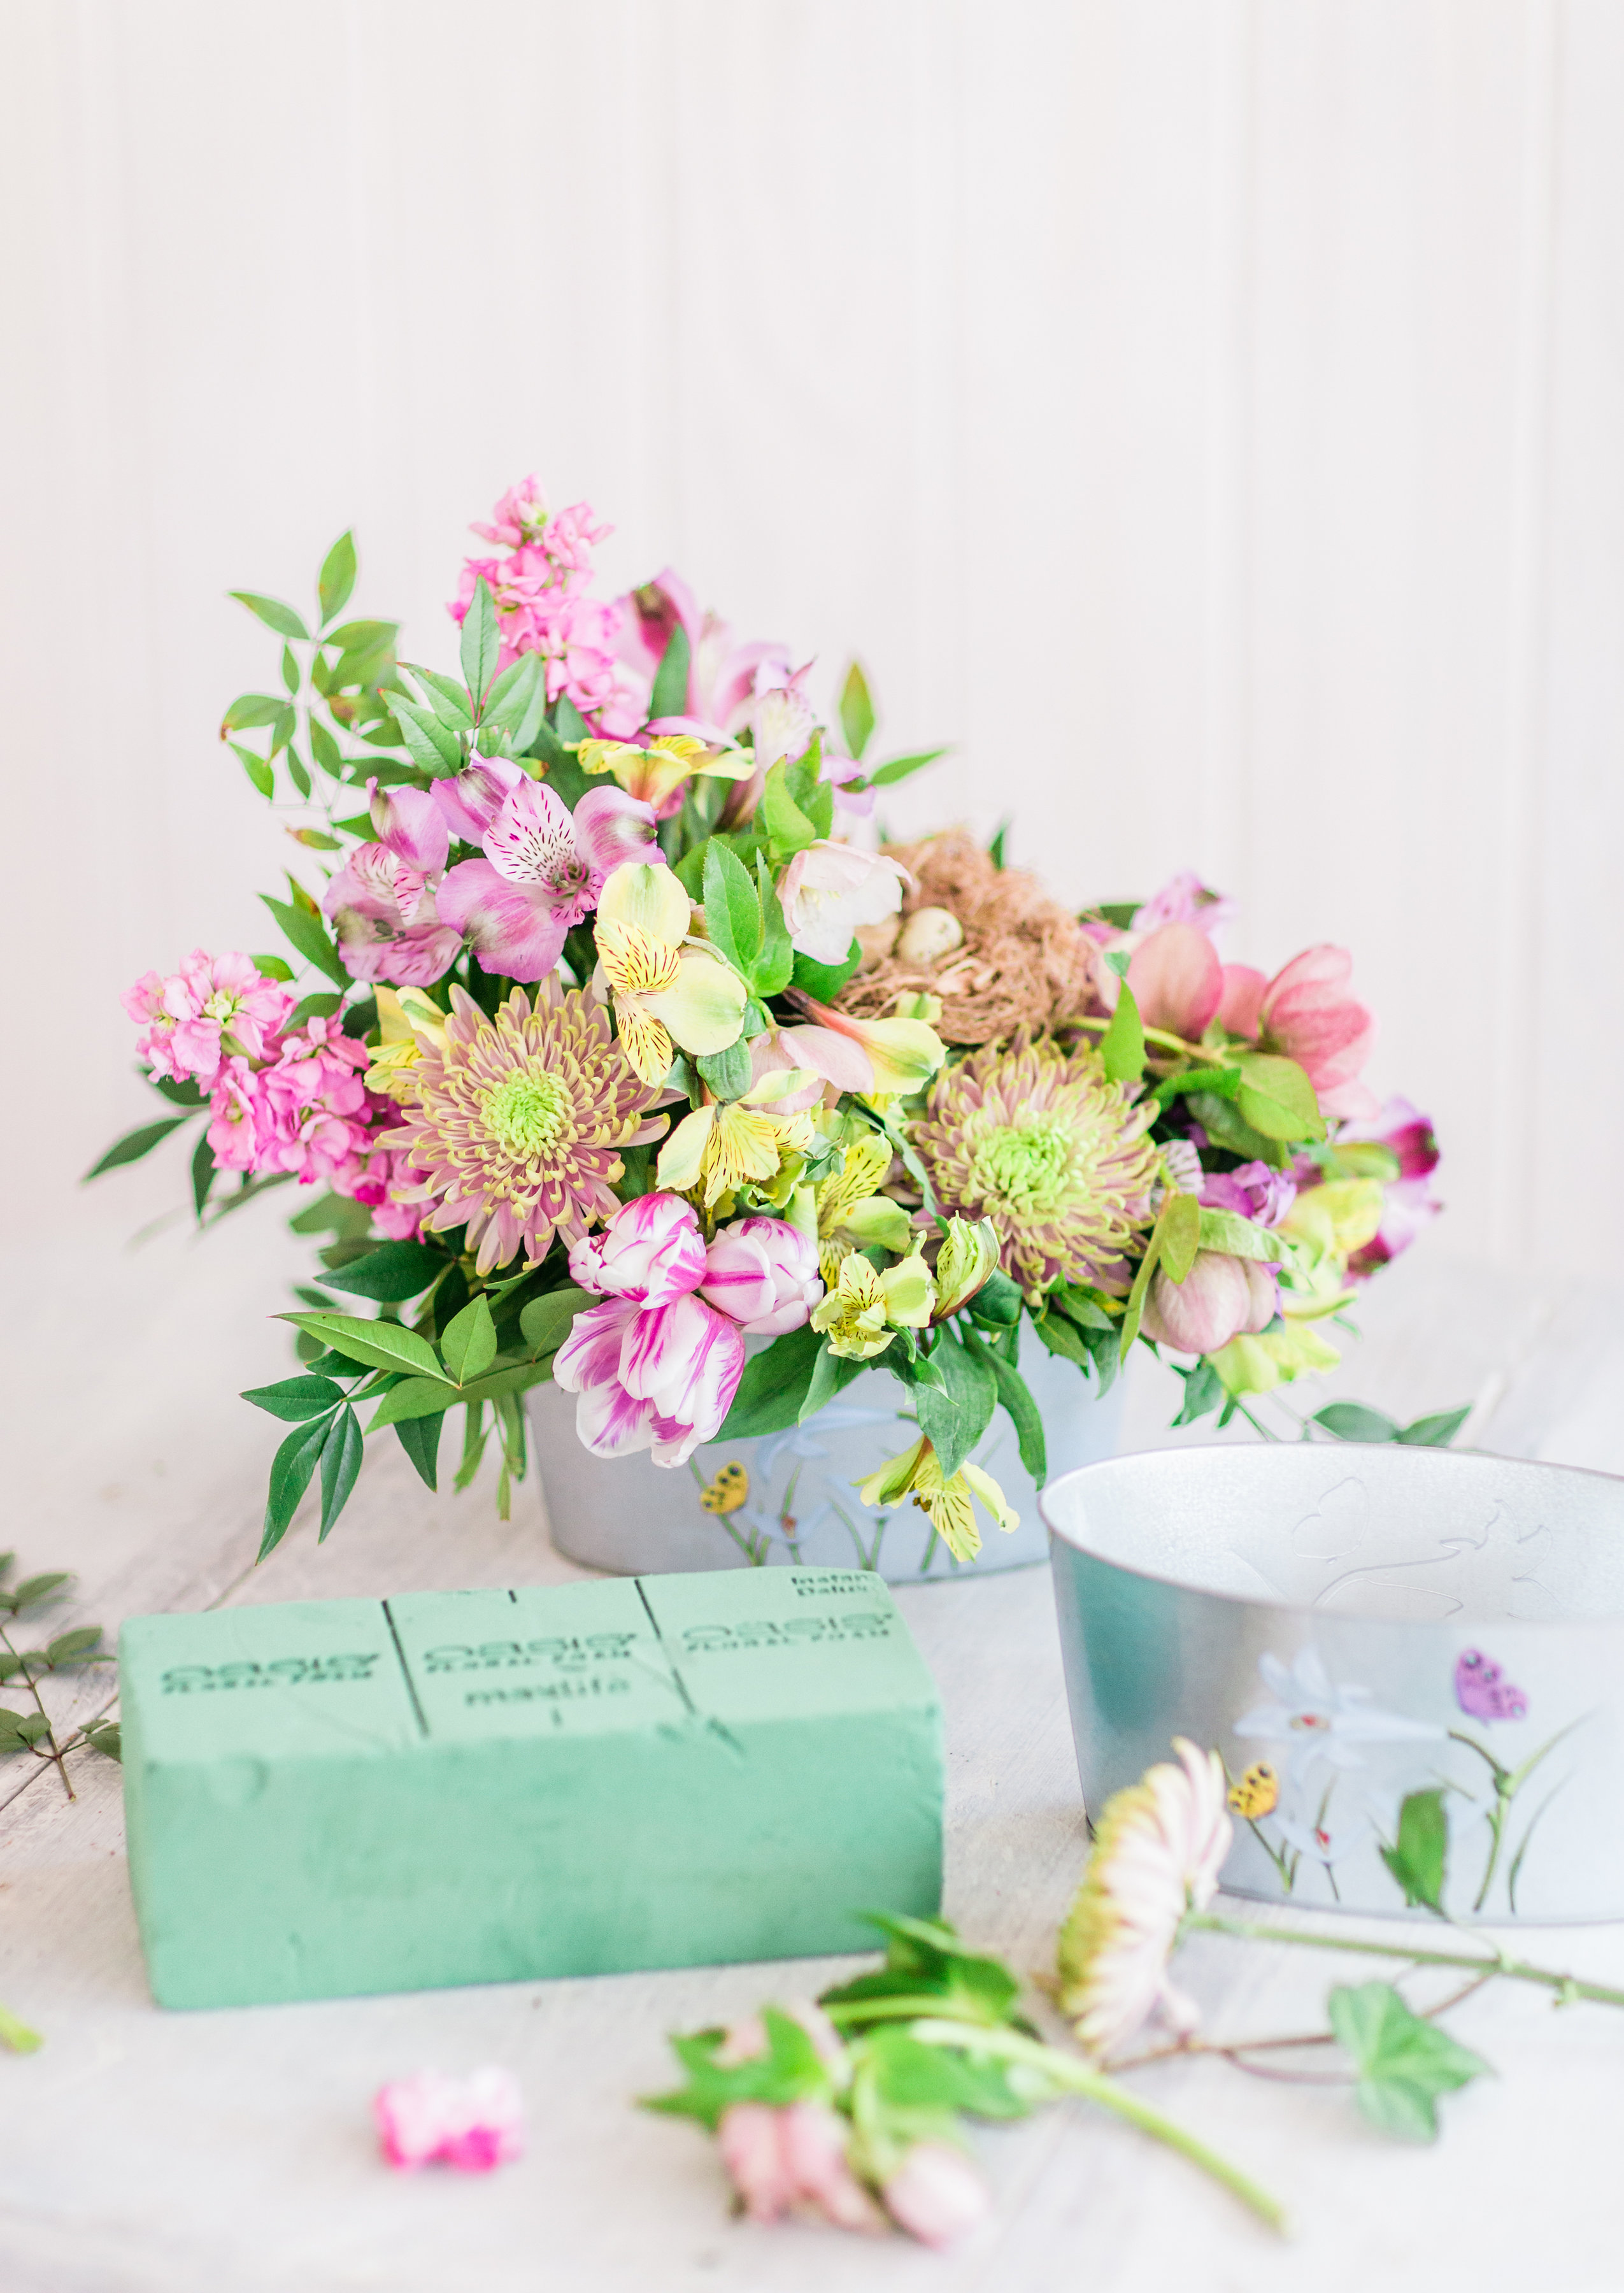
Gather everything you’ll need.
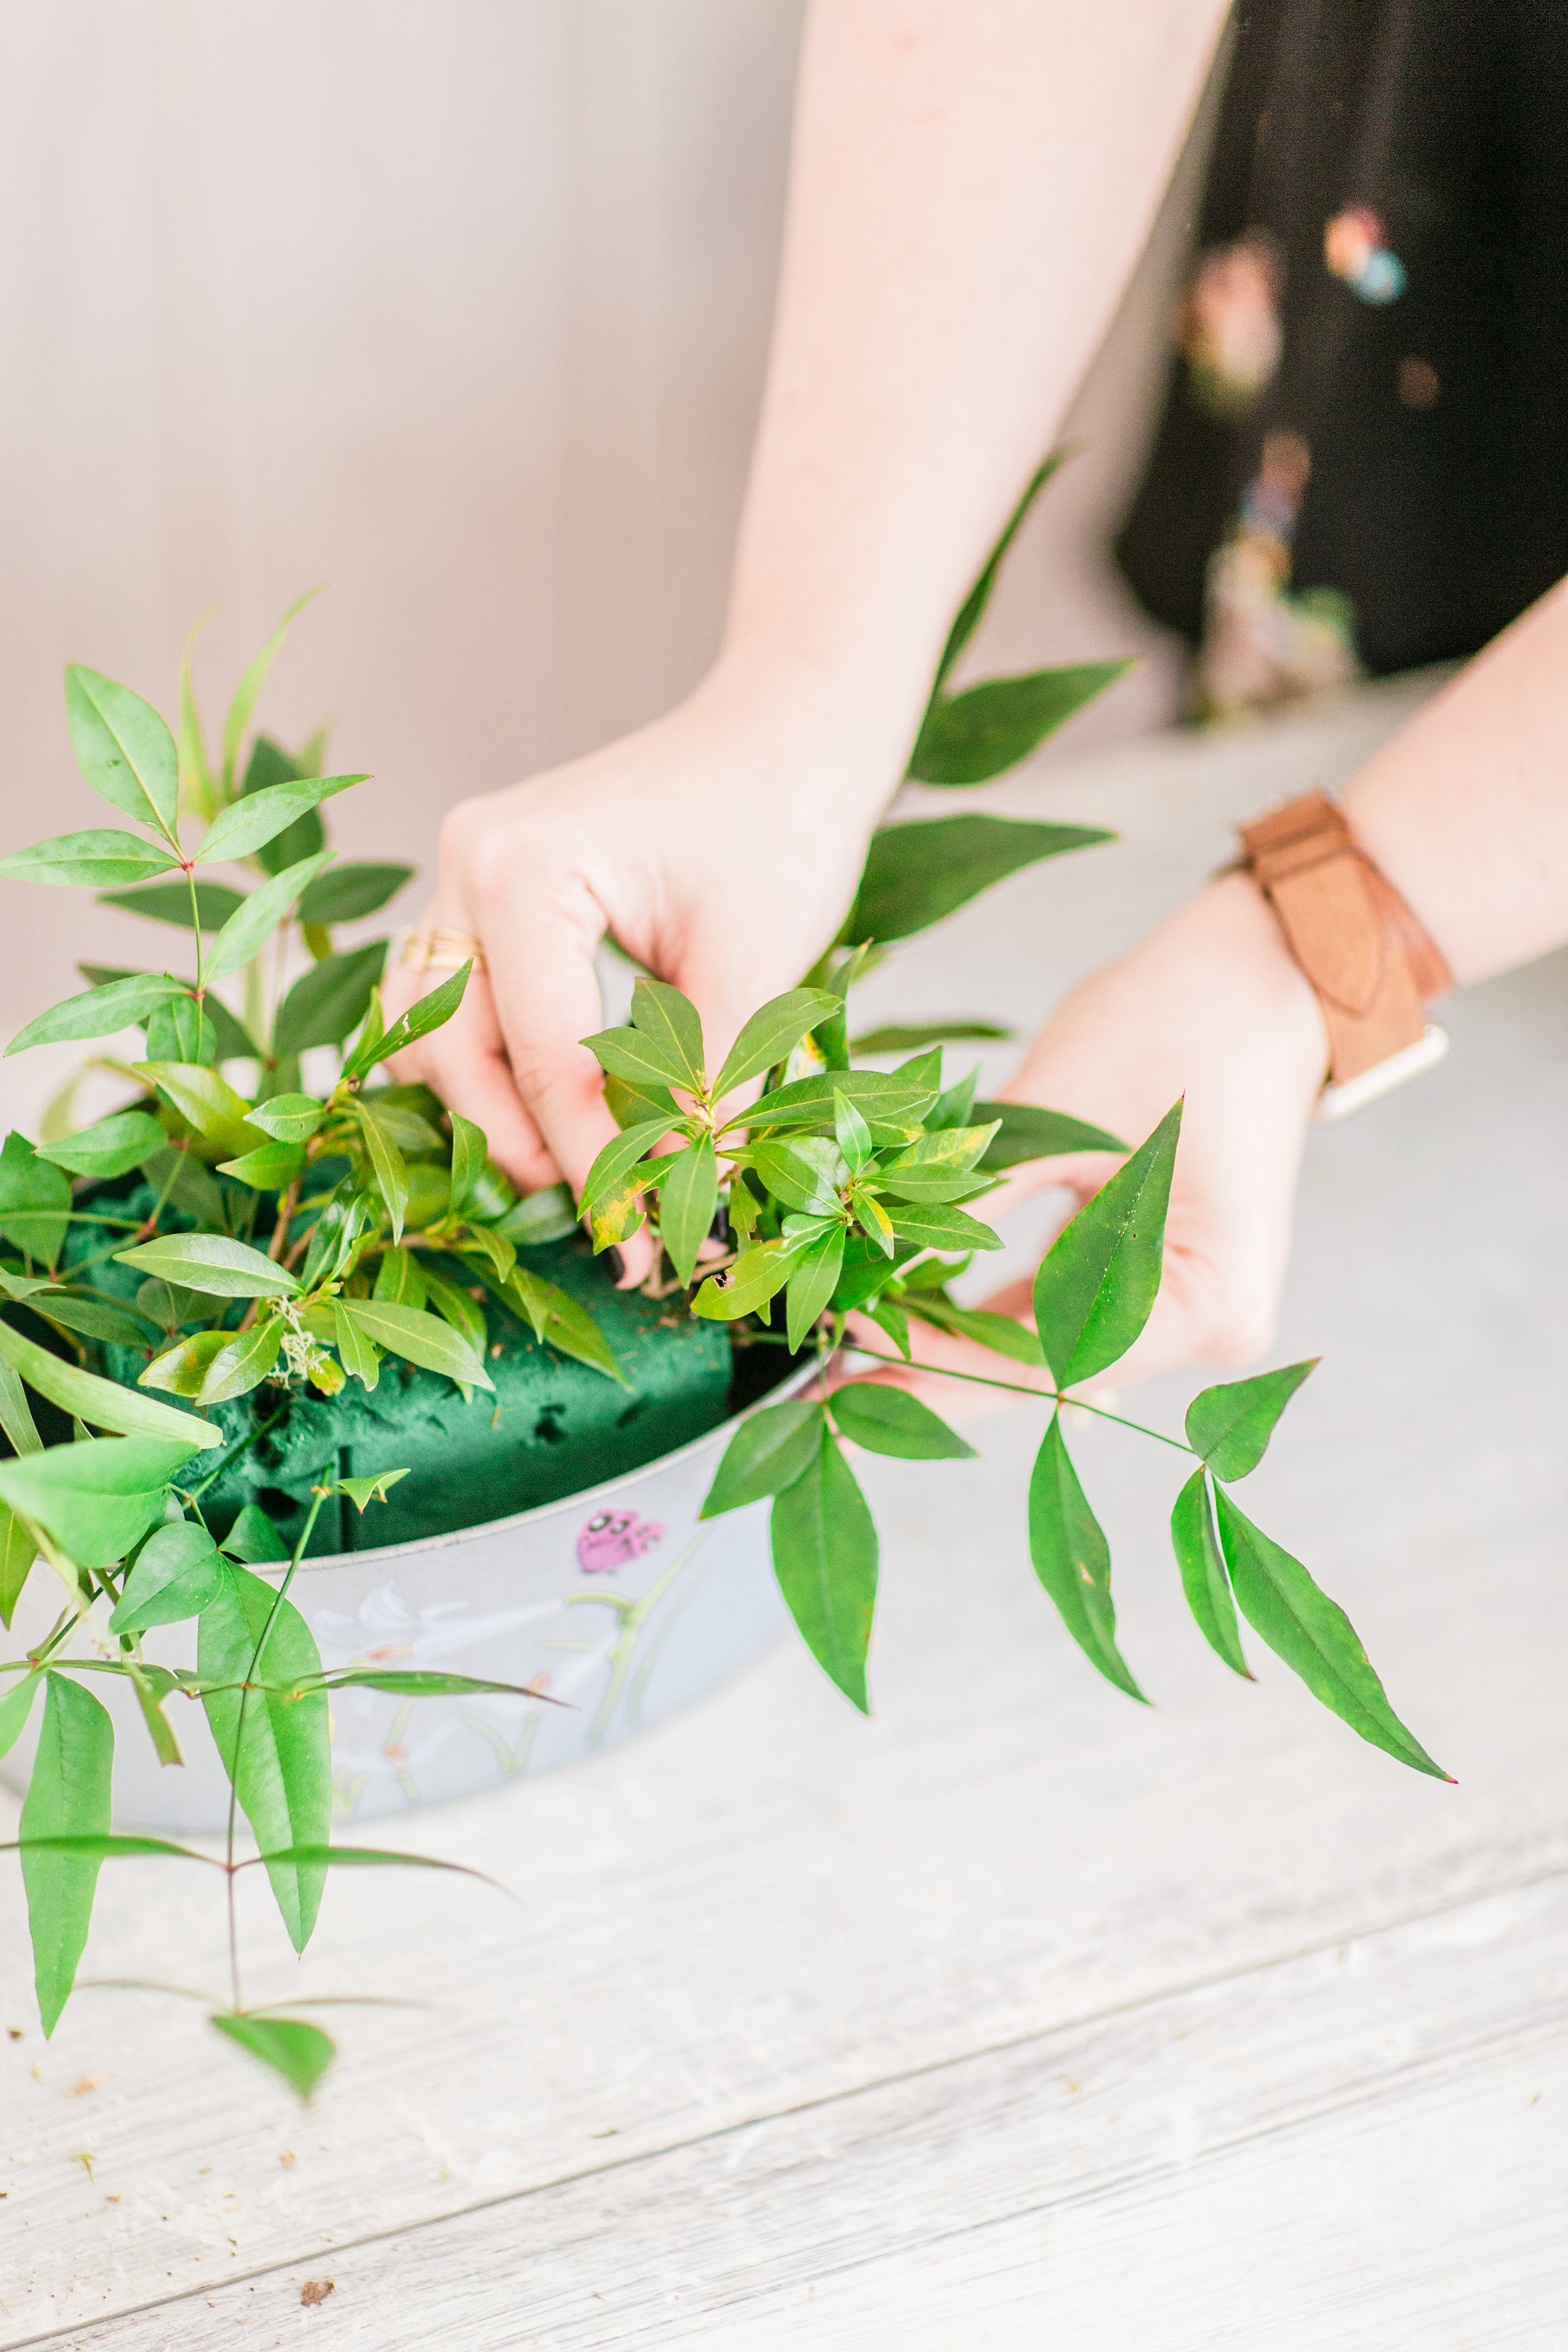
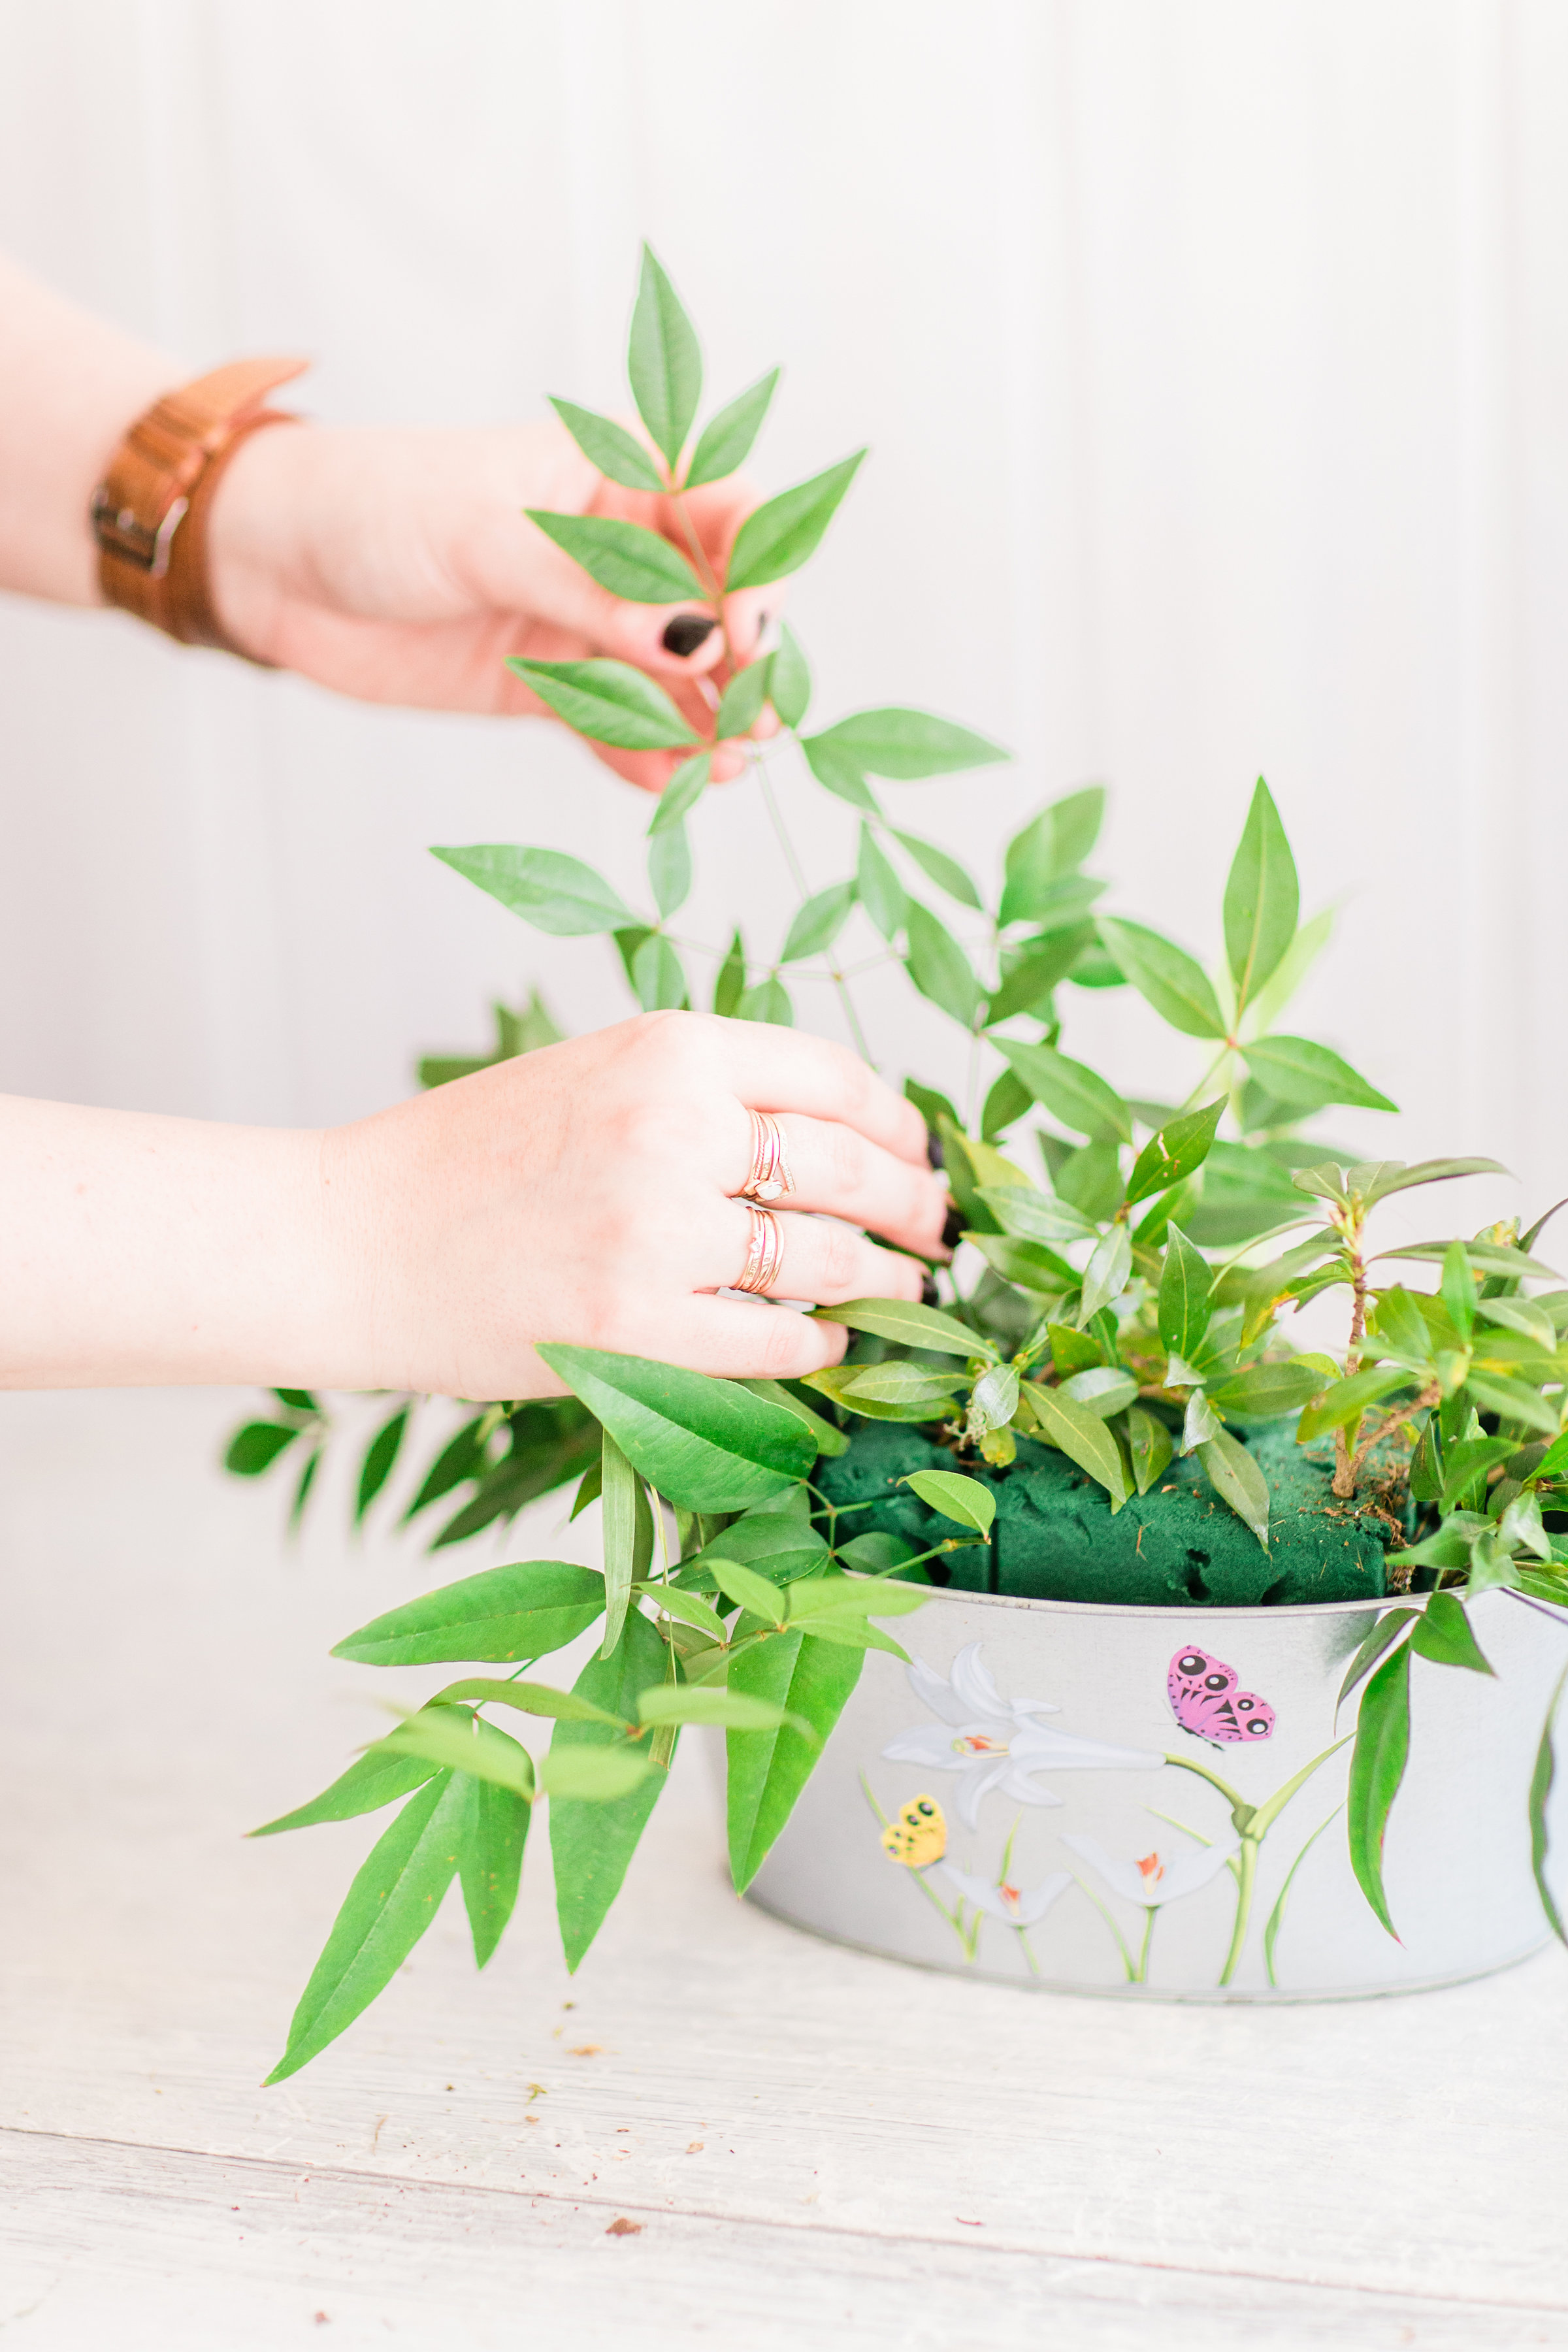
Starting with a base of greenery with some hanging over the edges is the key to getting the lush effect. We worked from high to low, layering higher on the left side and lower on the right for added dimension. (Details in the instructions below.)

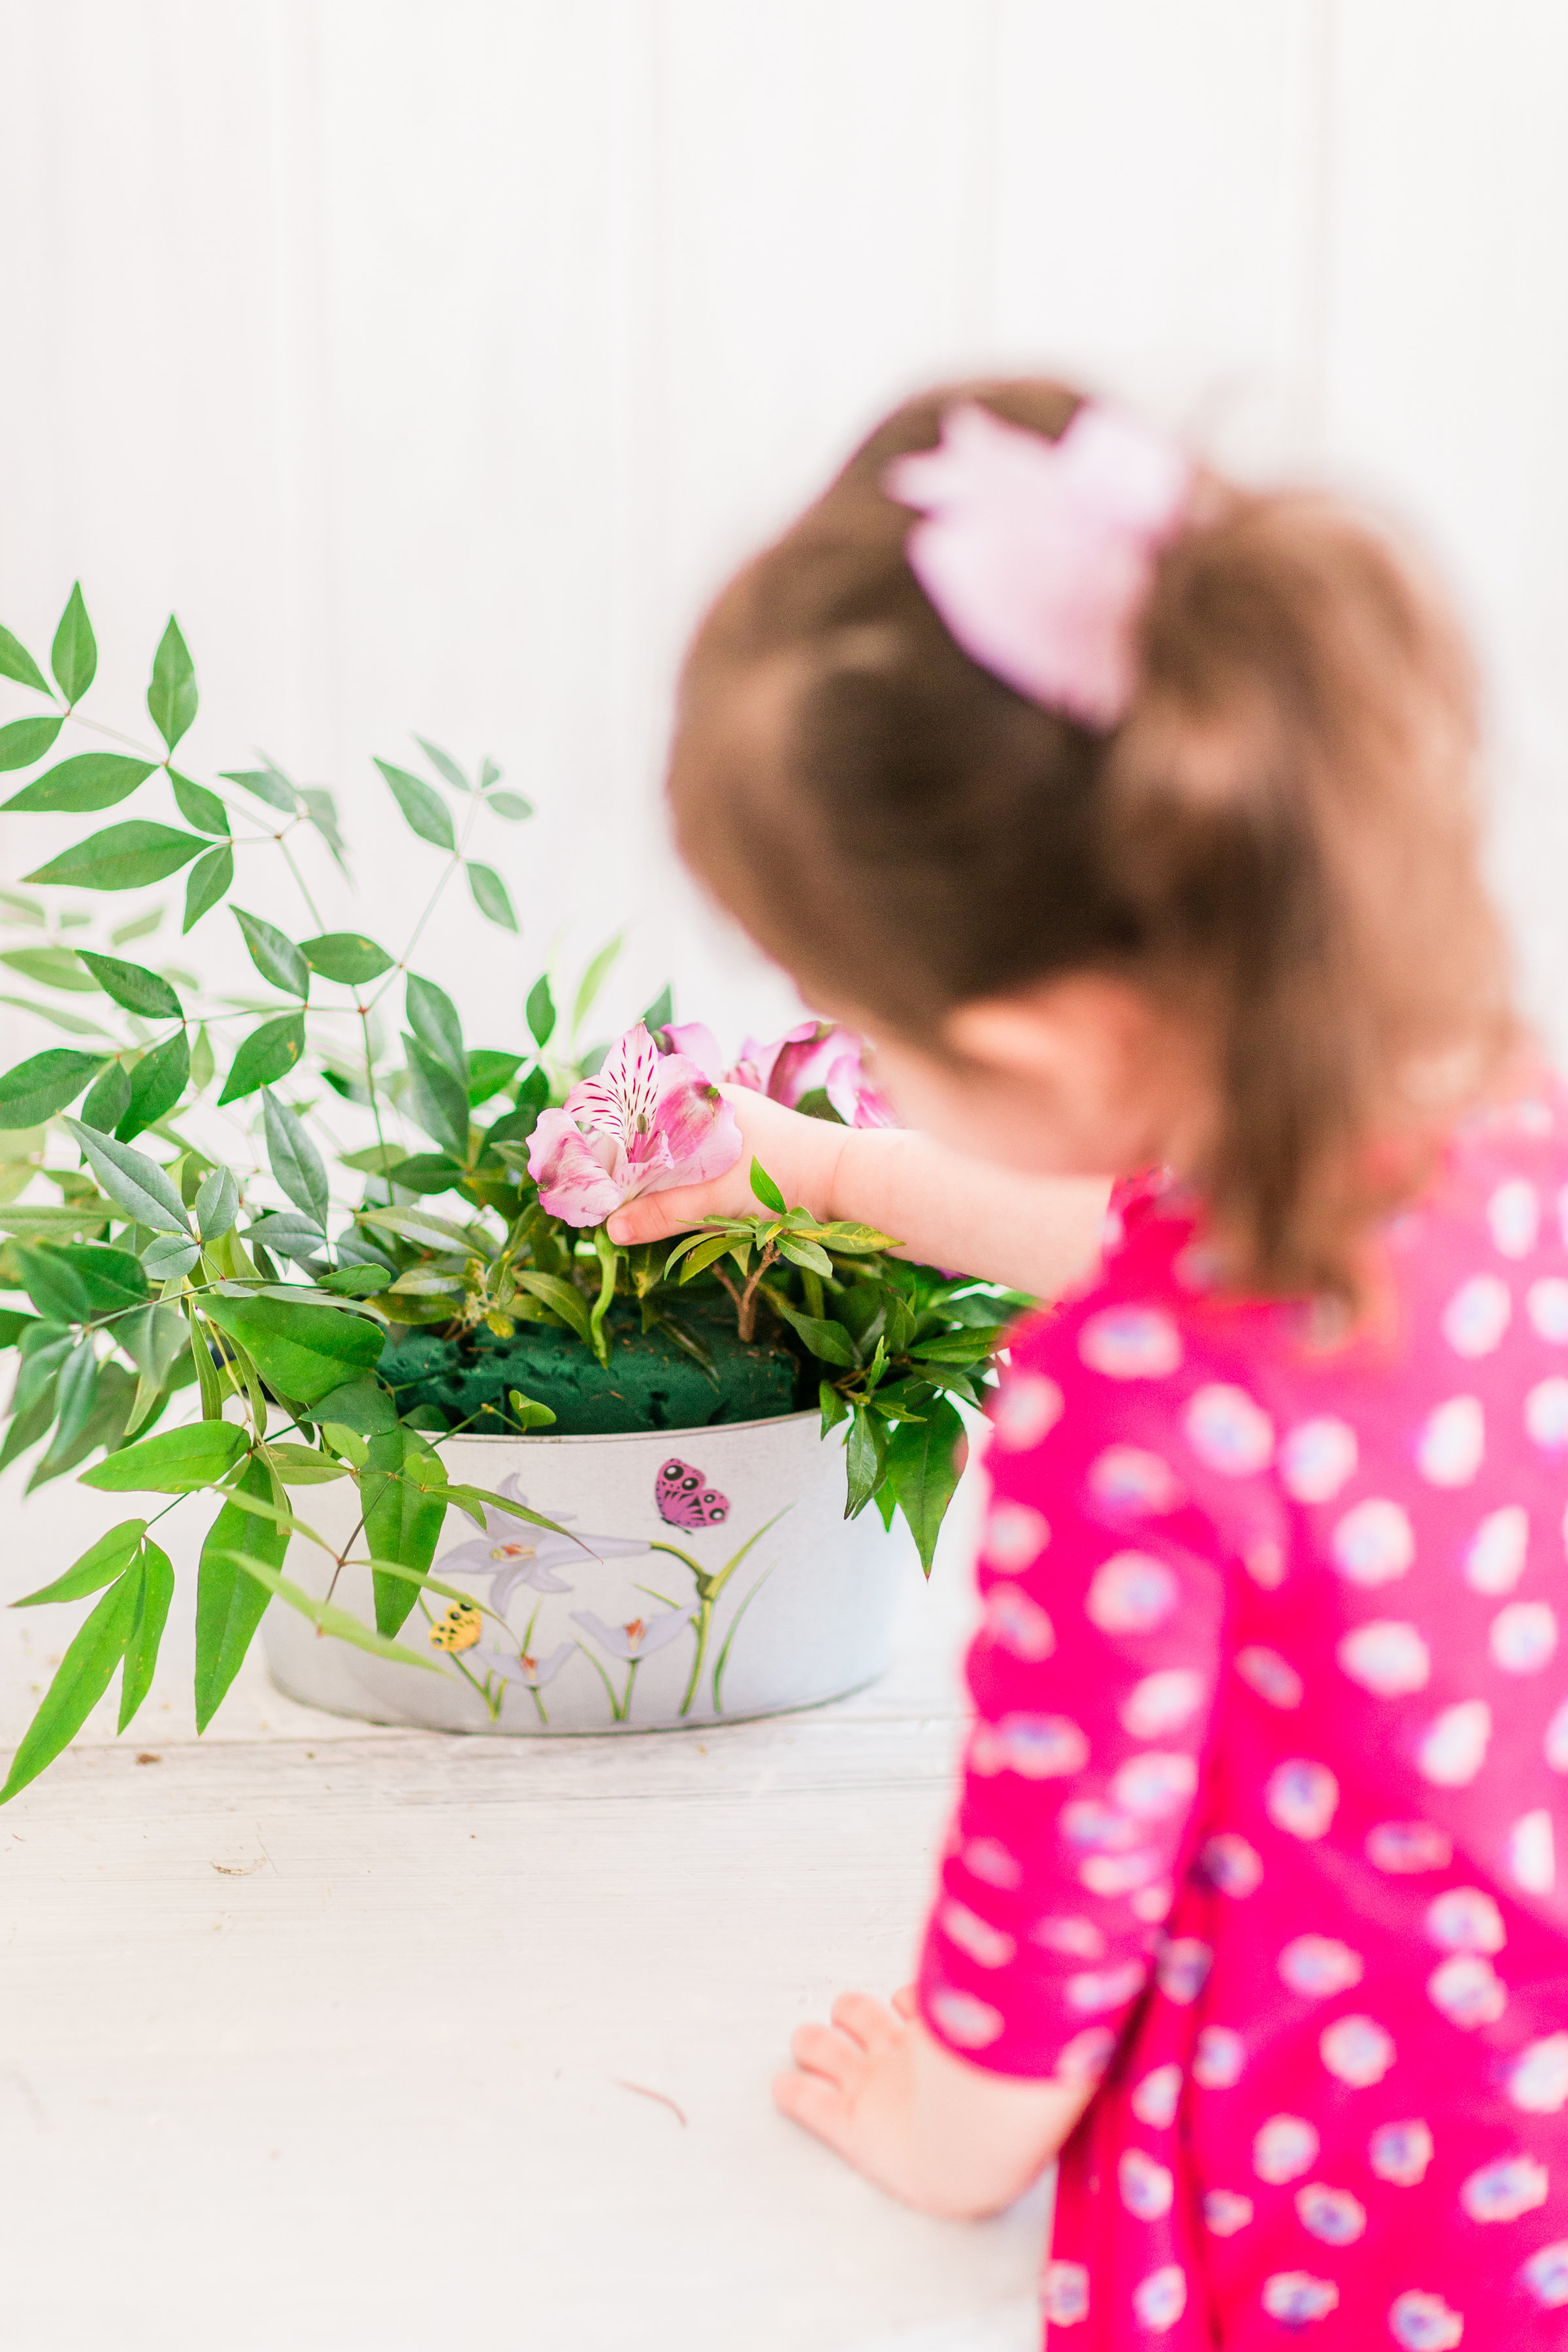
Next you trim and add your flower stems. Scarlett loved this part. She was very particular about where she placed her flowers.
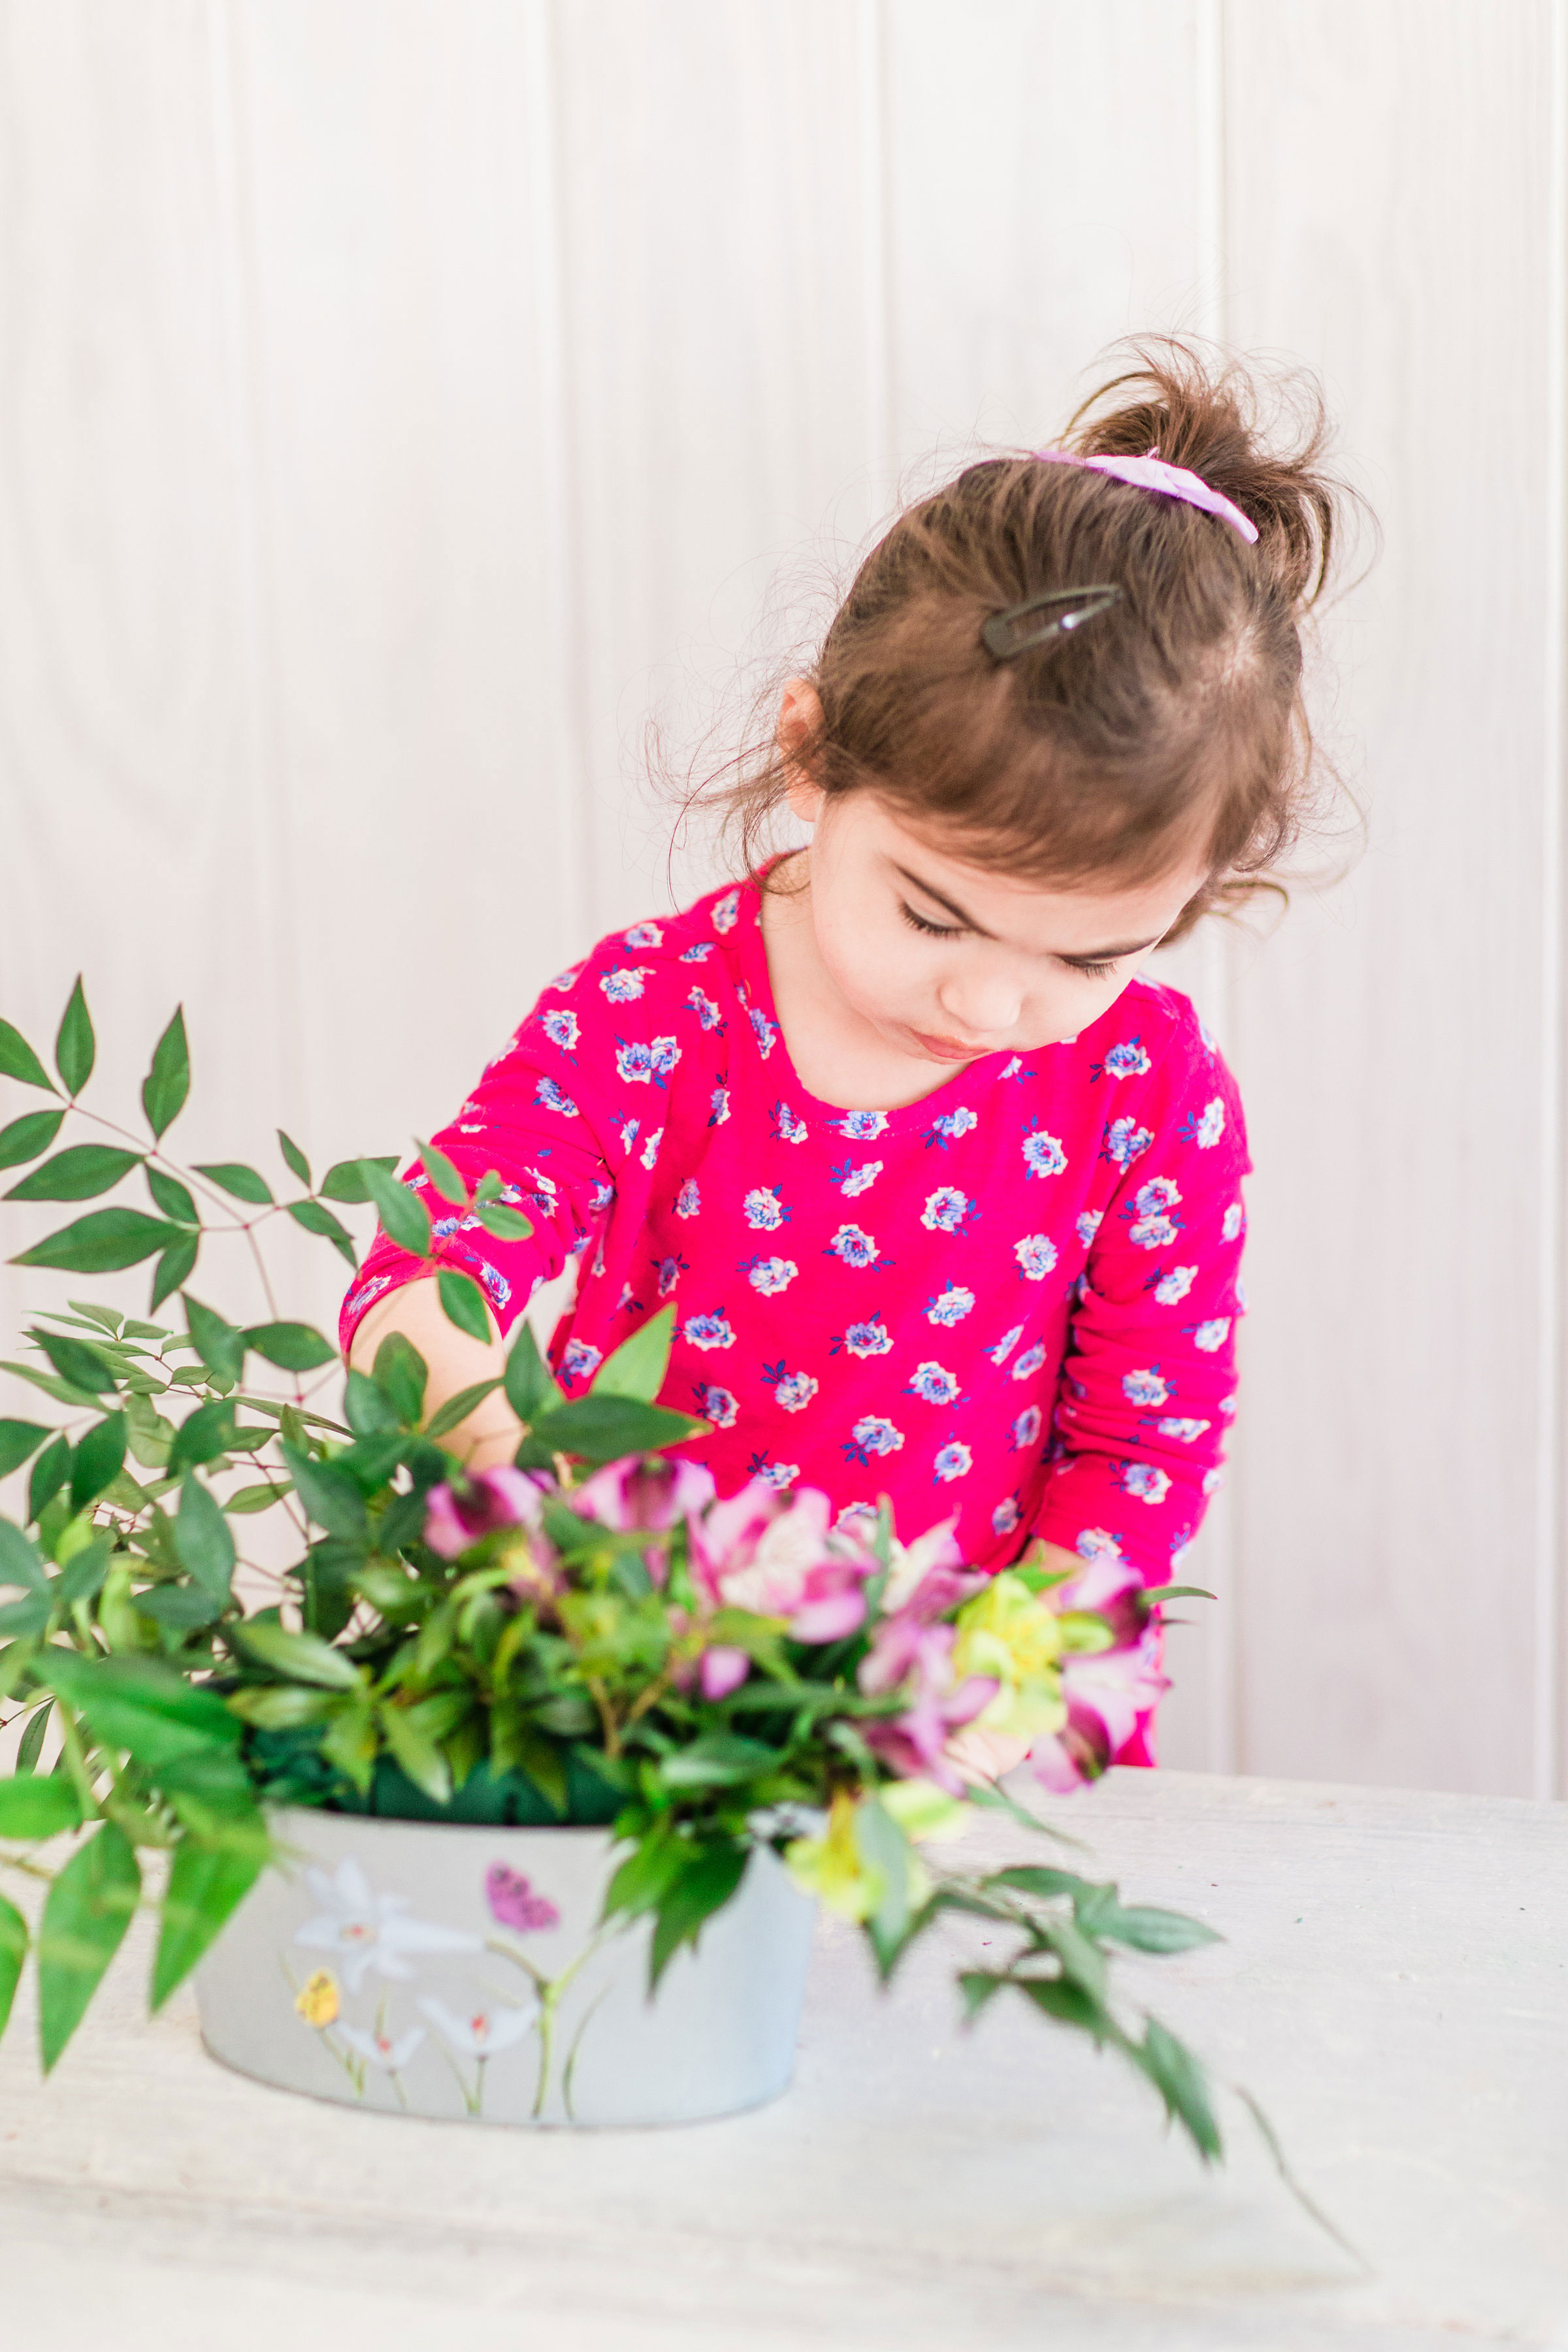
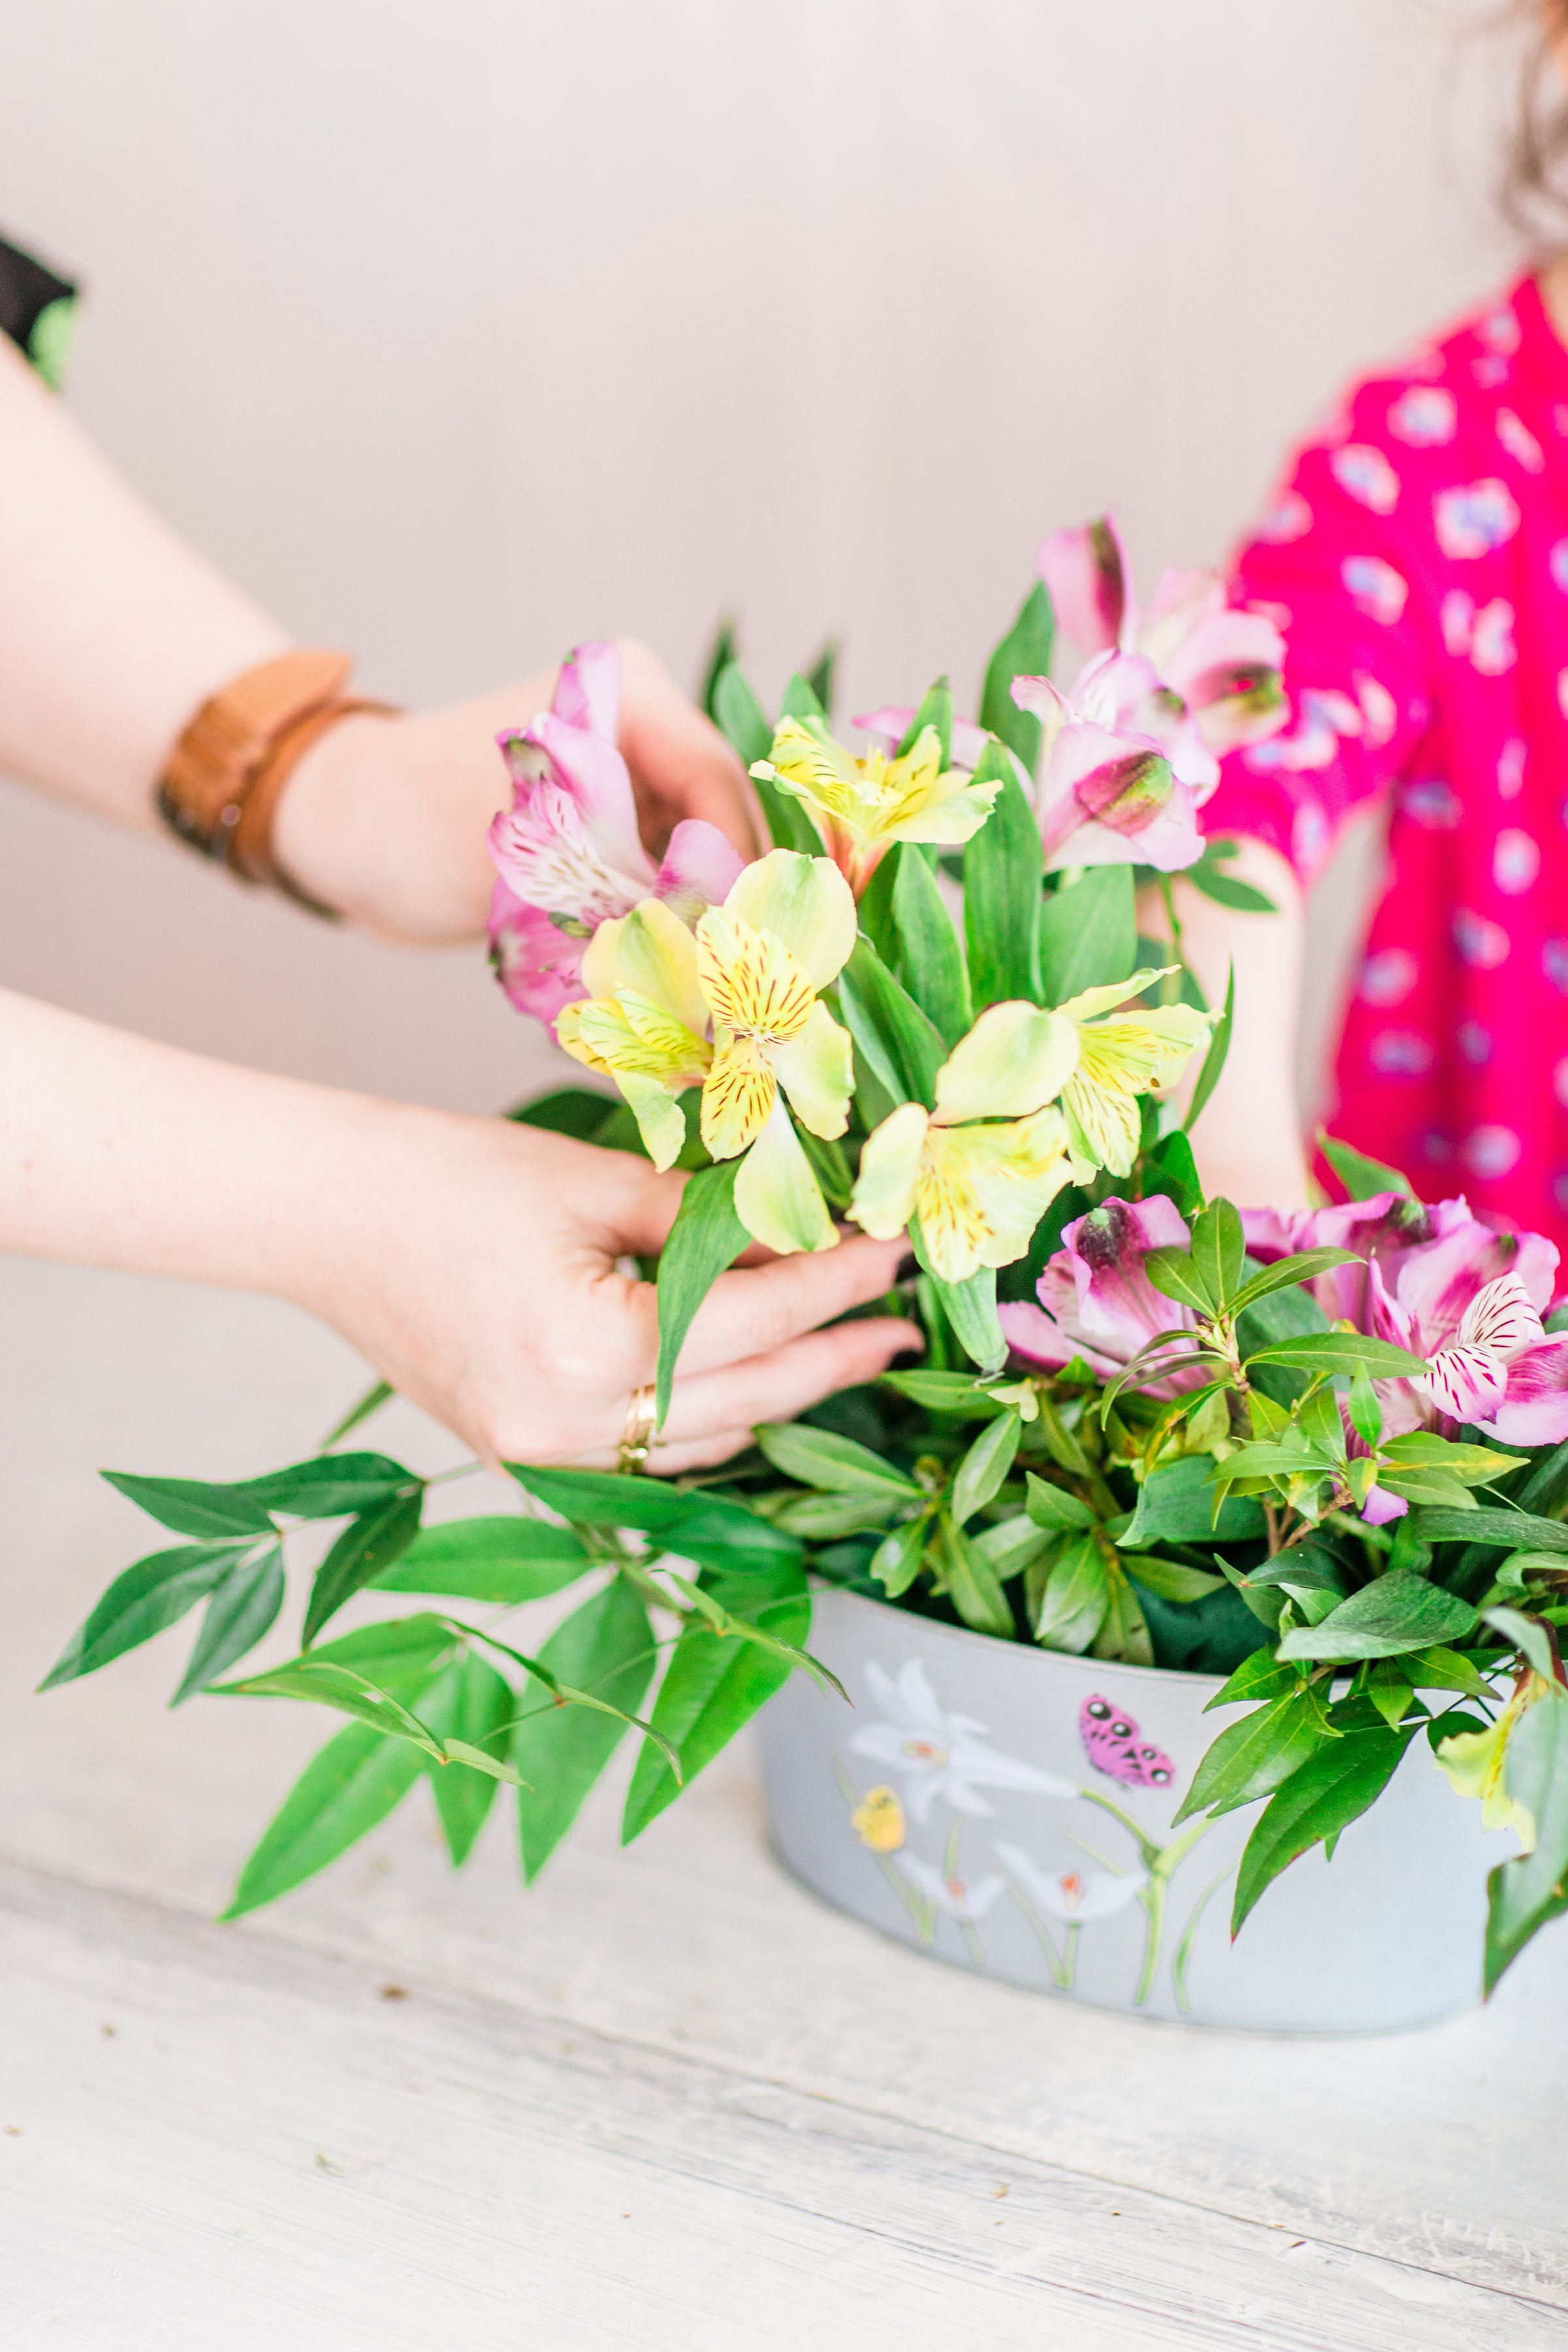
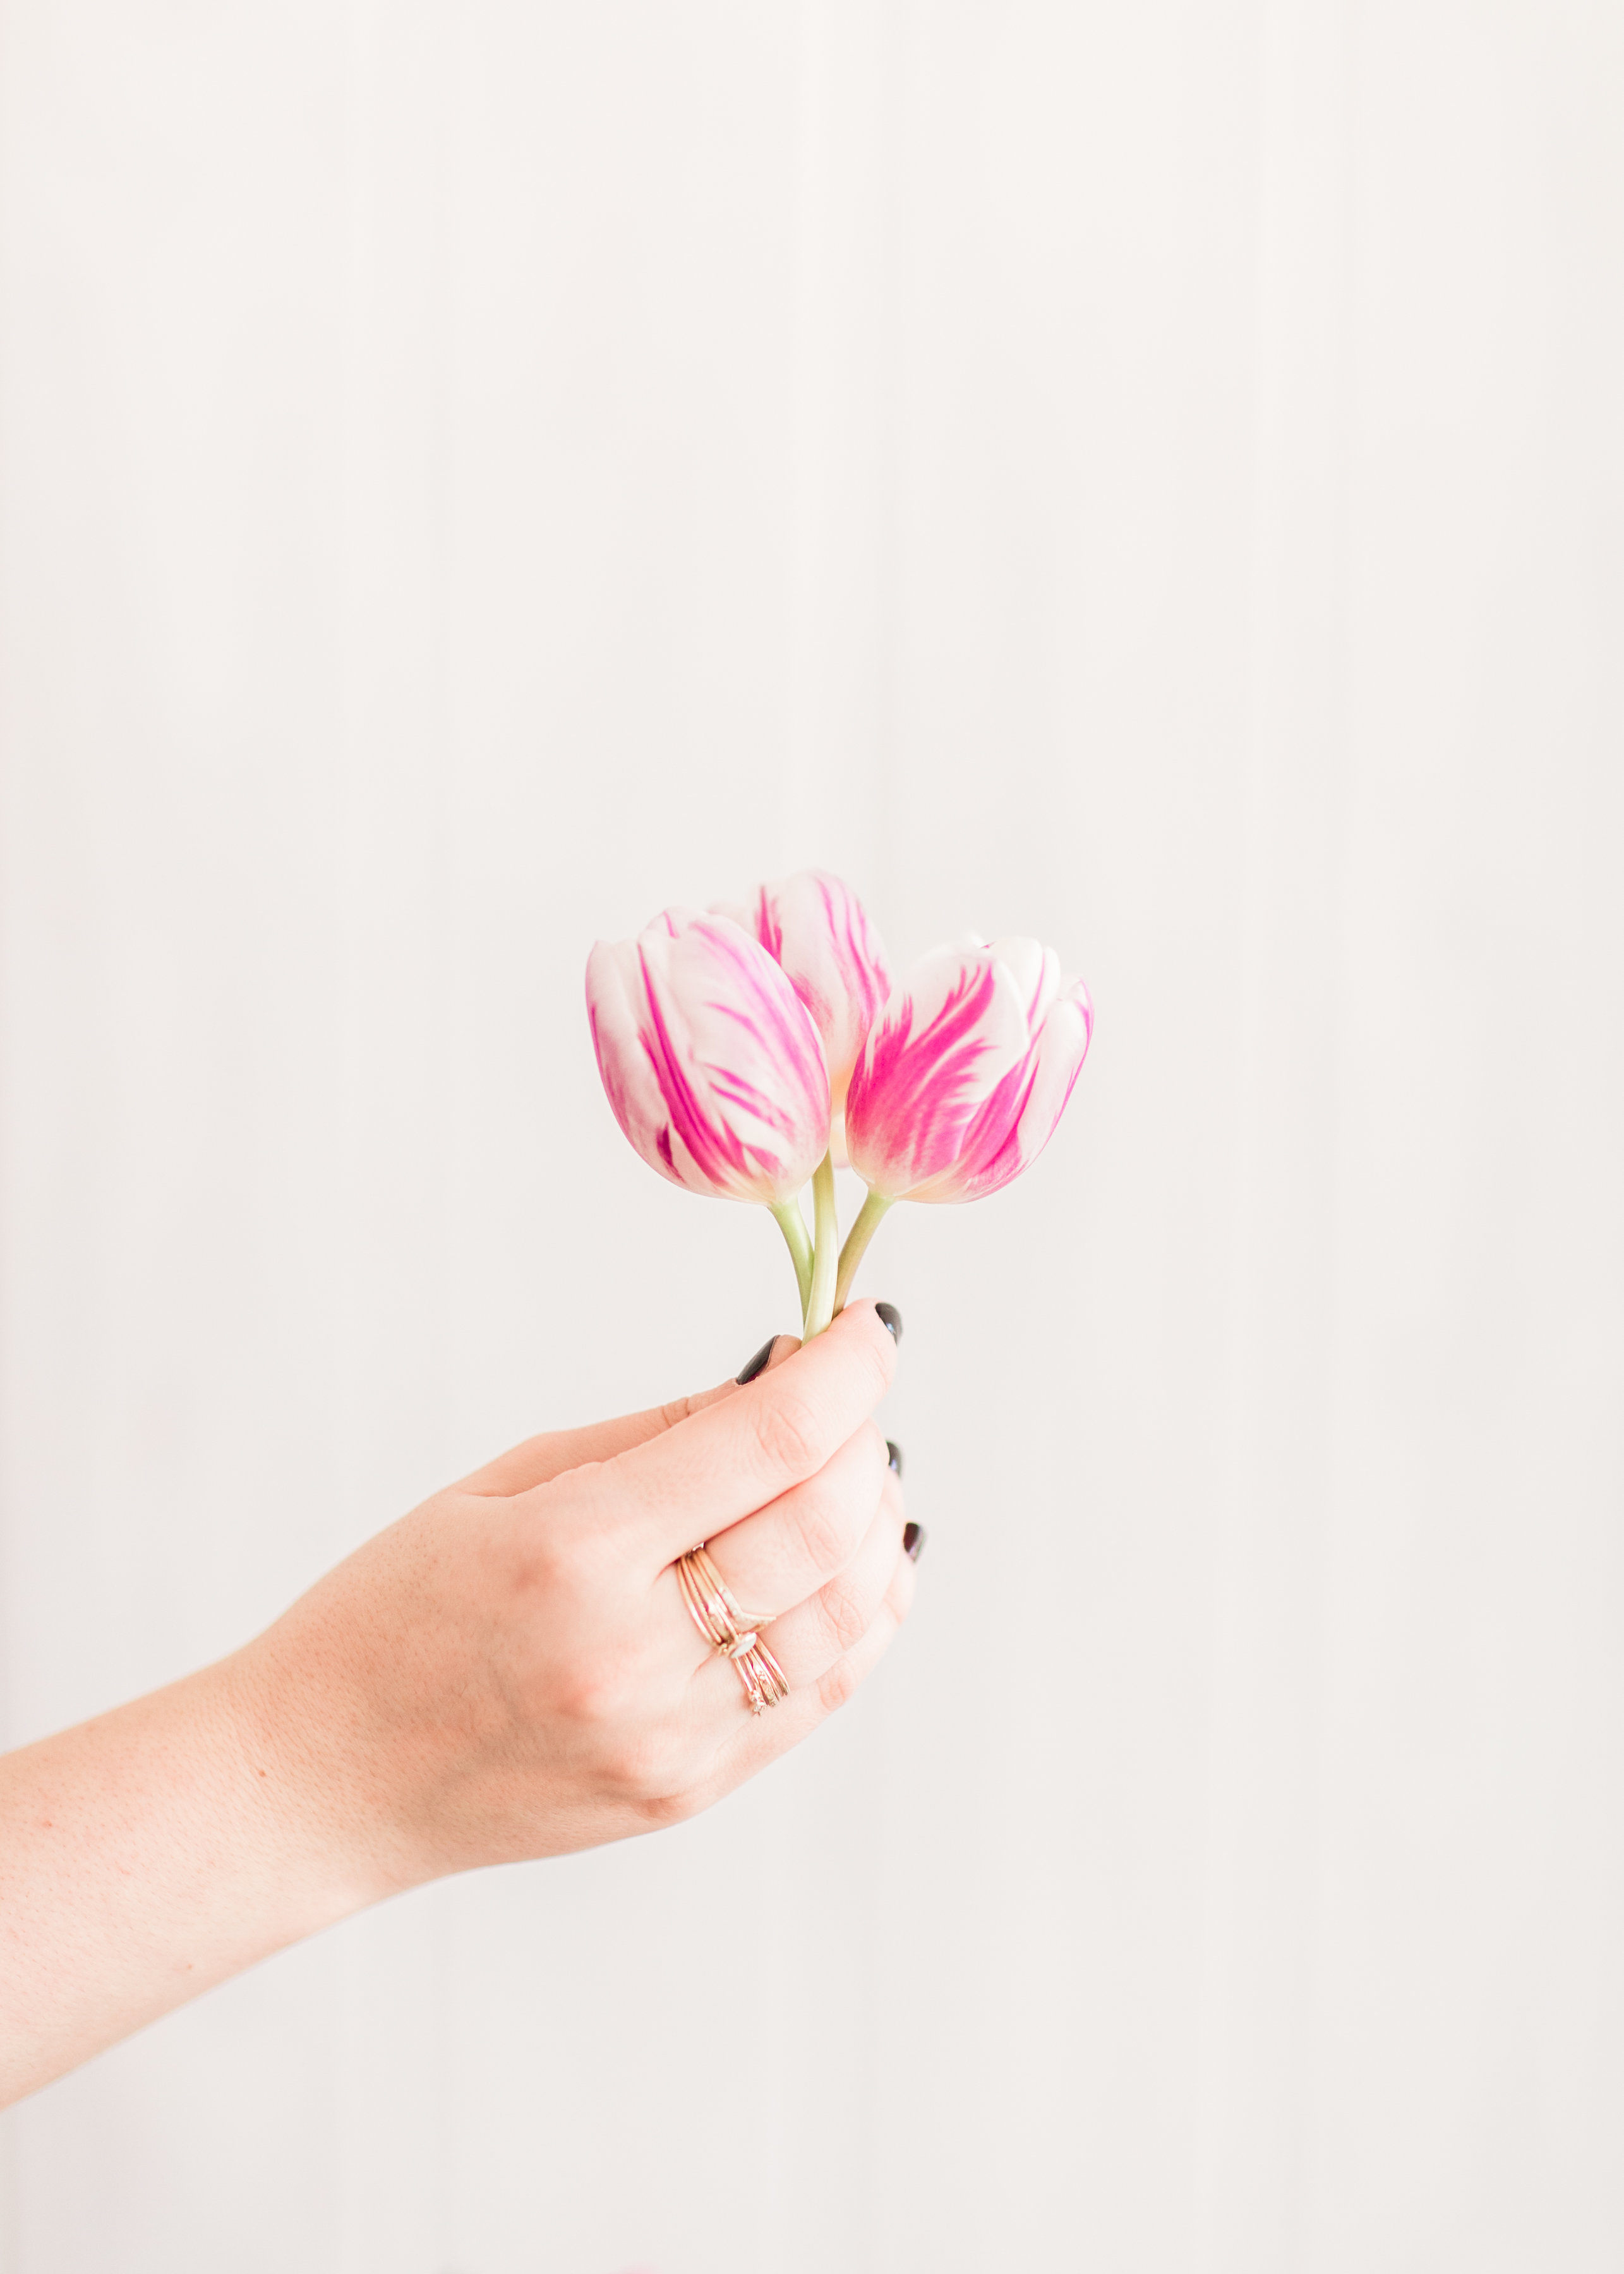
You can also bunch two or three flowers at a time and tuck them in as bunches to add some volume and color.
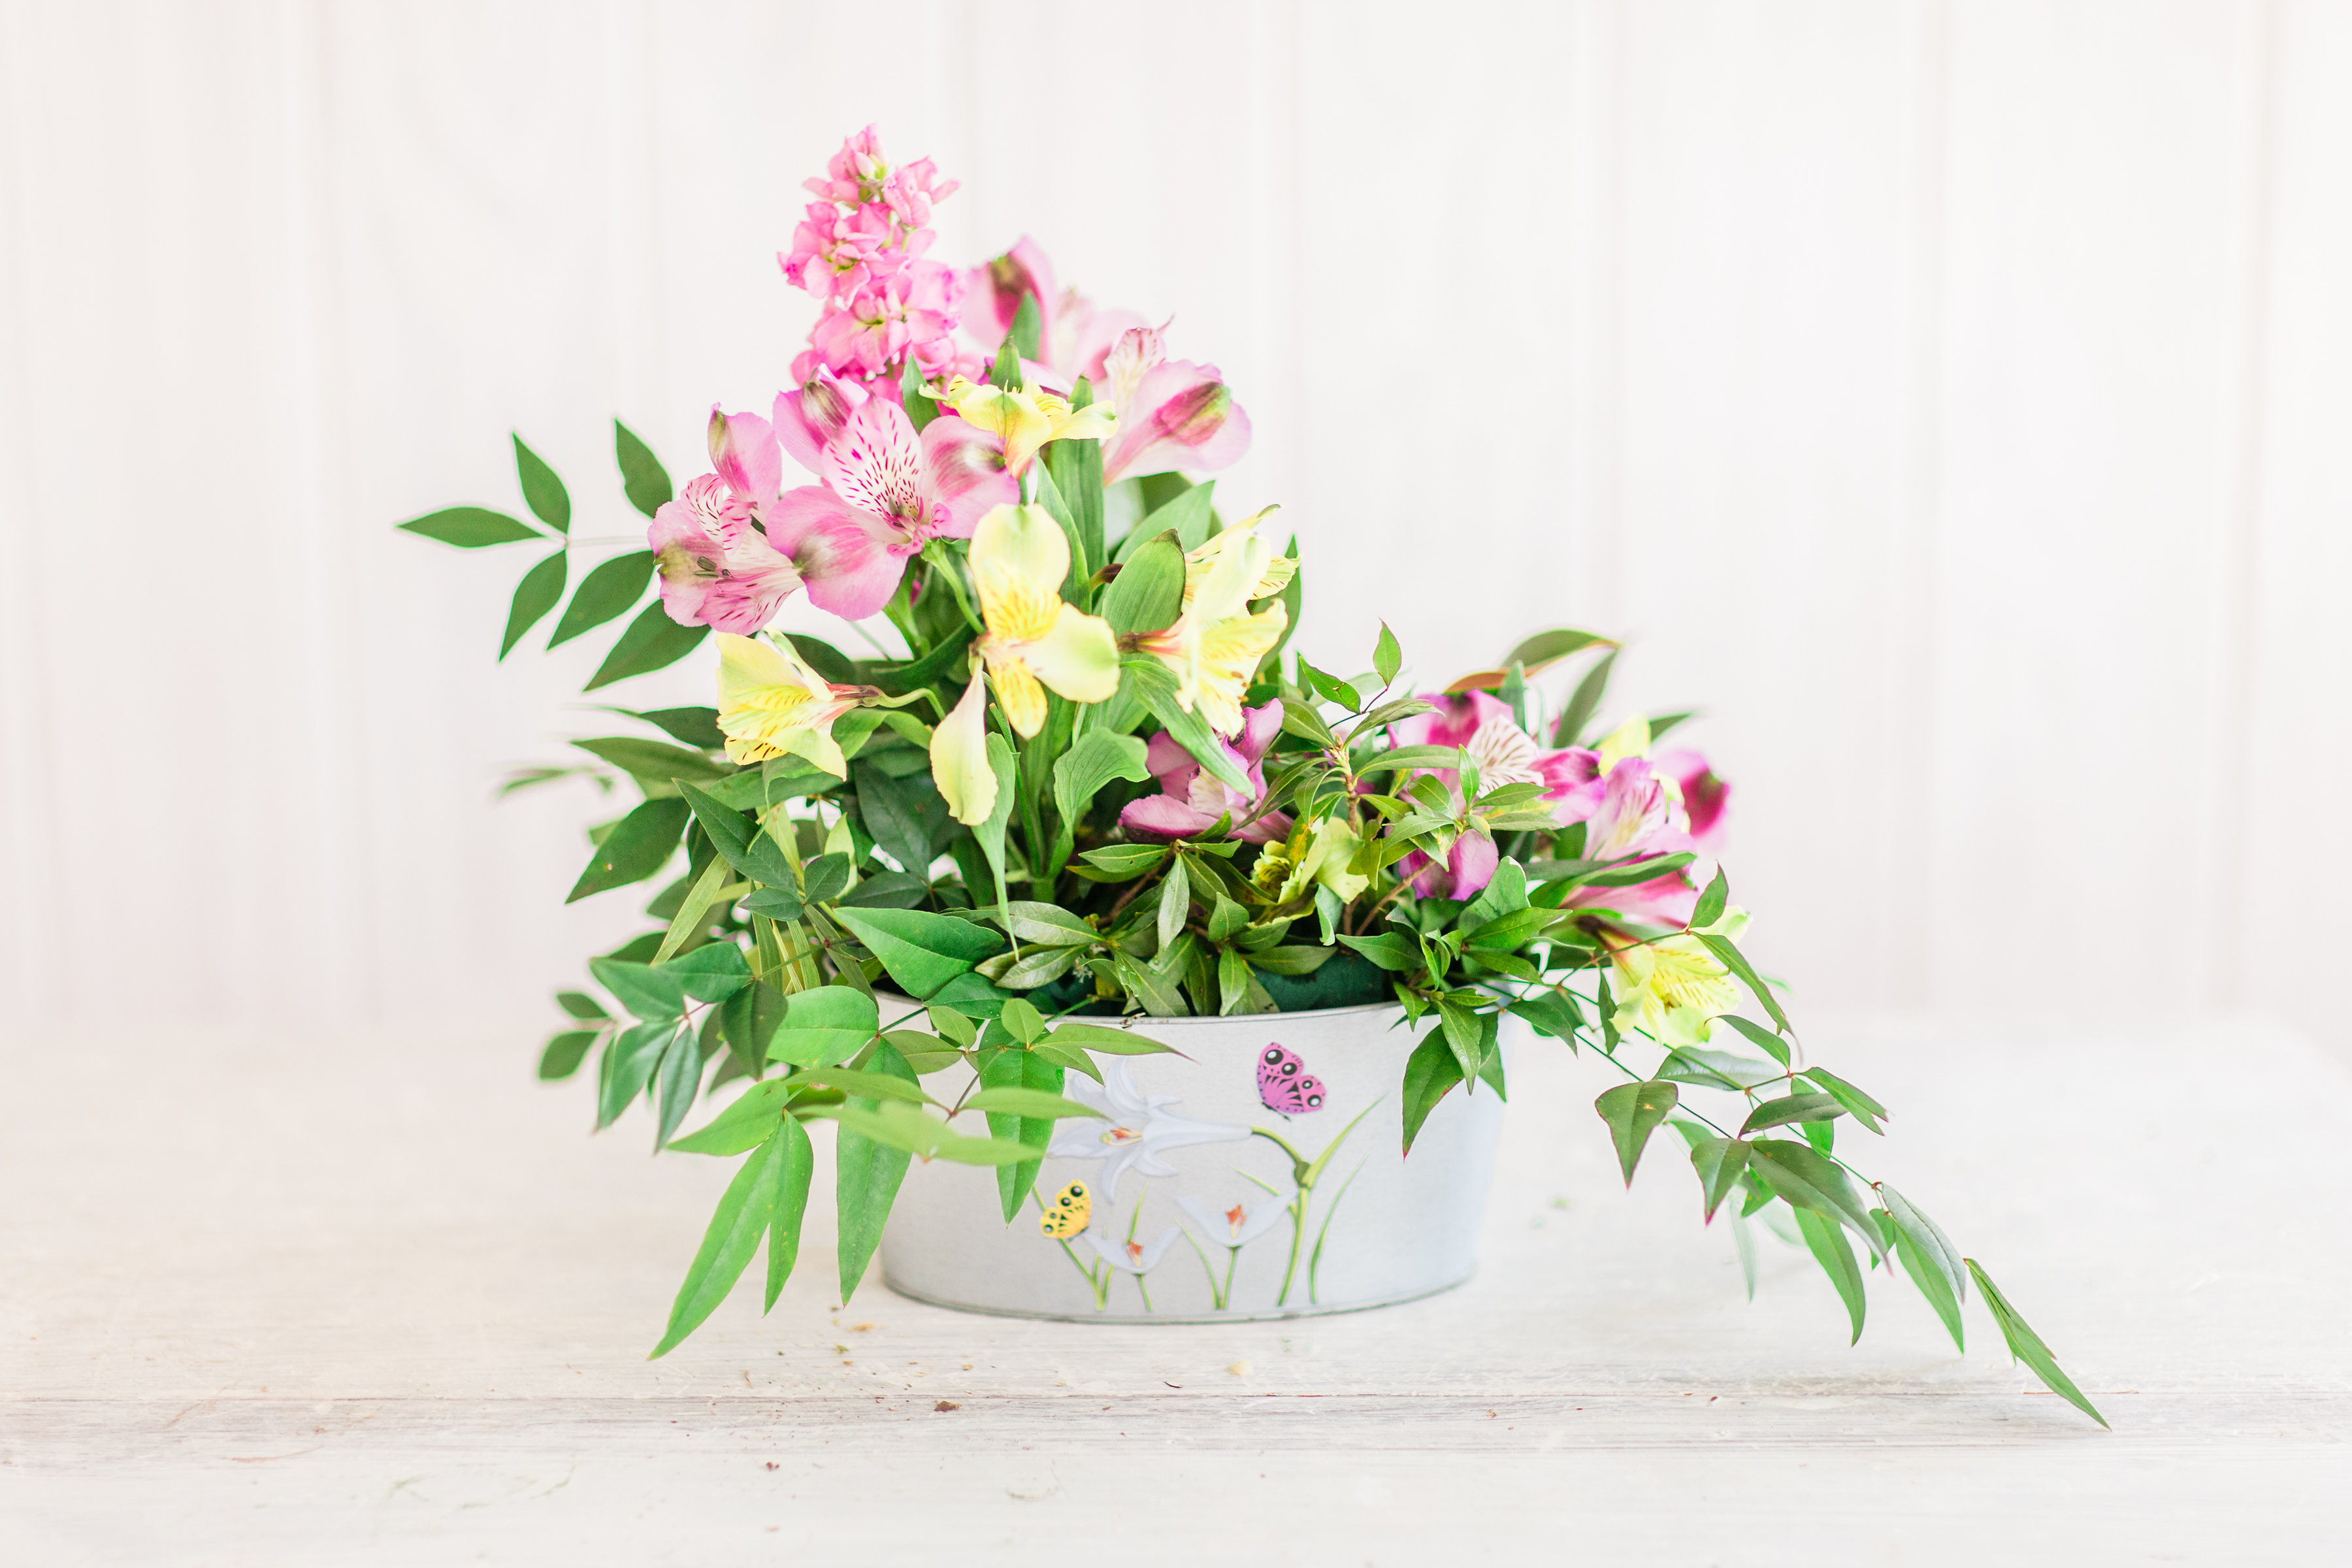
Remember to keep it higher on one side if you want to get that beautiful flowing look.
And if you want to add in a bit of whimsy, you can gently nestle in a faux bird’s nest towards the top of your arrangement.

And there you have it, your very own simple Spring floral arrangement for your table!
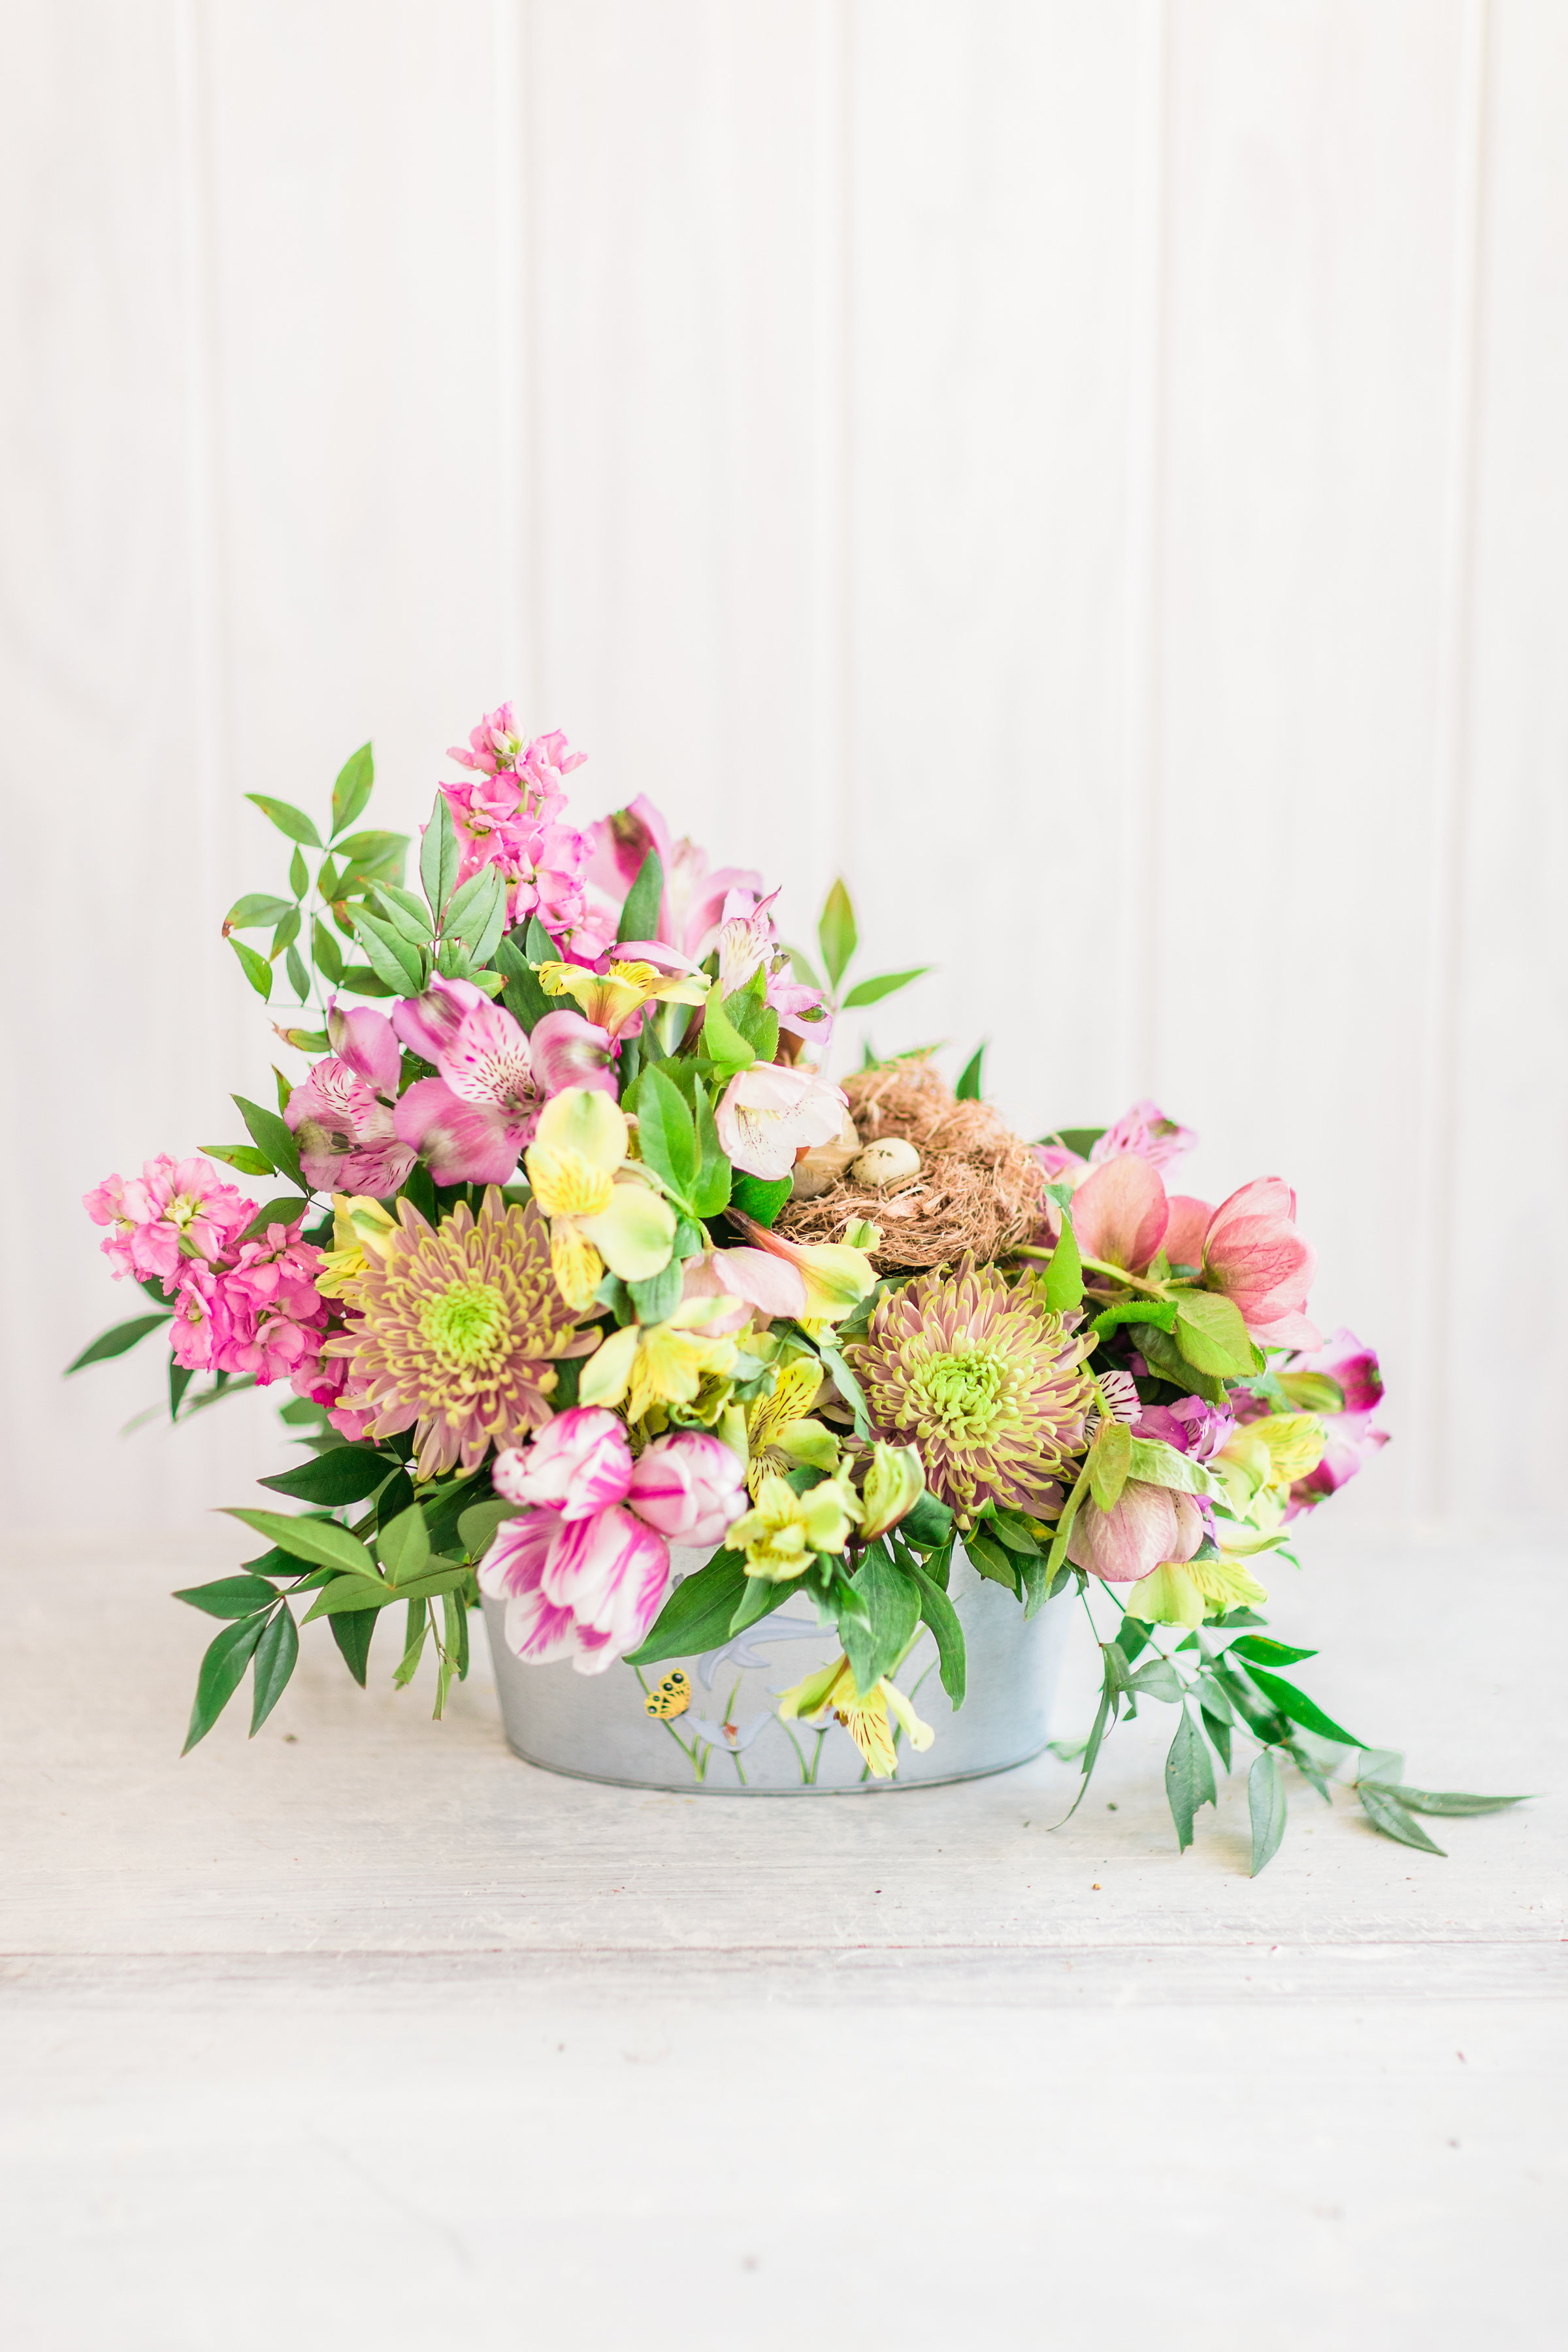
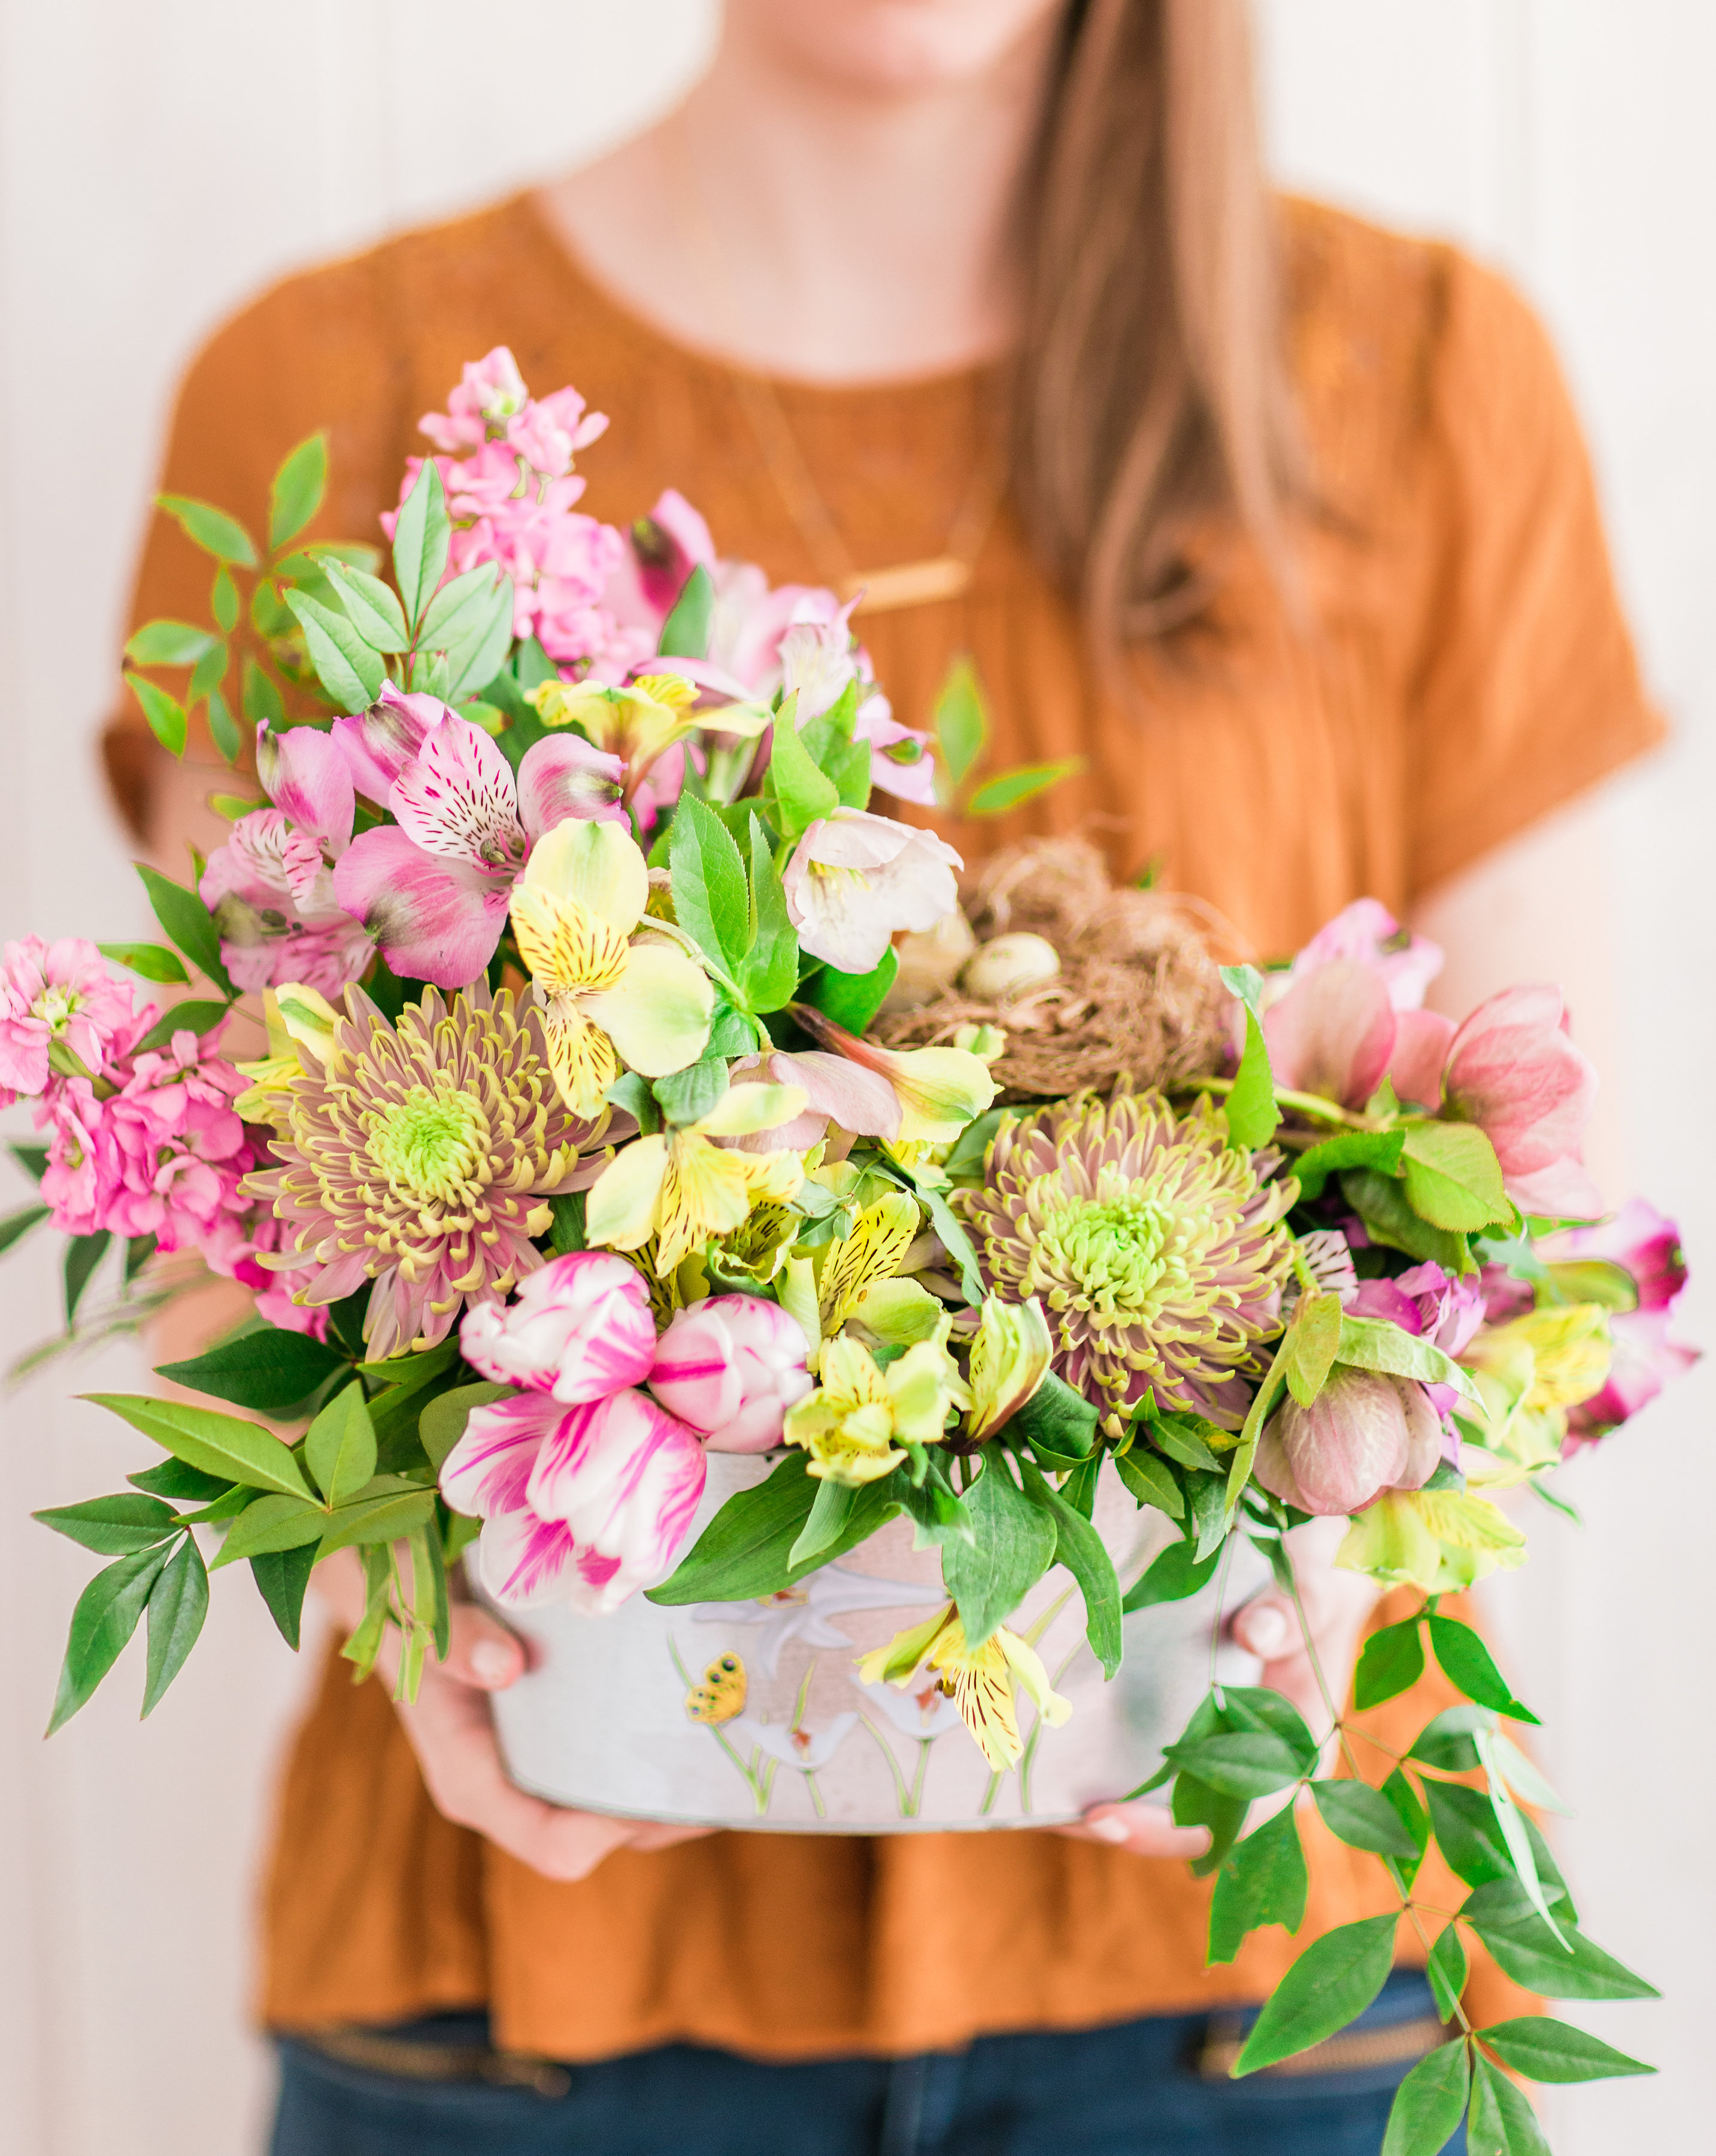
If you make your own beautiful Spring flower arrangement, be sure to tag me on social media (@glitterinclexi) so I can live vicariously through all of your fun events!
Photos by Annie Watts Photography
This post contains affiliate links, which means that if you click on one of the product links, I’ll receive a small commission. Thank you so much for clicking through and helping to support this little blog business of mine! Read more about our site, privacy, and disclosure policies here.



 Older Post


