I am so excited about today’s post. What makes these beautiful DIY floral ice cubes so wonderful, is their simplicity. And the flowers. If it were up to me, I’d cover the world in flowers. (I mean, have you seen our parties?)
Focus, Lexi.
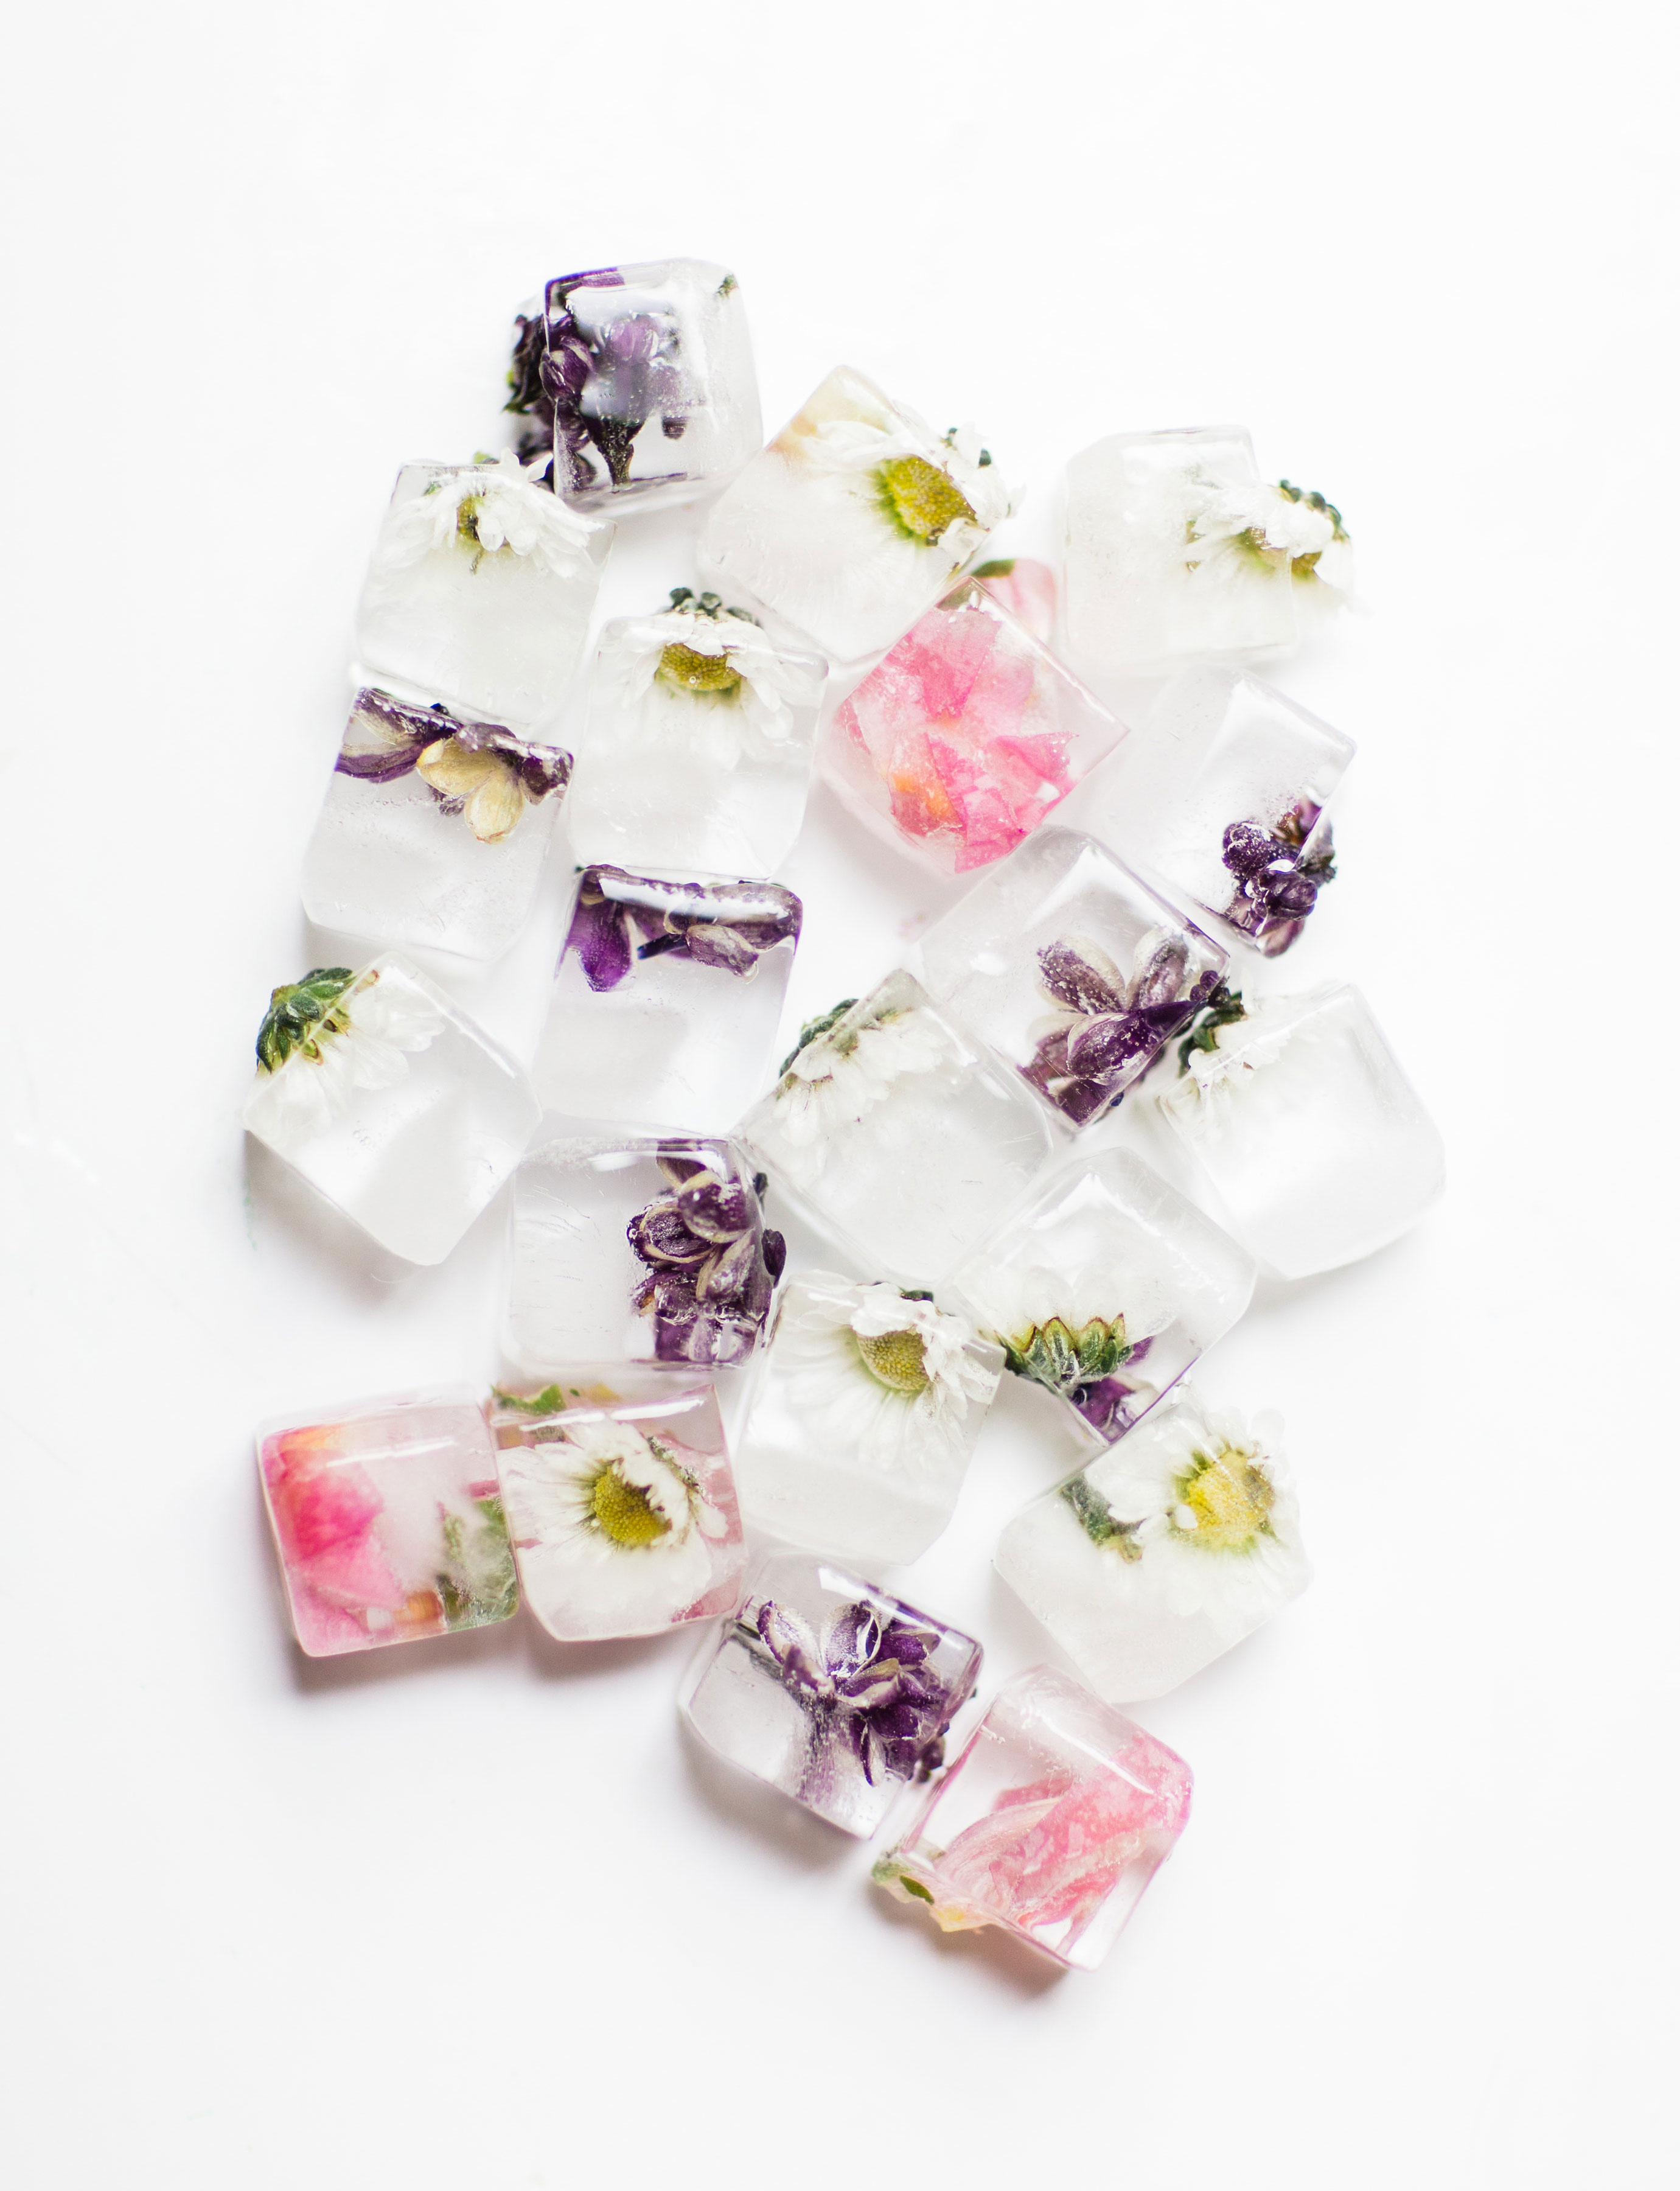
Today’s DIY; it’s all about flowers. Floral ice cubes. Specifically, the ridiculously simple steps on just how to make floral ice cubes, will have you wondering just why exactly you haven’t been making floral ice cubes for … well, every single party ever.

This simple party trick takes seconds to make, can be created ahead of time (for a fuss-free party touch), cool down your beverage or cocktail, and leave floating blooms in your drink when the ice cubes melt.
Talk about WOWing your guests.
Trust me, they will be impressed.
Sometimes it’s the thoughtful little touches that make all of the impact.
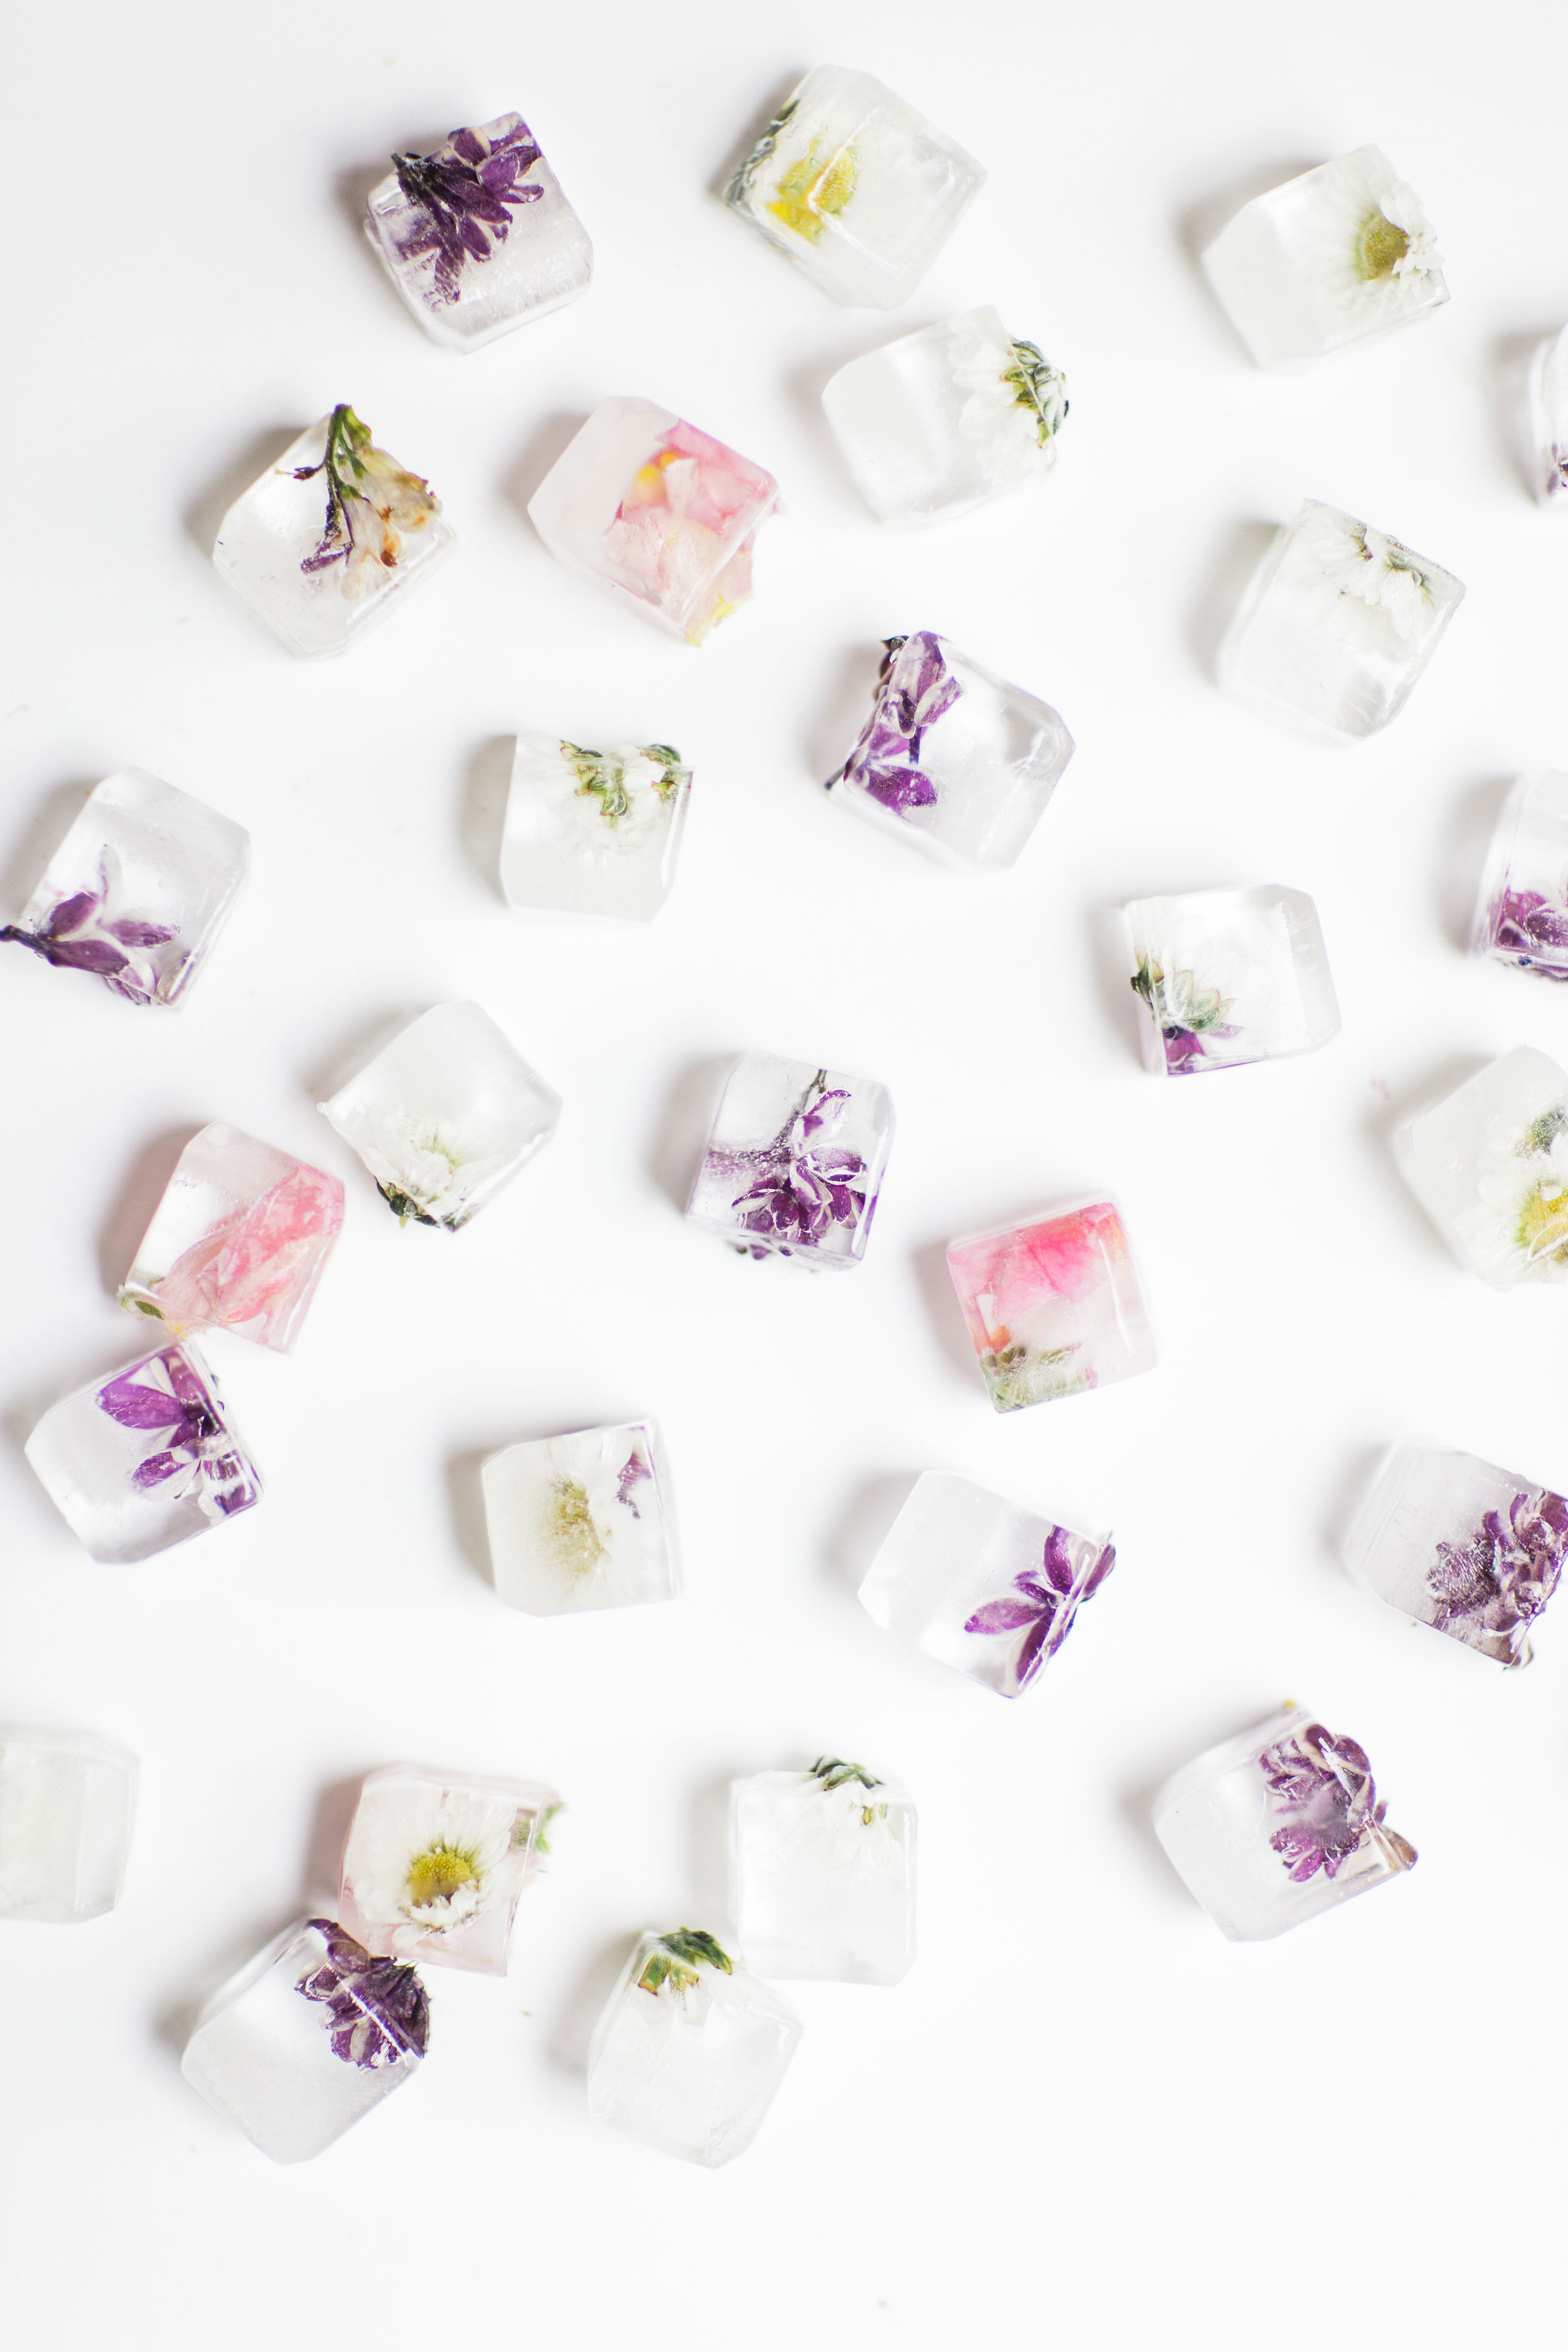
Most of the blooms I used are for decorative purposes only, but here’s a great list of edible flowers to use for your next batch of DIY floral ice cubes.
If you can’t get your hands on edible flowers in time, no worries: make floral ice cubes with any flowers you have on hand, fill a clear ice bucket with your pretty ice cubes, and use it to display and serve chilled bottles of champagne, prosecco, or rosé.
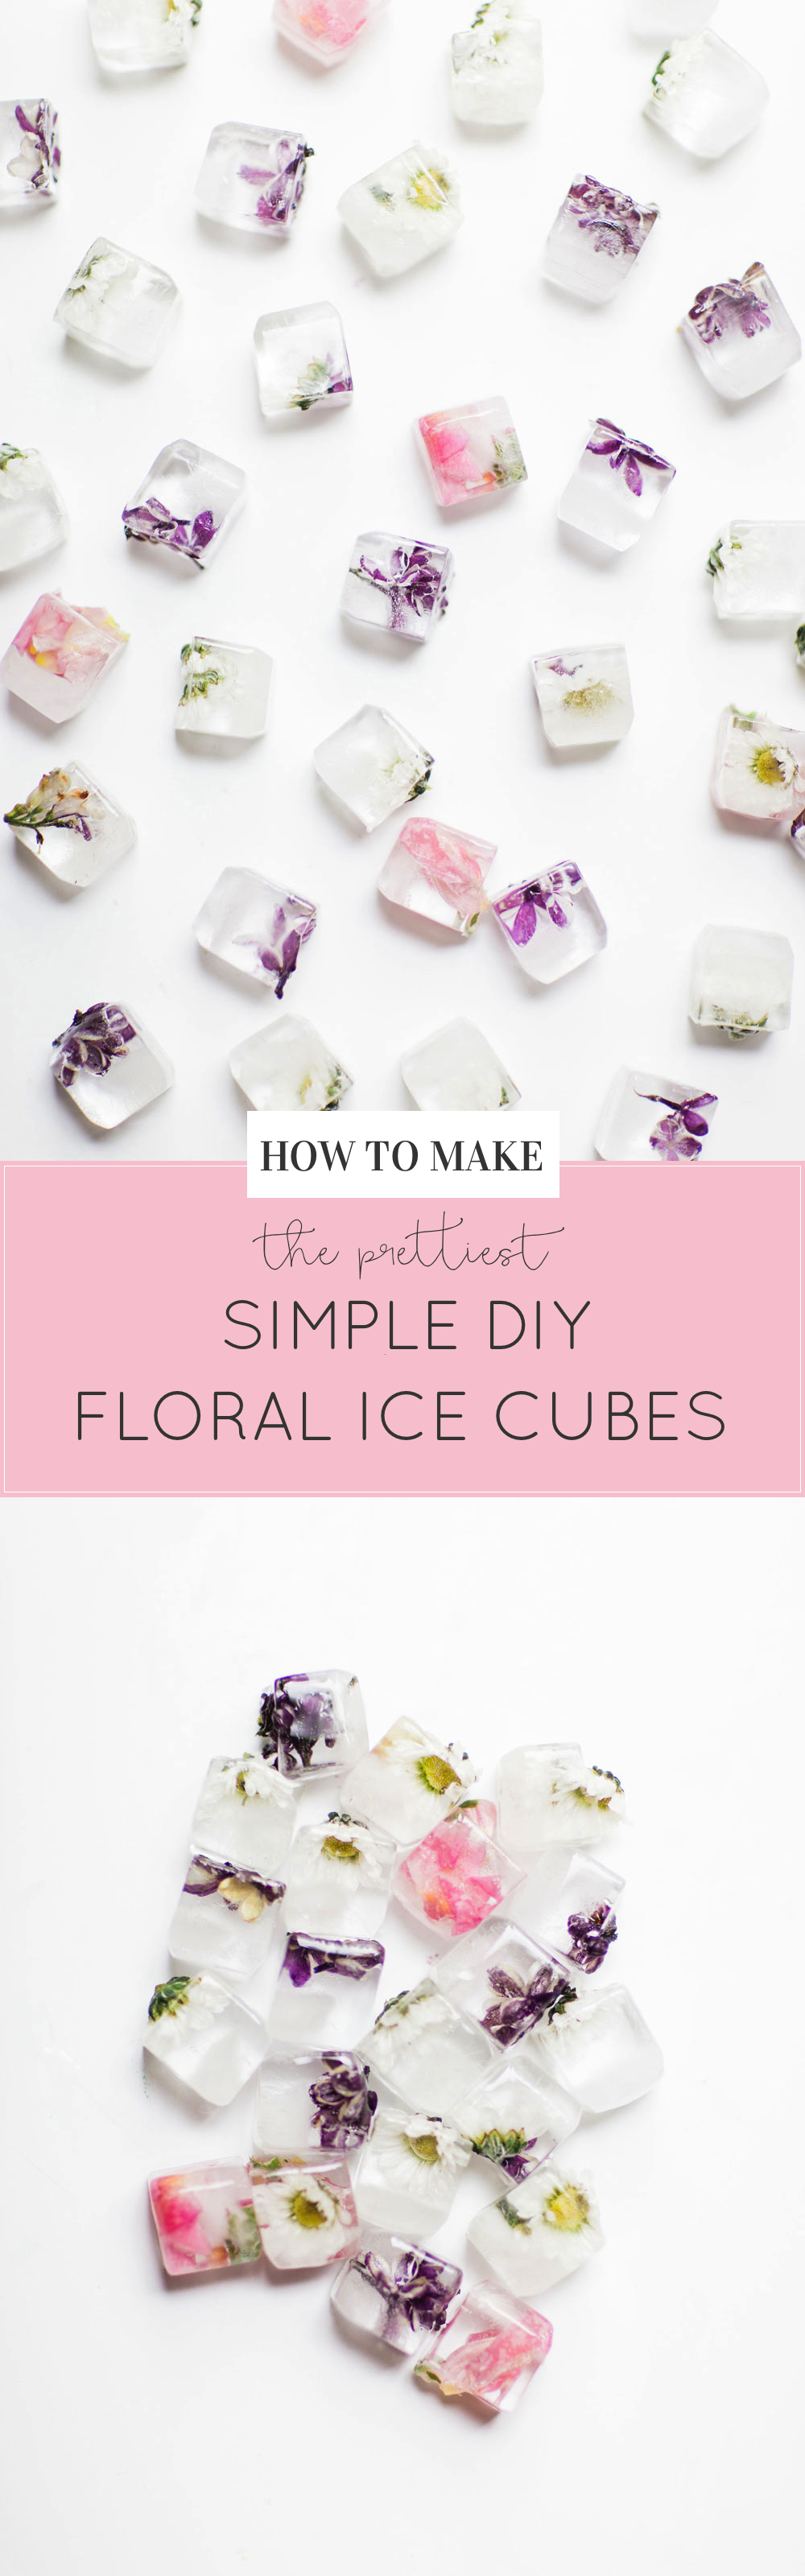
HOW TO MAKE SIMPLE DIY FLORAL ICE CUBES
WHAT YOU’LL NEED
Small flowers
Bottled or Boiled Water
Small ice cube trays (or large ice cube trays)*
DIRECTIONS
- It’s best to use bottled water or water you’ve boiled in a kettle (allowing the water to cool completely before using.) You want your flowers to show through the ice, which means, you’ll want crystal clear water. Tap water will totally work here too, it just may be a bit cloudier than bottled or boiled water.
- Clip your small flowers off their stems, right at the base of the flower, and carefully run all of your flowers under cool water to wash them off. (Remember: these are going in your drinks!)
- I quickly realized that pouring the bottled or boiled and cooled water into the ice cube trays, and then placing the flowers into each square, worked best. The flowers will float, so you may want to use a toothpick to place them whichever way you want. The “bottom” of the ice cube tray, will most likely become the “top” of your finished ice cube, because it will have the smoothest surface, so you may want to use a toothpick or your fingers to gently turn the flower upside down in the water before you freeze your trays.
- Allow your ice cube tray(s) to set for a few hours, or at most, overnight, but be sure not to leave them frozen for too long, as the flowers will start to discolor. i.e., plan to make these either the night before a party, or just a few hours before the main event.
*This brand of ice cube trays is my favorite because they make perfect ice cubes, that pop out effortlessly, every time.
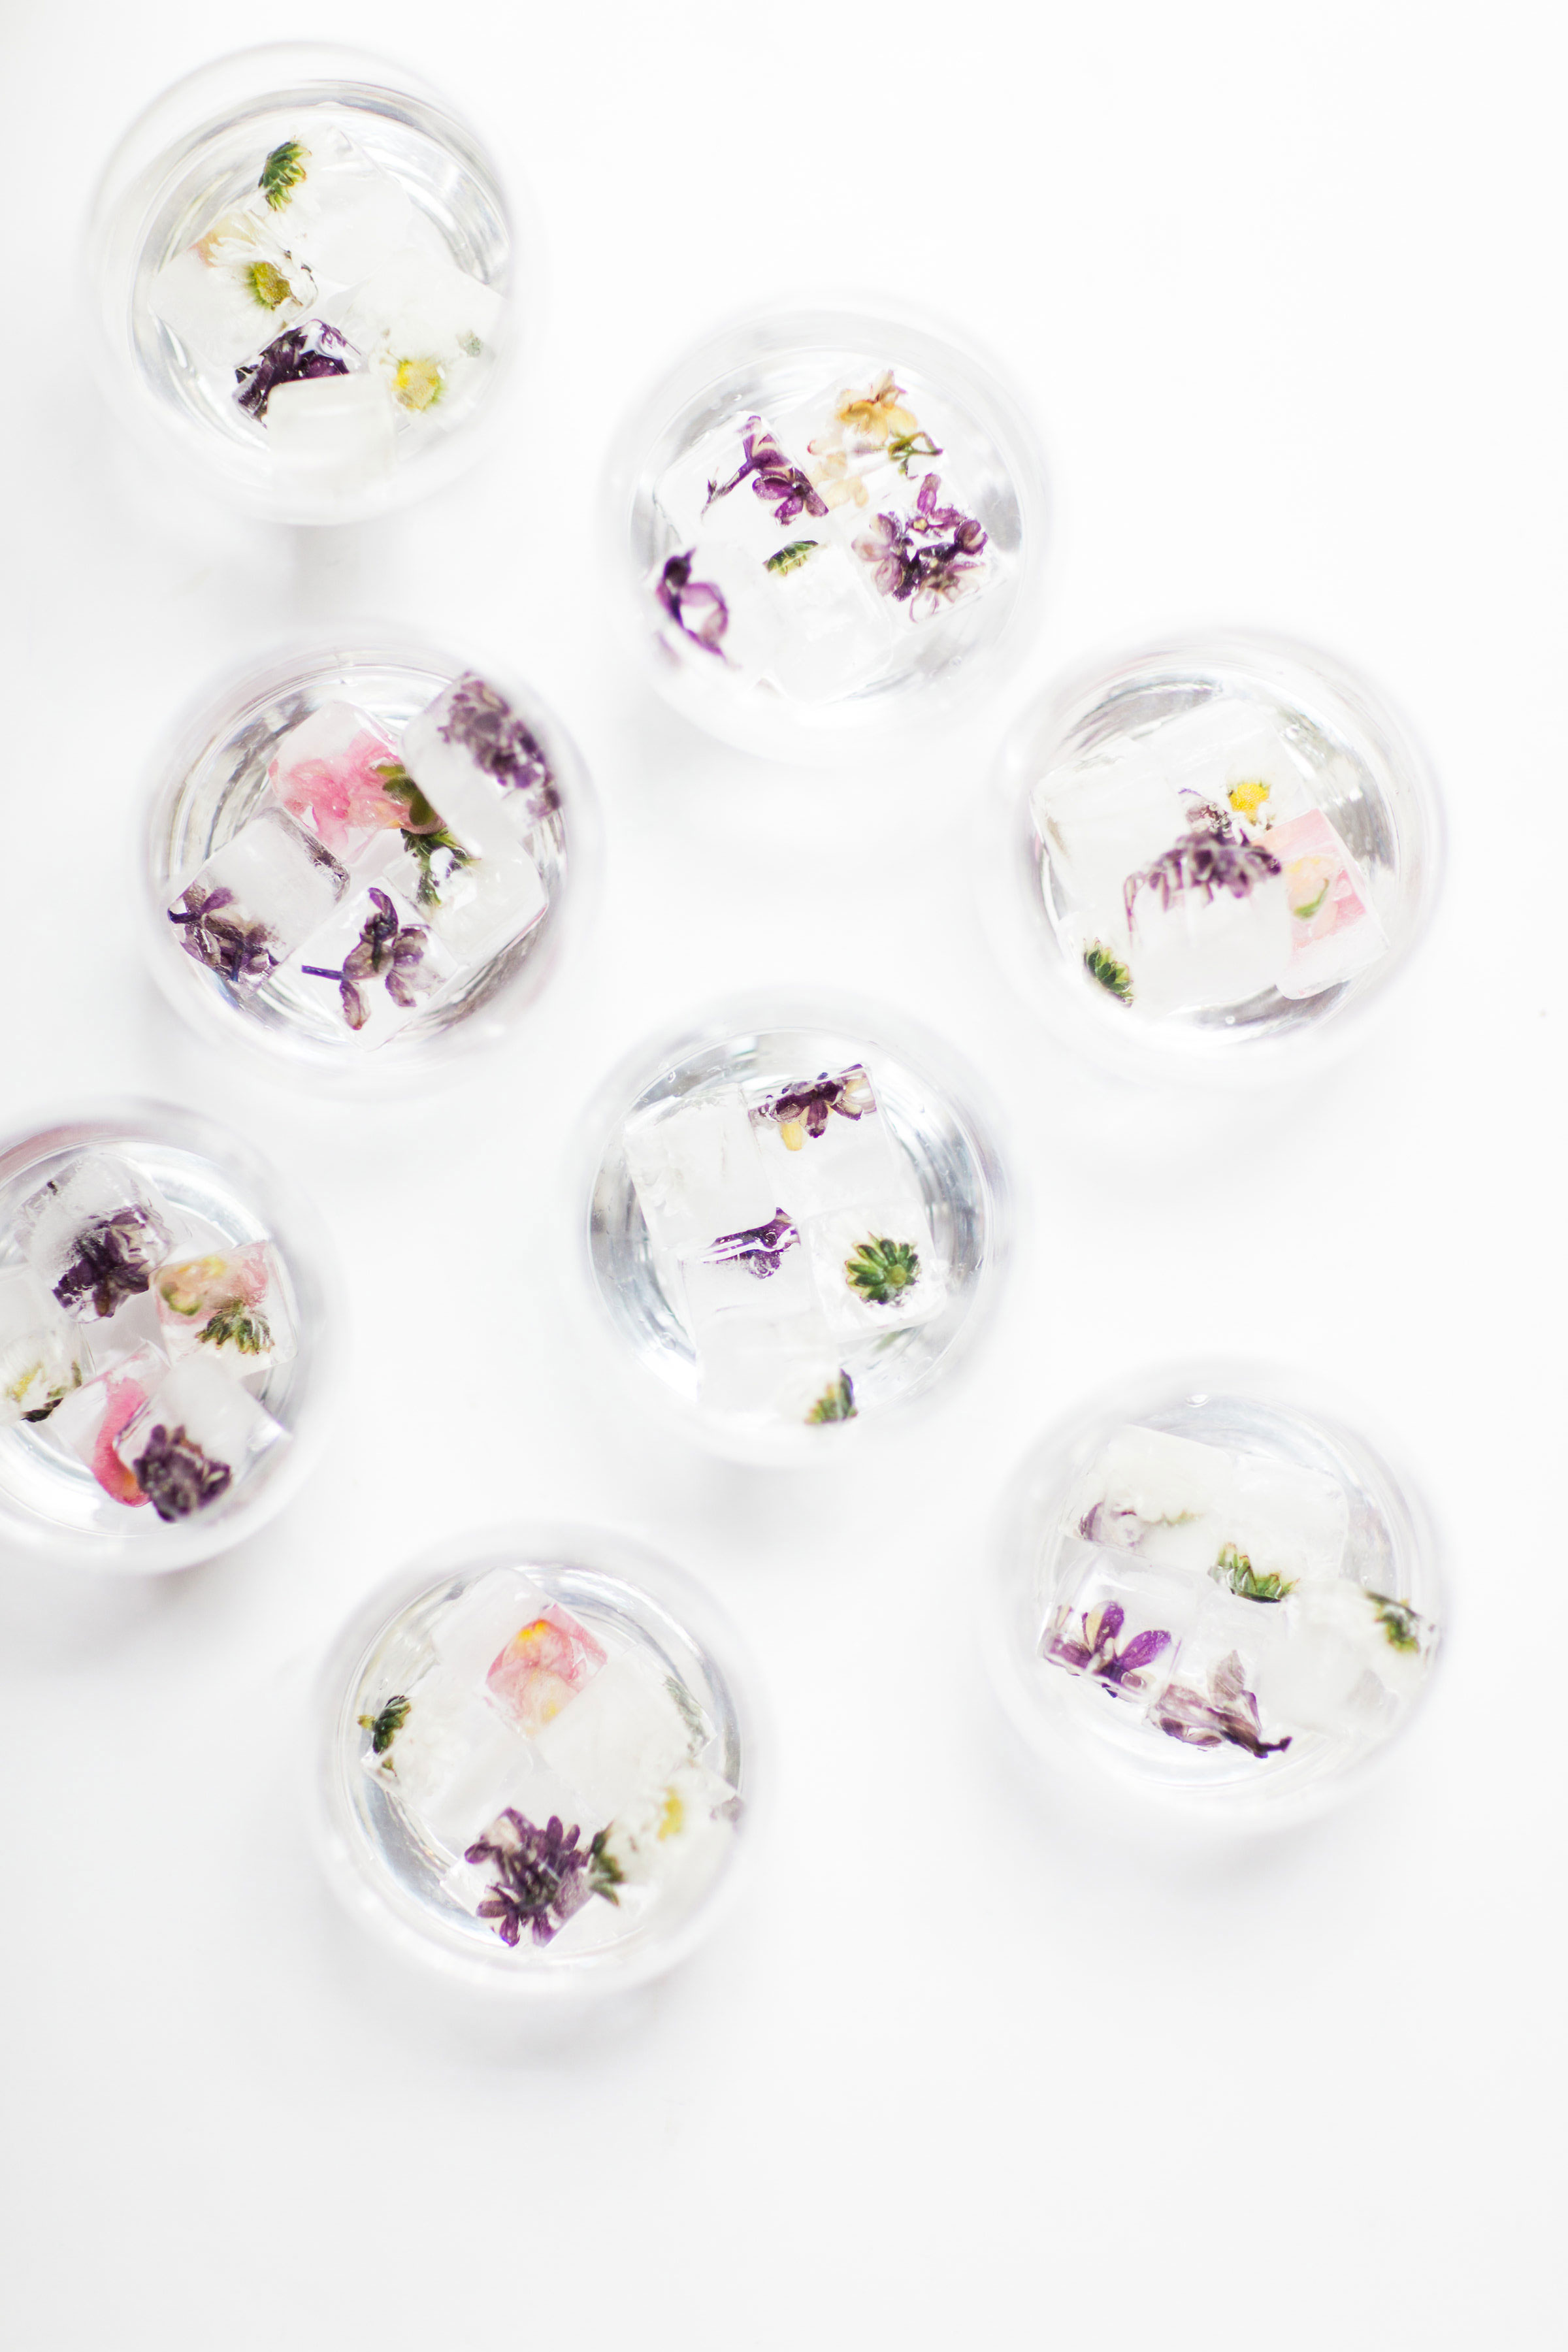
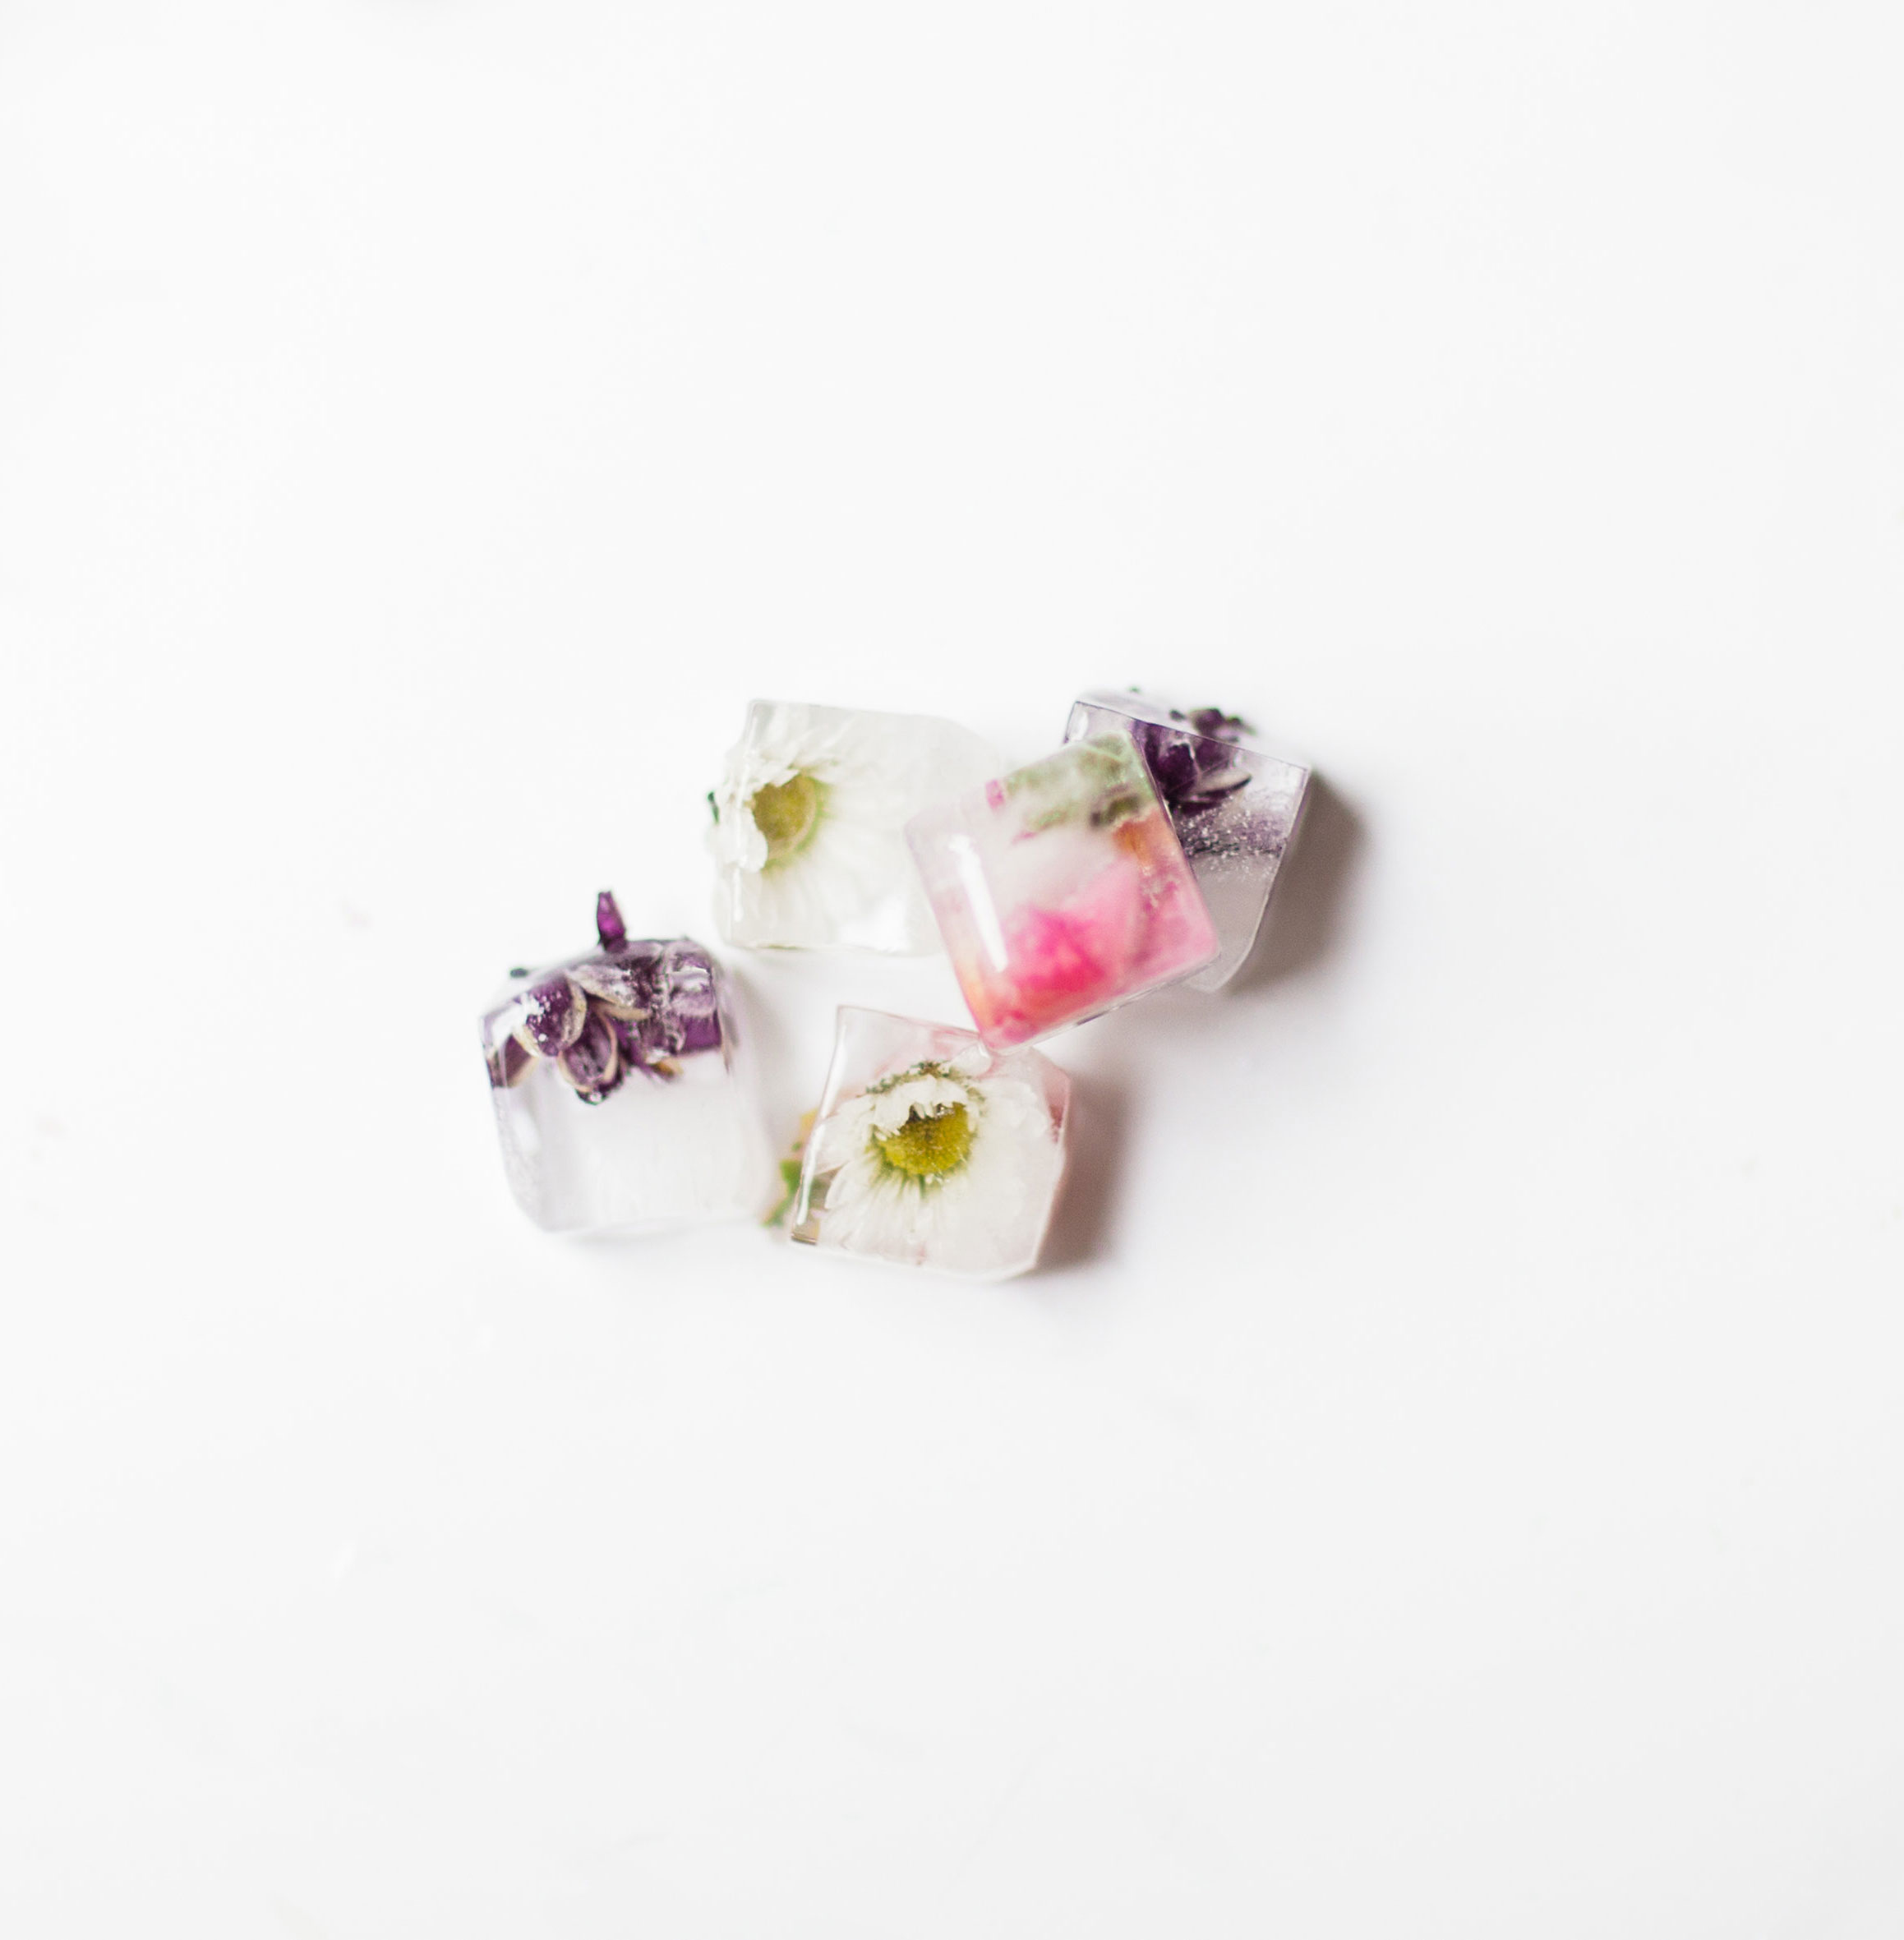
Aren’t these floral ice cubes such a pretty addition to just about any drink or ice bucket? Party perfect.
If you make your own floral ice cubes, be sure to tag me on social media (@glitterinclexi). I love to see your creations!
Photos by Annie Watts Photography
This post contains affiliate links, which means that if you click on one of the product links, I’ll receive a small commission. Thank you so much for clicking through and helping to support this little blog business of mine! Read more about our site, privacy, and disclosure policies here.
Join the Fun


 Older Post